Mercedes-Benz Rear Headrest Removal
Need to remove your Mercedes-Benz Rear Headrest? Learn how to remove your headrest by following the procedures below.
This guide will provide the steps required to remove the rear headrest on Mercedes-Benz vehicles. Pictures for this guide are from a Mercedes-Benz E-Class W211, but these instructions will also help owners of other models.
How to Remove Mercedes-Benz Rear Headrest
What you will need
- Flathead screwdriver
Instructions
The instructions below include the steps to remove the rear seat. If you only want to remove or replace the rear headrests, jump to step 5.
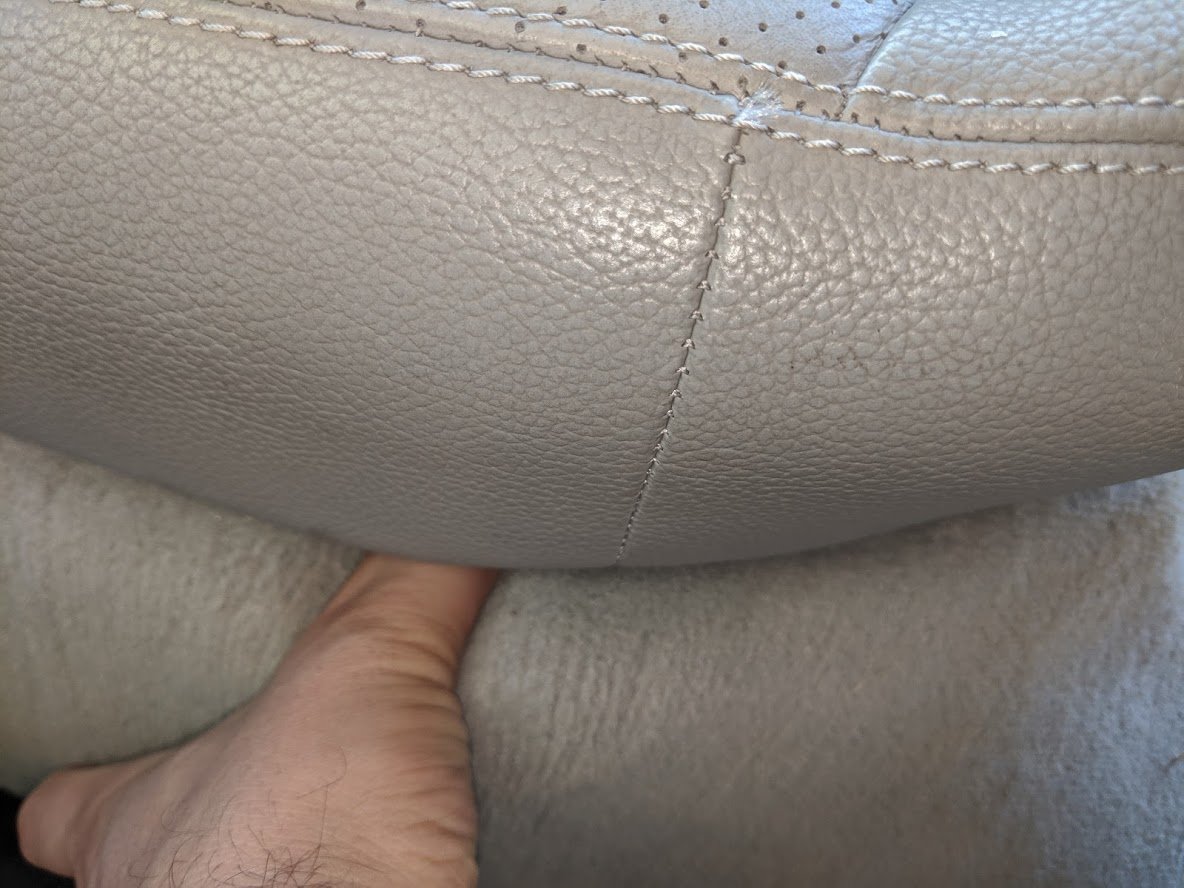
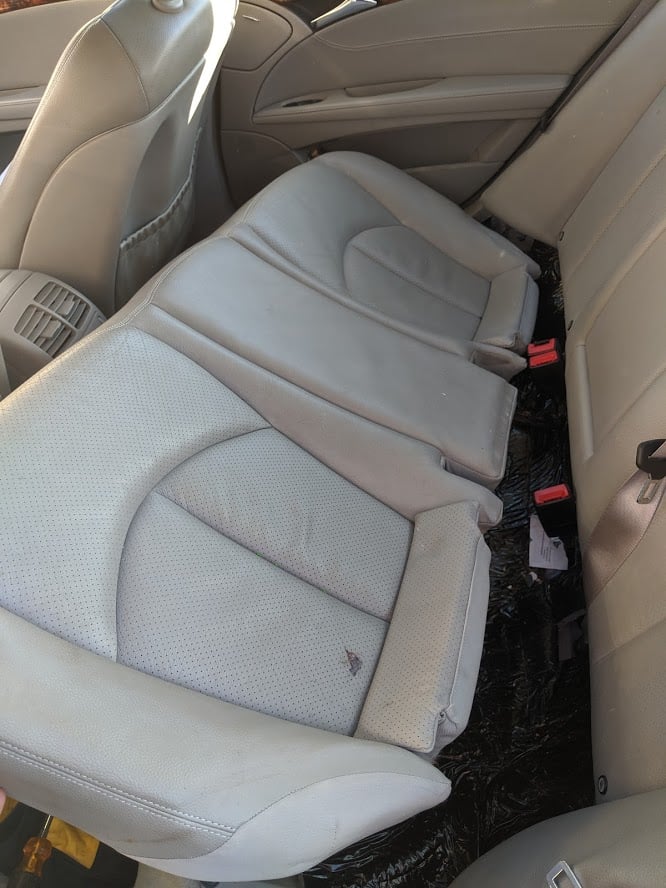
- Locate the release tabs at each corner of the rear seat. Press the release; lift up the seat cushion as you keep it pressed.

- Lift the seat cushion and remove it.

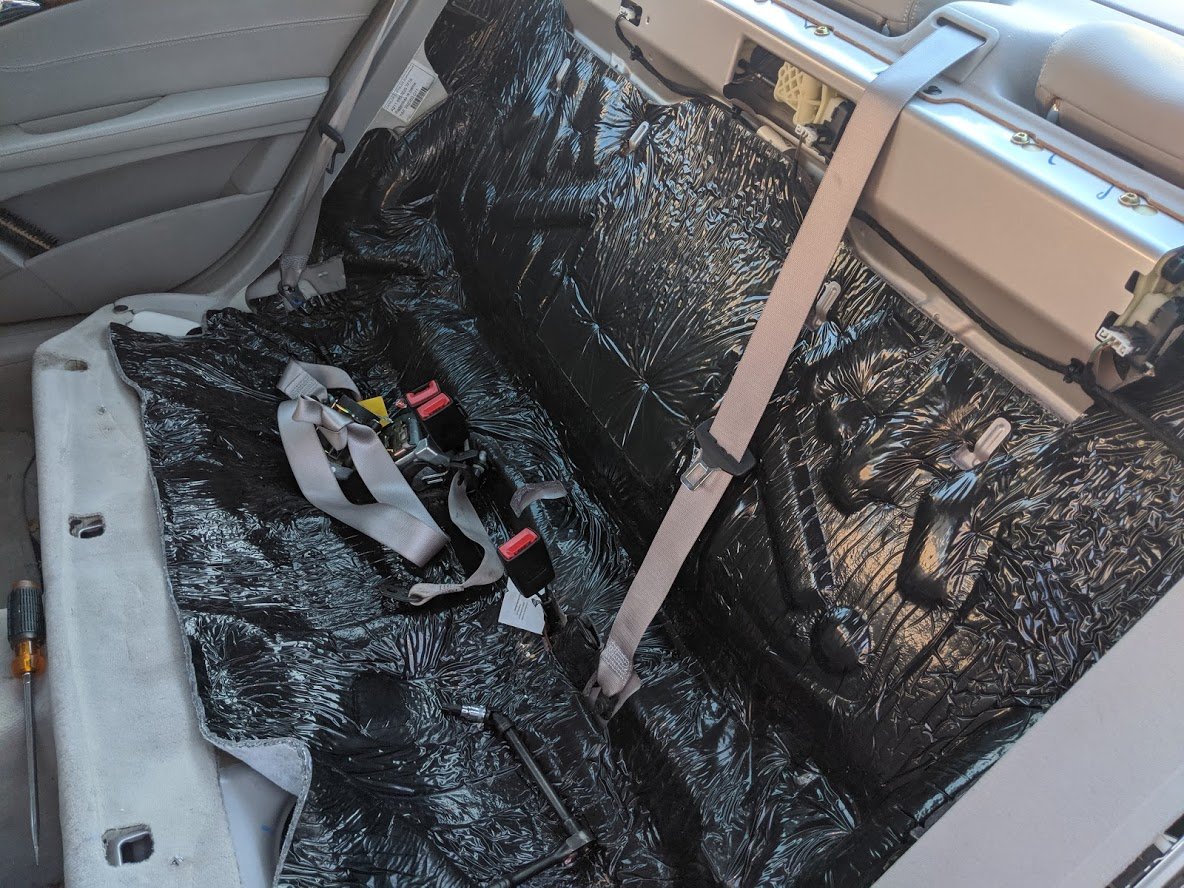
- Remove the 10mm nuts at the bottom of the rear cushion. These will be exposed after you remove the bottom cushion.

- Remove the rear cushion.

- Raise the rear head reset.

- Use a flathead screwdriver to pry up the plastic trim.

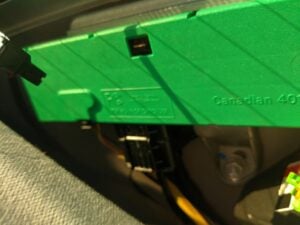
- Locate the release tabs on each side of the headrest.
 Use a screwdriver to push down the release tabs. As you press down, pull the headrest towards the trunk while the headrest is in the up position. This step is tricky if you are performing it for the first time. It may take a few tries to unlock the headrest. You can look through the rear windshield to better understand the position of the release tabs.
 - To install the new headrest, insert it in the designated holes and press it forward as you hold the headrest in the upward position.
Removing the headrest on a Mercedes-Benz is a simple procedure. The first time you try, getting the black tabs to release the headrest may take a while. The second time you must take off the headrest is much faster and quicker.
We hope you find the Mercedes-Benz Rear Headrest Removal guide helpful. Check these troubleshooting and repair guides for more help on your Mercedes-Benz.



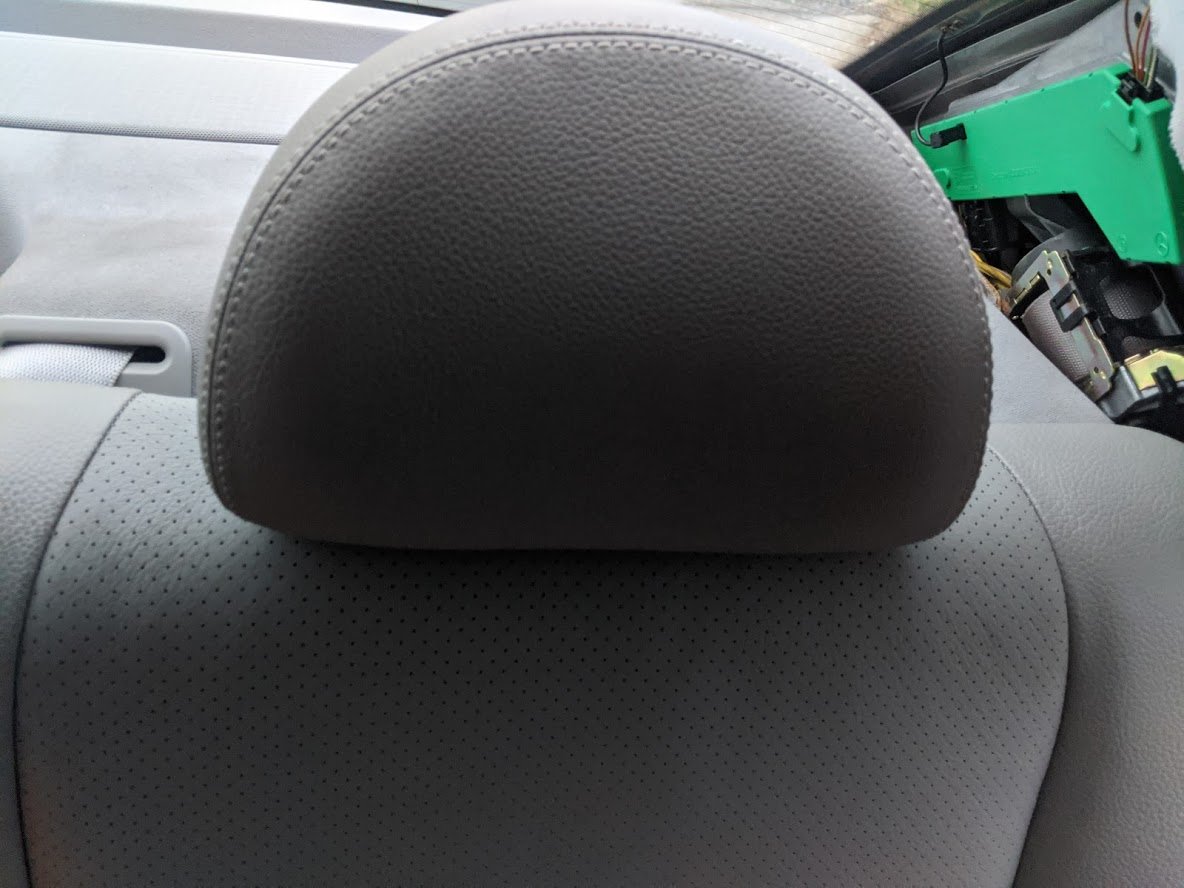
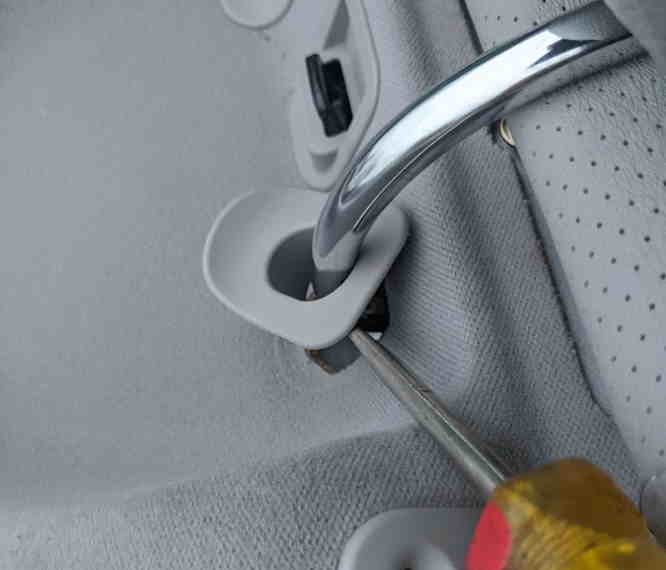
 Use a screwdriver to push down the release tabs. As you press down, pull the headrest towards the trunk while the headrest is in the up position. This step is tricky if you are performing it for the first time. It may take a few tries to unlock the headrest. You can look through the rear windshield to better understand the position of the release tabs.


