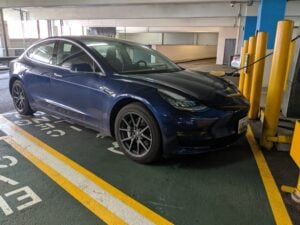
Tesla ABS Wheel Speed Sensor Replacement DIY
Is your Tesla ABS light on? Learn how to fix the problem by replacing your Tesla’s ABS wheel speed sensor. This guide provides instructions on how to replace an ABS sensor.
How to Replace Tesla ABS Wheel Speed Sensor
What you will need
- Replacement ABS sensor.
- Metrick socket set
- Ratcheting wrench
Procedure
- Park the vehicle on level ground and set the parking brakes.
- Loosen the lug nuts, but do not remove them yet.
- Jack up the front of the vehicle and secure it with jack stands. Do not rely only on the floor jack.
- Remove the lug nuts and remove the wheel from the vehicle.
- Remove the 10mm bolt that secures the ABS sensor to the steering knuckle.
- Remove the ABS wire from the vehicle.
- Unplug the ABS wire. There is a connection by the frame where you disconnect the sensor.
- Install the new sensor in reverse order.
- Install the wheel and lug nuts.
- Lower the vehicle and tighten the lug nuts to specification.
That’s it. Replacing the front ABS wheel speed sensor on a Tesla Model 3 is straightforward and takes about thirty minutes.
We hope you find the Tesla ABS Wheel Speed Sensor Replacement DIY guide helpful. Check these troubleshooting and repair guides for more help on your Tesla.


