Mercedes-Benz Main Battery Replacement W211 E-Class/ CLS-Class
Can’t start your Mercedes-Benz due to a dead battery? Learn how to fix the problem by replacing your Mercedes-Benz battery.
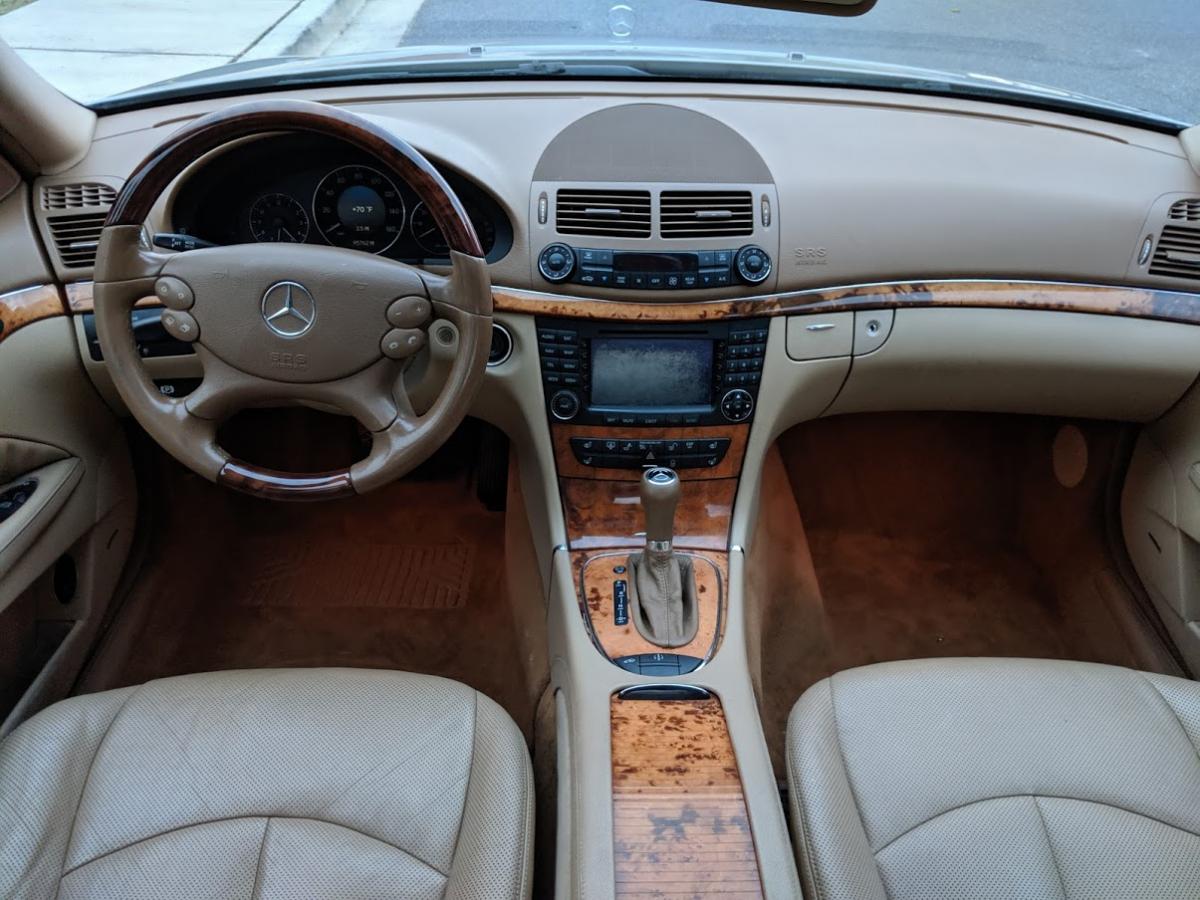
This guide will help you learn and become familiar with replacing the battery on a Mercedes E-Class and CLS-Class. It also applies to CLS-Class W219 from 2004 until 2010, such as CLS500, CLS550, CLS55 AMG, and CLS63 AMG. On average, this entire process shouldtake about an hour or less. Additionally, we would rank this task as easy, even for beginners.
What you’ll need
- AGM-94 Battery
- Group Size: H8
- Minimum Cold Cranking: 760 Amps
- Flathead Screwdriver
- 3/8 Ratchet
- 3/8 Long Extension
- 10mm Socket
- 13mm Socket
- A flashlight or a Reliable Light Source
- Extendable Magnet
Procedure
How to change the battery on Mercedes-Benz E-Class and CLS-Class models.
- Gather all of the necessary tools and a new battery.
- Park the vehicle on flat ground with a reliable light source.
- Turn the ignition to the off position. Remove the key from the ignition. Leaving the key in the ignition can lead to problems with the ignition system.
- Open the trunk and be sure that the trunk stays open.

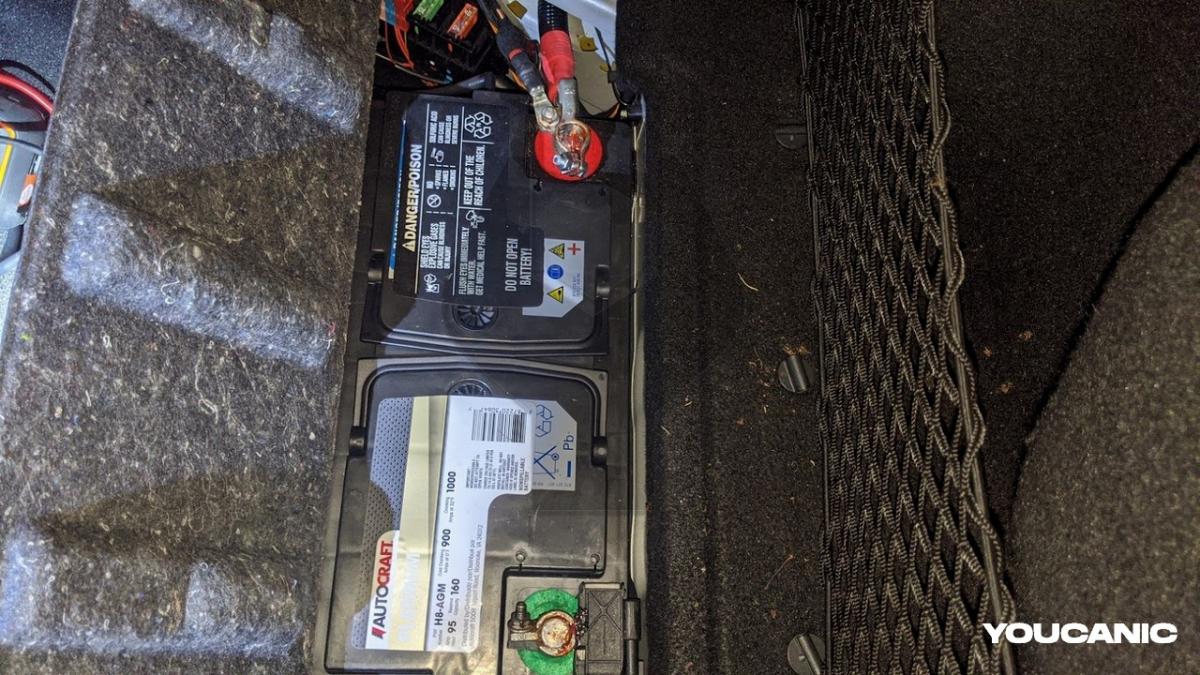
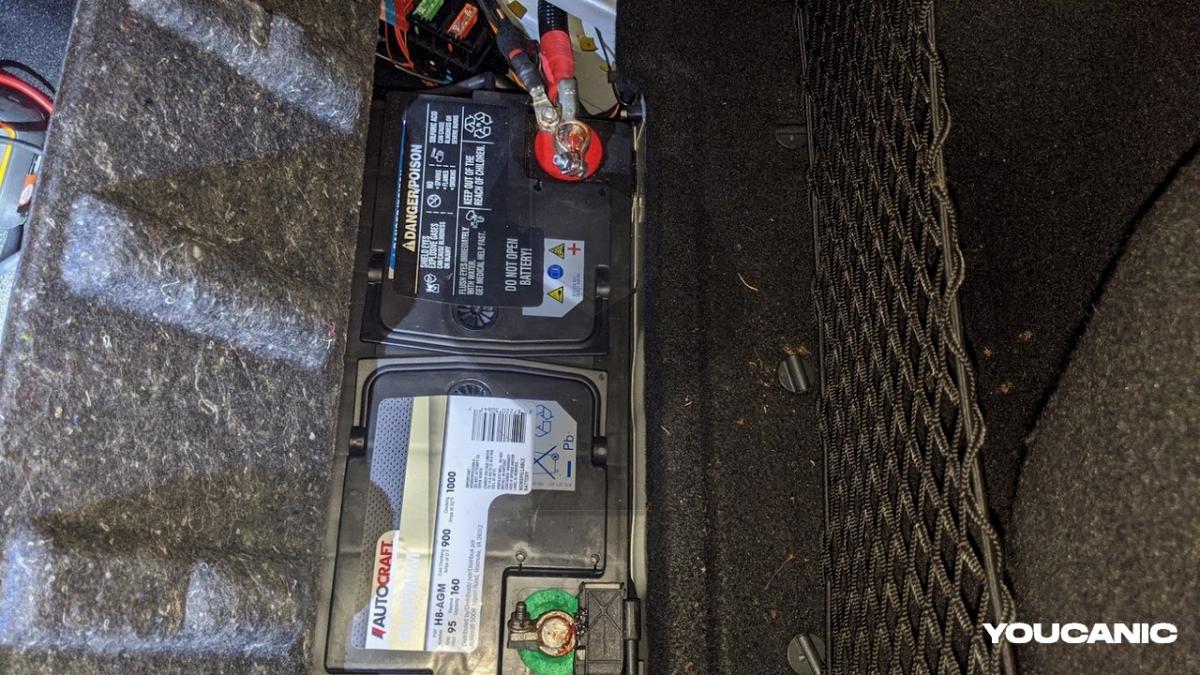
- Lift and remove the trunk cover/mat to expose the battery.

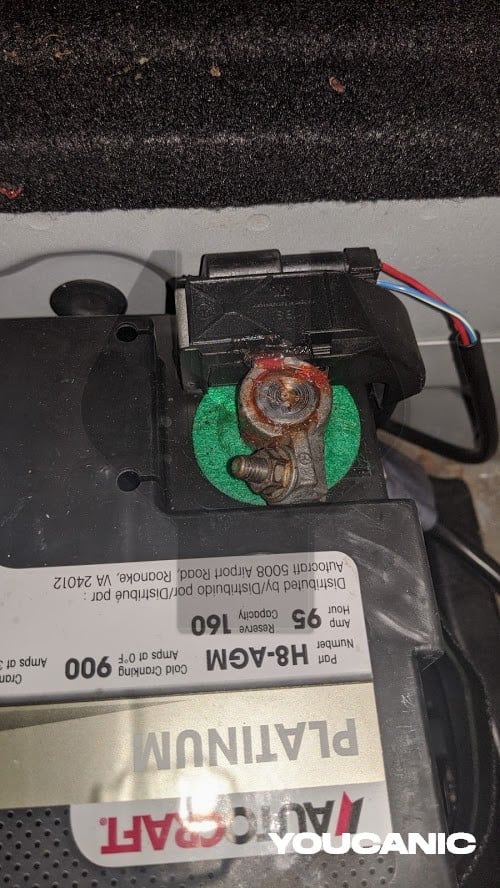
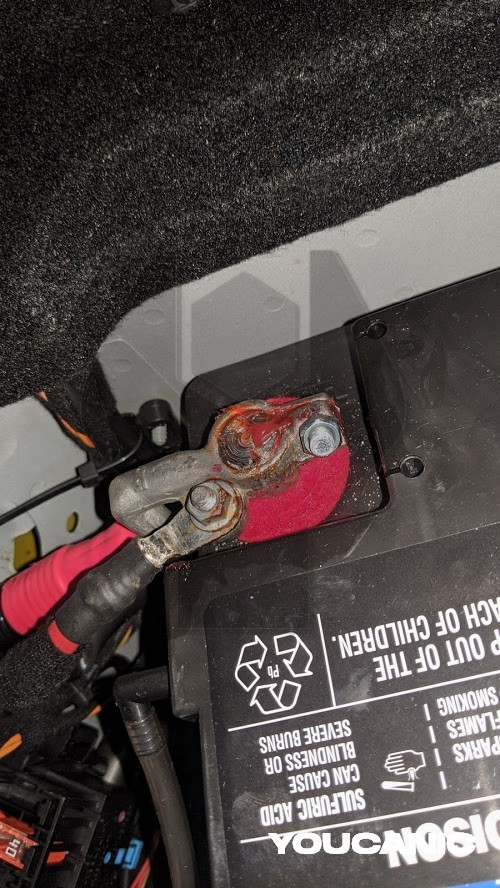
- To disconnect the battery loosen the negative battery terminal nut with a 10mm socket. Next, move the terminal wire to the side.

- Loosen the positive battery terminal nut with a 10mm socket and move the terminal wire to the side.

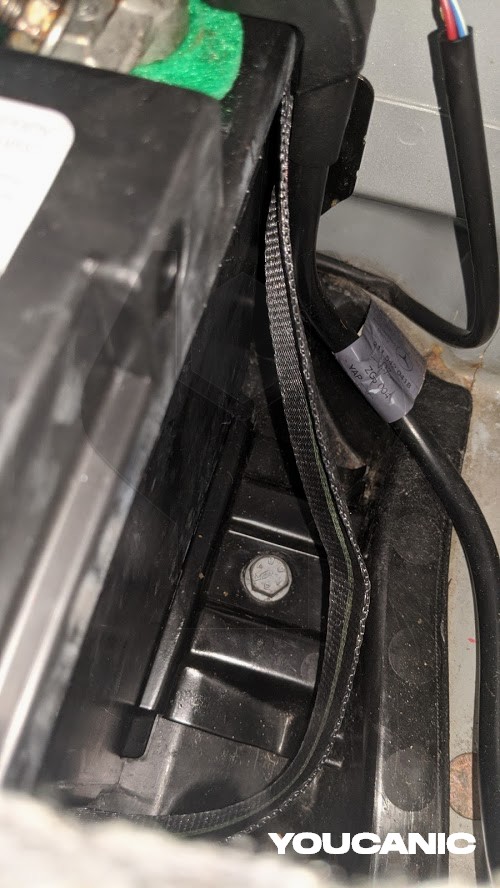
- Using the 13mm socket, remove the bolt that holds the battery bracket.

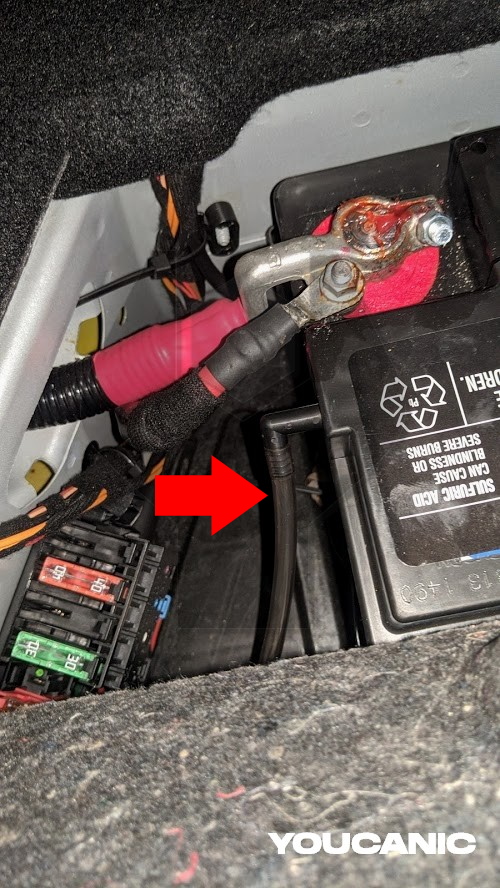
- Disconnect the vent hose.

- Remove the battery strap that secures the battery in the trunk (if applicable).
- Remove the mounting bracket and move all the cables out of the way. The battery can now be removed and lifted by the two handles.
- Insert the new battery carefully inside the vehicle, remembering that negative and positive must match the position of the old battery.
- Reconnect the vent hose and ensure the mounting bracket is lined up. If your new battery is an Absorbent Glass Mat (AGM), it won’t have a vent hose; therefore, you don’t need to worry about connecting it.
- Insert the battery bracket and tighten the 13mm bolt.
- Connect the positive cable to the battery terminal and tighten the 10mm nut.
- Lastly, connect the negative battery cable and tighten the 10mm nut.
If corrosion is present on the battery cables, clean them first before reconnecting them to the battery. We also recommend applying the battery terminal protector to the battery posts.
Torque Specifications
- 25 ft/lbs. for both the positive and negative terminals
- 10 ft/lbs. for each mounting bracket bolt
Tips & Tricks
- The positive terminal is always on the right if looking at the car from the front.
- The negative terminal is always on the left if looking at the car from the front.
- Always check the size, AMPs, and volts of the new battery compared to the old battery.
- After disconnecting the terminals, use a wire brush and carefully clean off the battery terminals to ensure no major corrosion.
We hope you find the Mercedes-Benz Main Battery Replacement W211 E-Class/ CLS-Class guide helpful. Check these troubleshooting and repair guides for more help on your Mercedes-Benz.

