2016 Land Rover Range Rover: How my YOUCANIC Scanner saved me Hundreds in Repairs!
My trusty 2016 Land Rover Range Rover has lived a long, hard life. Over the years, it has racked up about 138,000 miles, and thanks to my YOUCANIC scanner, I’m hoping to keep it running for another 138,000!
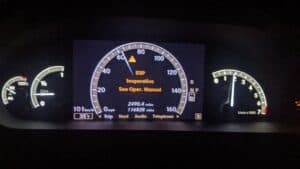
I was driving home one evening when my check engine light (CEL) suddenly came on. I managed to get my SUV home without incident; thankfully, the car was running fine. As soon as I put it in park, I started scanning for fault codes with my YOUCANIC scanner. After a quick scan, I found the codes P2189-00: too lean at idle bank 2, and P2187-00: too lean at idle bank 1.
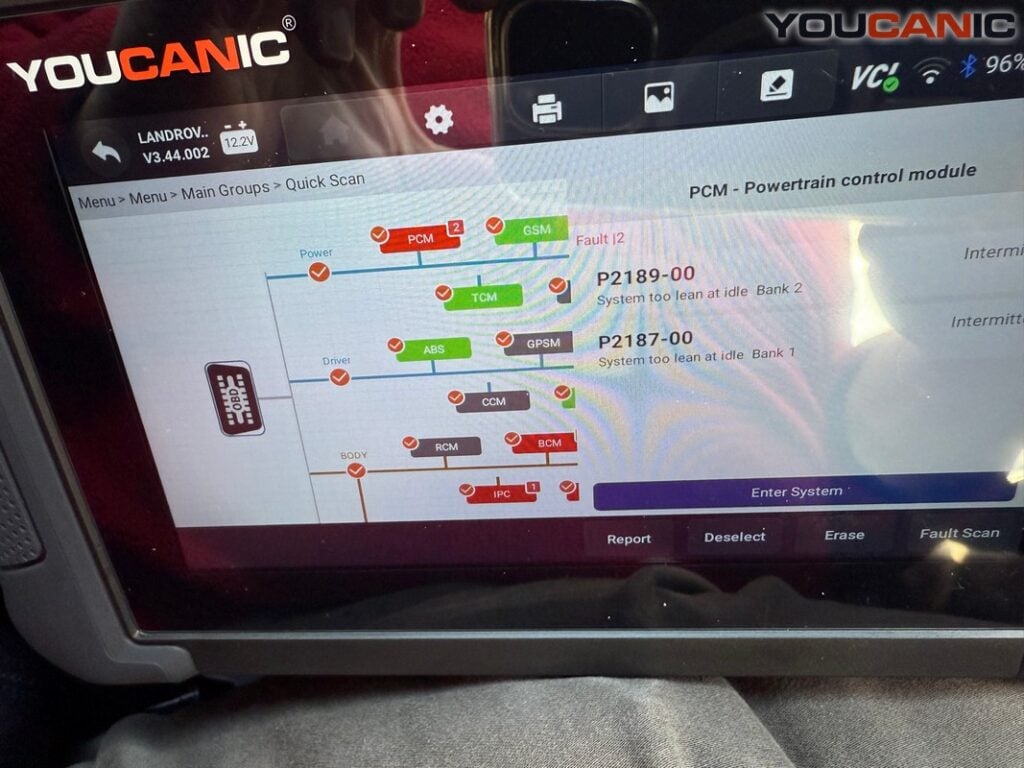
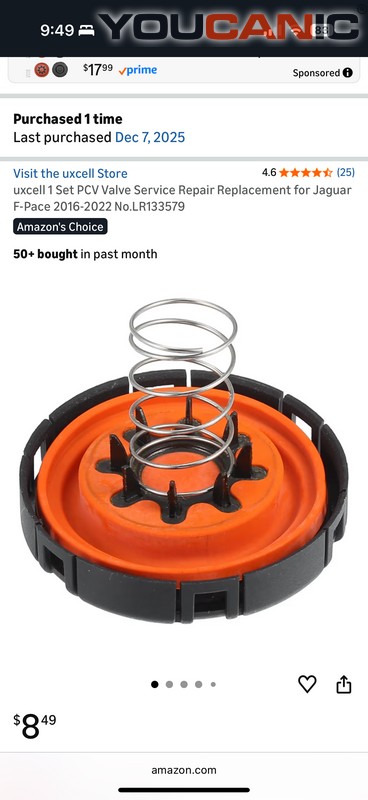
After some research, I figured out that the fault codes I was seeing usually indicate a faulty PVC valve. These valves are important for regulating airflow in an engine, which helps keep your car running efficiently. I found a kit on Amazon for about $9, and the next day, once it was delivered, I got to work!

🔧 Stop paying the dealer for every warning light
Get dealer level diagnostics at home with the YOUCANIC Full System Scanner.
- ✔ Works with all makes and models, including most luxury brands
- ✔ Topology map view shows all vehicle modules on one screen for faster diagnostics
- ✔ Bi directional controls to test fans, pumps, actuators and more so you do not have to guess
- ✔ Special resets and calibrations such as ABS bleed, EPB service, battery registration and more
- ✔ Free lifetime updates with no recurring fees
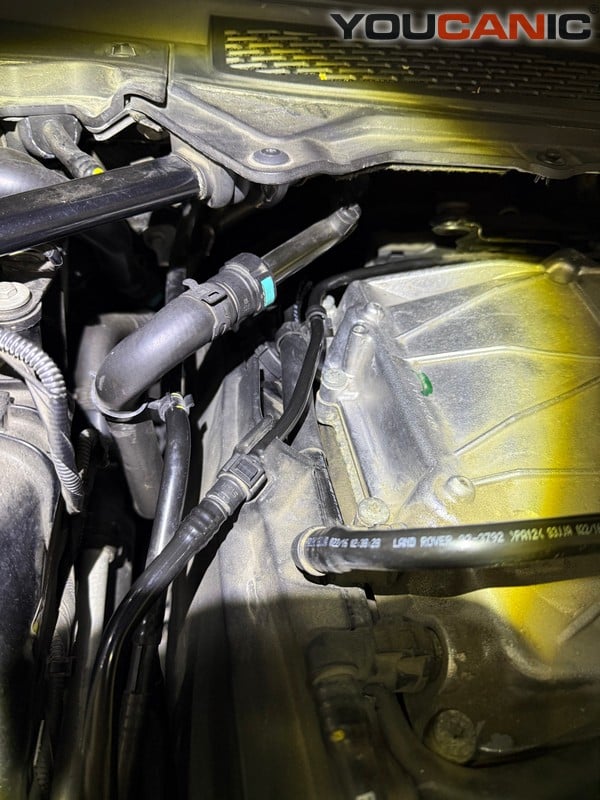
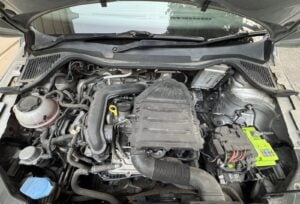
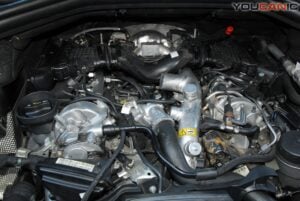
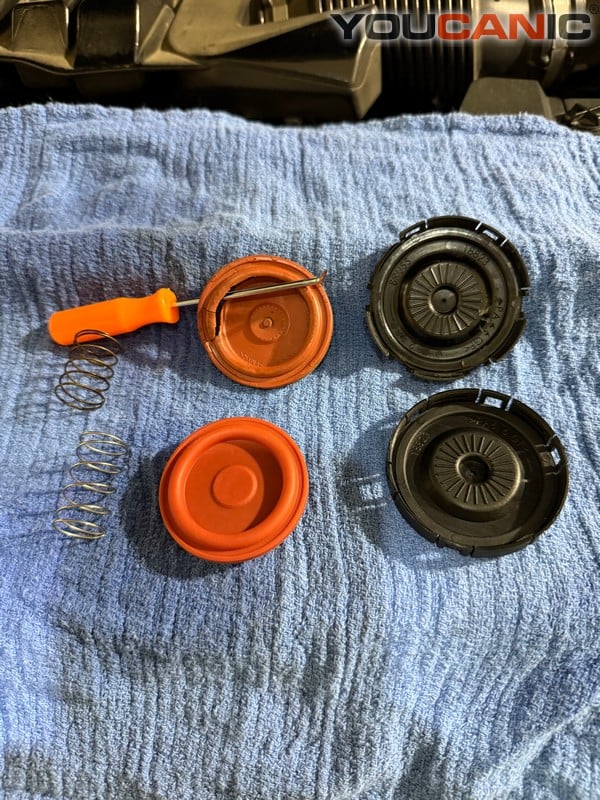
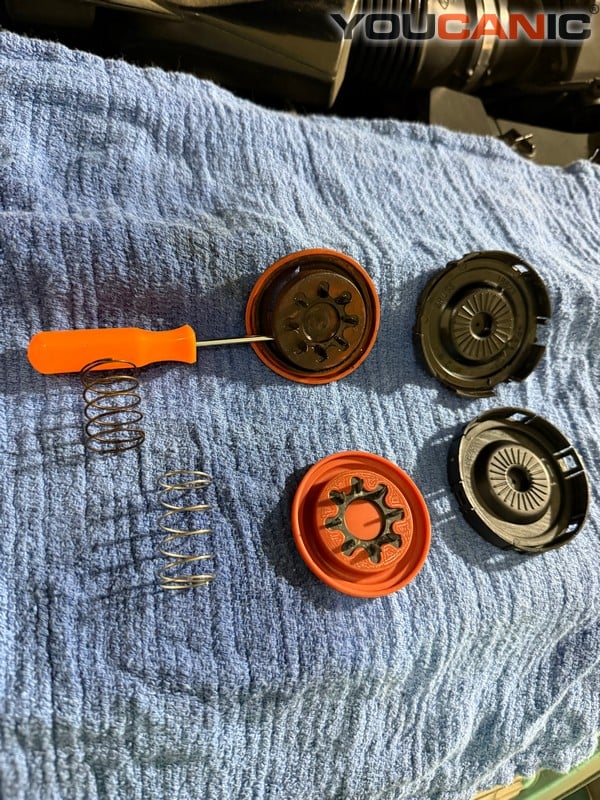
The PVC repair kit that I bought came with a replacement spring, an orange diaphragm, and a black “clip on” cap. The cap seems to be a single-use item, as the tabs keeping it in place broke off when I was removing it. The YouTube video I watched in preparation for this repair was for a 3.0 gas engine. It was helpful, but I had to do a bit more research, as my car has a V8 engine.
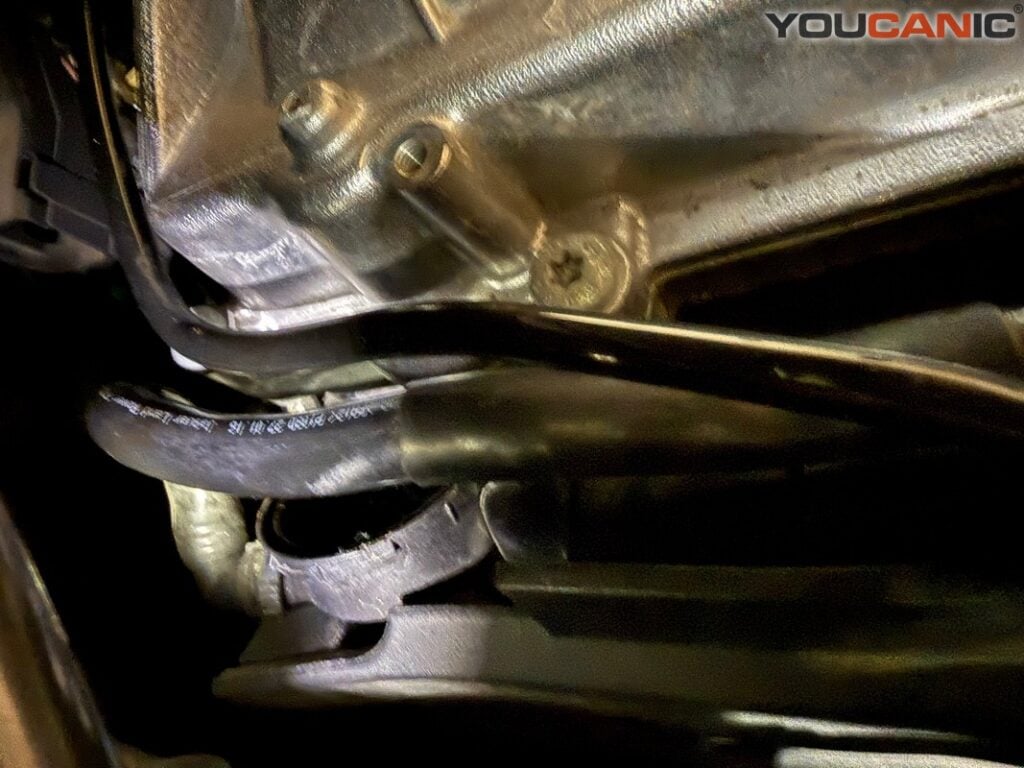
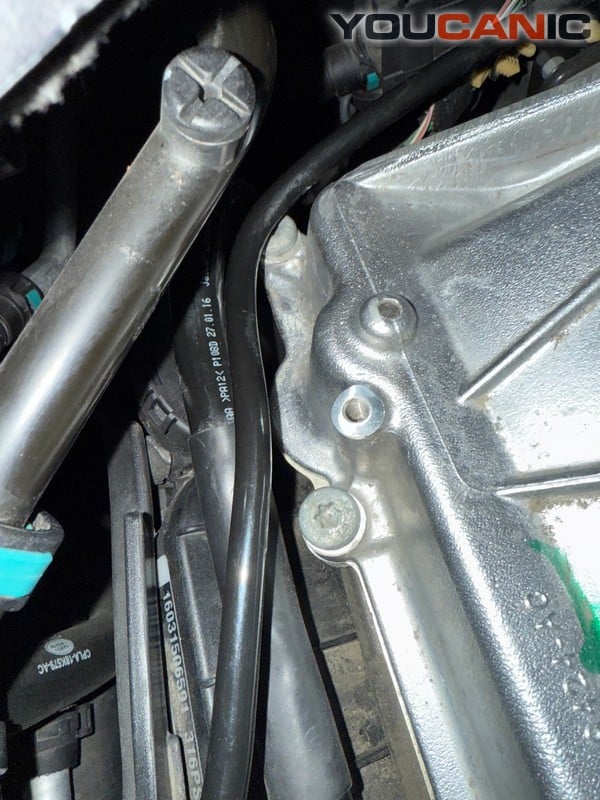
The most challenging thing I encountered when replacing my PVC valve caps was removing the old ones. My car had two, which made this process even more tedious. With a little creativity, I was able to remove them without taking my whole engine apart!
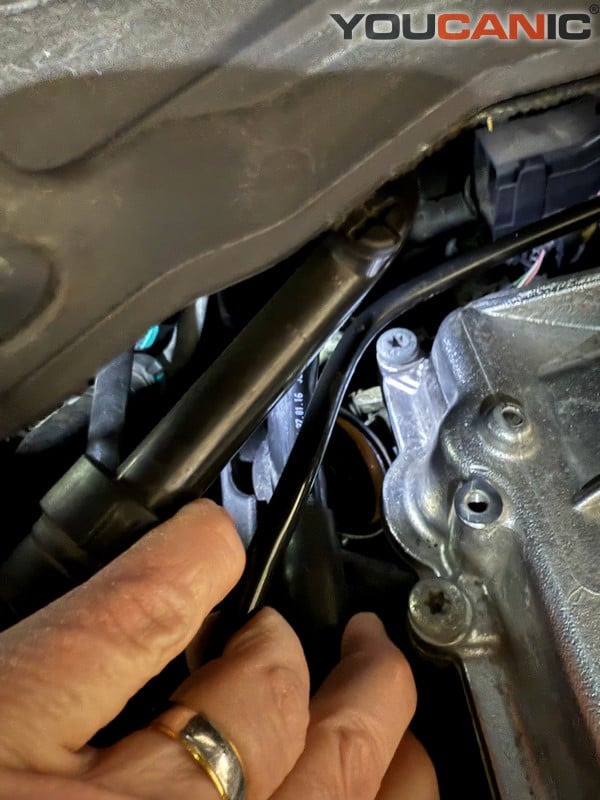
The easiest way that I found to replace these caps is by assembling the cap, orange diaphragm, and spring, then using a hotel plastic key card (or any other type of plastic card, like an old gift card) over the spring and compressing the cap, orange diaphragm, spring, and hotel key card together making a PVC assembly “sandwich” (the cap and hotel key card are the bread slices). The assembly can then be slid into position, and the hotel key card slid out, which allows the spring to release. In the picture below, there is a zip-tie holding everything together, but the best method was definitely the card method.
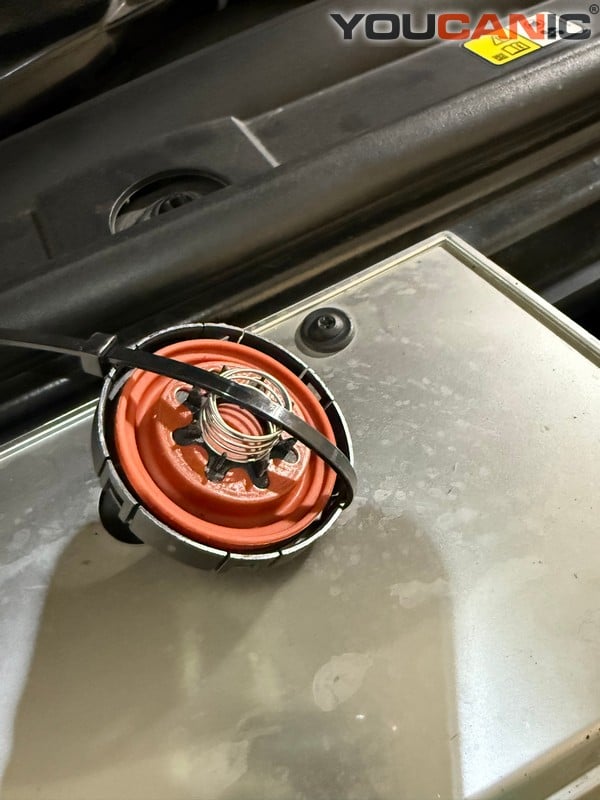
After that, the cap tabs need to be aligned to lock into place, and the cap just needs to be pressed down, which allows the locking tabs to engage; satisfying “clicks” may be heard as this happens
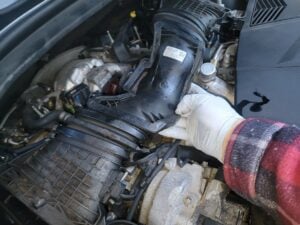
Please note that the clip under the supercharger required a plier handle to push down on the cap to get the clip to engage. Start the car, clear the code with a YOUCANIC scanner, and you’re done!
Images
Do you have a fix to share with our growing community of DIY enthusiasts?
Share your fix with us here! By sharing your fix and having it published on our website, you are encouraging and empowering others to try doing their own repairs. Join the movement and share your fix today!