

BMW Brake Pad Wear Sensor Replacement Guide
Reviewed/Verified by:

BMW fits two brake pad wear sensors, not four: one on the left front pad and one on the right rear. That is worth knowing before you order, because a sensor only triggers on the corner it is fitted to, and the other pads can be well worn without any warning at all. Once the new sensor is in, the reminder resets from the instrument cluster buttons or with a scan tool.
At a Glance
- Why the light stays on: the wear sensor is single use. Once the pad wears through its wire loop, it must be replaced.
- Where the sensors are: usually the left front and right rear brake pads.
- Replace the sensor with the pads, then reset the brake service in the cluster or with a scanner.
- Reset each axle you serviced, front and rear separately.
- Do not bypass the sensor. You lose the only warning that the pads are nearly gone.
The BMW brake pad wear sensor is a small plastic probe clipped into the brake pad, with a loop of wire in its tip. As the pad wears down, the rotor eventually grinds through that loop and breaks the circuit. Once that happens the sensor is used up and must be replaced, even if it looks fine.
The DSC module sees the open circuit, turns on the brake pad warning and stores a fault code, typically in the 5F12 to 5F16 range depending on the model and axle. After fitting new pads and a new sensor, reset the brake pad service in the instrument cluster or with a scanner so the Condition Based Service counter starts again.

🔧 Find out what is actually wrong before you pay someone to guess
Dealer level diagnostics at home with the YOUCANIC UCAN-II Pro.
- ✔ Covers most makes and models, including many luxury brands. Send us your VIN and we will confirm your car before you order
- ✔ Reads every module, not just the engine, so you find the faults a basic reader says are not there
- ✔ Commands the car: test a fan or pump, bleed ABS, retract an electronic parking brake, register a battery
- ✔ No subscriptions. Free lifetime updates, so the price you pay is the whole price
- ✔ Backed by real mechanics in the USA you can email before and after you buy
Featured in The Wall Street Journal
Symptoms
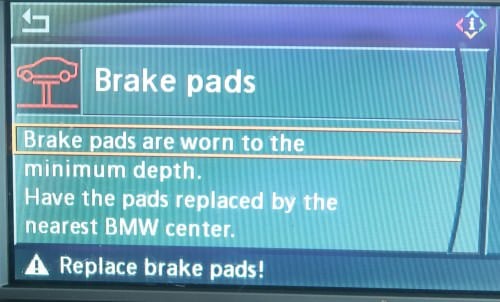
The following message may remain on the instrument cluster even when you replace the brake pads. ” iDrive Message: Brake Pads are worn to the minimum depth. Have the pads replaced by the nearest BMW center”.
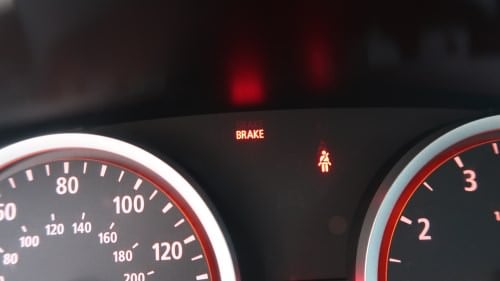
Brake Warning Light On Dashboard |
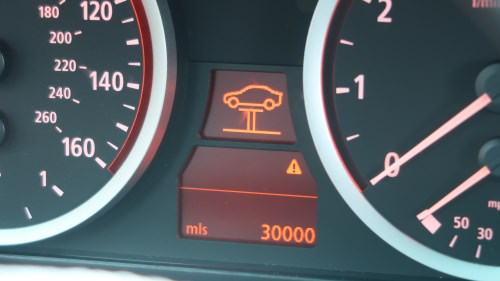
Service Vehicle Symbol with a car on the lift. |
Fault Codes
- 5F12 DSC Brake pad wear, front axle, brake pads
- 5F15 DSC Brake pad wear, rear axle plausibility.
How to Replace the Brake Pad Wear Sensor
What you will need
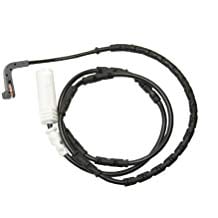
- BMW Brake Pad Wear Sensor
- Flat Head Screwdriver
Procedure
- Determine if you are replacing a front or rear brake pad wear sensor.

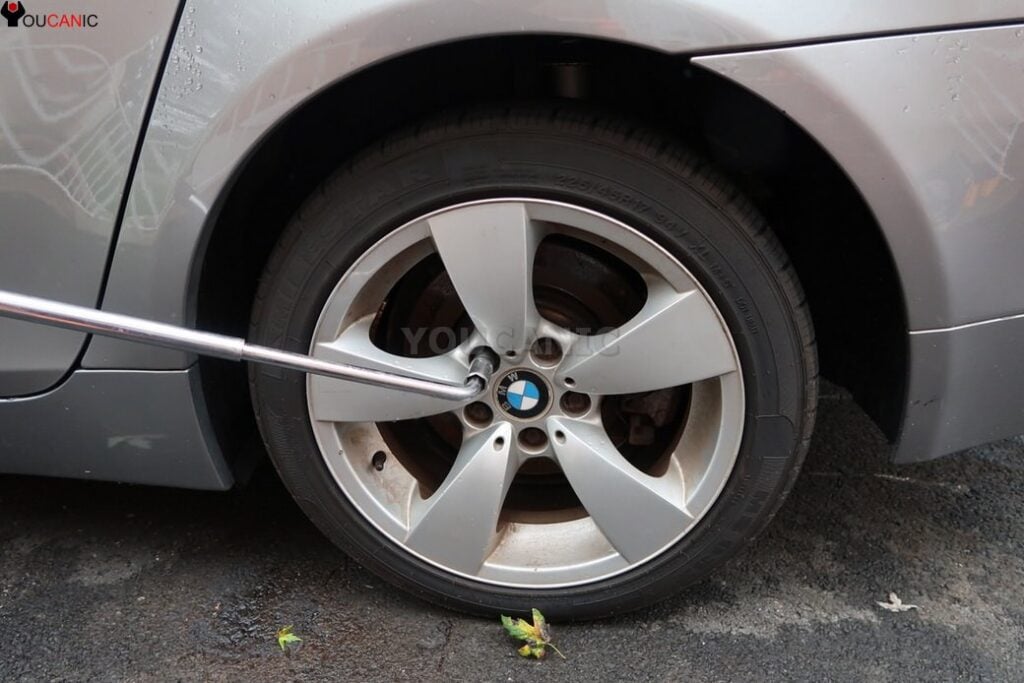
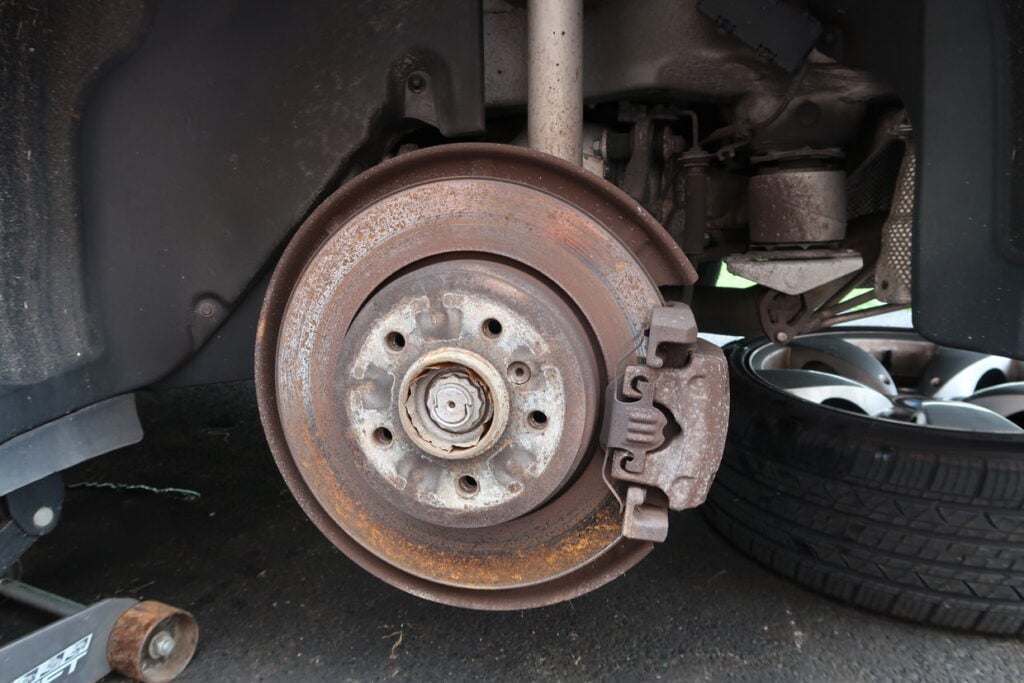
- Jack up the vehicle and remove the wheel. If replacing the front brake pad sensor, jack up the driver’s side wheel. If replacing the rear brake pad sensor, jack up the passenger side wheel. Remove the wheel from the vehicle.
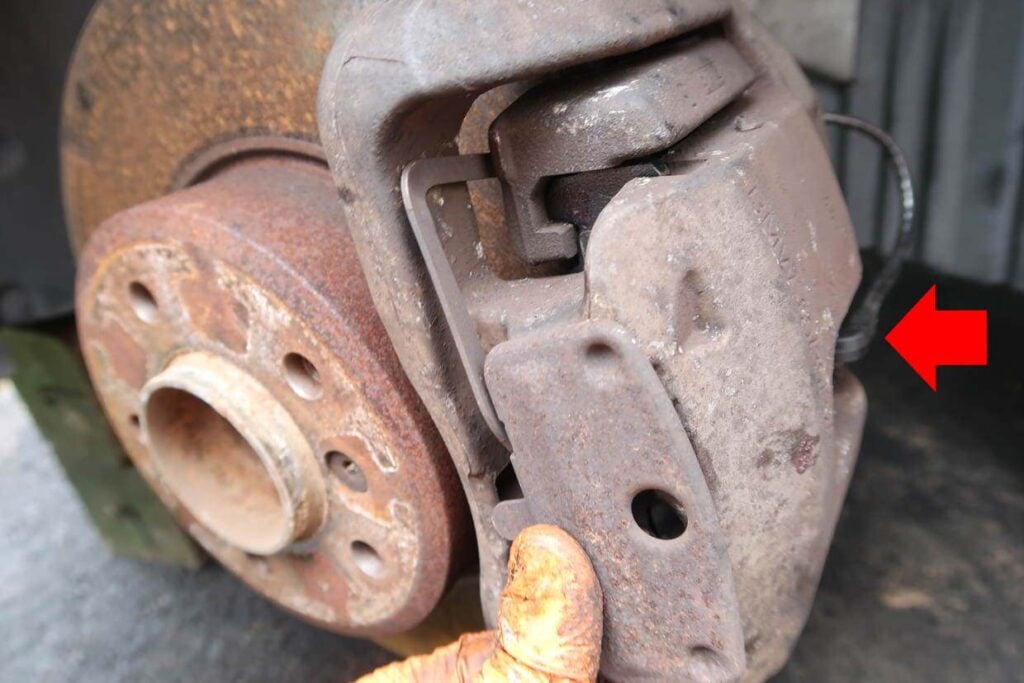
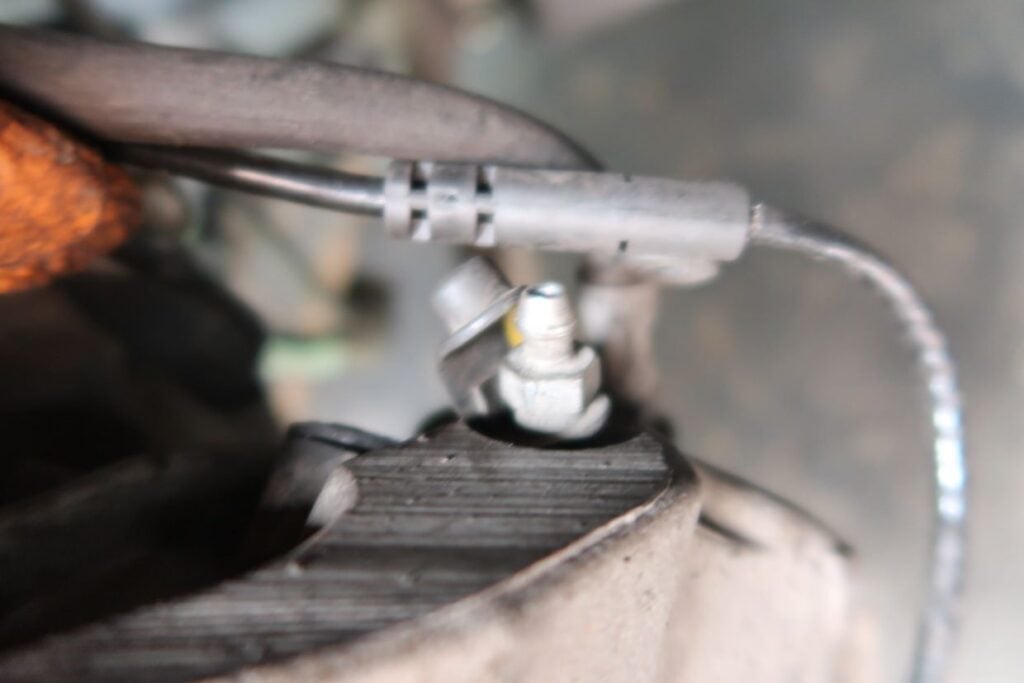
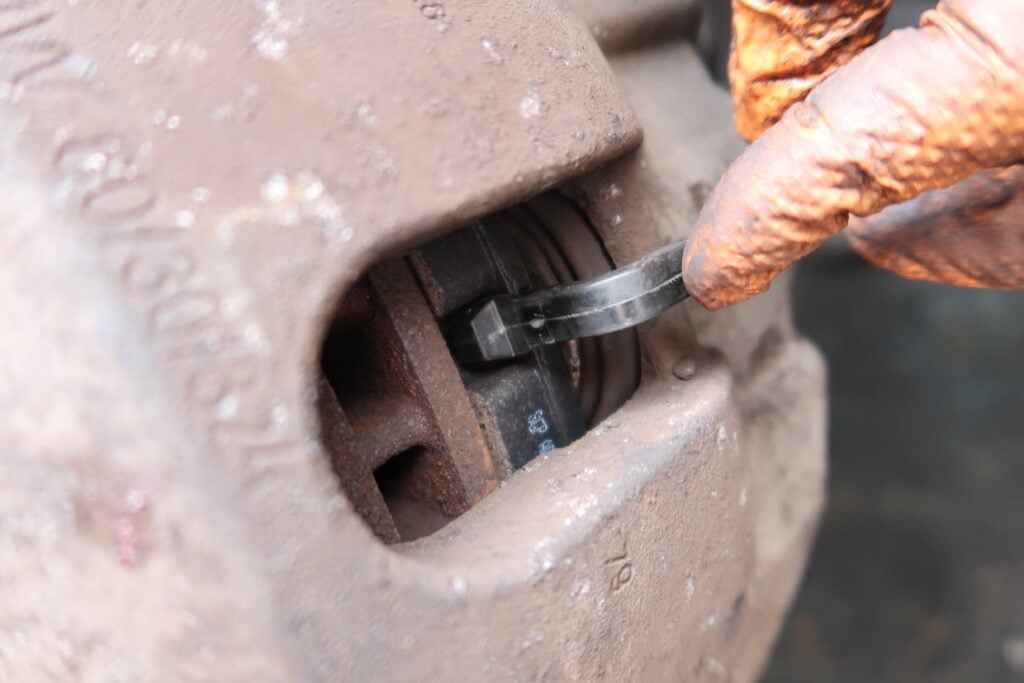
- Locate the brake pad wear sensor on the brake pad.
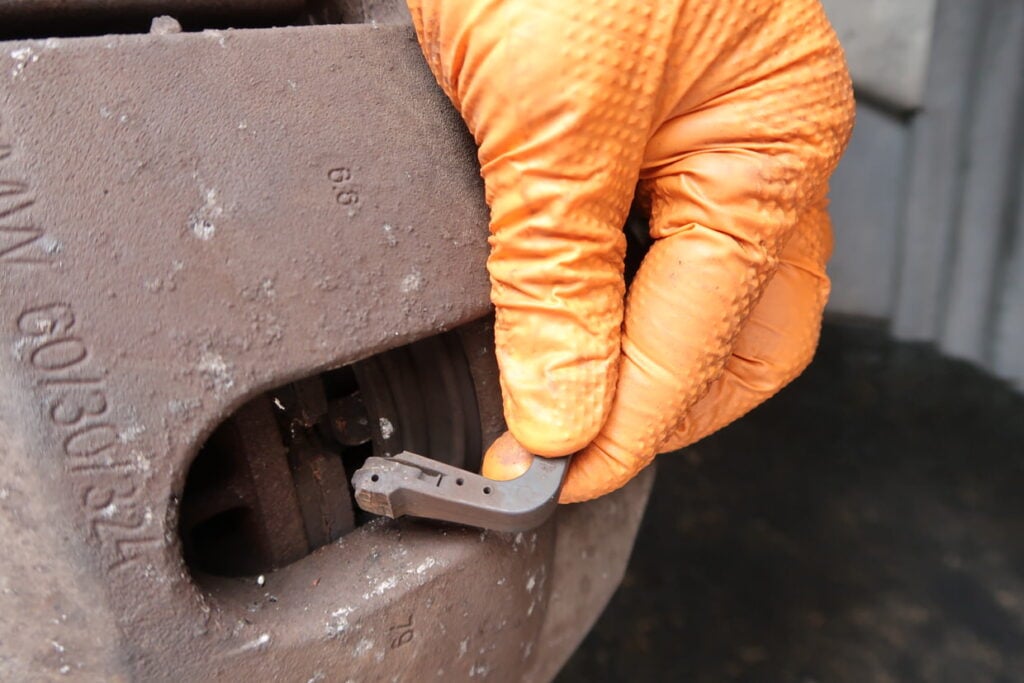
- Use a flathead screwdriver to pry out the old sensor.
- Unclip the sensor wire from its holder on the caliper.
- Unhook the sensor wire from the strut bracket by pulling it out.
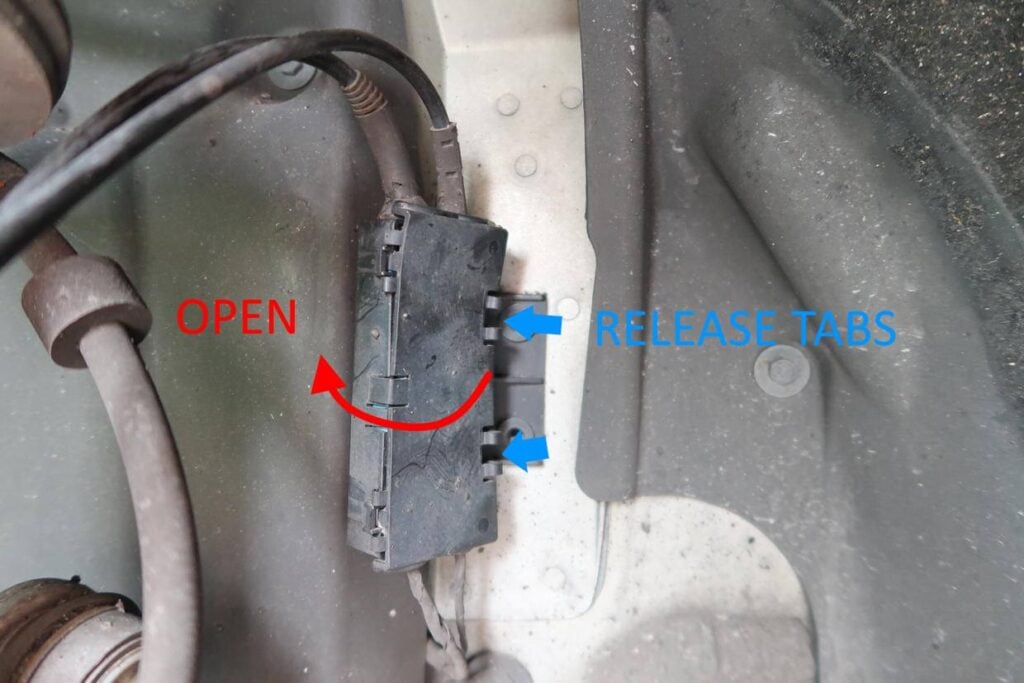
- Open the black box mounted on the wheel well. Inside, you will find the connector.
- Pull the connector out of the box. Press the release tab on the connector and separate the wires.

- Install the new sensor in reverse order.

How to Reset the Brake Pad Warning
Reset BMW Brake Pad Wear Reminder
There are two methods to reset the BMW brake wear sensor.
Reset the BMW Brake Pad Sensor via the Instrument Cluster
This video shows resetting the BMW brake light service reminder using the instrument cluster’s buttons.
Instructions
- Turn the ignition on, but do not start the car.
- Press and hold the reset button on the side of the dashboard.
- After a few seconds, you will see the service menu at the dashboard’s center.
- Press the reset button several times to see the front or rear brakes symbol.
- Press and hold the reset button with the brake symbol on a small LCD until you see the words RESET.
- When RESET displays on the screen, release the button and press it again for about 5 seconds to reset the brake light.
If the reset procedure is carried out successfully, the brake symbol on the small LCD will turn from RED to ORANGE.
Reset the BMW Brake Light with an OBD-II Scanner
Another method to reset the BMW brake warning is to use a scan tool. Many OBD-II scanners allow you to access the Condition Based Service (CBS) menu and reset the brake mileage limit.
If you have tried method one but have been unsuccessful, the next step is to use a scanner.
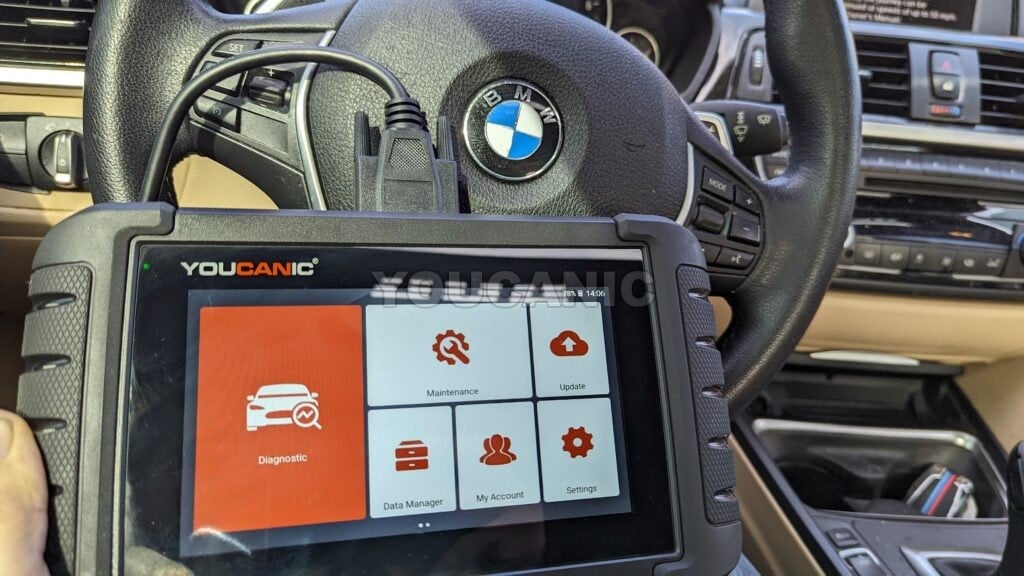
In addition to resetting the brake light, a good scanner allows you to read fault codes from the DSC module and determine why the brake light won’t reset. The YOUCANIC UCAN-II Pro can read codes from every control module of your BMW, if it is supported, including the DSC module.
Wear sensors are single use
The sensor works by letting the pad wear through its wire, which breaks the circuit and triggers the warning. Once that has happened the sensor cannot be reused, so fit a new one with the pads. They are inexpensive, and reusing an intact sensor from a part worn set is a false economy because it will be closer to its own wear point than a new one.
Only one sensor is usually fitted per axle on BMW models rather than one per wheel, so check which corner yours is on before ordering.
Reset the service indicator afterwards
Fitting new pads and a new sensor does not clear the warning by itself. The brake pad service interval has to be reset through the vehicle menu or with a scan tool, otherwise the message stays on the dash and the next service reminder will be calculated from the wrong point.
A full system scanner performs that reset and also retracts the electronic parking brake on models that have one, which is required before you can push the rear pistons back to fit new pads.
What the reset needs, and what it does not
On a good number of these the reset is done through the car own menus with no external tool, which is covered in the reset section above. Try that route first. Also worth knowing before you order parts: once a wear sensor has worn through, it is finished and not reusable, so the sensor and the pads go together rather than the sensor being optional.
A tool is worth having when the warning stays after new pads and a reset, because that points at the sensor circuit or the wiring rather than the pads, and reading it is faster than unpicking a loom on a hunch. For a single brake job, rent one for seven days rather than buying the UCAN-II Pro.
Frequently Asked Questions
Can I Bypass the Brake Pad Wear Sensor?
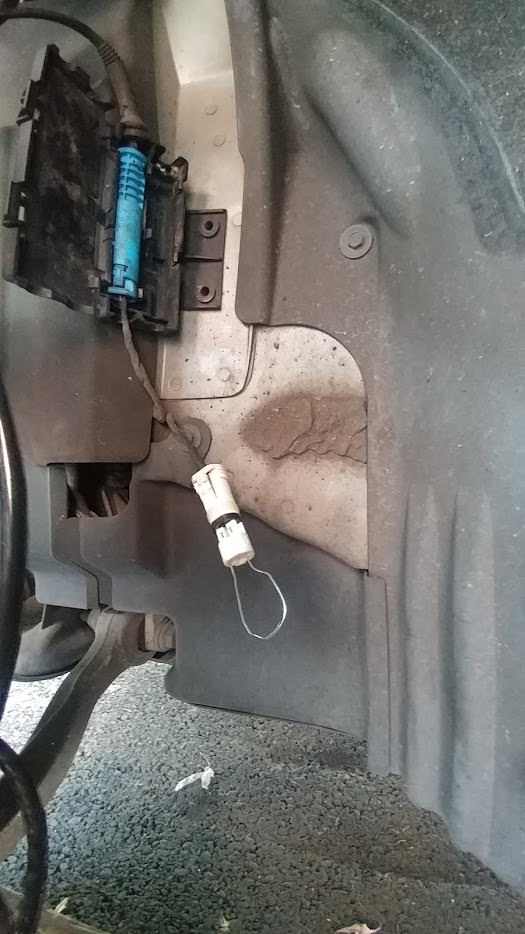
Many BMW owners bypass (delete) the brake wear sensor by removing it and installing a clip or cutting the sensor wire, exposing the wires, and connecting them. This short emulates a “good” sensor, but we do not recommend it: you lose the only warning that the pads are nearly gone, and the next sign will be metal grinding on the rotors. A new sensor costs little, so fit one with every pad change.
CAUTION
It is not recommended to disable the BMW brake pad wear sensor permanently.
If you bypass the brake pad wear sensor, you will NOT know when your brakes are due for replacement. Your brake pads will wear completely until they reach the metal part; at this point, you will have metal-on-metal contact.
Not only will your braking be reduced, you will also hear a grinding noise, and your rotors will get damaged and require replacement.
How many brake pad sensors does a BMW have?
There are typically two. One sensor is located on one front brake pad (left front), and the second wear sensor is on the right rear brake pad.
What is BMW brake pad sensor resistance?
New Brake Pads: Zero resistance (or closed circuit).
Worn Pads: Infinity ohms ( open circuit) when the pads (sensor) wear out.
Where is the BMW brake pad sensor located?
Front left brake caliper. Mounted on the brake pad.
Rear right brake caliper. Mounted on the brake pad.


Thank you for all the info
The pad wear sensors on BMW vehicles newer than 2003/2004 are not a simple short circuit wire that can break with pad wear and cause an open circuit. Rather BMW uses a “two-step” wear sensor made by Bosch. The epoxy housing of this two-wire Bosch sensor contains two physical resistors wired in parallel. Let’s call the two separate resistors R1 and R2. R1 is a 0 ohms resistor and R2 is 270 ohms. Each resistor has a small connecting wire that runs physically close to the wear tip of the Bosch sensor. The wear tip rubs against the rotating brake disk as the pads wear down. This rubbing gradually sands away the protective epoxy end of the wear tip and eventually breaks the small wire connected to R1. With even more pad wear and more sanding down of the wear tip, the second wire connected to R2 also eventually breaks. The Bosch sensor is designed so that at about 50% pad wear, the wire to R1 breaks and at about 15% remaining pad, the wire to R2 breaks. This wire breaking is referred to as sensor triggering since Brake Pad Warning Messages are triggered. When R1 triggers, the BMW senses the first stage of pad wear and sends out an polite Pad Wear Notification early warning message that the pads are wearing. But typically the pads still have many thousand miles left on them. When R2 triggers BMW sends a very stern safety warning to change the pads immediately! When the Bosch sensor is new or only lightly worn, the overall two-wire sensor will measure 0 Ohms with an ohmmeter since R1 dominates the reading. When the R1 does trigger, it effectively becomes an open circuit resistance leaving the 270 ohms R2 load across the external wires. After more pad wear, R2 will eventually trigger, and the external sensor wires will measure infinite Ohms (an open circuit). At this point after R1 and R2 have both triggered, Users typically have several hundred more miles left but the pads are pretty thin and User runs the risk of damaging the brake disks.or even the calipers with continued usage. In summary: A new Sensor measures 0 Ohms, after R1 triggers, it measures 270 Ohms, after R1 and R2 are both triggered, it measures infinite ohms (open circuit).