Mitsubishi Lancer Battery Replacement Guide DIY
Can’t start your Mitsubishi Lancer due to a dead battery? Learn how to fix the problem by replacing the dead battery. This article provides instructions on changing the battery on a Mitsubishi Lancer. Replacing the battery on a Mitsubishi Lancer is easy and can be completed in less than thirty minutes.
What you will need
- Group Size 35 Battery
- Minimum Cold Cranking Amps 520
- 10mm socket
- Battery terminal brush
- Battery protector
- Deep socket or open-end wrench.
Procedure
- Pull the hood release under the dashboard to open the hood.
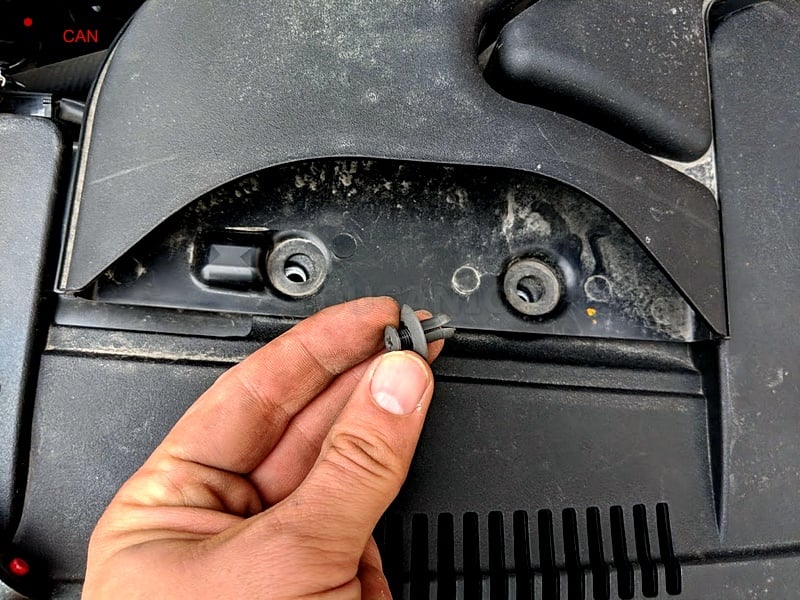
- Remove the engine air inlet pipe on top of the battery. First, you need to remove two small plastic retainers.

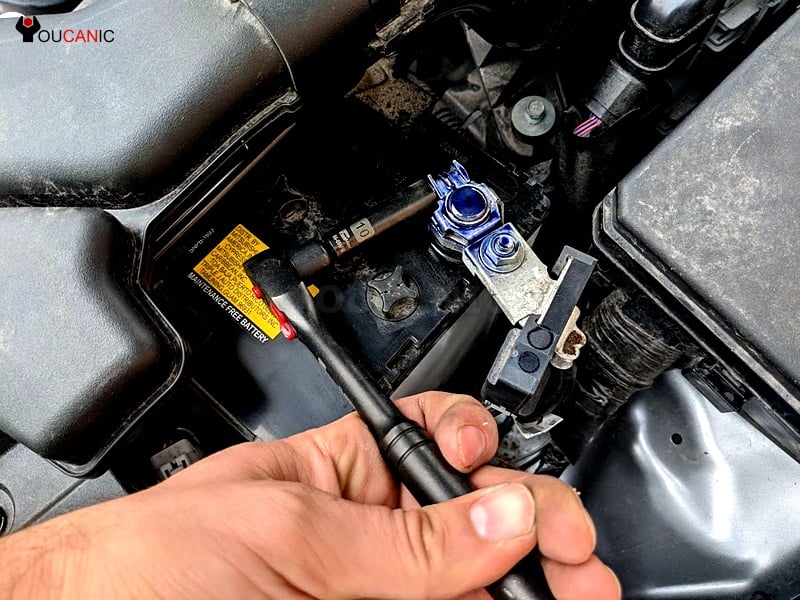
- Disconnect the negative battery terminal. First, loosen the 10mm nut, then pull up on the cable.

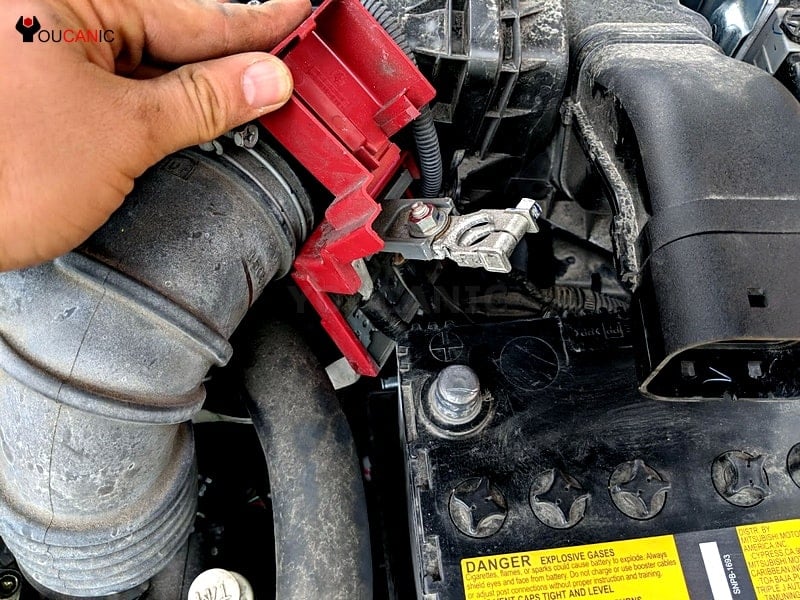
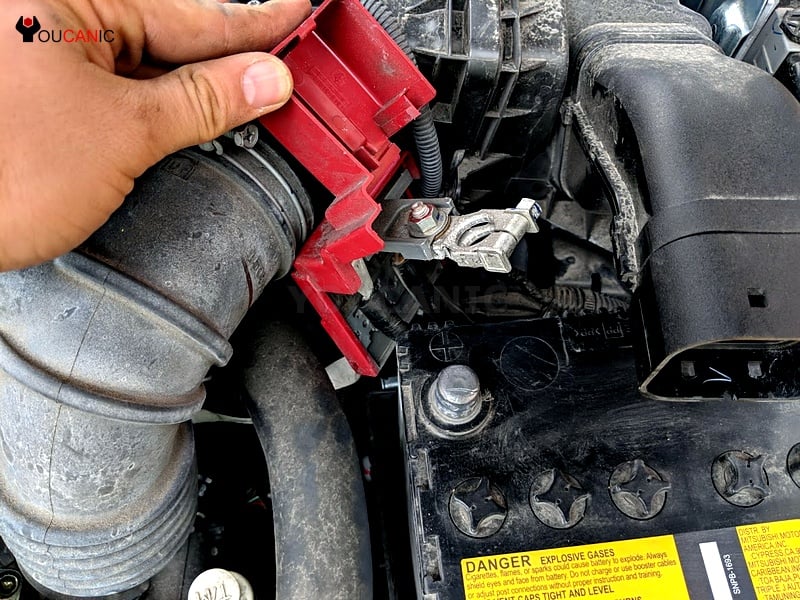
- Remove the red plastic cover from the top of the battery. Loosen the 10mm nut on the positive battery terminal. Disconnect the positive terminal.

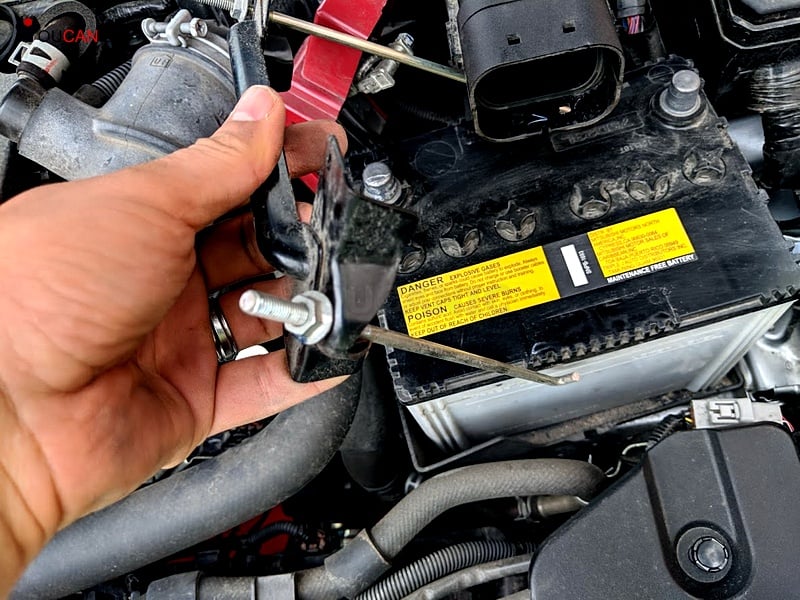
- Loosen the 10mm nut on the top bracket. Then, pull the bracket bolt down and away from the battery.

- Remove the battery from the battery tray. Place the new battery in the car.
- Install the top bracket. Don’t over-tighten the bracket bolts or risk cracking the battery case.
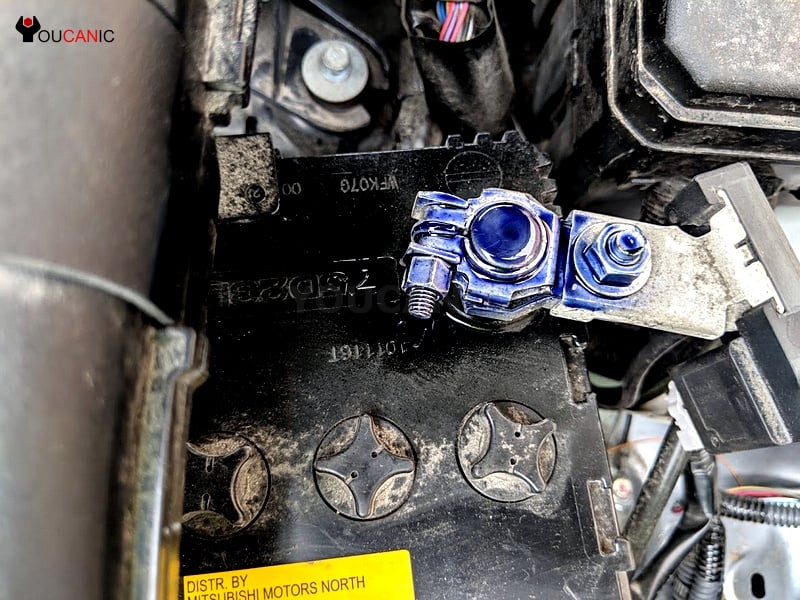
- Clean battery posts and terminals with a battery wire brush.
- Connect the positive battery terminal first. Ensure the cable doesn’t move.
- Connect the negative battery last.
- Spray battery protector on the battery posts.

- Connect the engine air intake hose.
Congratulations! You just replaced the battery on a Mitsubishi Lancer.
We hope you find the Mitsubishi Lancer Battery Replacement Guide DIY guide helpful. Check these troubleshooting and repair guides for more help on your Mitsubishi Lancer.

