Mercedes-Benz Door Trim Removal Procedure
Need to remove/replace your Mercedes-Benz door trim? Learn how to remove and replace the door trim of your vehicle by following the procedures below.
This guide will show you how to fix the trims on a Mercedes-Benz. Replacing a door trim can be quickly done by the dealership. They can remove the entire trim holder and install a new trim with a new trim holder or channel.
However, aside from the installation fee, they would also give a trim holder whose color is way off the other holder; there is still a need for additional work, like repainting it, which would add to the cost. To save the door trim installation cost, kindly follow our step-by-step guide below.
What you will need
Tools
- Micrometer Caliper
- Scissors
Parts
- Chrome door trim
Procedure
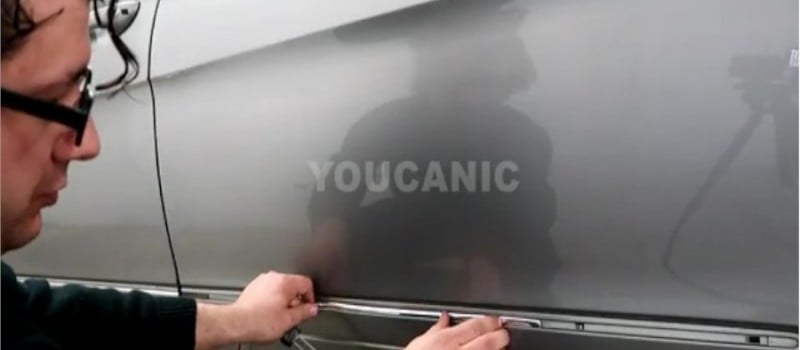
- Measure the inner width of the trim holder using a micrometer caliper; use a millimeter as a measuring unit.
- Before purchasing a door trim, find the one that would match the color and texture of the excellent trim on the other door. Also, make sure that the with is equal to your measurements.
- Before installation, it is recommended to clean the trim holder to ensure that dirt or debris will not affect the adhesion of the new trim.
- Peel off the trim’s adhesive cover to expose the adhesive layer.
- Avoid touching the adhesive side with your fingers to prevent dirt from being absorbed by the adhesive.
- Install the trim from the backside of the door towards the front.
- Cut the end of the trim to match the length of the holder.
We hope you find the Mercedes-Benz Door Trim Removal Procedure guide helpful. Check these troubleshooting and repair guides for more help on your Mercedes-Benz.


