It is a good idea to occasionally perform a full diagnostic scan of your Volvo so that you can identify and fix problems early. This comprehensive guide walks you through performing a complete vehicle diagnostic scan using the YOUCANIC scanner, from connection to code clearing.
Step-by-Step Instructions
- Make sure your Volvo is turned off.
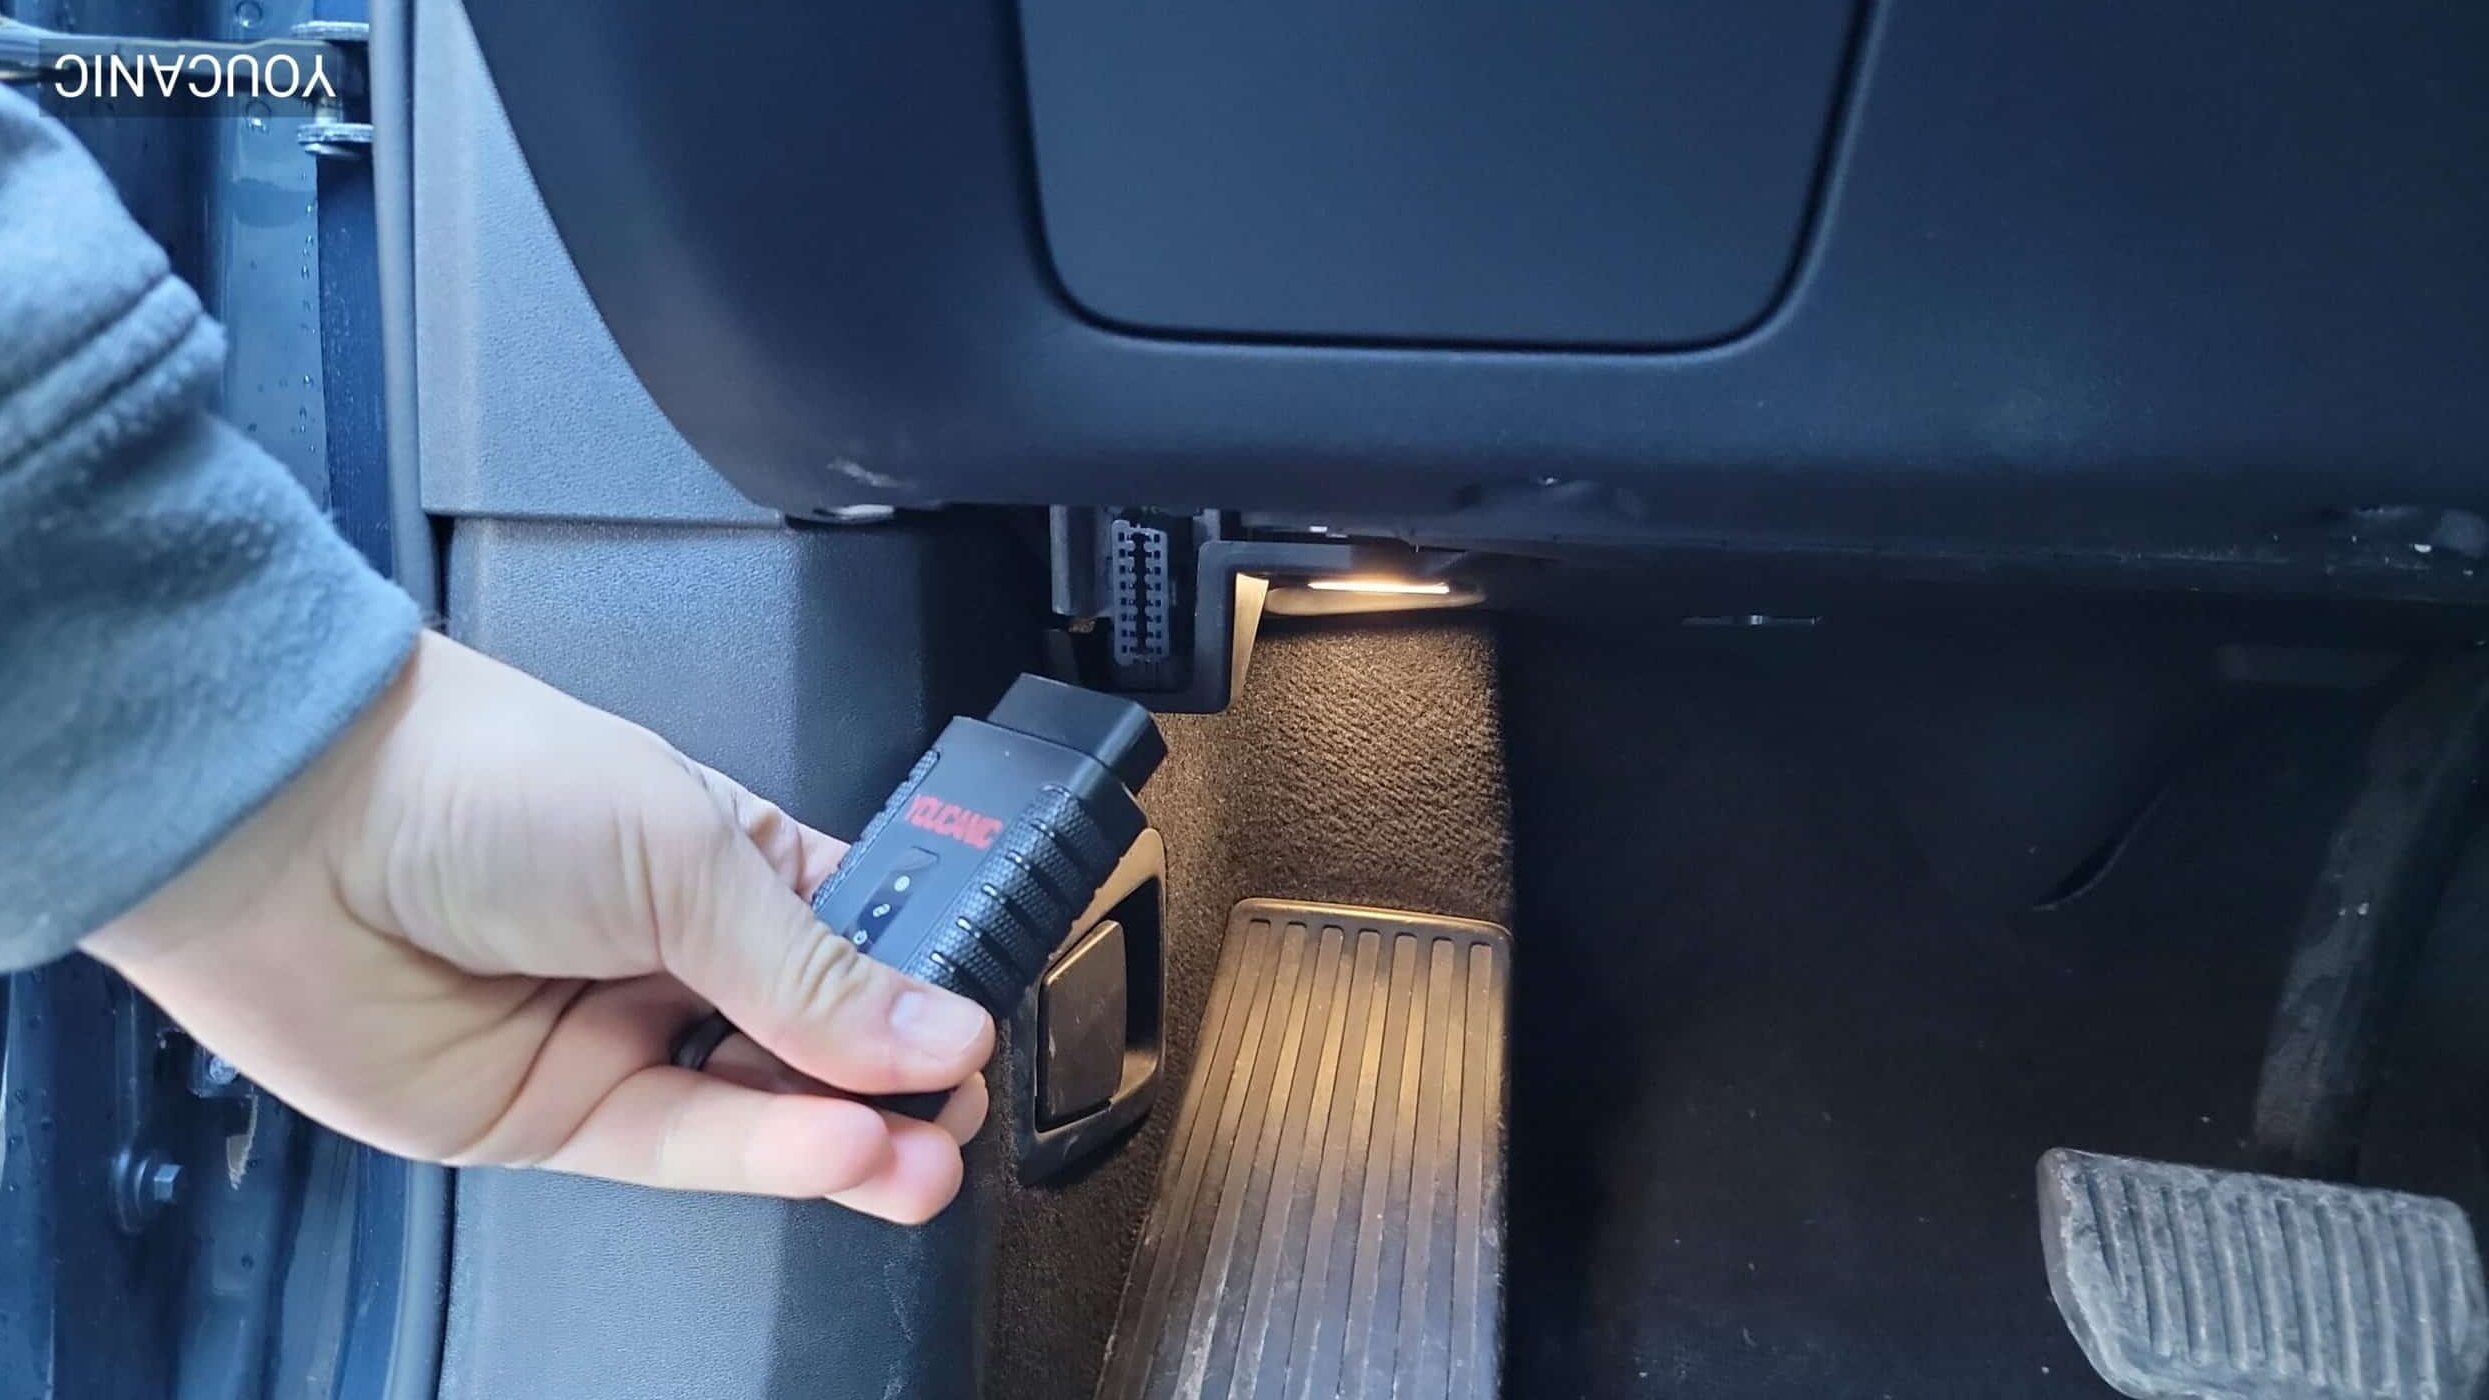
- Locate the OBD-II port and remove any port covers for access, and connect the OBD-II scanner.

- Turn your vehicle on without starting the engine. Press or turn the ignition switch with your foot off the brake pedal, and wait for the scanner power-up indication.

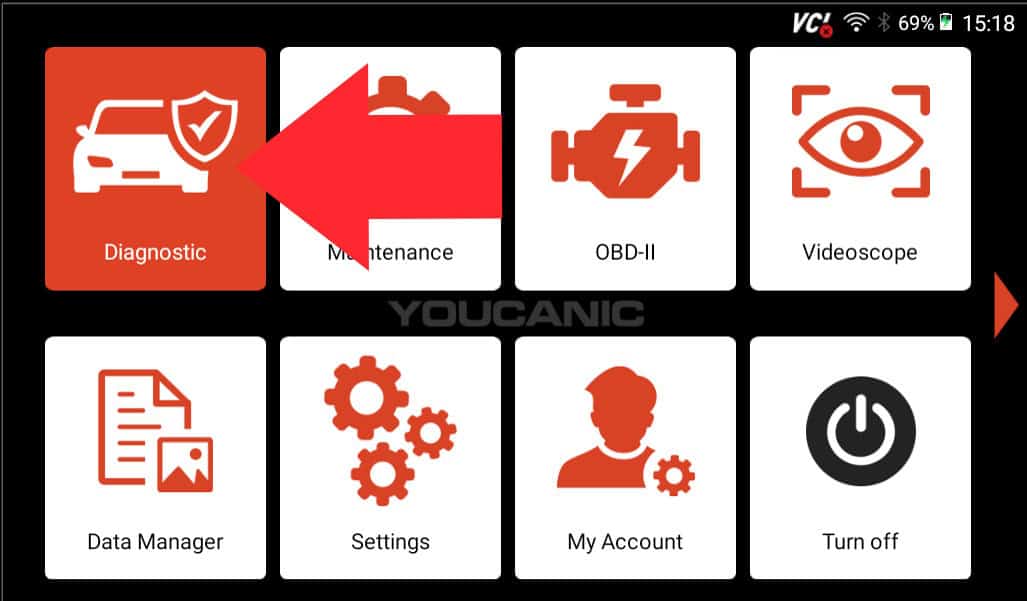
- Navigate to the Diagnostics menu, select your vehicle Volvo, and use “SmartVIN” for automatic detection to select the model.

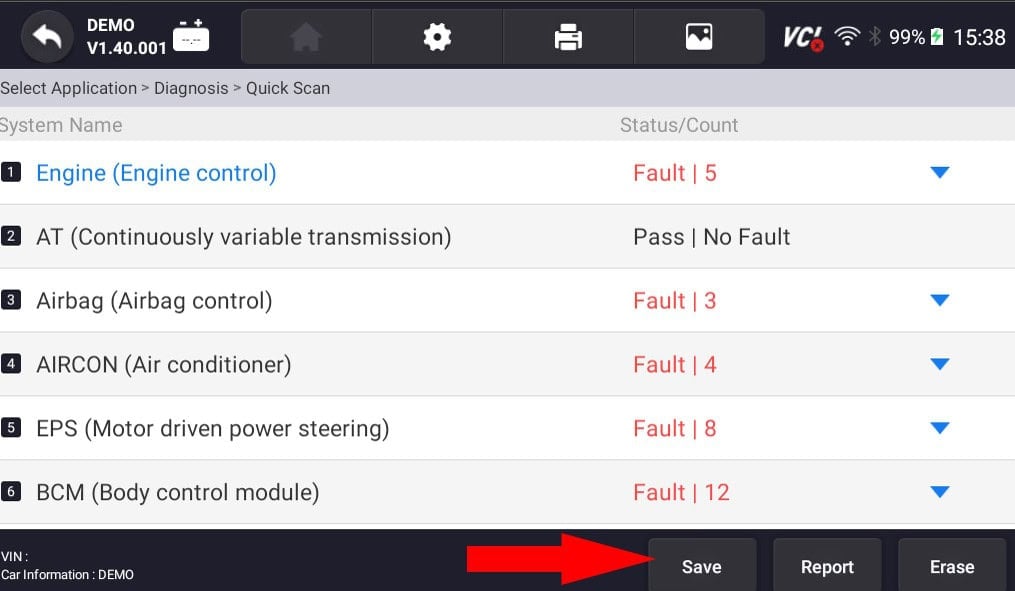
- Select “QuickScan” to begin scanning the transmission and other major systems.

- Monitor climate control and additional electronic systems during the scan.
- Once the scan is complete, save the diagnostic report and document all warning indicators.

👍Pro Tip: Tapping on the blue arrows next to different fault categories will give you more information on why that particular system is failing.
- Select Erase at the bottom and the scanner will go through all the modules that have old stored codes and it will erase them. Current or active codes need to be fixed before you can clear them.

Important Notes
- Active codes will return if problems aren’t fixed.
- Save reports before clearing them for future reference.
- Document all codes found.
- Note which systems were scanned.
- Record any persistent warnings for future reference.
Tools Required
OBD-II Scanner
Experts Who Contributed to This Article
rhila, ASE Certified
Diagnostic Specialist15+ years of experience
Rushit Hila is a dedicated automotive engineer with ASE G1 certification and specialized training from an esteemed Automotive Specialty School. His hands-on experience and technical expertise in advanced diagnostics, system integration, and performance optimization make him a trusted voice in the industry.