Mercedes-Benz Hood Vents Replacement
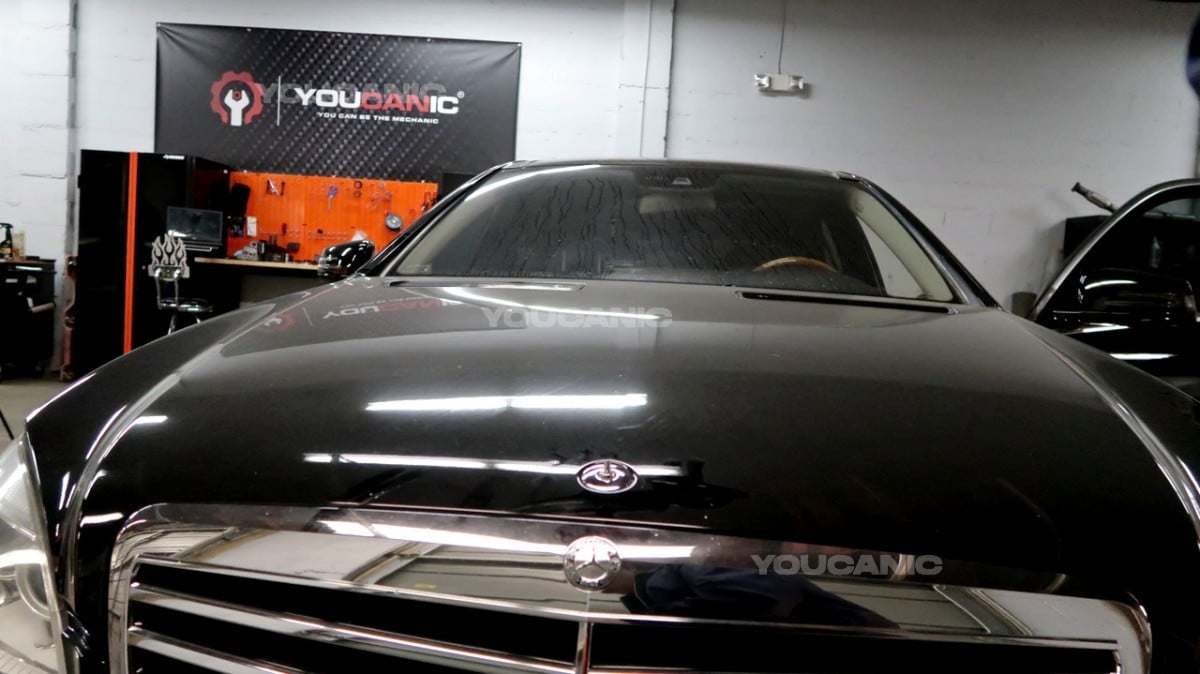
Need to replace your Mercedes-Benz hood vents? This guide provides instructions on how to replace your Mercedes-Benz hood vents.
Symptoms
The symptoms of a defective hood vent are obvious; broken vents are visible by careful inspection.
What you will need
Tools
- Torx-25 screwdriver
Parts
- Mercedes Benz hood vent
Procedure
How to replace your Mercedes Benz’s hood vents.
- Open the hood. For instructions on opening the hood, please go to the section “How to open a Mercedes Benz hood.”

- Find the hood vent’s cover plate on the inner side of the hood; the cover plate is under the vents. T25 screws and clips secure the cover plate.
- Use a Torx-25 screwdriver to remove the cover plate’s retaining screws, and turn the screwdriver in a clockwise direction to loosen and remove them.
- Undo the plastic clips to remove the cover plate by pressing the locking tabs completely.

- After removing the cover plate, you will find a small-diameter rubber hose extending horizontally to the hood’s center; this hose is the windshield washer hose. There will be 2 of these hoses connected on each side of the hood. It is necessary to remove these hoses to access the vents unhindered.
- Removing one side of the vent requires removing the windshield washer hose on the target side.
- To remove the hose from one side of the hood, detach it from its clamps. There will be three clamps. One of the three clamps secures the hose and one side of the hood vents and should be removed by pulling it out from the vent. Use one hand to hold the windshield port while the other hand is pulling the hose from the windshield washer port.

- There will be 3 Torx-25 screws that hold the vent in place. Use the T25 screwdriver to loosen the retaining screws, and turn the handle counterclockwise to loosen the screws. Completely remove the screws using your fingers to prevent the screws from falling.
- Release the remaining clamps by pressing the locks, then push the vent up or lift it from the other side to remove it.
- To remove the vent from the other side, repeat steps 5-8.
- Reinstall the new vents by inserting them from the outer side of the hood. Insert the front side first, then push it down in the vents’ backside. The pushing action will lock the retaining clips.

- Install and fasten the vent’s retaining screws.
- Reinstall the hoses.
- Reinstall the vents’ cover plate by pushing it up to lock the retaining clips.
- Fasten the retaining screws.
You are done!
How to open a Mercedes Benz hood
- Open the driver’s door and look under the dash above the parking brake. You should see the hood release handle.
- Behind the grill is the hood latch release. If you don’t see it, try lifting the hood an inch. The release should pop out. Grab and pull the release forward. Do not try to lift the hood by pushing the hood release up.
- Grab the hood and pull it up to open the hood. If the hood does not open, pull the triangle-shaped hood release and pull it forward some more.
We hope you find the Mercedes-Benz Hood Vents Replacement guide helpful. Check these troubleshooting and repair guides for more help on your Mercedes-Benz.


