Nissan Quest Door Panel Removal
Need to remove your Nissan Quest door panel for replacement? Learn how to remove the door panel on a Nissan vehicle. This procedure takes about fifteen minutes.
You will need a few basic tools to remove the Nissan door panel.
How to Remove Nissan Quest Door Panel
What you will need
- Dashboard Trim Removal Tool
- Mechanic Tool Set Metric
- Screwdrivers
Procedure
- Park the Nissan on level ground and set the parking brakes.
- Pull the hood release under the dashboard and open the hood.

- Disconnect the negative battery terminal from the battery. The negative terminal has a black cable. Next to the battery post, you will notice a (-) symbol or the word NEG.

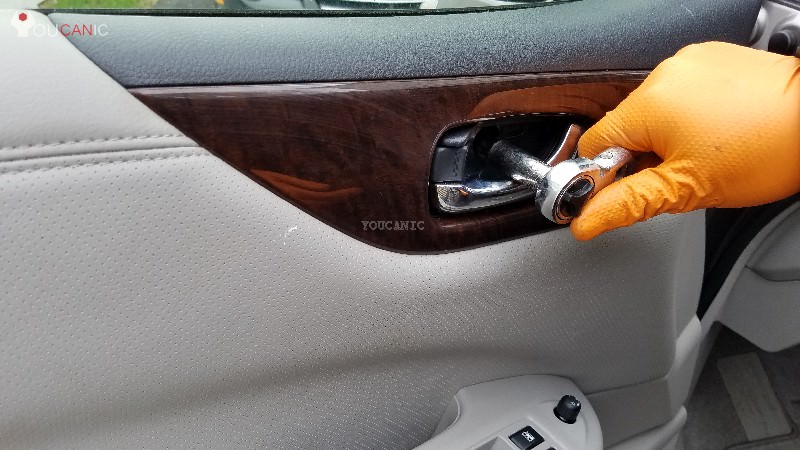
- Open the door where you want to remove the panel. Behind the door handle, you will have a screw that needs to be removed. A plastic cover typically covers this screw.

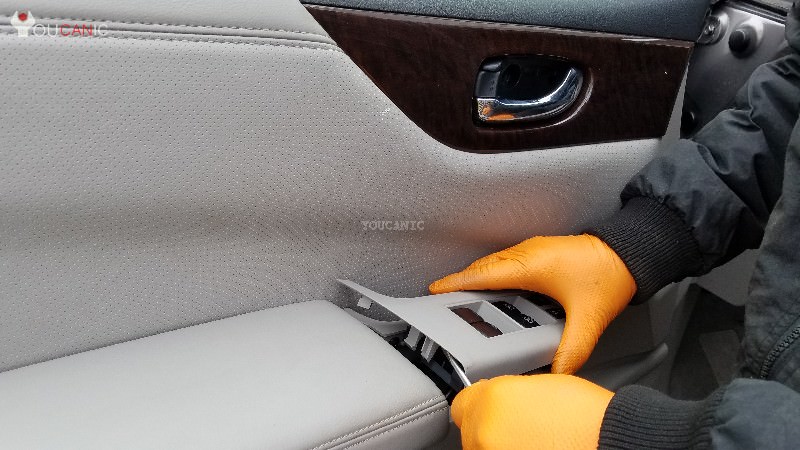
- Remove the window switch. Below you will find a screw that you will need to remove.

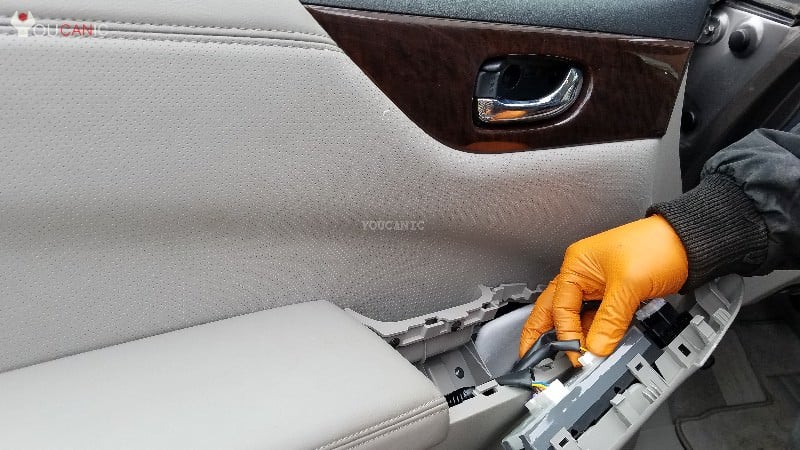
- Unplug the wire harnesses from the window switch.

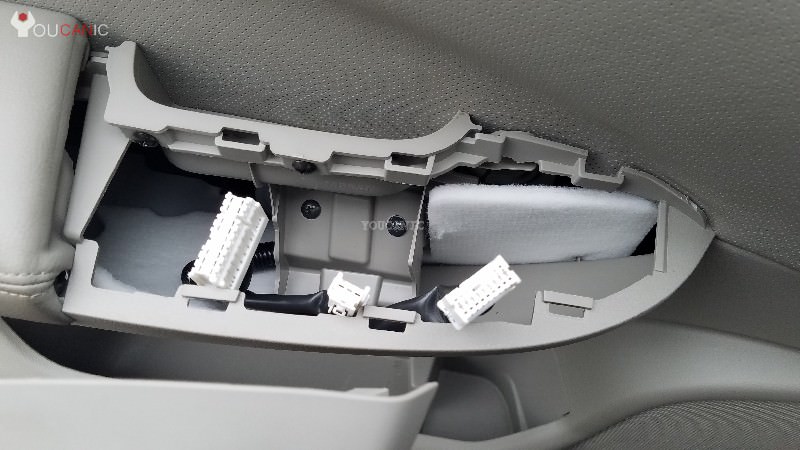
- Remove two screws below the window switch.

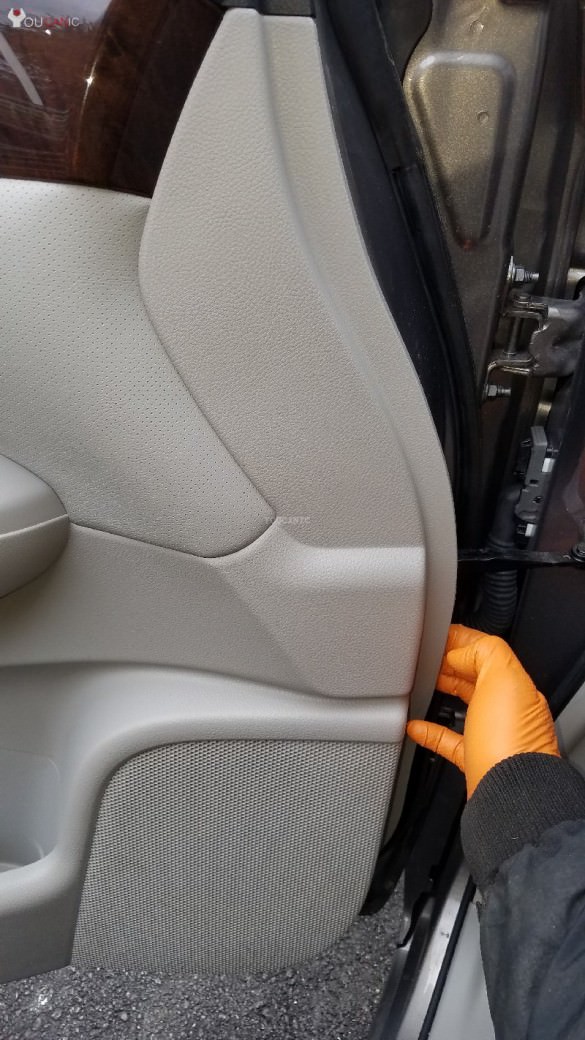
- Pry out the door light at the bottom of the door panel. Use a dashboard trim removal kit to pop out the door panel. Be careful using a flathead screwdriver, which can scratch the door panel.

- Once the door panel pops up around the perimeter, you can remove it by lifting it slightly.

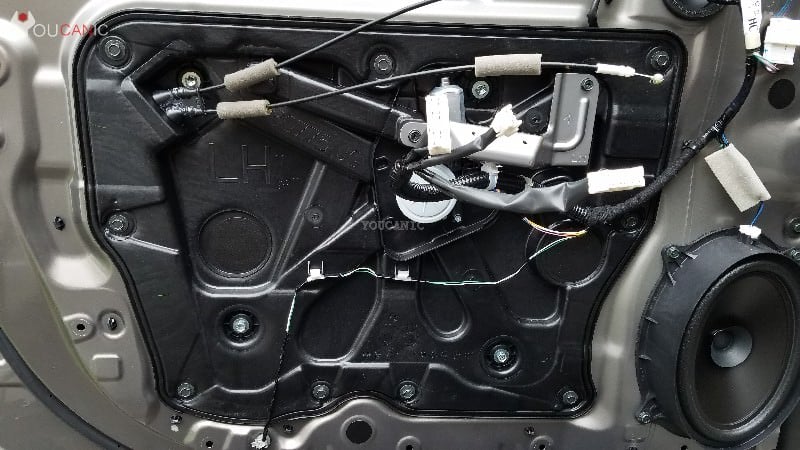
- Disconnect the wires and door cable from the back of the door panel.
- Install the door panel in reverse order. Don’t forget to connect the wires and door release cable on the back of the door panel.
- Reconnect the negative battery terminal.
We hope you find the Nissan Quest Door Panel Removal guide helpful. Check these troubleshooting and repair guides for more help on your Nissan.




Is it possible to open the same way even if your door dont open my door is stuck closed???
Excellent