2013–2019 Nissan Sentra Tensioner Pulley / Engine Mount Replacement
Guide on how to replace the tensioner pulley on a Nissan Sentra 2013-2019. These instructions can also be used to replace the passenger-side engine mount.
How to Replace Nissan Sentra Tensioner Pulley and Engine Mount
What you will need
- Nissan Sentra Tensioner Pulley
- Mechanic Metric Toolset
- 16mm Socket
- T50 Torx Bit Socket
- Floor Jack
Procedure
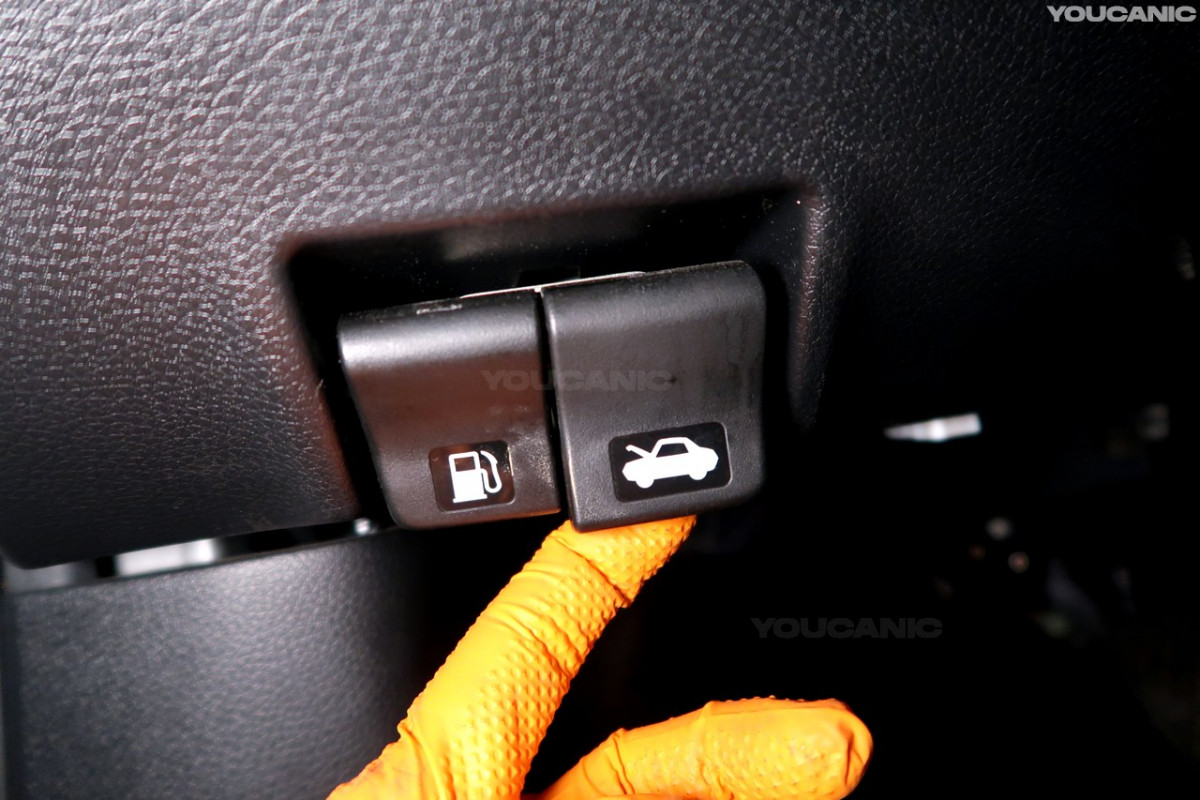
- Open the hood. Pull the hood release under the dashboard and unlock the hood latch. Then pull the hood up and secure it with the hood strut/prop.


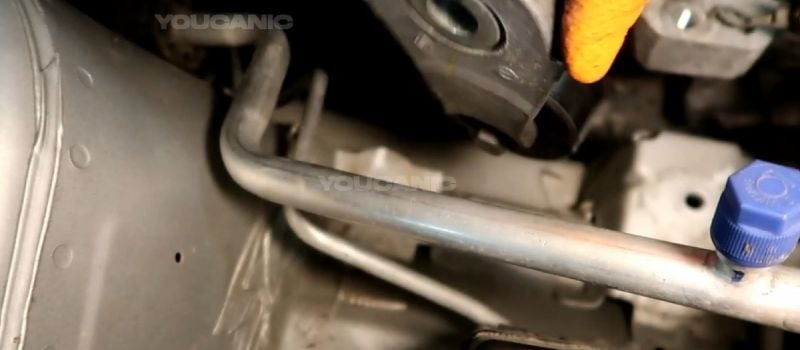
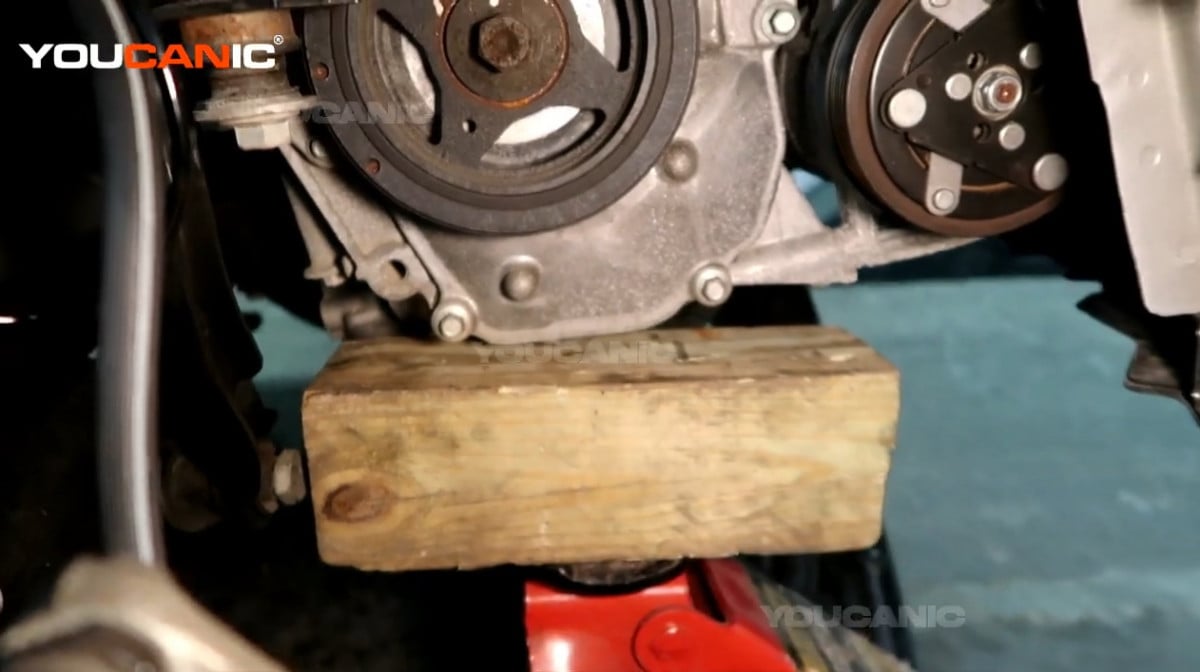
- Place marks on the motor mount using a marker. Then set a jack and a block below the engine.

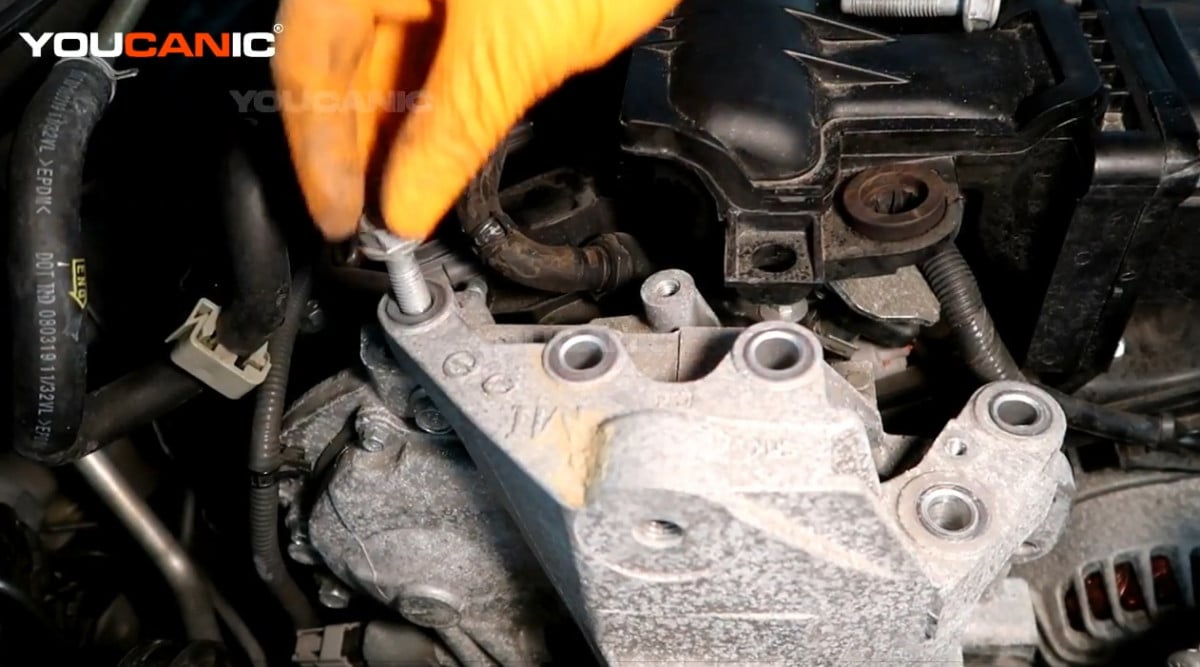
- Remove the 10mm bolt attached to the motor mount by turning it counterclockwise using a 10mm socket.

- Remove the five 16mm bolts holding the motor mount by turning them counterclockwise using a 16mm socket.

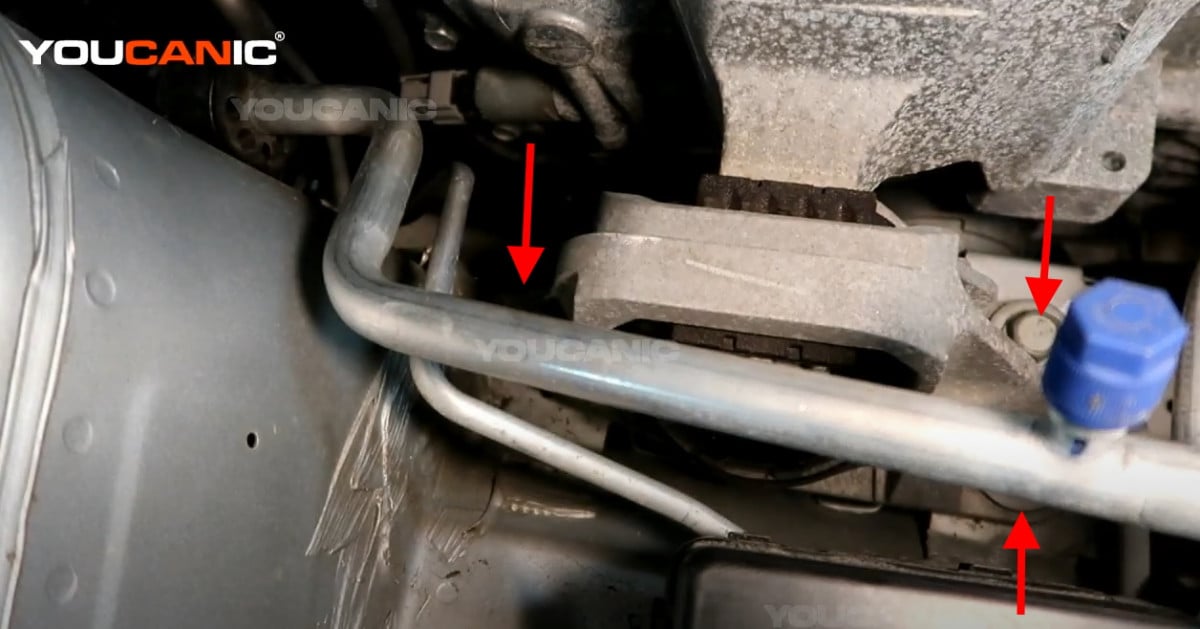
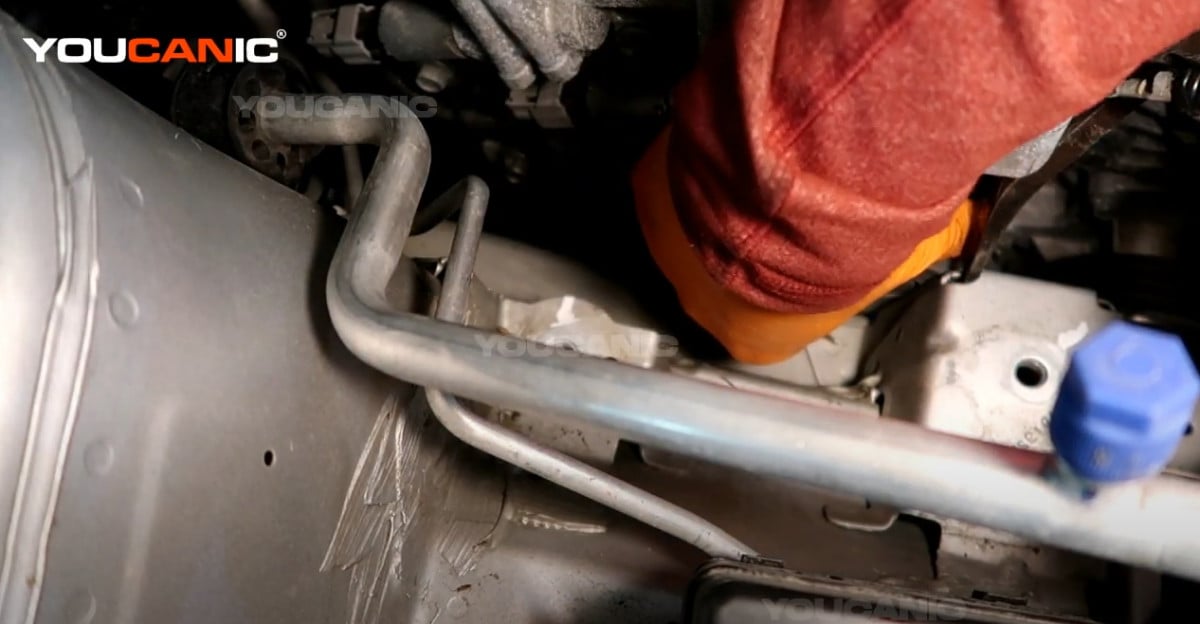
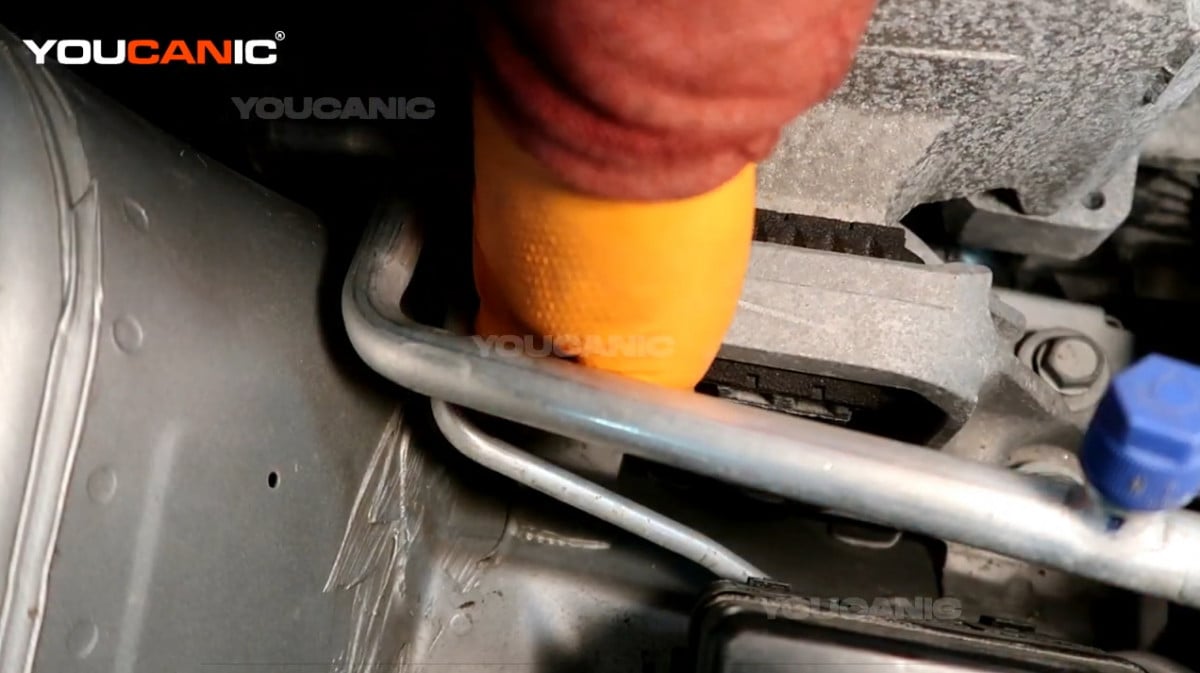
- Remove the three 16mm bolts on the base of the motor mount by turning them counterclockwise using a 16mm socket.

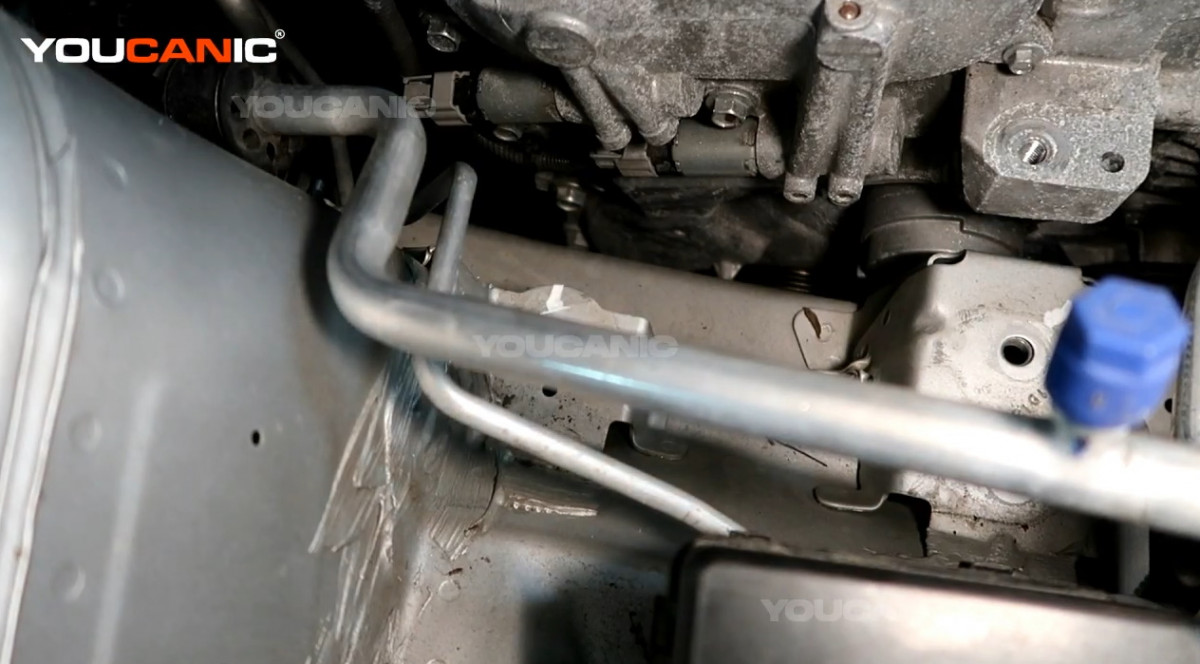
- Once the bolts are removed, pull the motor mount out from the vehicle.

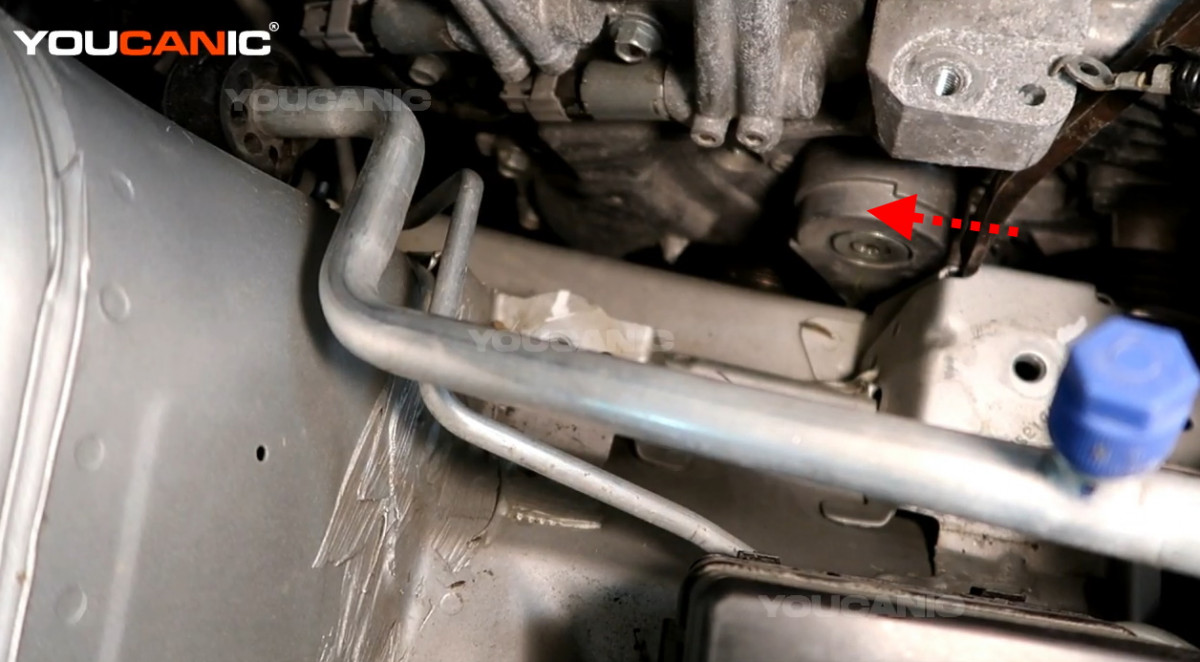
- Raise the vehicle’s motor using the jack and block below the engine and push the engine motor towards the back to access the bolt on the tensioner pulley.

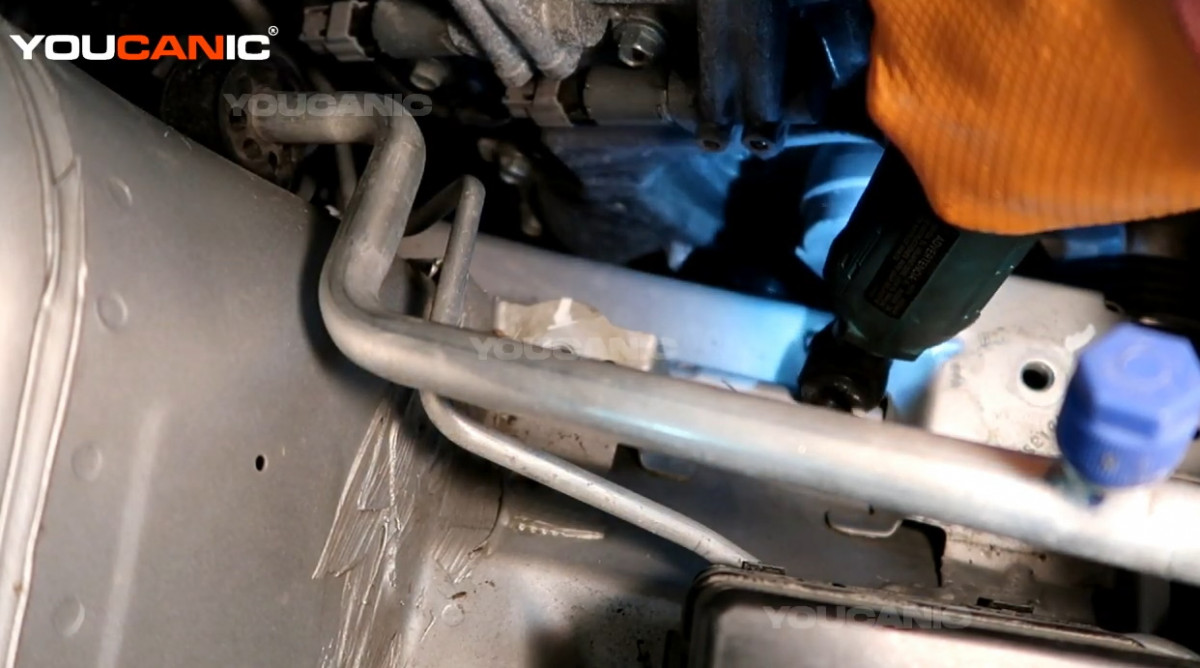
- Loosen the T50 bolt on the tensioner pulley by turning it counterclockwise using a T50 Torx bit socket.

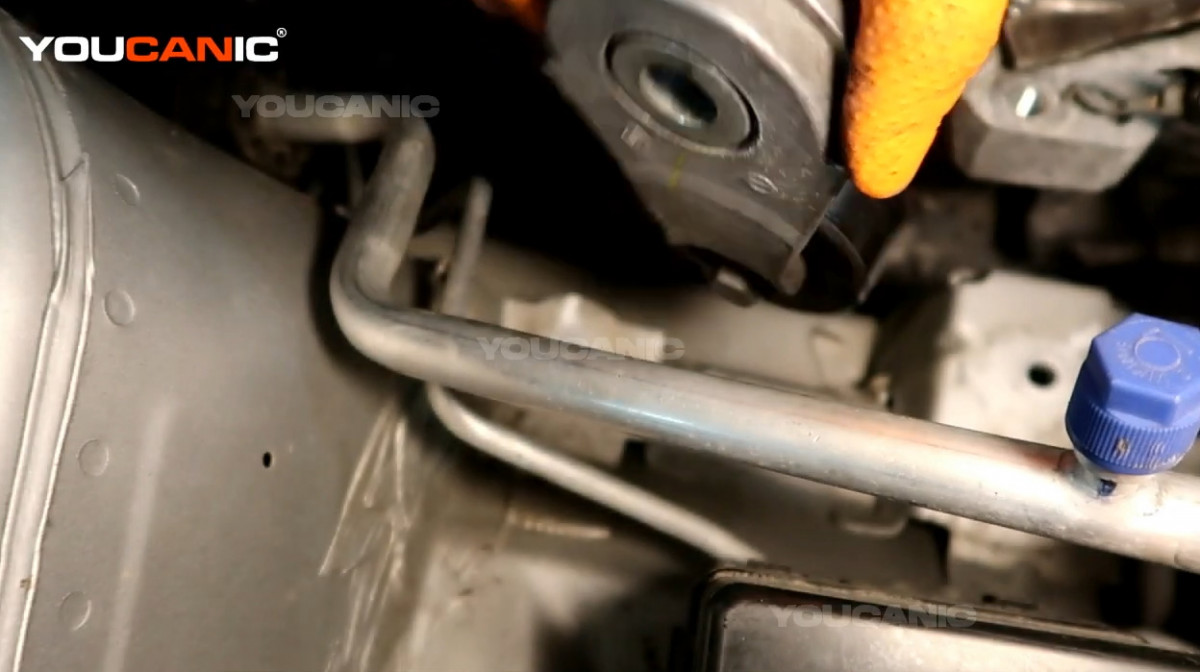
- Once the bolt is loosened, pull the tensioner pulley out from the vehicle.

- Line up the new tensioner pulley and tighten the T50 bolt by turning it clockwise using the T50 Torx bit socket.


- Release the floor jack to set the vehicle’s engine to its original position.
- Line up the motor mount to its proper orientation. Make sure that the marks are correctly aligned.

- Reinstall the three 16mm bolts on the base motor mount and five 16mm bolts above the motor mount. Turn them clockwise using the 16mm socket to set them into place.

We hope you find the 2013–2019 Nissan Sentra / Tensioner Pulley / Engine Mount Replacement guide helpful. Check these troubleshooting and repair guides for more help on your Nissan.

