Replace Inner Tail Light Assembly Mazda 3 2013-2018

Replace Inner Tail Light Assembly Mazda 3 2013-2018

Is the inner tail light assembly of your Mazda 3 broken? Learn how to replace the tail light assembly by following the procedures below. This guide is a step-by-step procedure for removing and changing the inner tail light assembly on a 2013-2018 Mazda 3.


What you will need

  • Pick tool or screwdriver
  • Prying tool
  • 10mm nut driver
  • Inner tail light assembly

Procedure

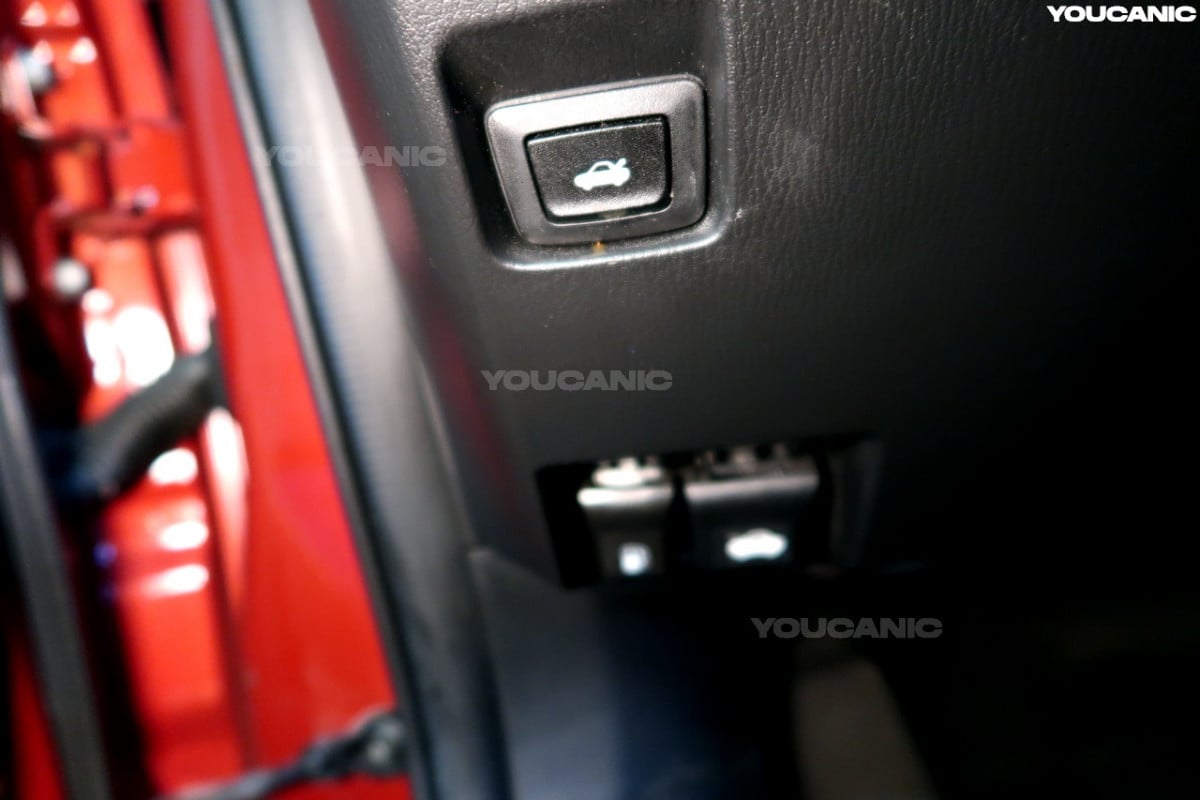
  1. Pull the trunk release under the dashboard to open the trunk.The trunk release of the Toyota Camry 2012-2017.
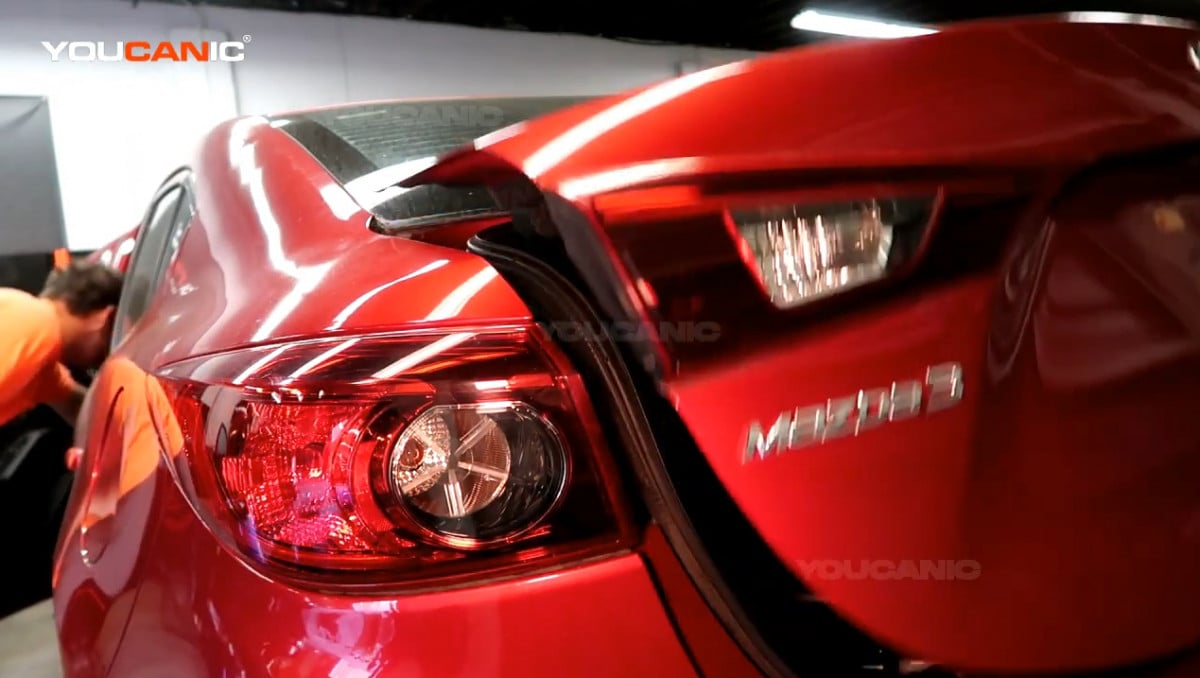
    Opening the trunk of the 2016 Mazda 3.

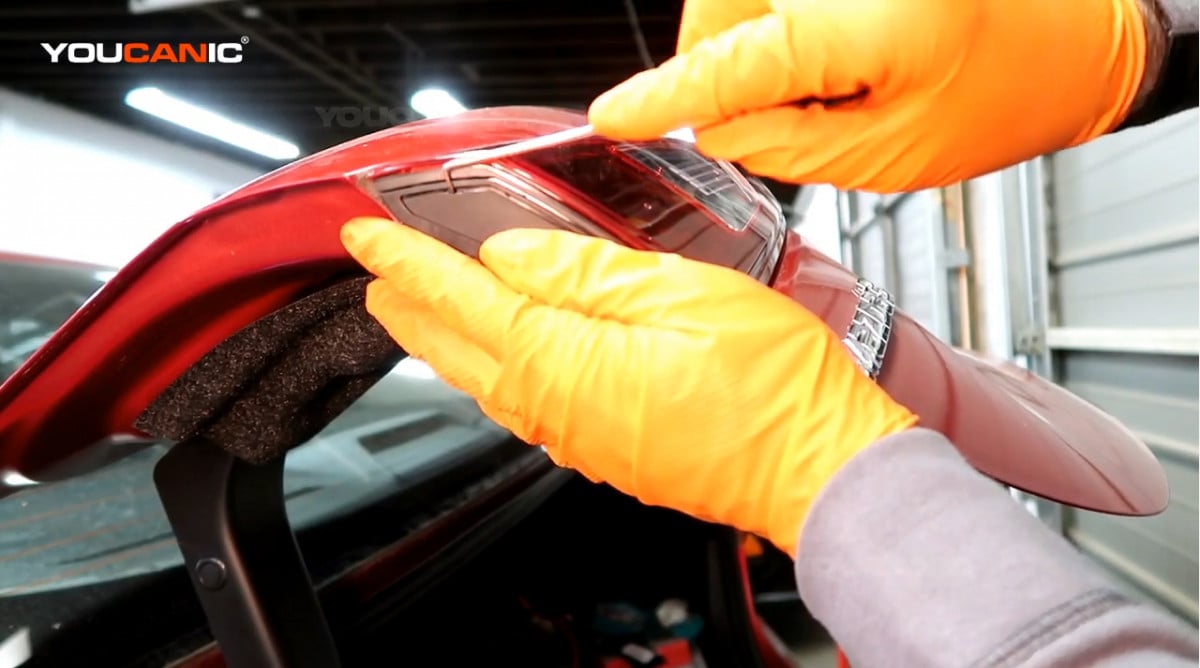
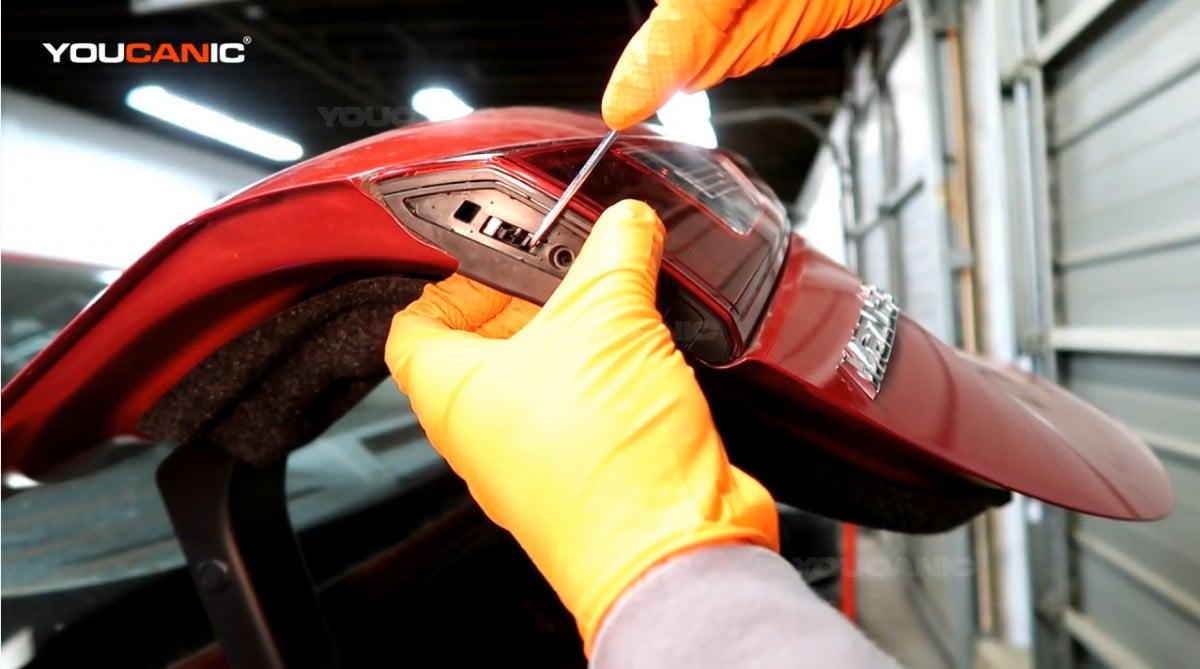
  2. Remove the plastic cover on the side of the tail light by using a pick tool or screwdriver to pull the cover out.Removing the plastic cover of the inner tail light assembly.
    Removing the plastic cover on the inner tail light assembly.

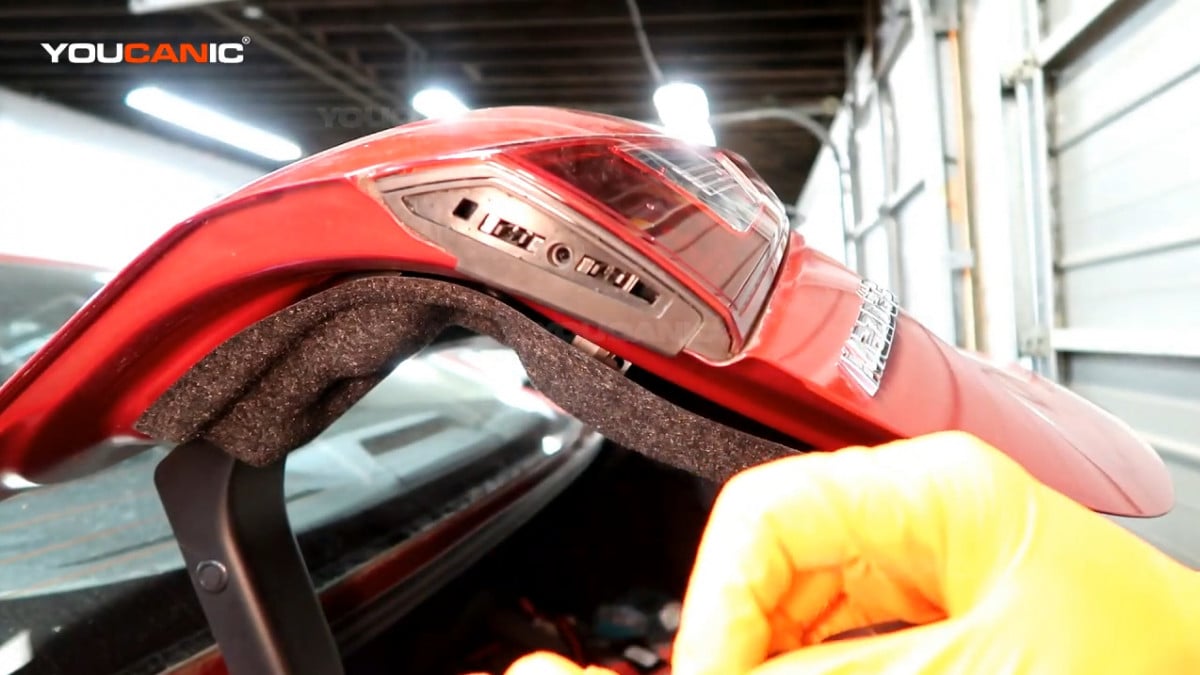
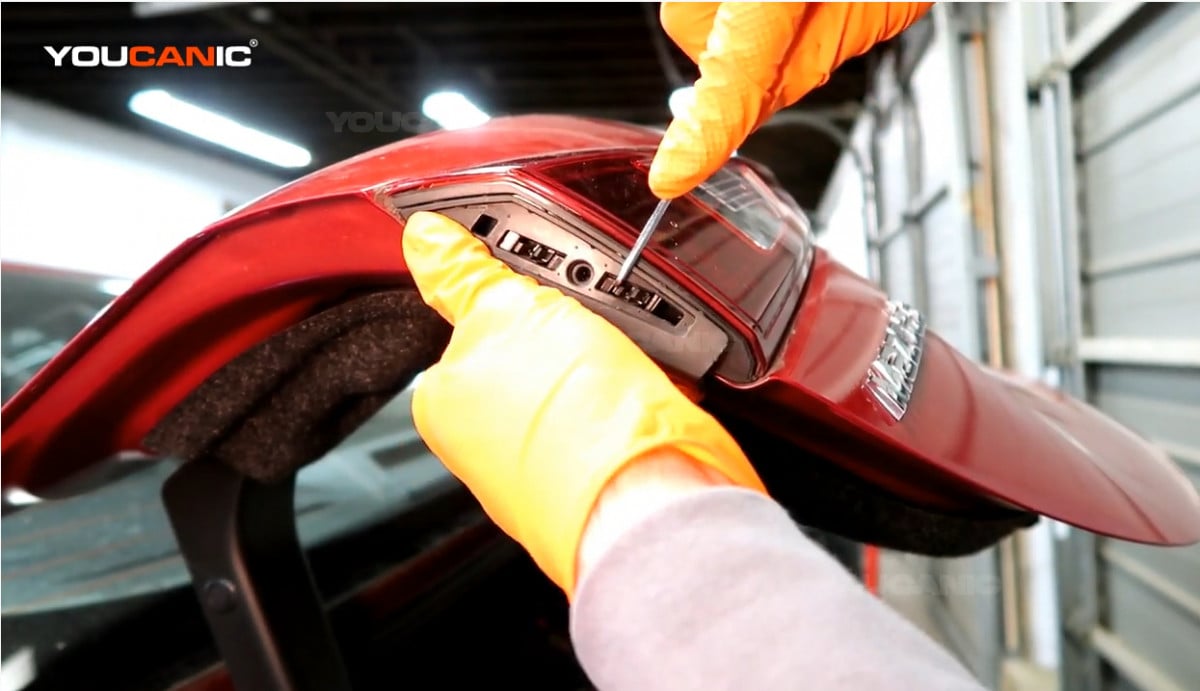
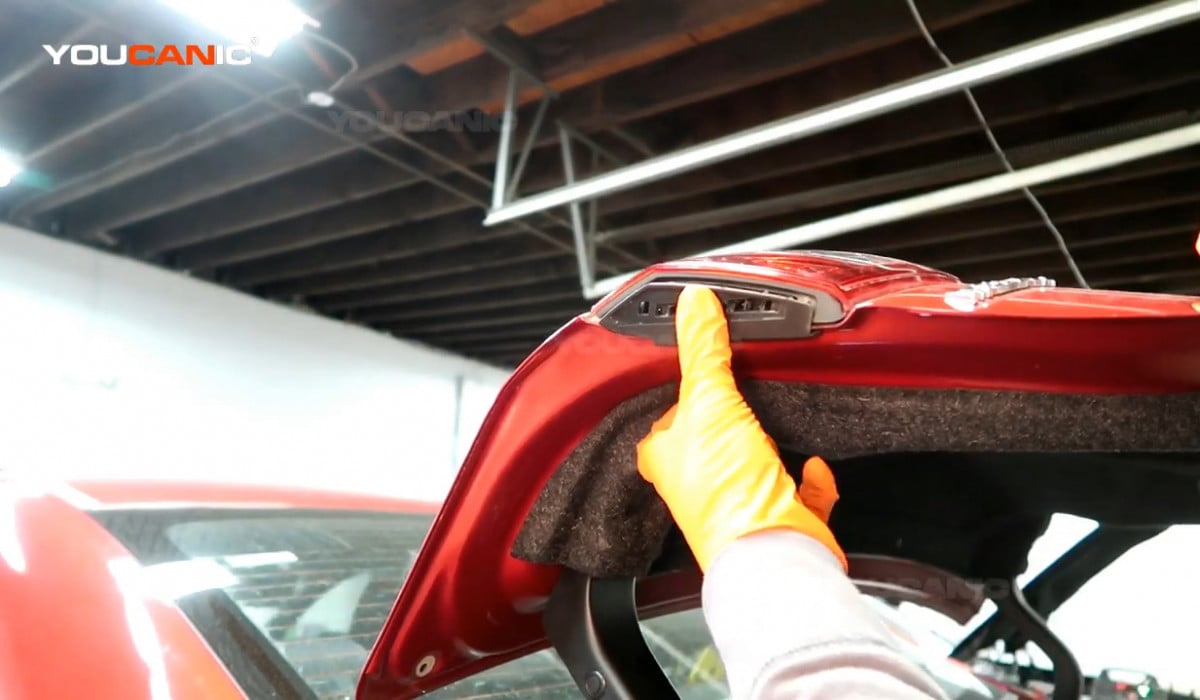
  3. Remove the whole plastic cover. Use a pick tool the unlock the metal clips and pull the cover out once the metal clip is unlocked.Unlocking the metal clips on the cover.
    Removing the plastic cover on the inner tail light assembly.

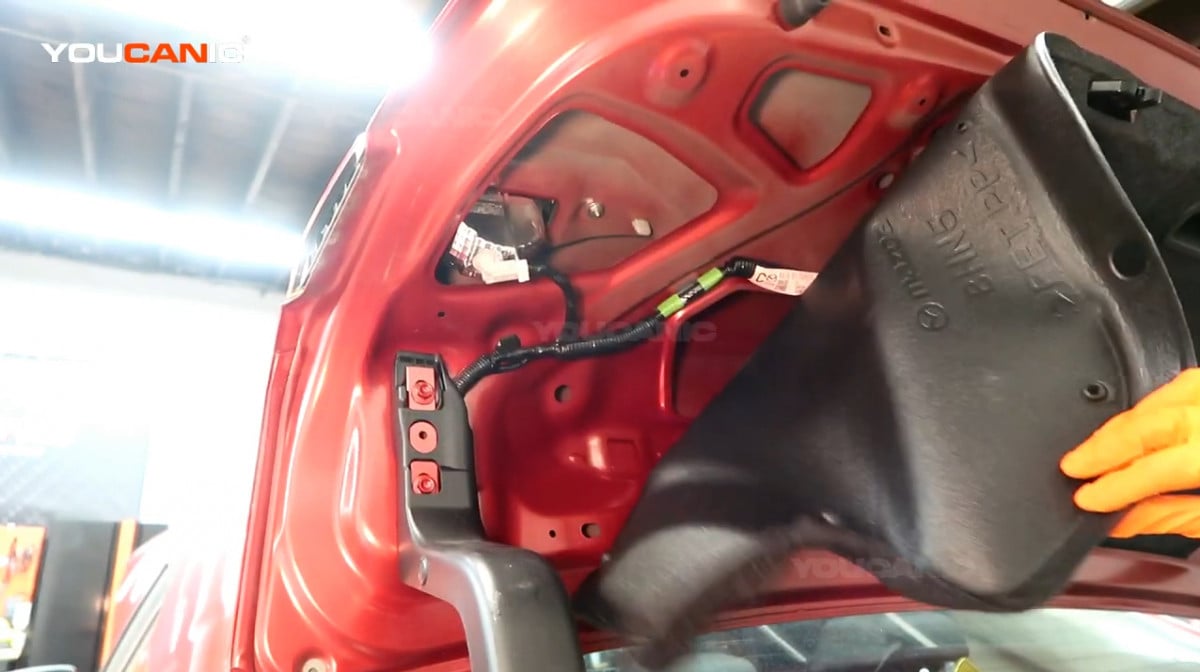
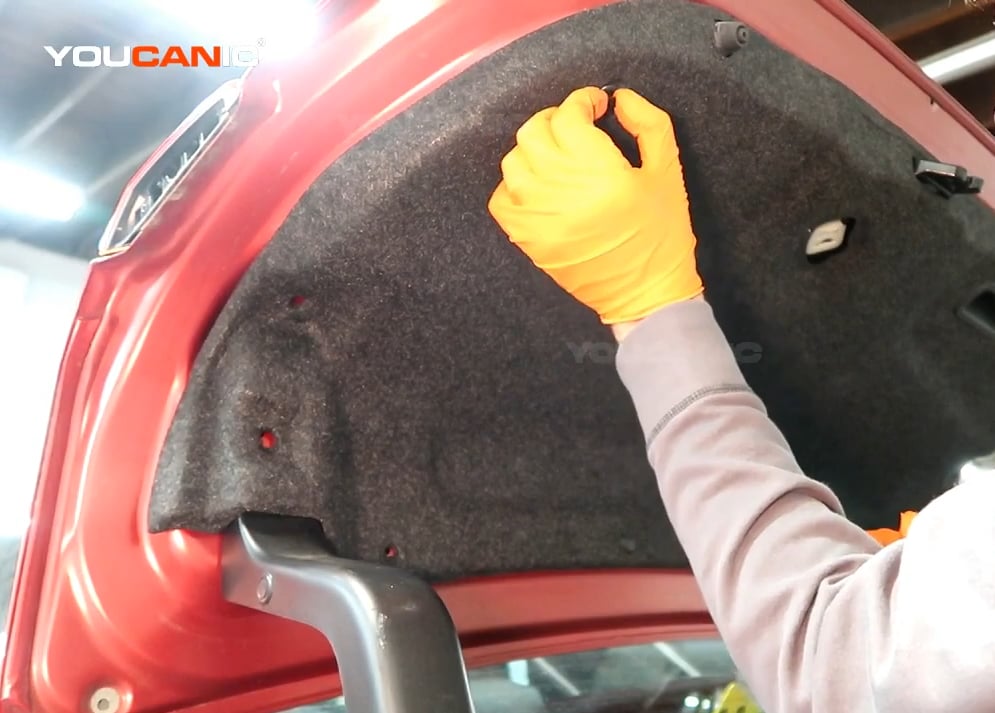
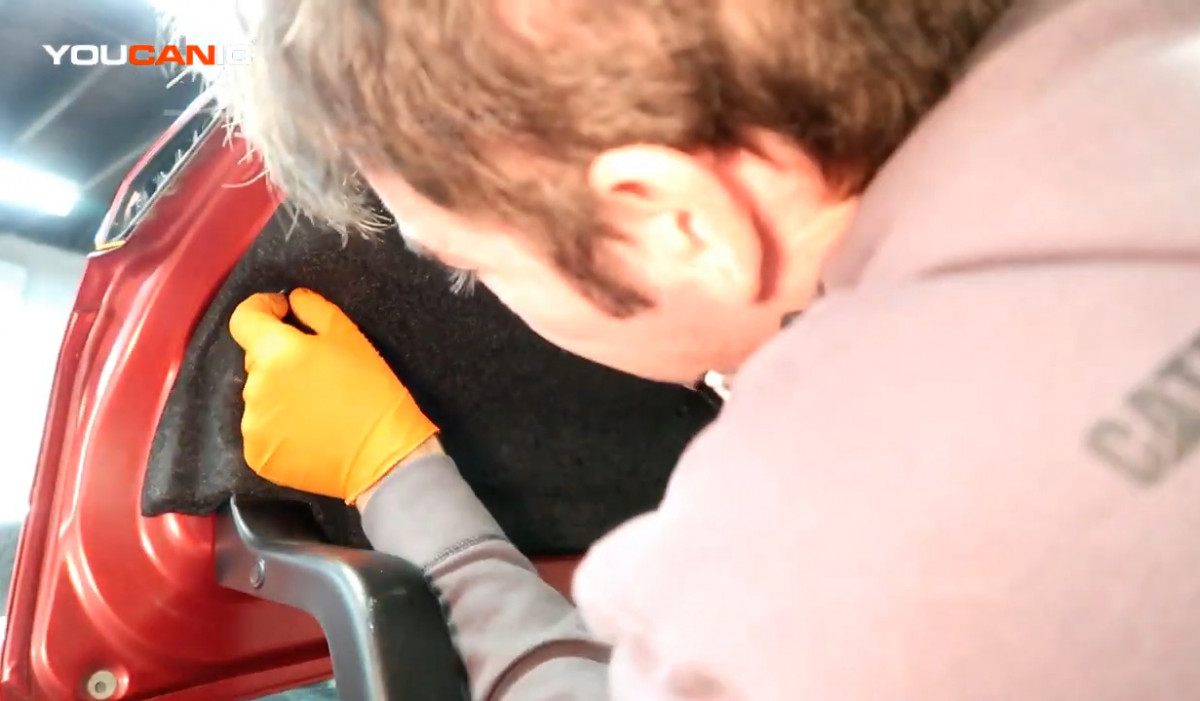
  4. Remove the push clips on the trunk shield and pull the trunk shield out to access the bolt holding the inner tail light.The door trunk shield of the Mazda 3.
    Pulling the trunk shield to have access to the bolt and connector of the inner tail light assembly.

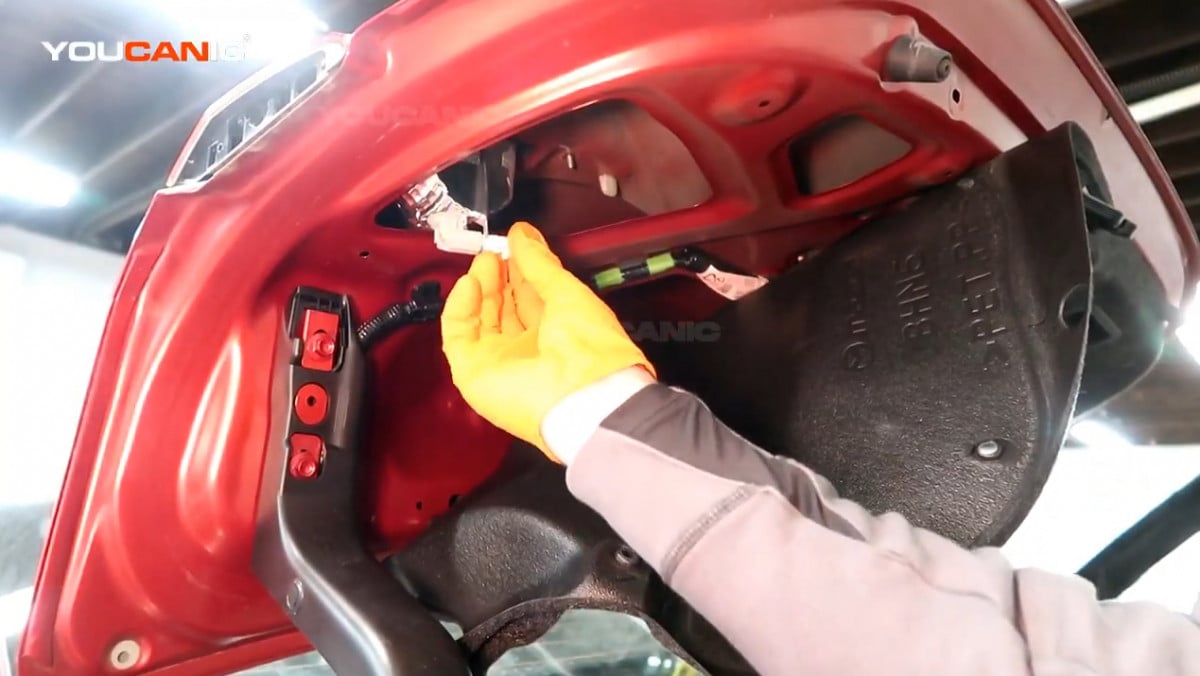
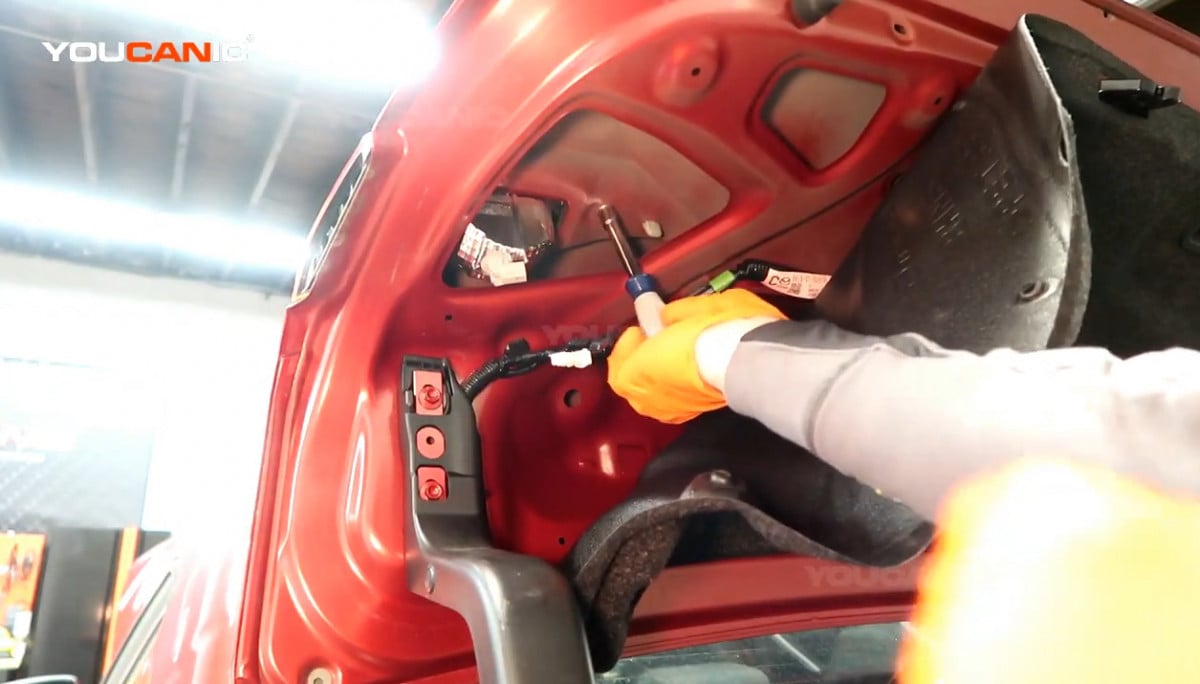
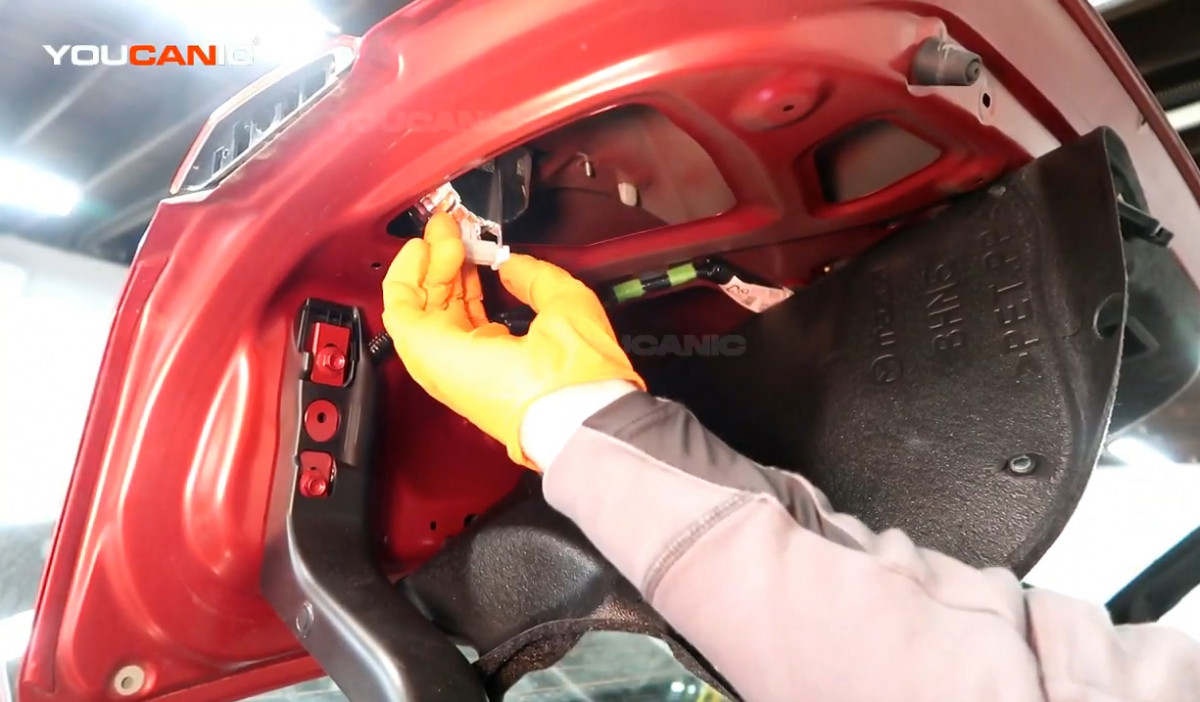
  5. Disconnect the electrical connector on the inner tail light assembly by pushing the clip and pulling the connector out.Disconnecting the electrical connector of the inner tail light assembly.
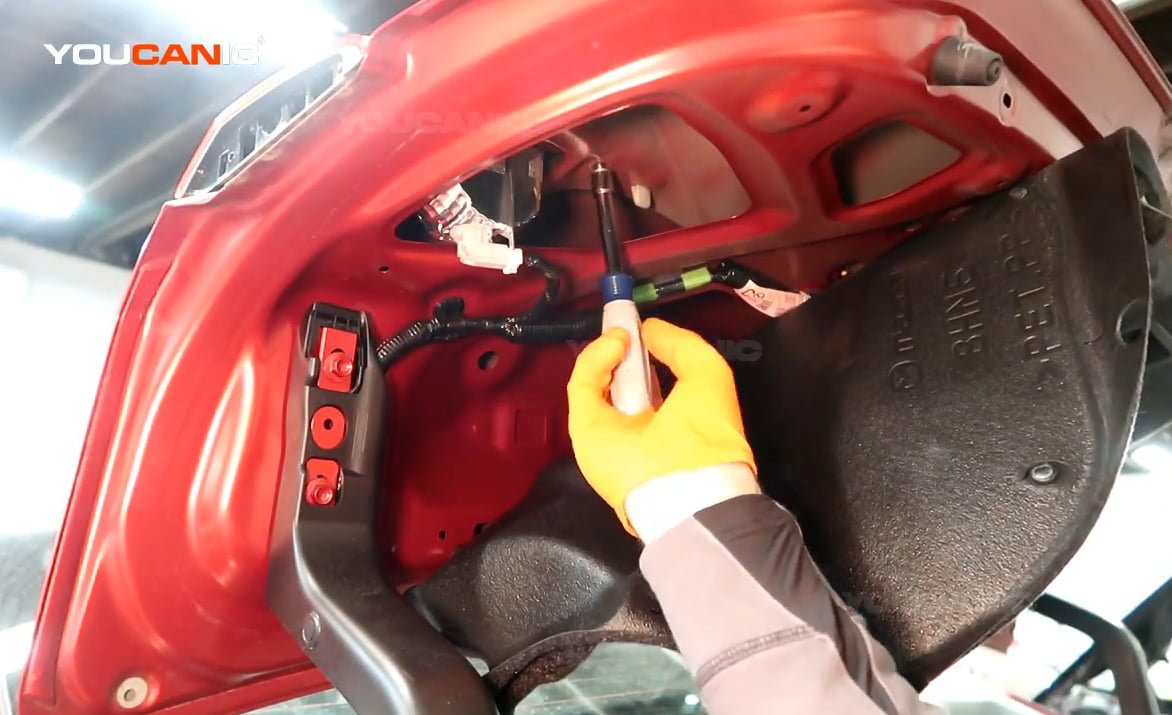
  6. Remove the 10mm bolt using a 10mm nut driver or socket wrench and twist it counterclockwise.Removing the bolt holding the inner tail light assembly.
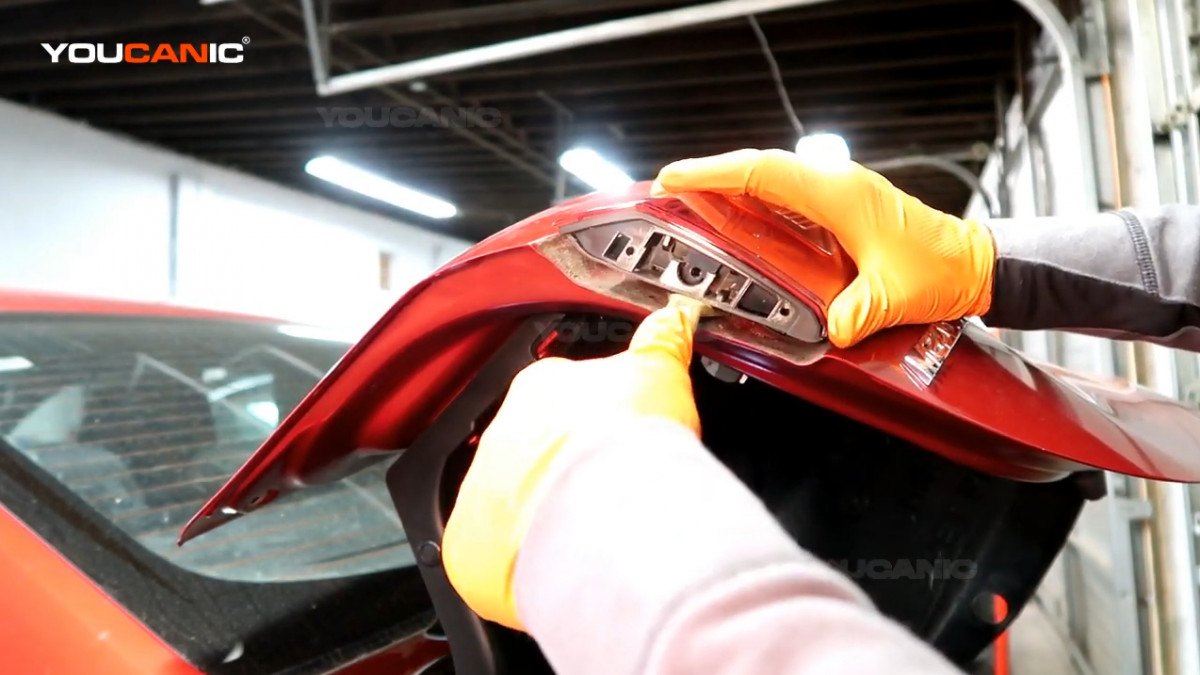
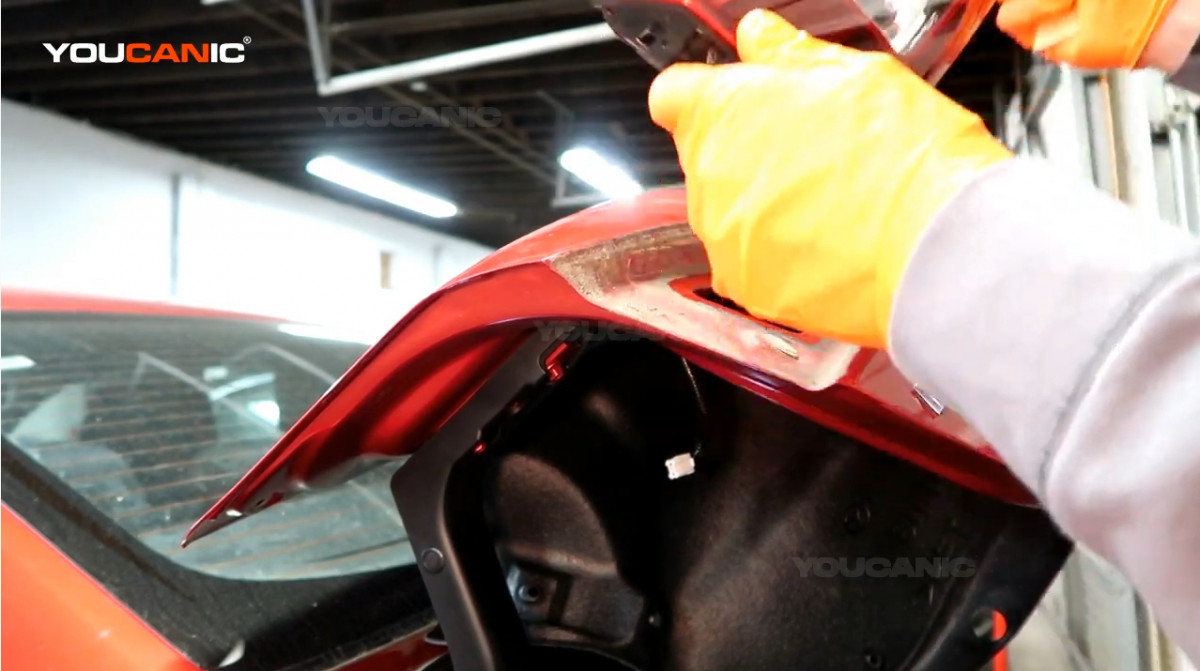
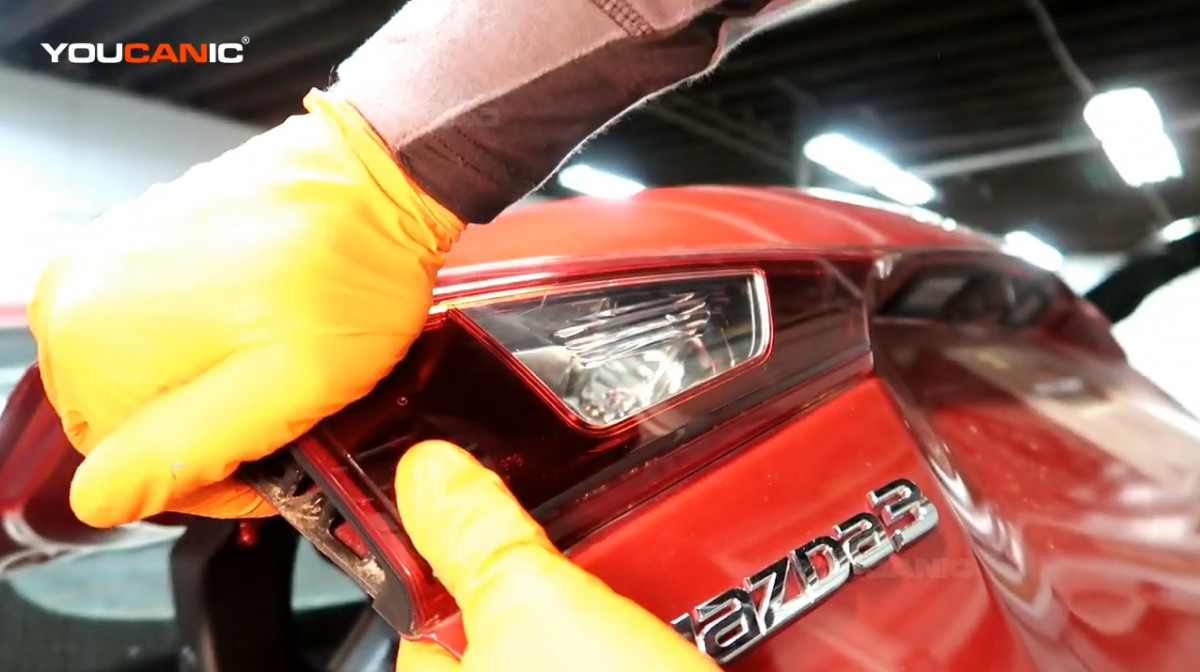
  7. Remove the inner tail light assembly by inserting a prying tool on the side and pushing the tail light out.Prying the out the inner tail light assembly.
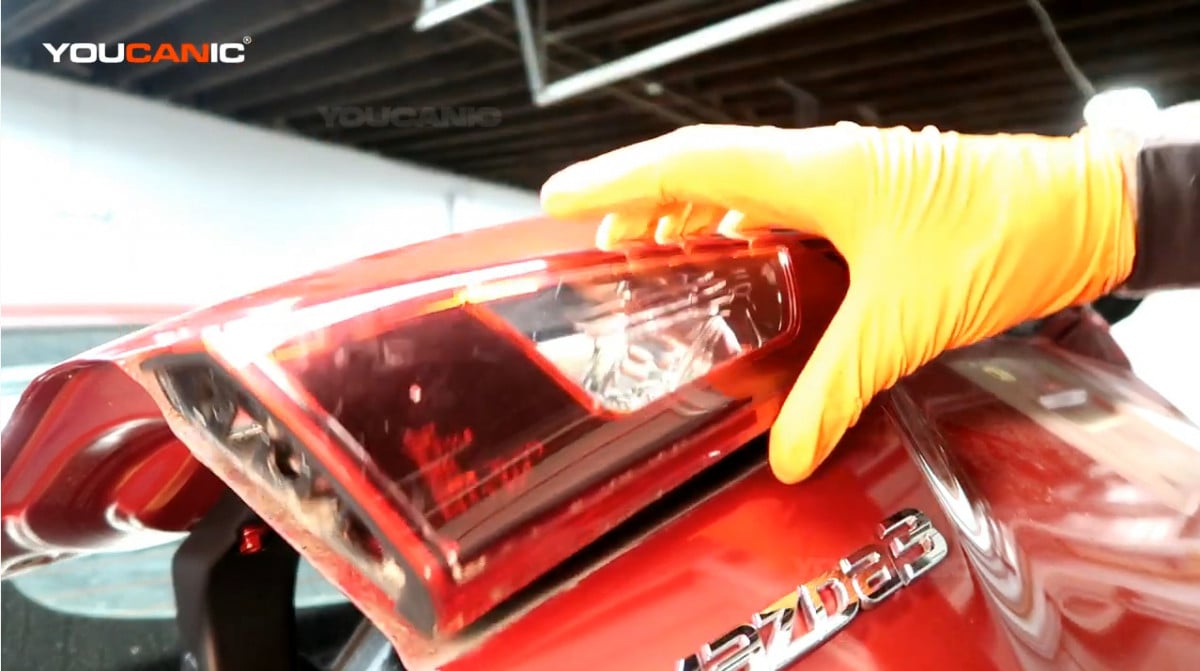
    Removing the inner tail light assembly.

  8. Line up the new tail light assembly and push it in until it snaps into place.Installing the new inner tail light assembly.
    Installing the new inner tail light assembly.

  9. Reconnect the electrical connector by pushing it back to the connection port.Reconnecting the electrical connector of the inner tail light assembly.
  10. Reinstall the 10mm bolt and twist it clockwise to tighten it.Reinstalling the 10mm bolt holding the inner tail light assembly.
  11. Put the trunk shield back and reinstall its push clips.Reinstalling the push clips on the trunk shield.
    Reinstalling the push clips on the trunk shield.

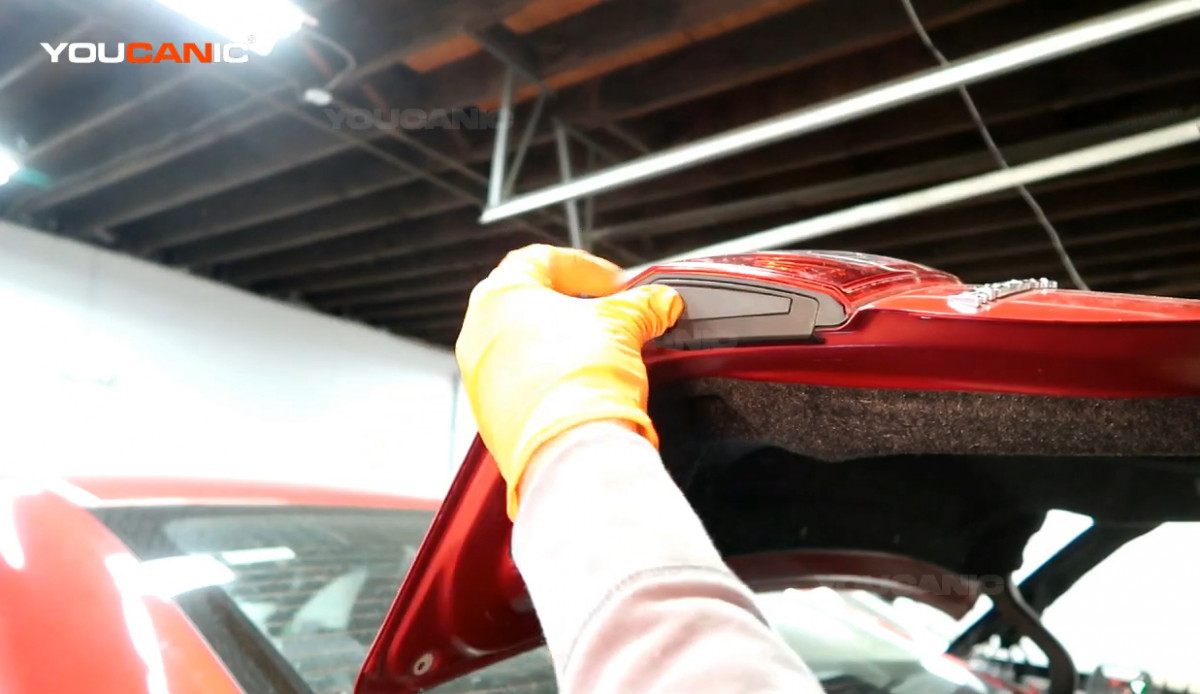
  12. Push the covers back to the side of the inner tail light assembly.Reinstalling the black plastic cover of the inner tail light assembly.
    Reinstalling the black plastic cover of the inner tail light assembly.

We hope you find the Replace Inner Tail Light Assembly Mazda 3 2013-2018 guide helpful. Check these troubleshooting and repair guides for more help on your Mazda.

Author

  • Rushit Hila • ASE Certified

    Rushit Hila, an ASE-certified engineer (G1 Automotive Maintenance and Repair), brings over two decades of hands-on experience in the automotive world to his writing. With a strong educational background, including a Master of Science in Engineering and a Bachelor of Science in Engineering, he has honed his skills and expertise through years of practical work. As a respected authority in the field, Mr. Hila is dedicated to offering insightful and valuable content that resonates with both vehicle owners and mechanics.

Similar Posts

Leave a Reply

Your email address will not be published. Required fields are marked *