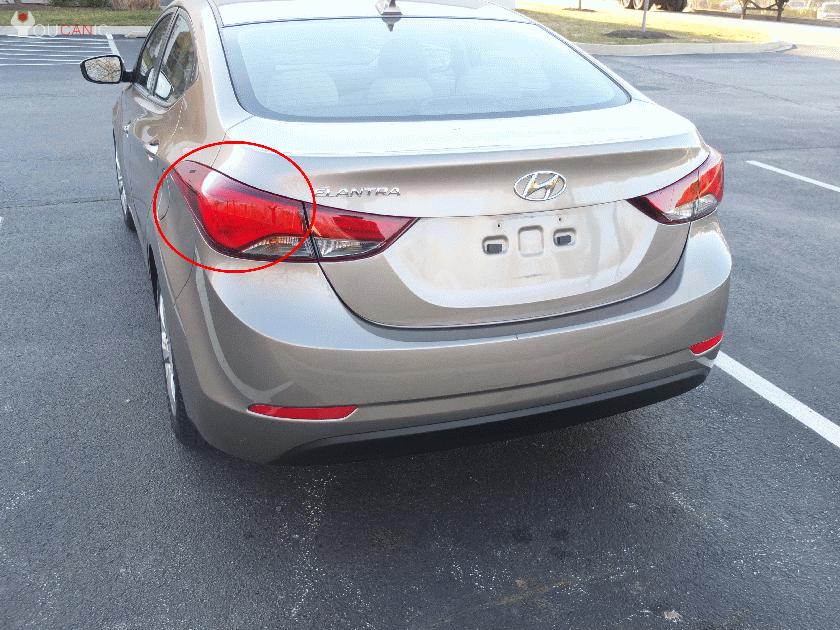
Hyundai Elantra Tail Light Assembly Replacement
Learn how to replace the rear tail light assembly on a Hyundai Elantra model in 2011, 2012, 2013, 2014, 2015, and 2016.
Hyundai dealerships may refer to the tail light as a rear combination light assembly.
What you will need
- Hyundai Elantra Taillight Assembly
- 10mm deep socket
- Ratchet wrench
Procedure
- Park your Hyundai and place the vehicle in the PARK position.
- Pull the trunk release next to the driver’s seat and open the trunk.

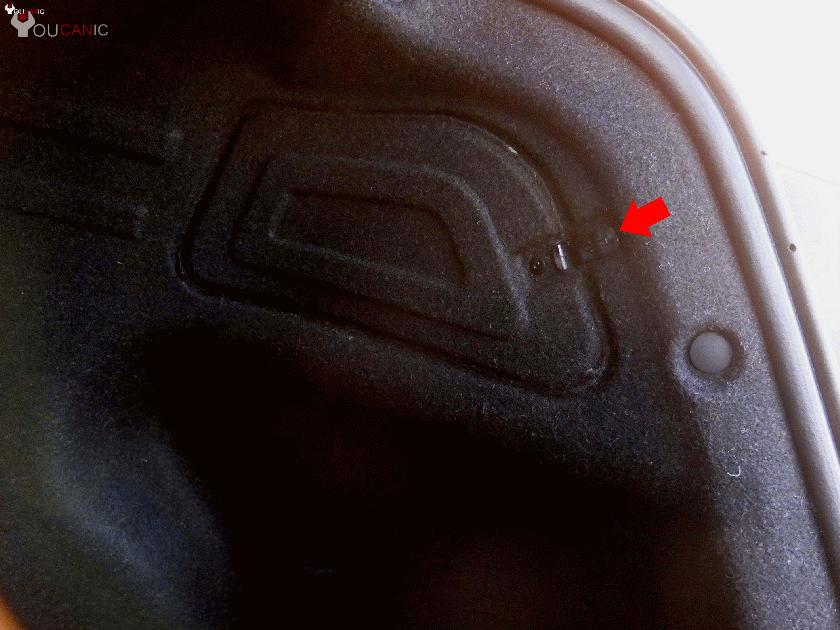
- Remove the access cover by pulling on the locking tab.

- Remove three 10 mm bolts that secure the tail light to the body of the Elantra.
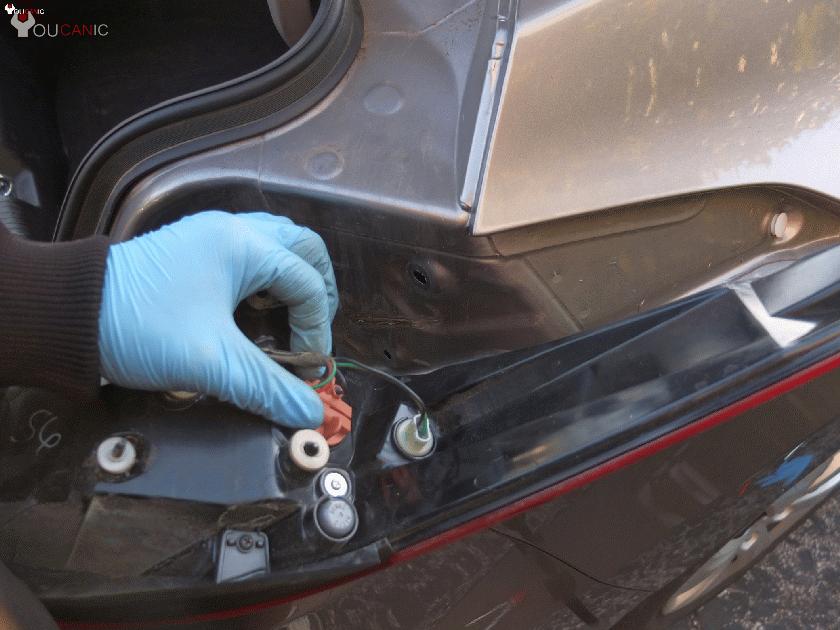
- Disconnect the electrical connector socket from the tail light assembly.

- Remove the tail light from the car by pulling it towards the back.
- Install new tail light in reverse order. Do not over-tighten the 10mm bolts.
- Reconnect the light bulb sockets by inserting them and turning them clockwise until they lock in place.
- Check the operation of the light bulbs. Test the brake, backup, and turn signal light bulbs by operating all these circuits.
Replacing the Hyundai Elantra tail light assembly is easy and can be completed in less than 30 minutes. We hope you find the Hyundai Elantra Tail Light Assembly Replacement guide helpful. Check these troubleshooting and repair guides for more help on your Hyundai.


