Hyundai Sonata Trunk Lid Tail Light Replacement
Is your Hyundai trunk lid taillight assembly broken? Learn how to fix the problem by replacing the tail light assembly on your Hyundai Sonata. This article is a step-by-step instruction with photos of replacing the tail light assembly on the Hyundai Sonata model for 2011-2015.
What you will need
Parts
- Hyundai Sonata taillight assembly
Tools
- 10mm socket wrench
- small ratchet
Procedure
- Open the trunk.

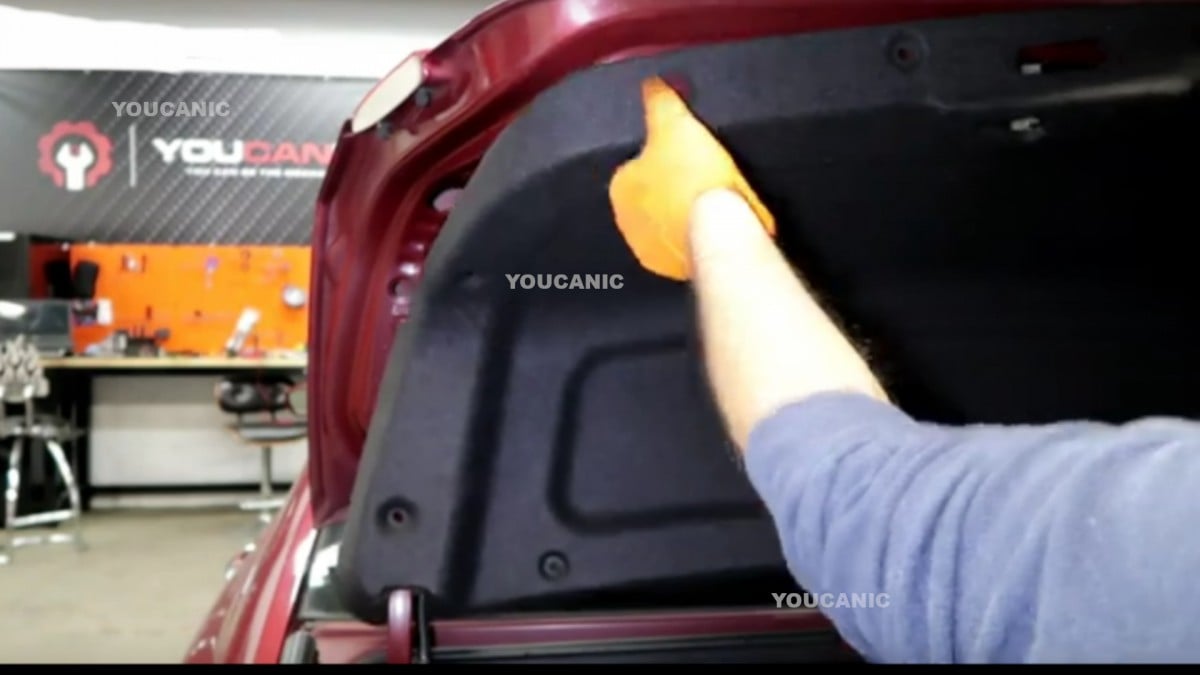
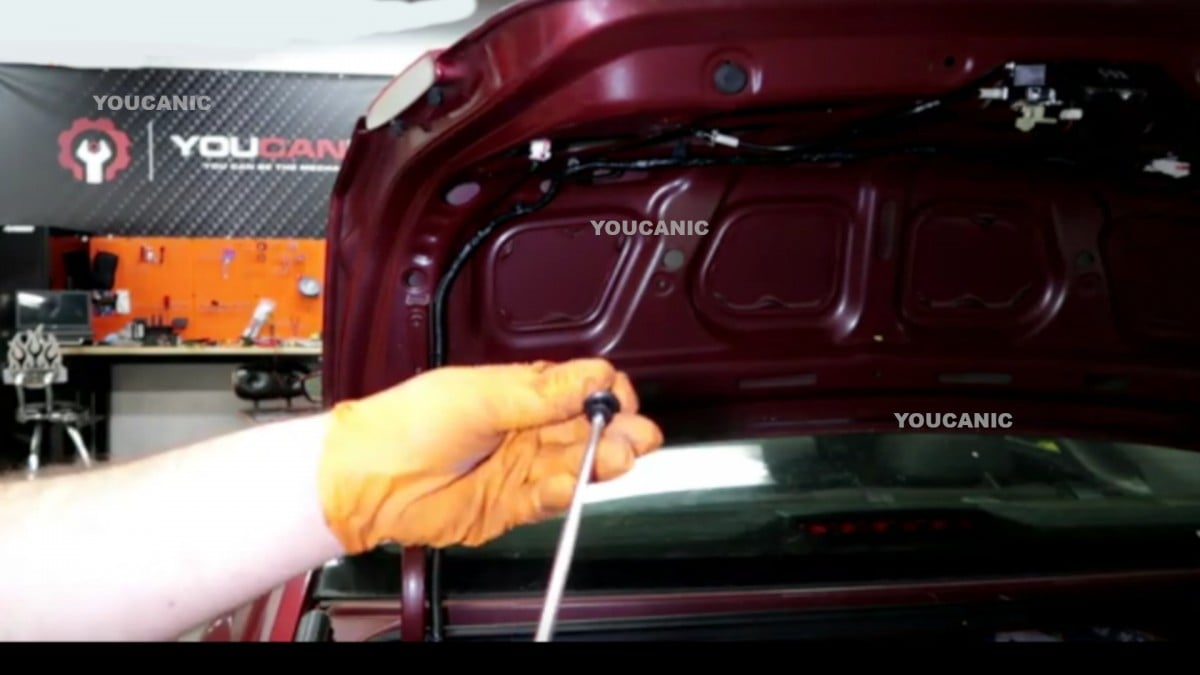
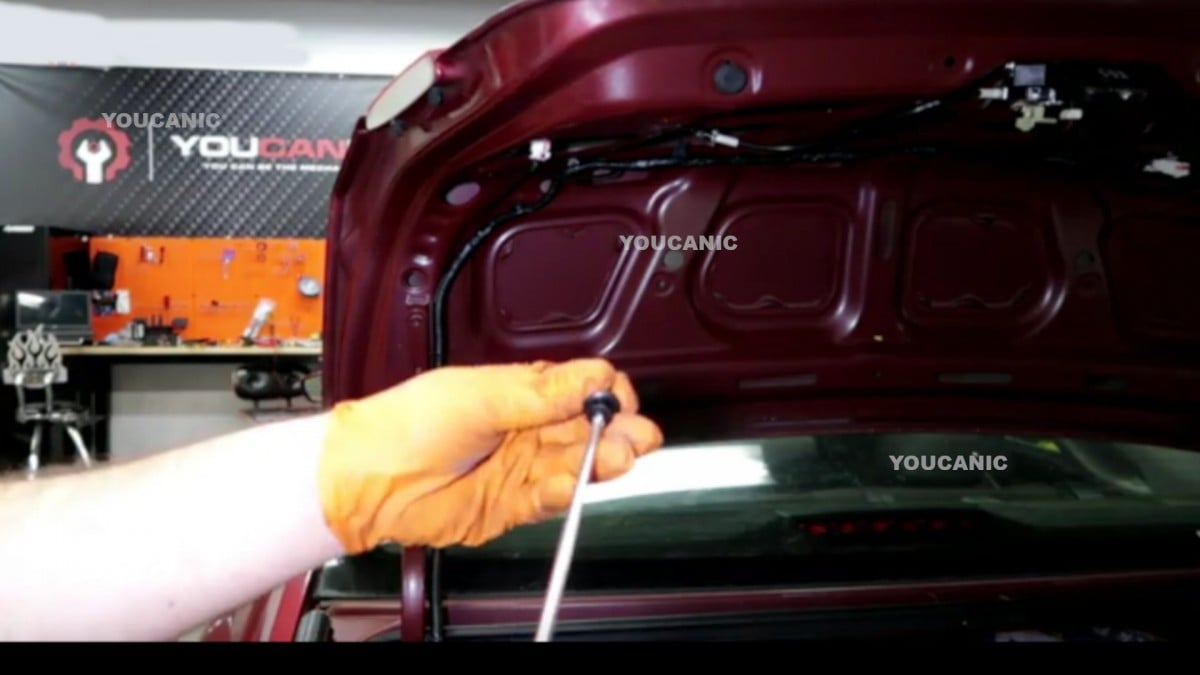
- Remove the trunk panel cover by using a Philips screwdriver to detach plastic retaining screws gently.


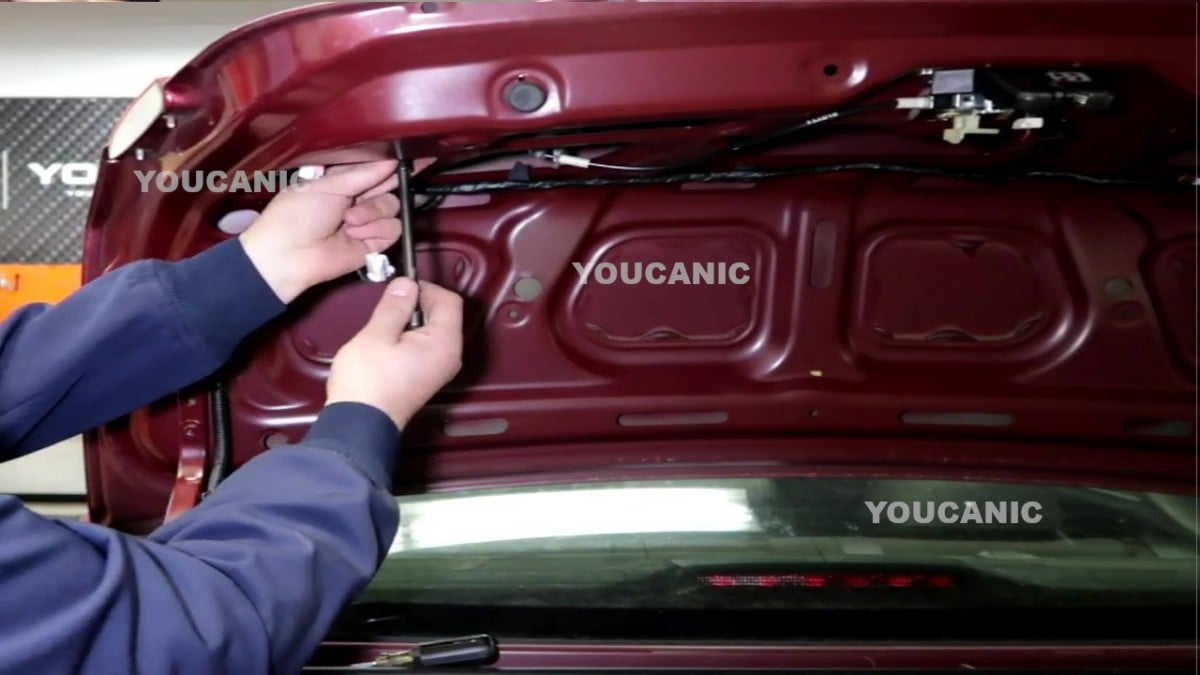
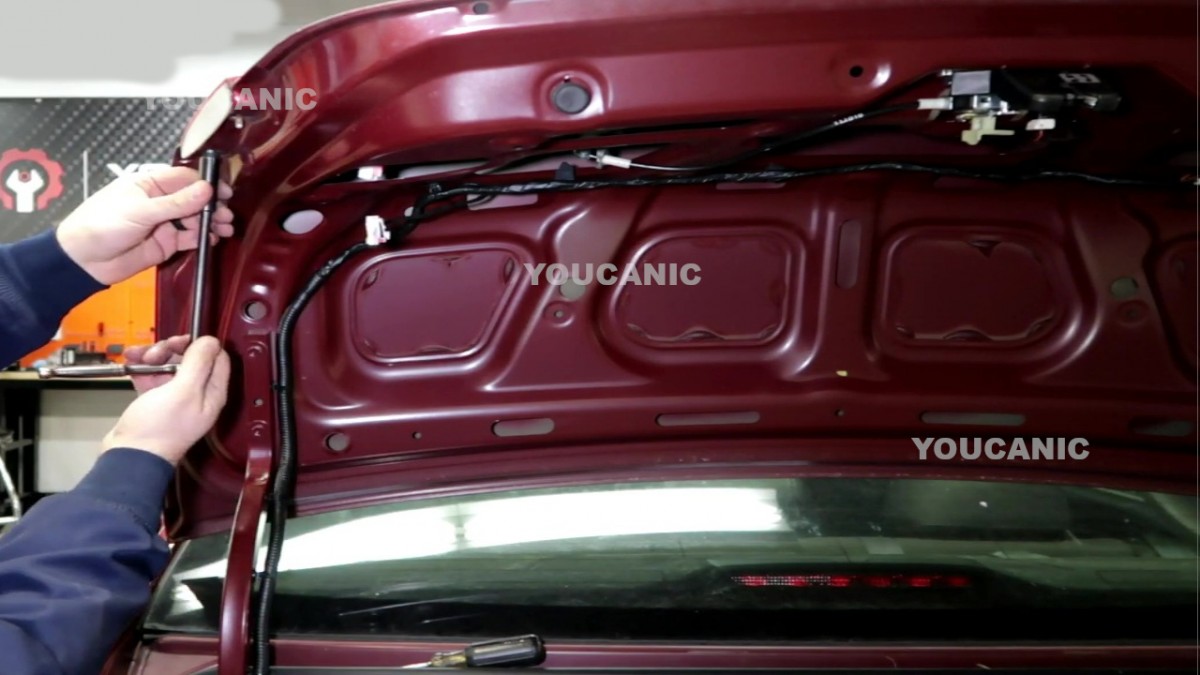
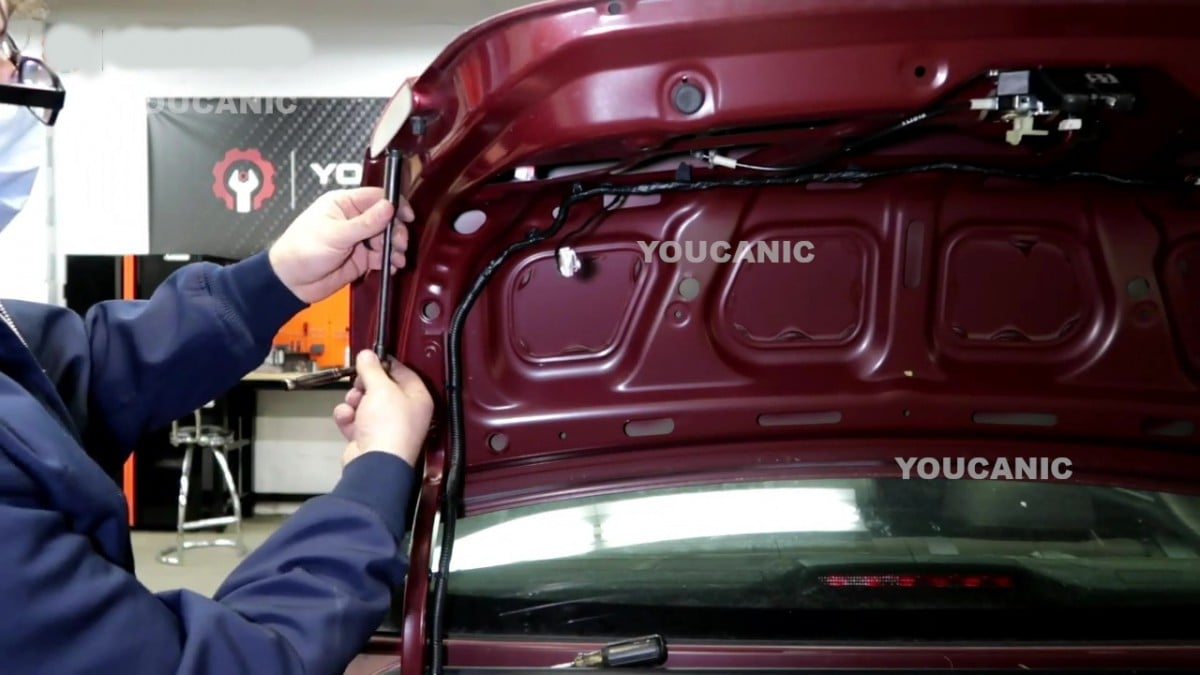
- To remove the taillight assembly, use a 10mm socket to loosen and remove retaining nuts from the side of the trunk and inside the trunk panel.


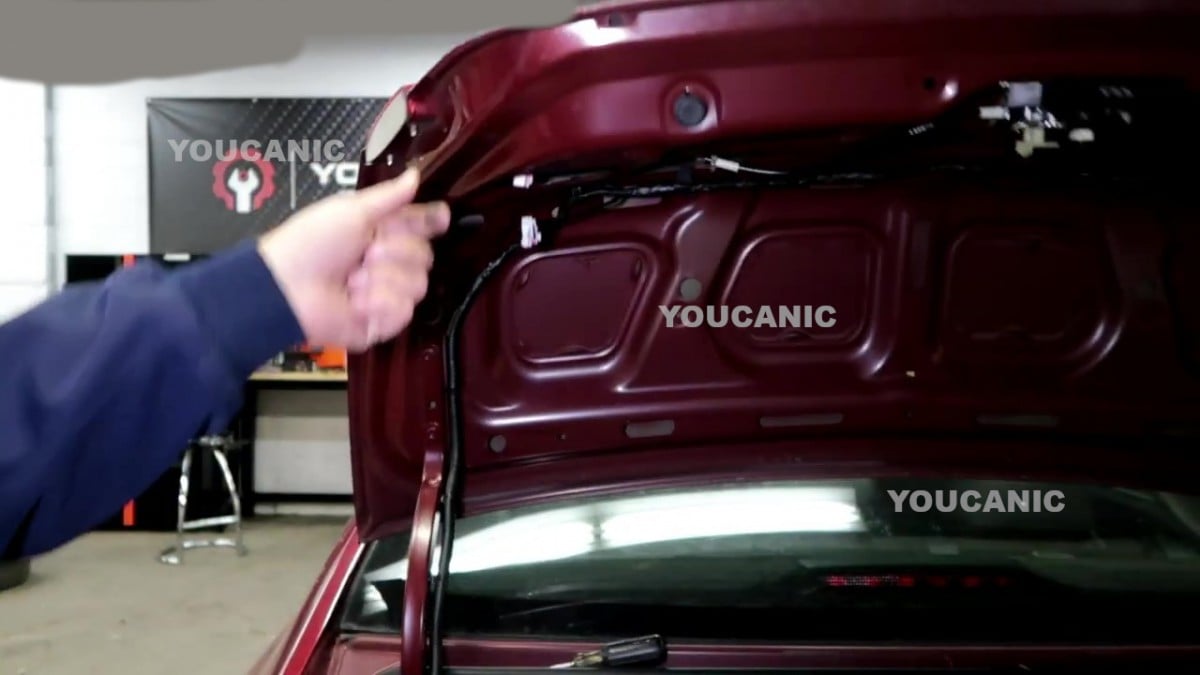
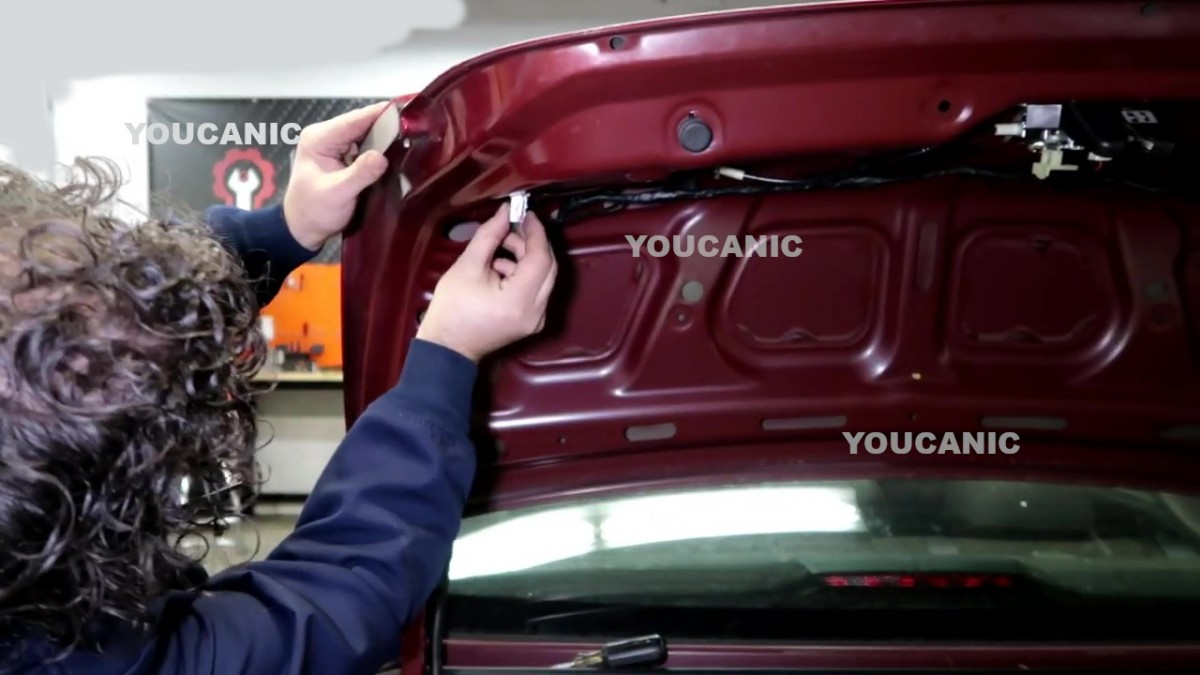
- Disconnect the electrical connection from the taillight assembly.

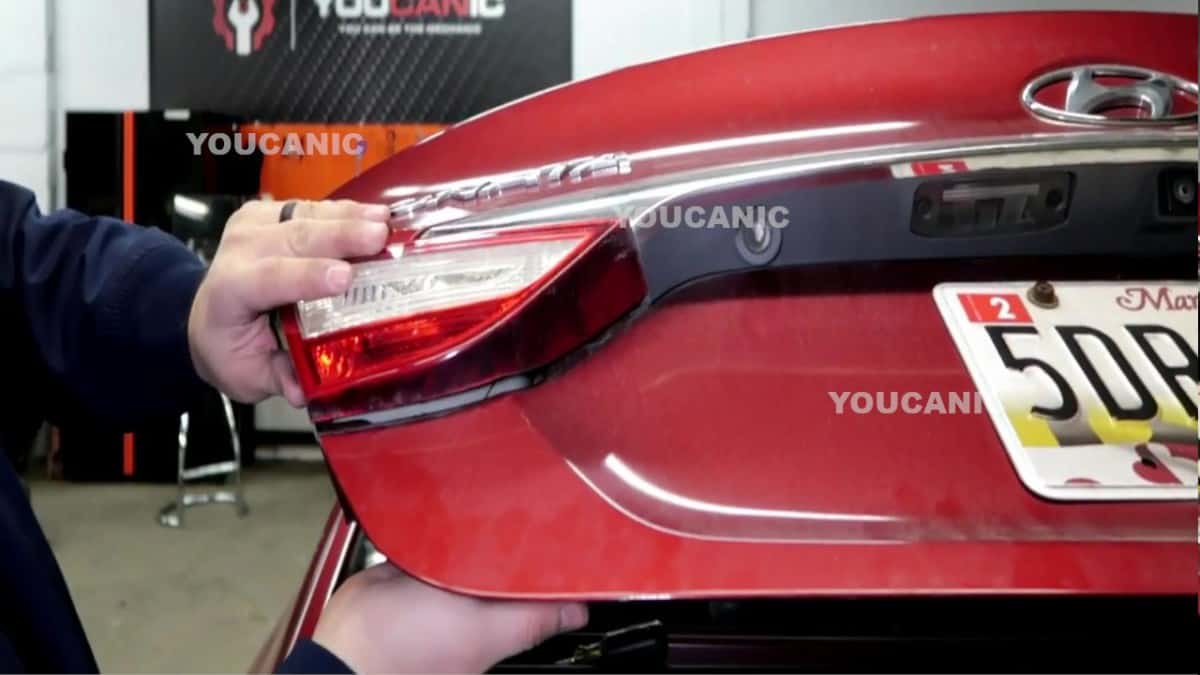
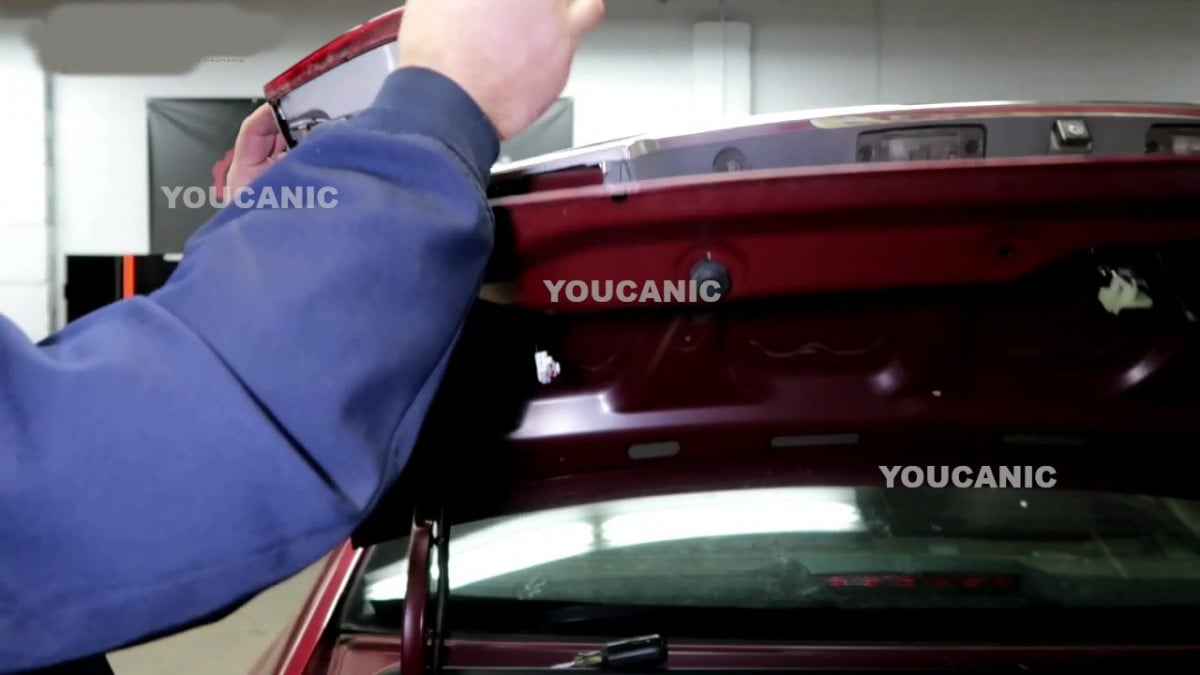
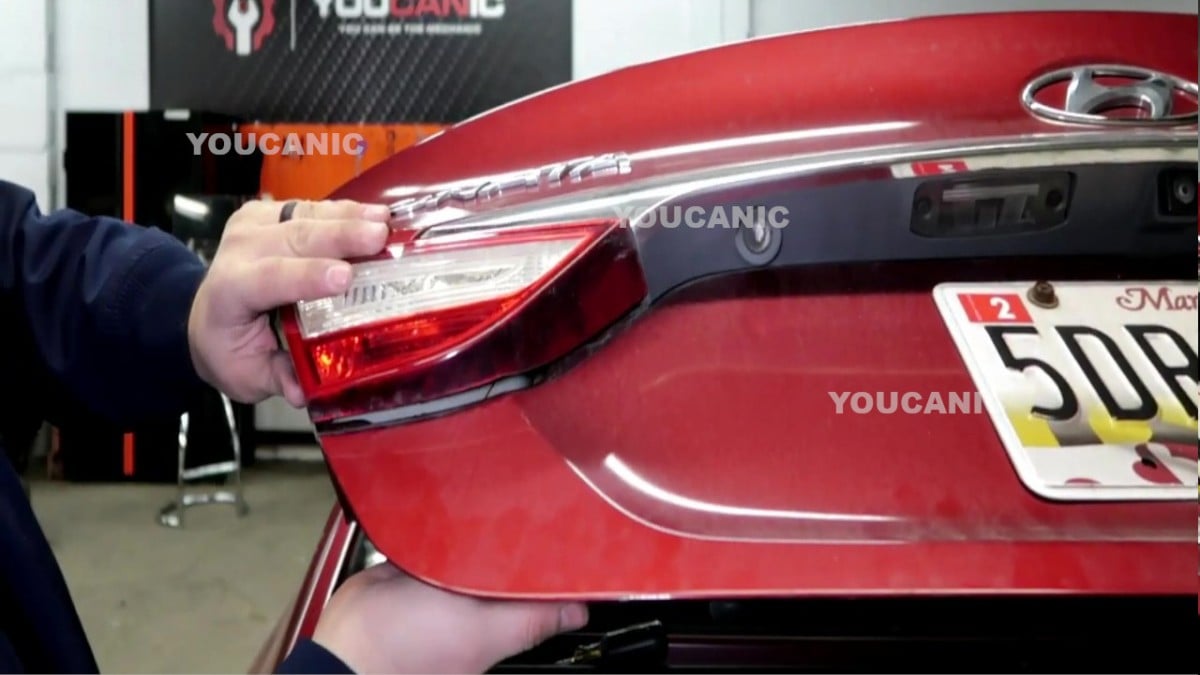
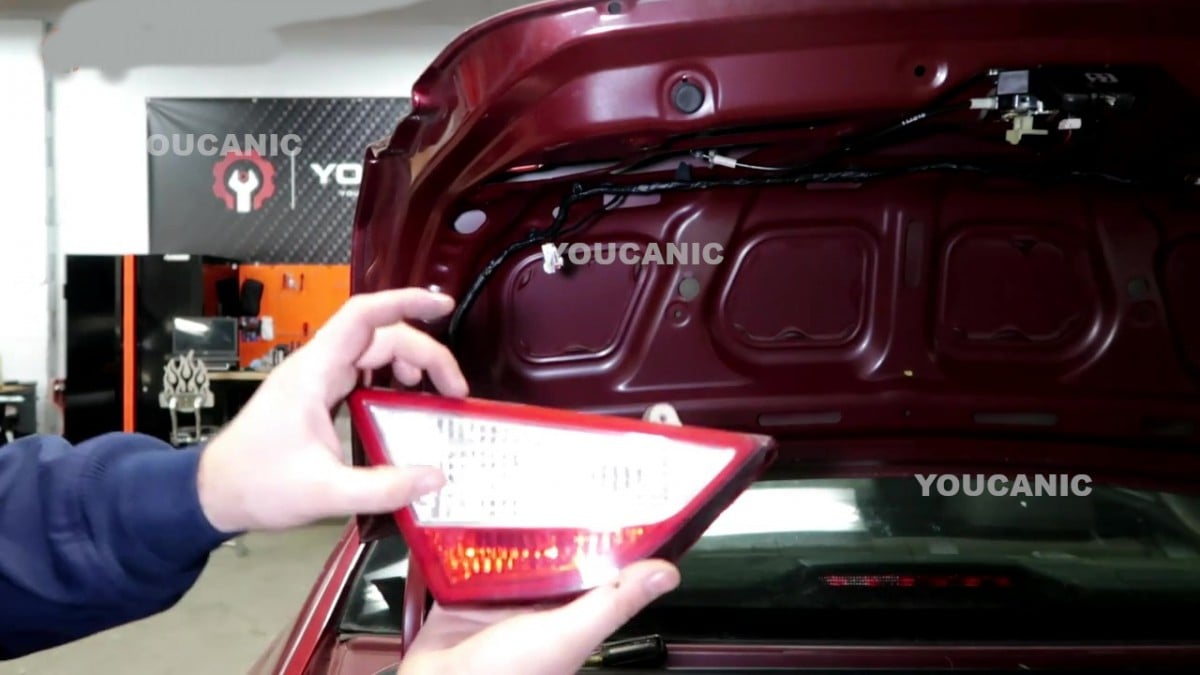
- To remove the taillight assembly, push it from inside the trunk panel or grab it from outside the trunk, then pull.


- View of taillight assembly.

- Prepare the new taillight assembly.
- Install the taillight assembly from outside the trunk, then push it in to fit on the trunk.
- Install retaining nuts.

- Reconnect electrical connector.

- Reconnect the trunk panel cover.

- Secure trunk panel cover by re-installing plastic retainers.

Frequently Asked Questions
When will you replace your taillight assembly?
You will only need to replace your taillight assembly when it has cracks or is completely broken.
Can you drive a car with a broken taillight assembly?
It’s illegal to drive with a broken taillight bulb, so you must replace it before returning on the road.
How much is a tail light assembly?
It costs around $150 to $800.
We hope you find the Hyundai Sonata Trunk Lid Tail Light Replacement guide helpful. Check these troubleshooting and repair guides for more help on your Hyundai.

