BMW Front Grille Upgrade -Black Kidney Grille | DIY Guide
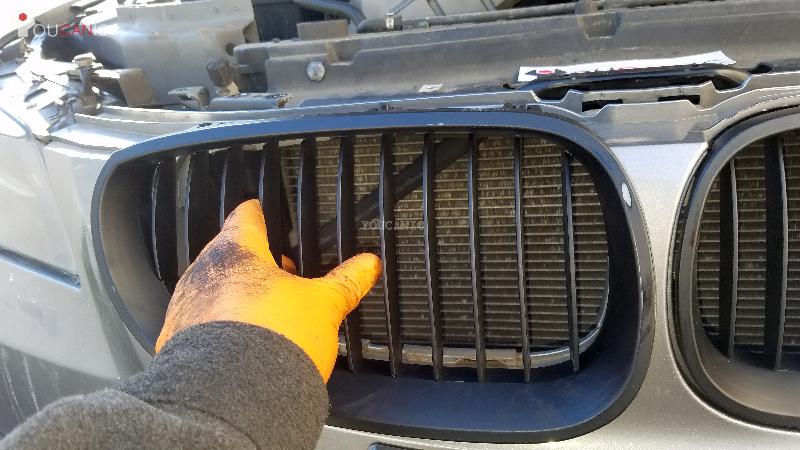
This guide provides instructions on how to remove the OEM BMW grille. You can use these instructions to upgrade your BMW grill or change it to a black kidney grille.
What you will need
- BMW Front Grille
- Torx Bit Set
- Ratchet Wrench
- Flat Screwdriver
Procedure
- Park the vehicle on level ground and set the parking brakes.
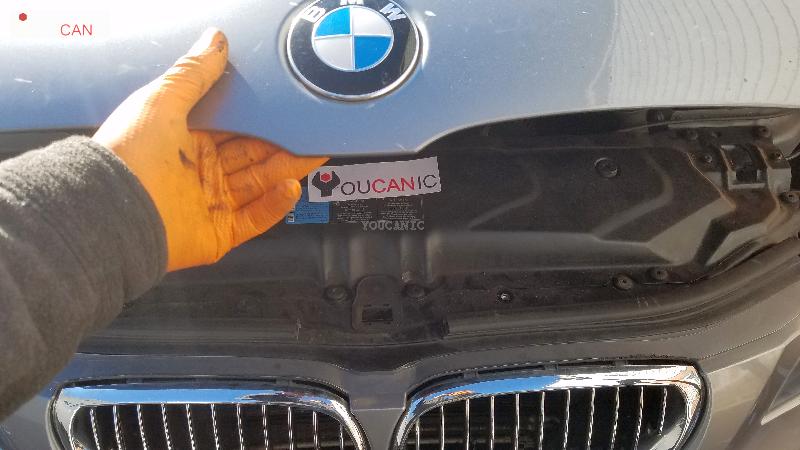
- Pull the hood release under the dashboard and open the hood of your BMW.

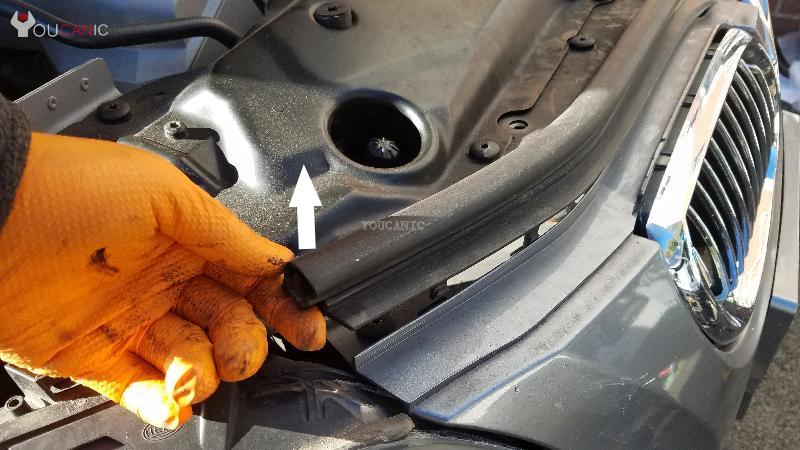
- Remove the weatherstrip at the top radiator support by pulling it up.

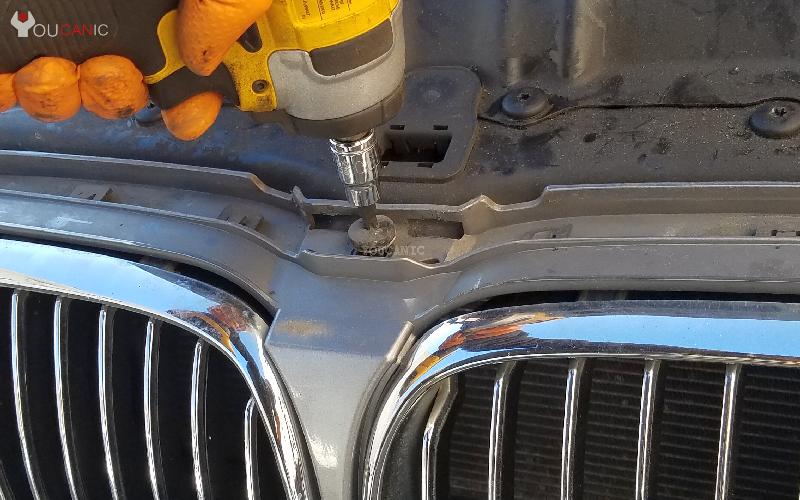
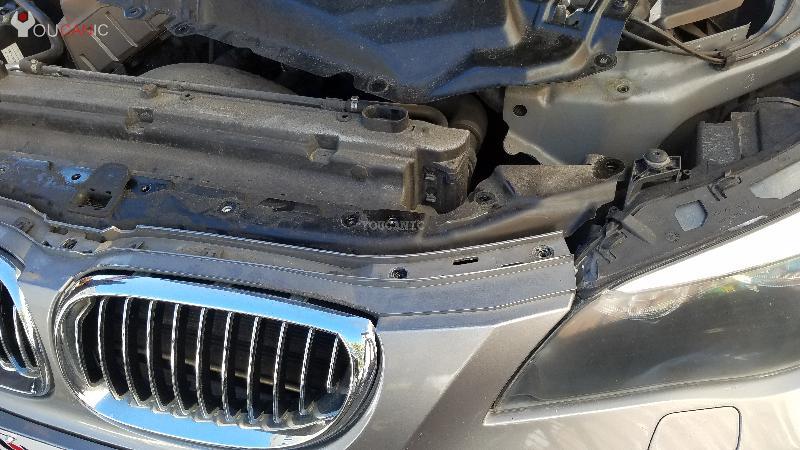
- Remove the Torx bolts. You will need a T-30 Torx bit set. Some models, such as the F30 and F31, use T27 and T25 Torx bolts.

- Pull the front bumper forward and determine if there is enough room to access the back of the grille. You can reach the back of the grille on certain BMW models and remove it easily. If you can’t reach the back of the grille, proceed to the next step.
- Remove the eight Torx bolts for the top radiator support and remove it.

- Pull the metal plate away and place it on top of the engine. You don’t need to disconnect the hood release cables.

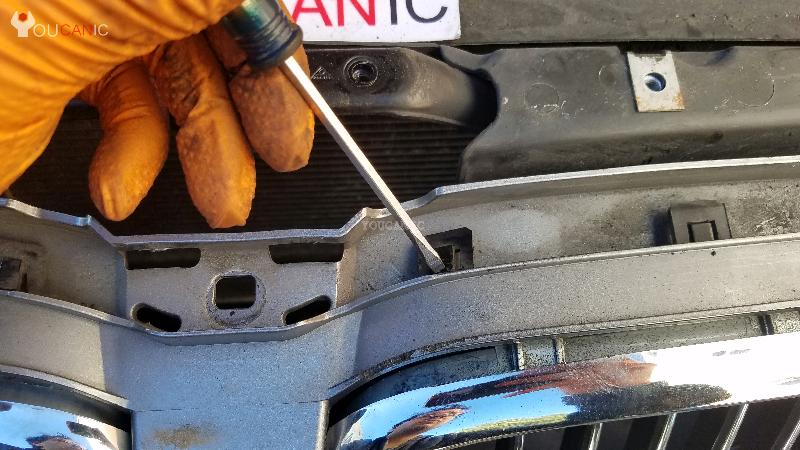
- Access the back of your BMW grille. Press down on three plastic tabs on top to unlock them.

- Use a flat screwdriver to unlock the side and lower tabs.

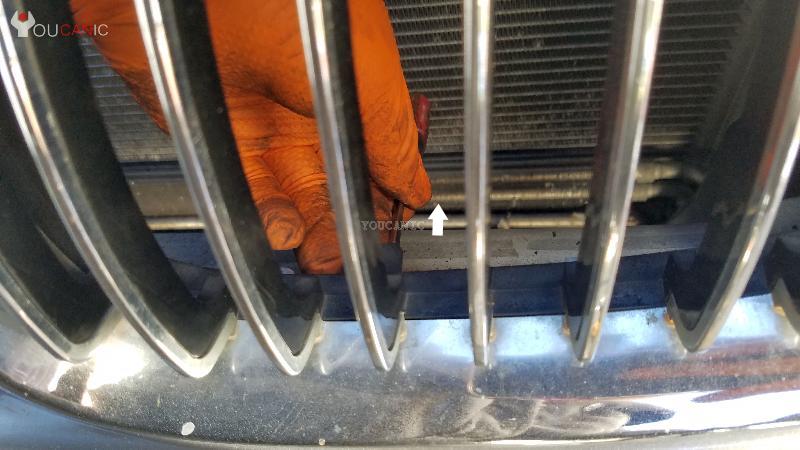
- Press the lower tabs up to unlock the bottom of the grille.

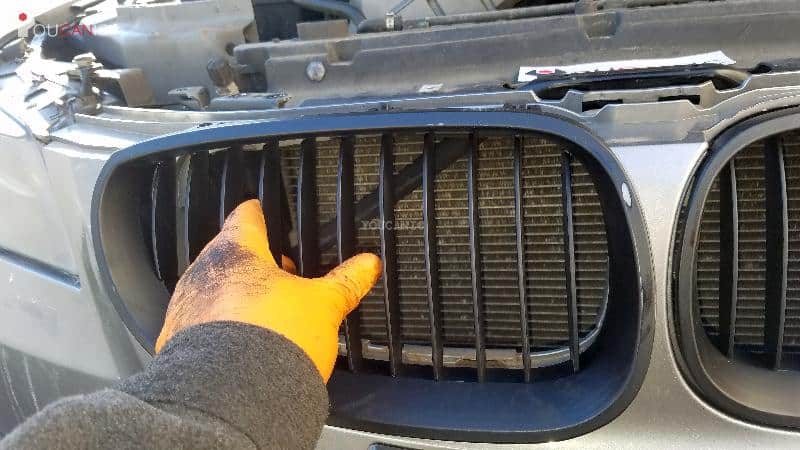
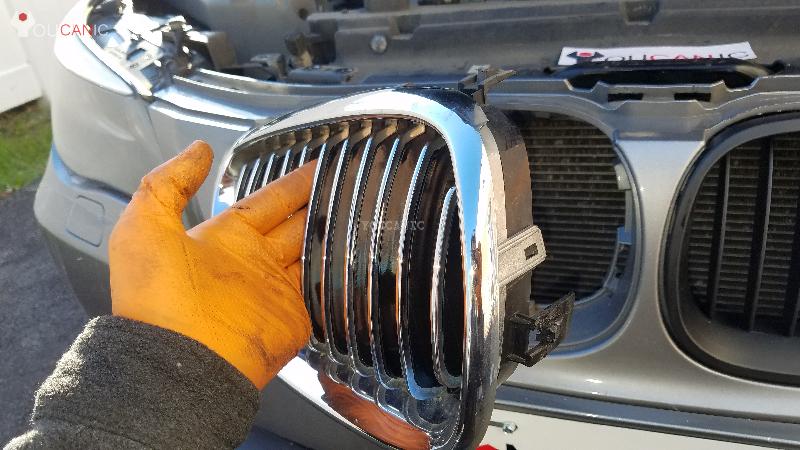
- Once all the tabs are unlocked, remove the old grille by pulling it forward.

- Install the new grille by pressing it on the bumper.

- Reinstall the weatherstrip top radiator support and tighten all the bolts.
Changing or upgrading the front grill on a BMW is relatively easy.
We hope you find the BMW Front Grille Upgrade -Black Kidney Grille | DIY Guide helpful. Check these troubleshooting and repair guides for more help on your BMW.

