Mercedes Benz SL Class R230 Radio, Cupholder Removal
Need to replace your Mercedes-Benz SL-Class radio or cupholder? This guide provides instructions on removing or replacing the radio, cupholder, and center console trim on Mercedes Benz SL Class R230, such as SL500 and SL550. Follow the procedures below to learn how to replace the radio, cupholder, and center console of your Mercedes-Benz.
What you will need
- T-20 Torx Screwdriver
Procedure
- Lower the seats down and move them back.
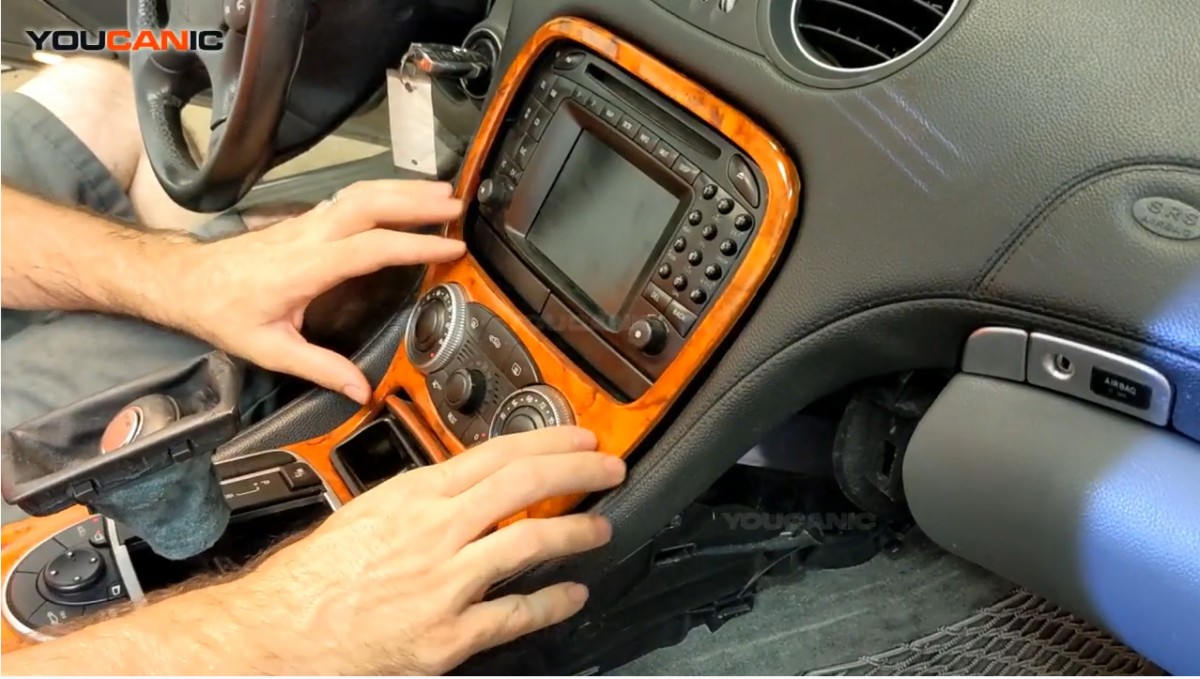
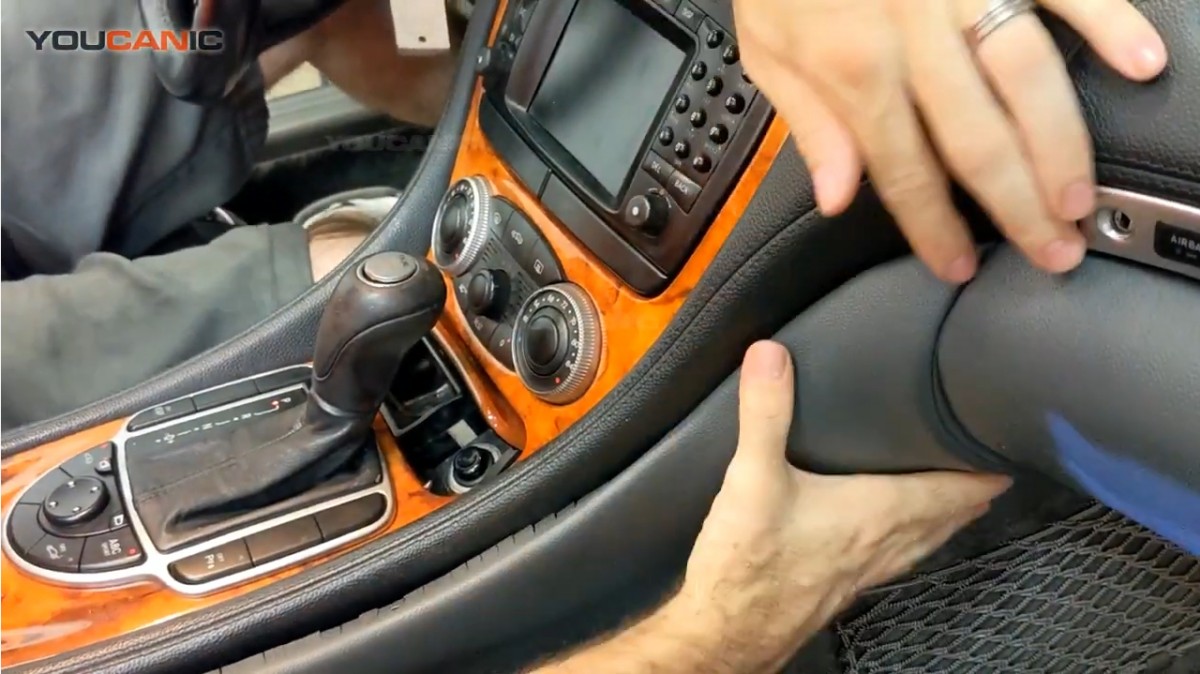
- Remove the panels on the sides of the center console. You can see that the covers have no screws, so you will stick your fingers in and pull them to unlock the clips; then, to remove it, pull it backward. Remove both covers.

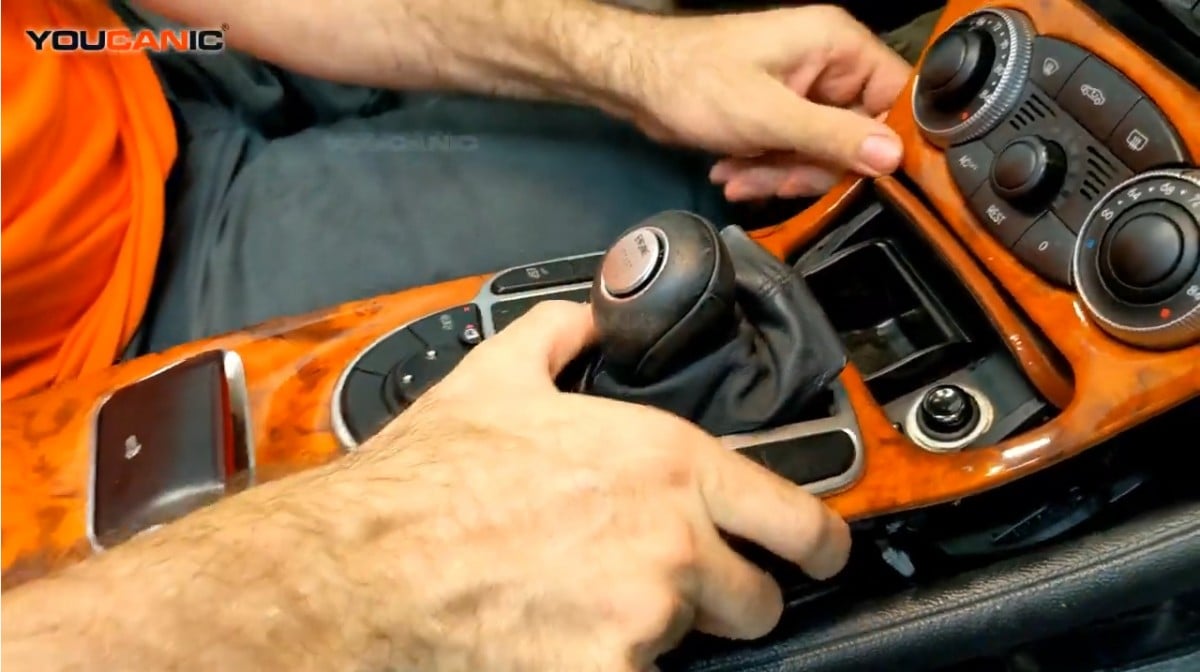
- Remove the center control trim. To remove it, you need to remove the 6 T-20 Torx screws on both sides. When you remove the side covers, you will find the screws holding the center control trim below it. Before you pull the center control trim, open up your armrest first. Then, you can pull the center control trim; when pulling, make sure that you remove the cables below it and set it aside when you’re done removing it from the vehicle.
 This is how you remove the center control trim of the Mercedes Benz S Class.
-
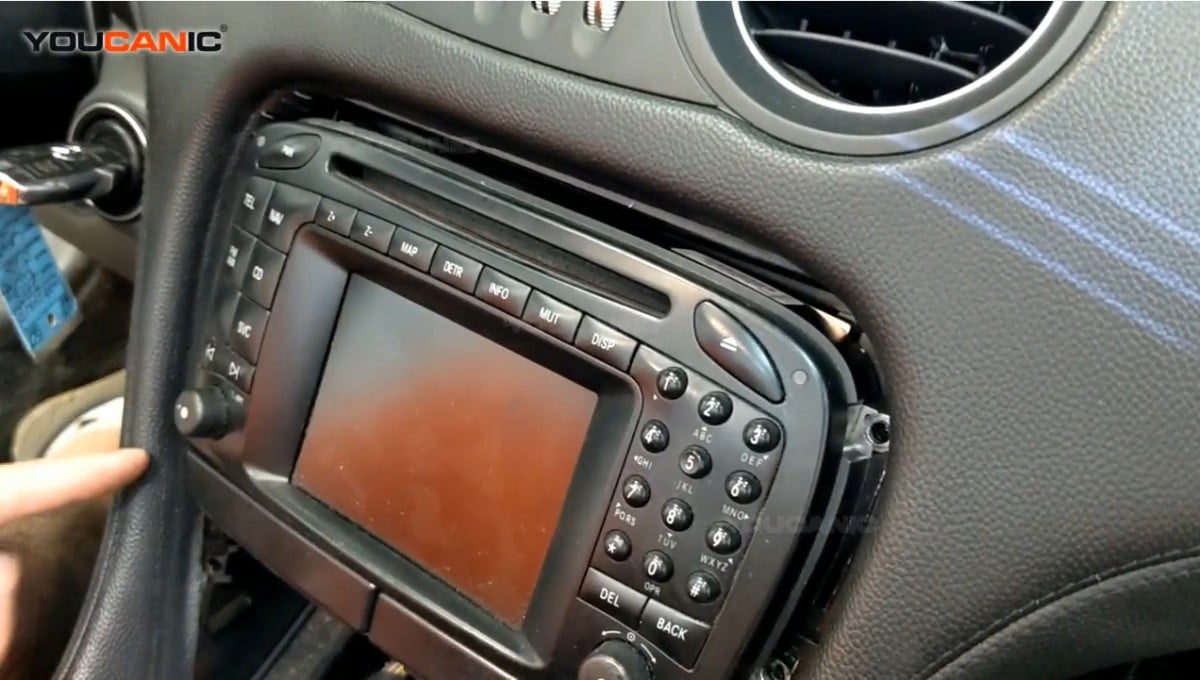
Remove the T-20 screws around the radio. There will be four screws around the radio and two screws for the cup holder; use a T-20 screwdriver to remove the screws.

-
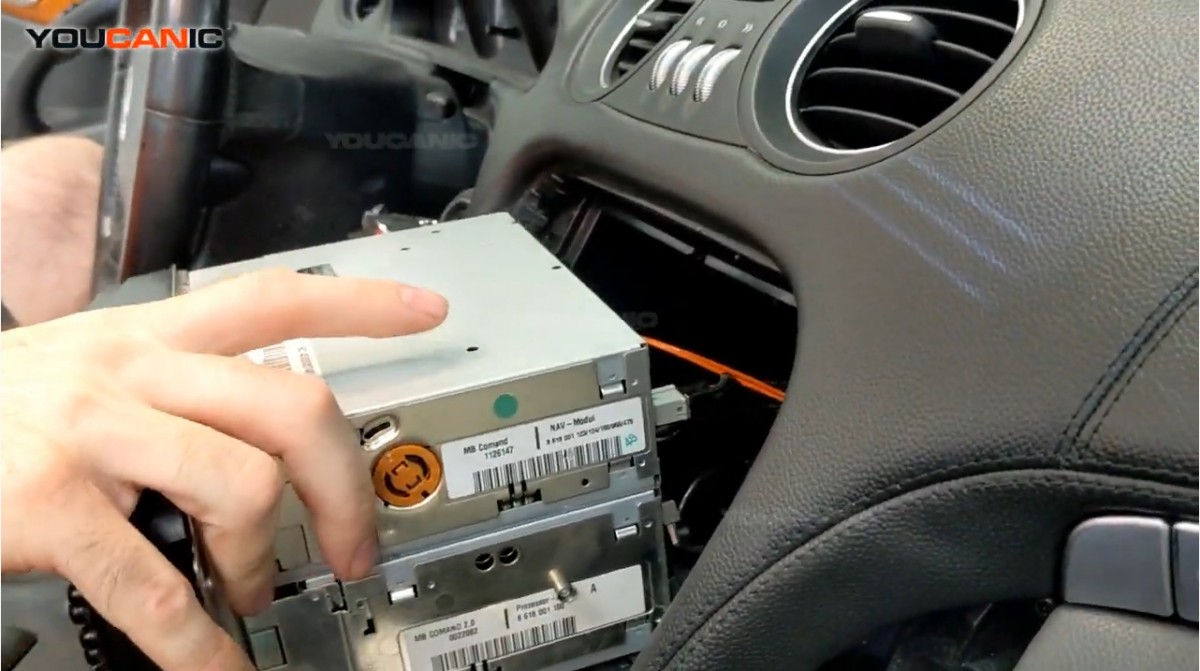
Remove the radio. When you are done removing screws around the radio, you can pull that out but don’t forget to remove the cables connected to it.

- Reinstall the new radio. Before you put it inside, connect the cables and ensure they are locked. Then you can put it inside and screw the 4 T-20 screws around it, including the 2 T-20 screws for the cup holder.

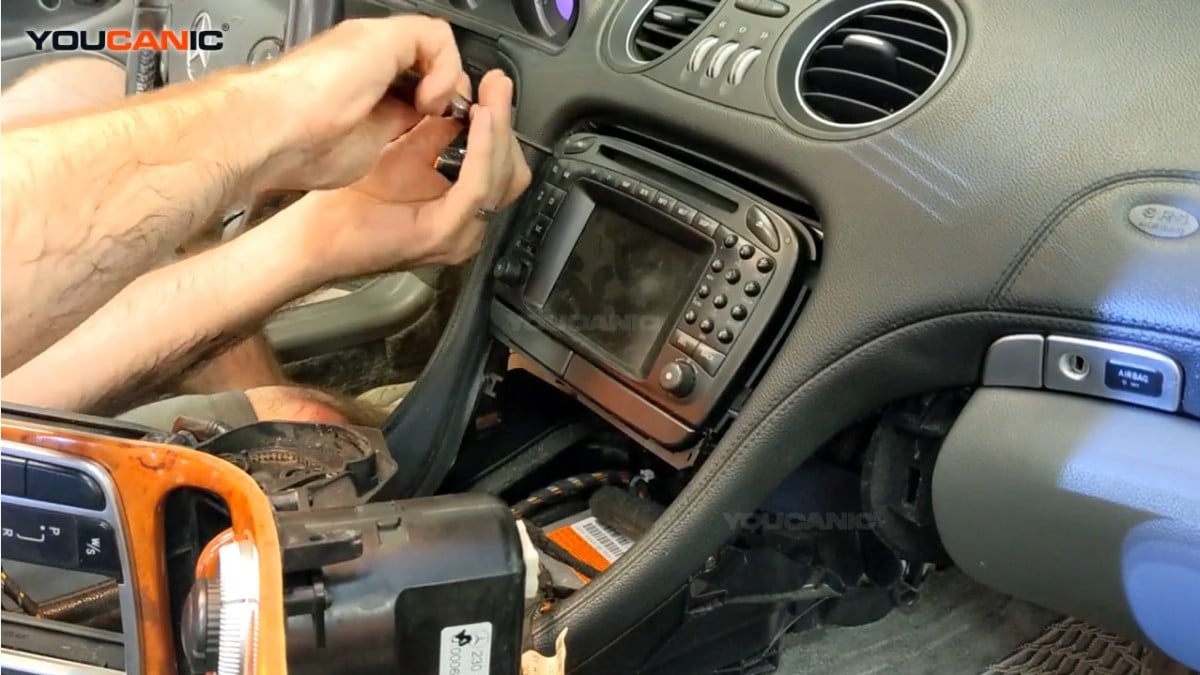
- Reinstall the control center trim. Once you have already put the radio on, connect the cables connected on the control center trip and make sure that it is locked, and you can push it back to its original place. Then screw back the 6 T-20 screws below it. Remember that you will screw them on both sides.
 We are putting the cables back in and checking if it is locked.
-
Put the side covers back. To install the covers, you must slip in it first and work from the top side, going down to the other side. You will push it in, and it will snap in its place.

Slipping in the undercover on its original place.
We hope you find the Mercedes Benz SL Class R230 Radio, Cupholder Removal guide helpful. Check these troubleshooting and repair guides for more help on your Mercedes-Benz.


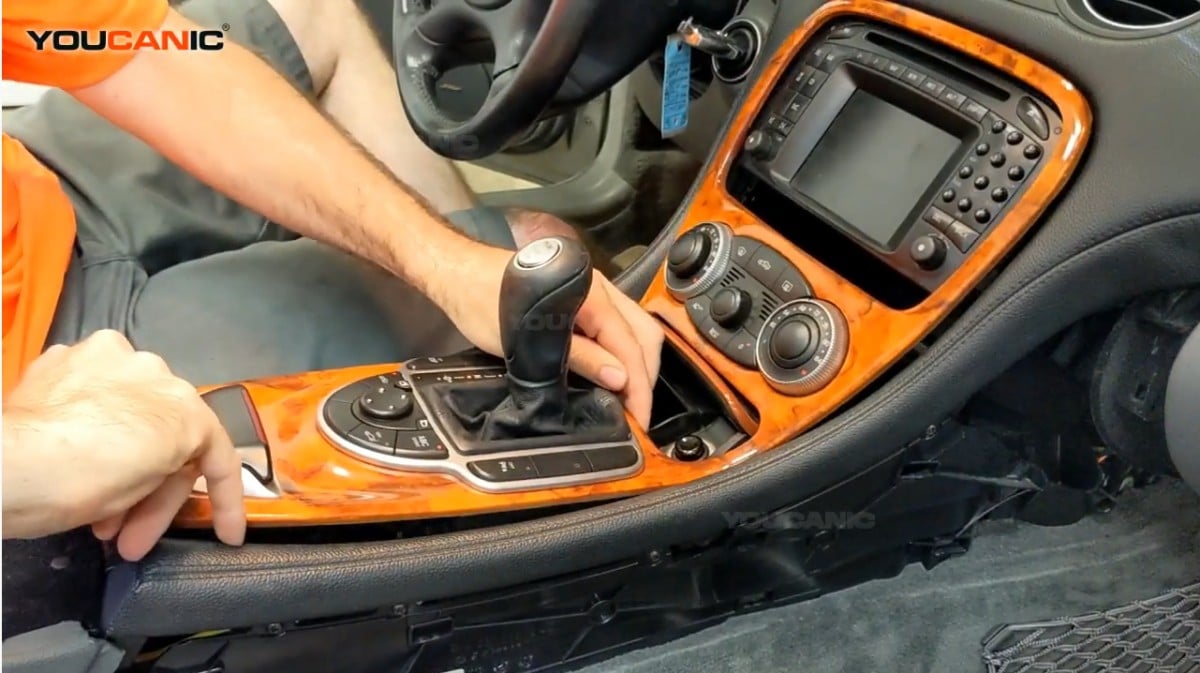 This is how you remove the center control trim of the Mercedes Benz S Class.

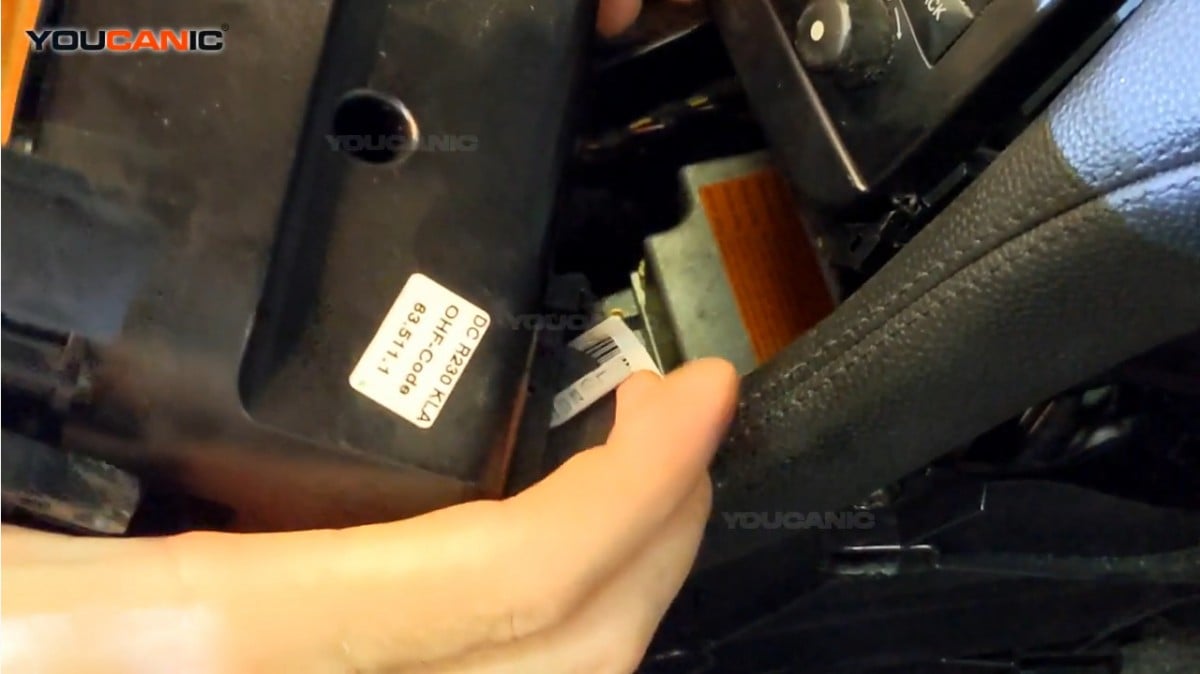 We are putting the cables back in and checking if it is locked.