Tesla Model 3 Replace or Upgrade Rear Coil Springs
Are there clunking and knocking noises from the rear of your Tesla? Learn how to fix the problem by replacing or upgrading the rear coil springs of your Tesla. This guide provides steps to replace or upgrade the rear springs on a Tesla Model 3. This will also help you if you are looking to lower your Tesla.
Make sure to check our other guide on how to replace front struts on Tesla Model 3. Replacing the rear springs on a Tesla Model is easy, and each spring takes about thirty minutes to replace.
What you need
- Tesla Model 3 Rear Springs
- Floor Jack (2)
- Jack Stands
- Torque Wrench
- Breaker bar
- Metrick Socket Set
Procedure
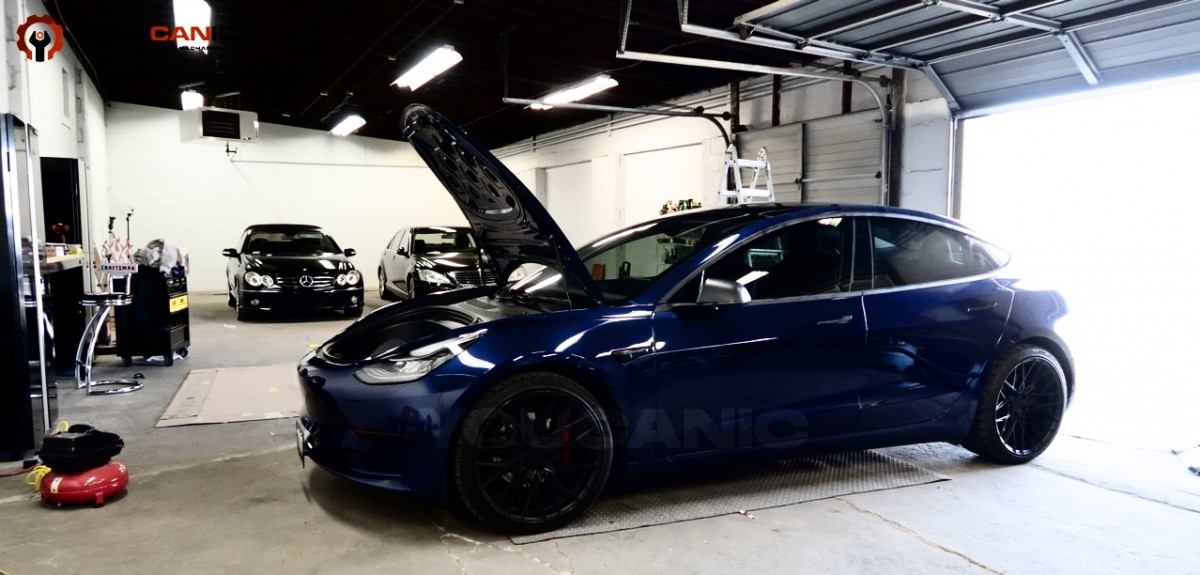
- Park Tesla on level ground.

- Loosen the lug nuts for the rear wheels while the vehicle is still on the ground. Do not fully remove the lug nuts.
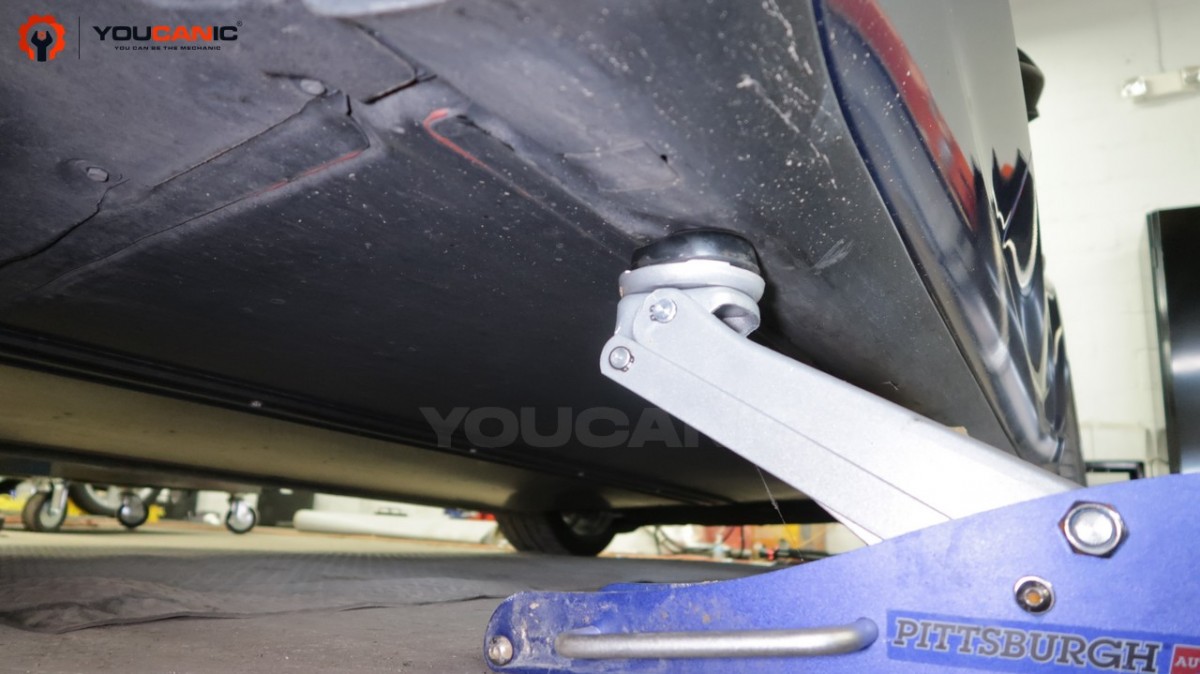
- Jack up the vehicle and secure it with jack stands.

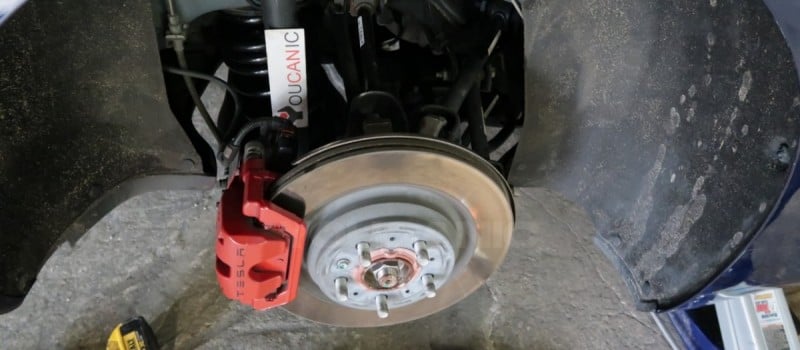
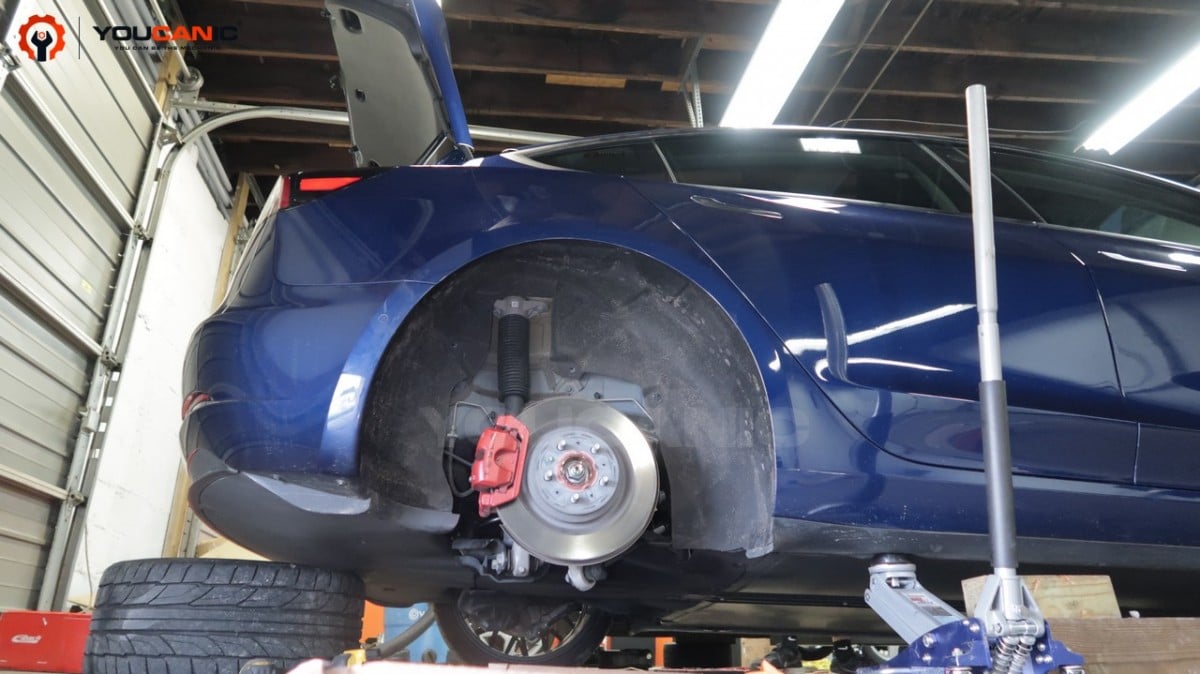
- Remove the rear wheel.

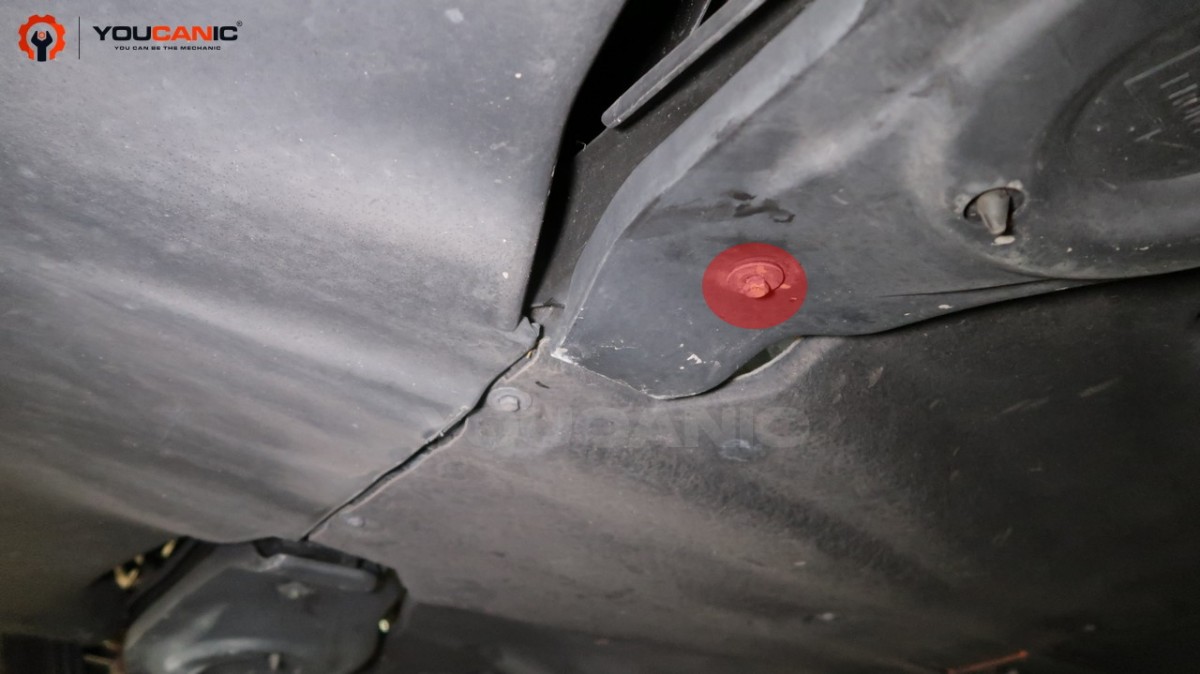
- Remove the 10mm plastic cover under the lower control arm.

- Remove the plastic cover from under the control arm.

- Remove the bolt that connects the rear shock absorber to the lower control arm.

- Place a floor jack below the lower control arm and support it slightly.
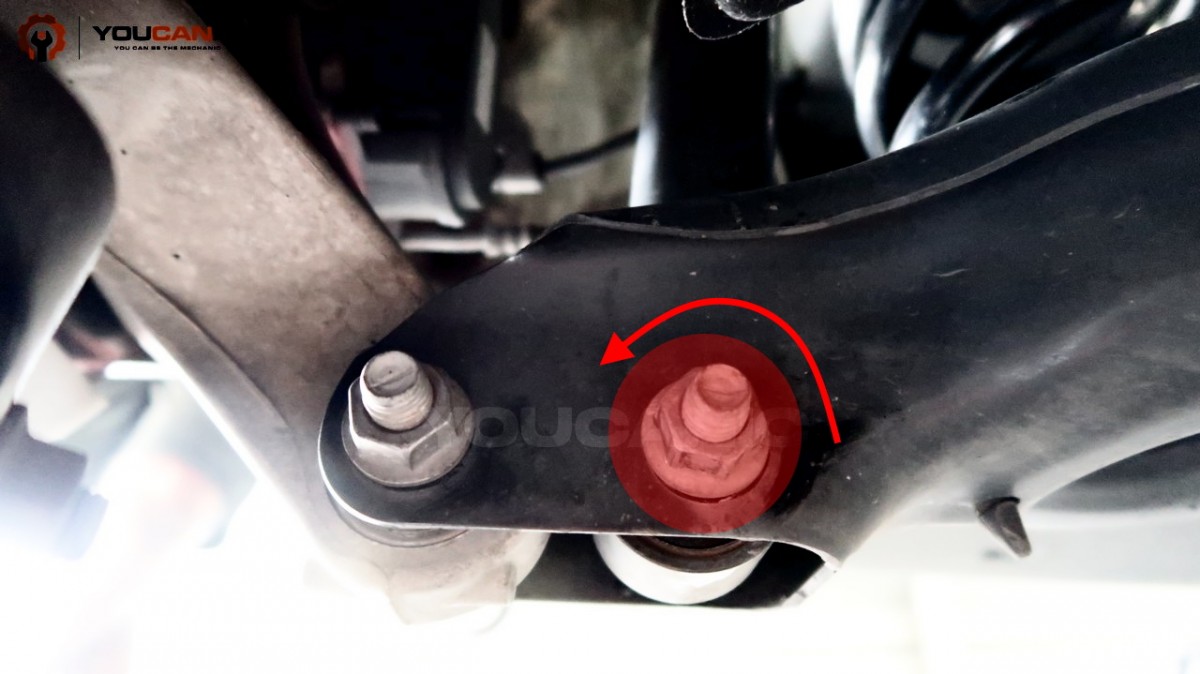
- Remove the bolt that connects the lower control arm to the rear wheel knuckle.

- Slowly lower the floor jack that is under the control arm.
- Remove the spring from under the vehicle.
- Install the new spring in reverse order. Make sure to reinstall the rubber pad between the spring and frame.
- Lift the control arm using a spare floor jack.
- Install the bolts for the rear shock and wheel knuckle.
- Install the wheel and slowly lower the vehicle.
- Torque the lug nuts to 130 ft-lb
Torque Specifications
- Wheel lug nuts: 130 ft-lb
- Shock absorber lower bolt: 60 ft-lb
- Control arm bolt to knuckle: 100 ft-lb
Estimated torque values. For exact torque values, contact Tesla.
We hope you find the Tesla Model 3 Replace or Upgrade Rear Coil Springs guide helpful. Check these troubleshooting and repair guides for more help on your Tesla.

