2013-2020 Ford Fusion Door Panel Removal
How to Remove Ford Fusion Door Panel
What you will need
- Flathead Screwdriver
- Pick Tool
- 7mm Nut Driver
- 10mm Nut Driver
- Mechanic Metric Toolset
- 8mm Socket
Procedure
- Unlock the vehicle and open the driver’s door.
- Remove the power window switch by prying it out using a flat screwdriver or a prying tool.

- Disconnect the electrical connector of the window switch by pressing on the clip and pulling the connector out.
- After removing the window switch, there will be two 8mm bolts on the door panel located where the window switch sits. Use an 8mm socket and turn it counterclockwise to remove it.


- Remove the two 7mm bolts at the bottom of the door panel using a 7mm nut driver and turning it counterclockwise.


- Remove the cover on the inner door handle by prying it out using a flat screwdriver or a pick tool.

- Remove the 10mm bolt inside the inner door handle by using a 10mm nut driver and turning it counterclockwise.


- Pry out the edges of the door panel to unlock the tabs holding to it.


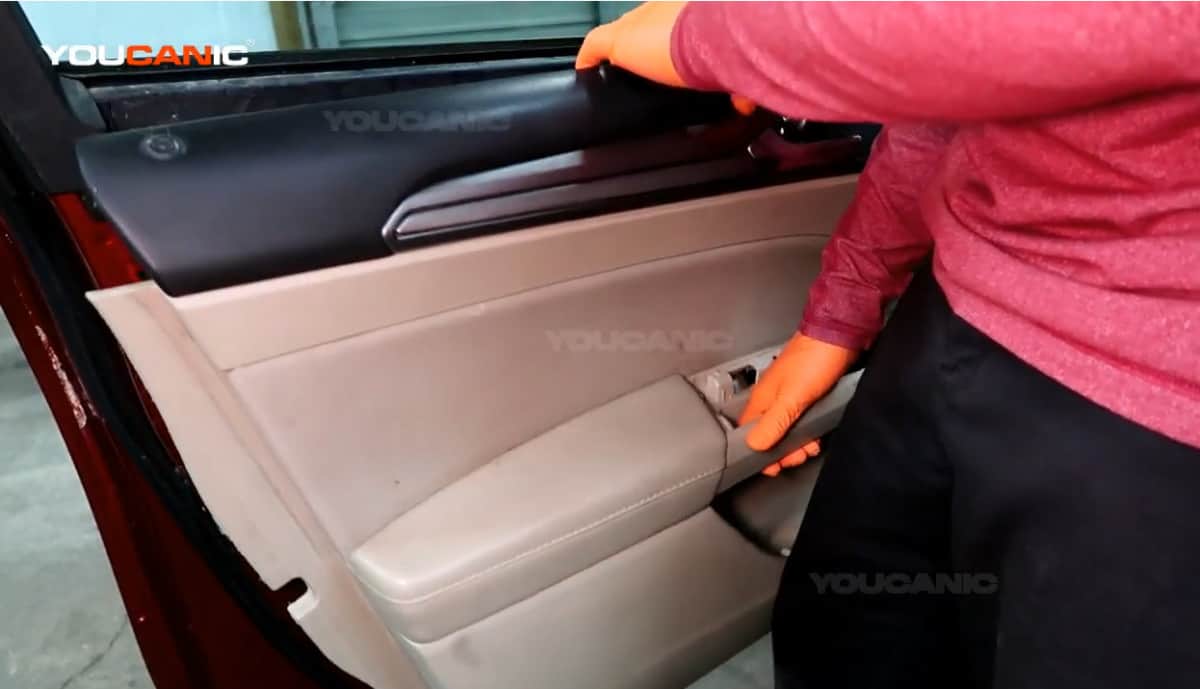
- Pull the door panel up and out of the door.

- Detach the cable of the inner door handle by pulling the inner door handle and pulling the cable out from the door panel using the other hand.


- Disconnect the three electrical connectors on the door panel by pressing the clip on the connector and pulling the connector out to disconnect.


