Diagnose Vehicle Problems Like a Pro
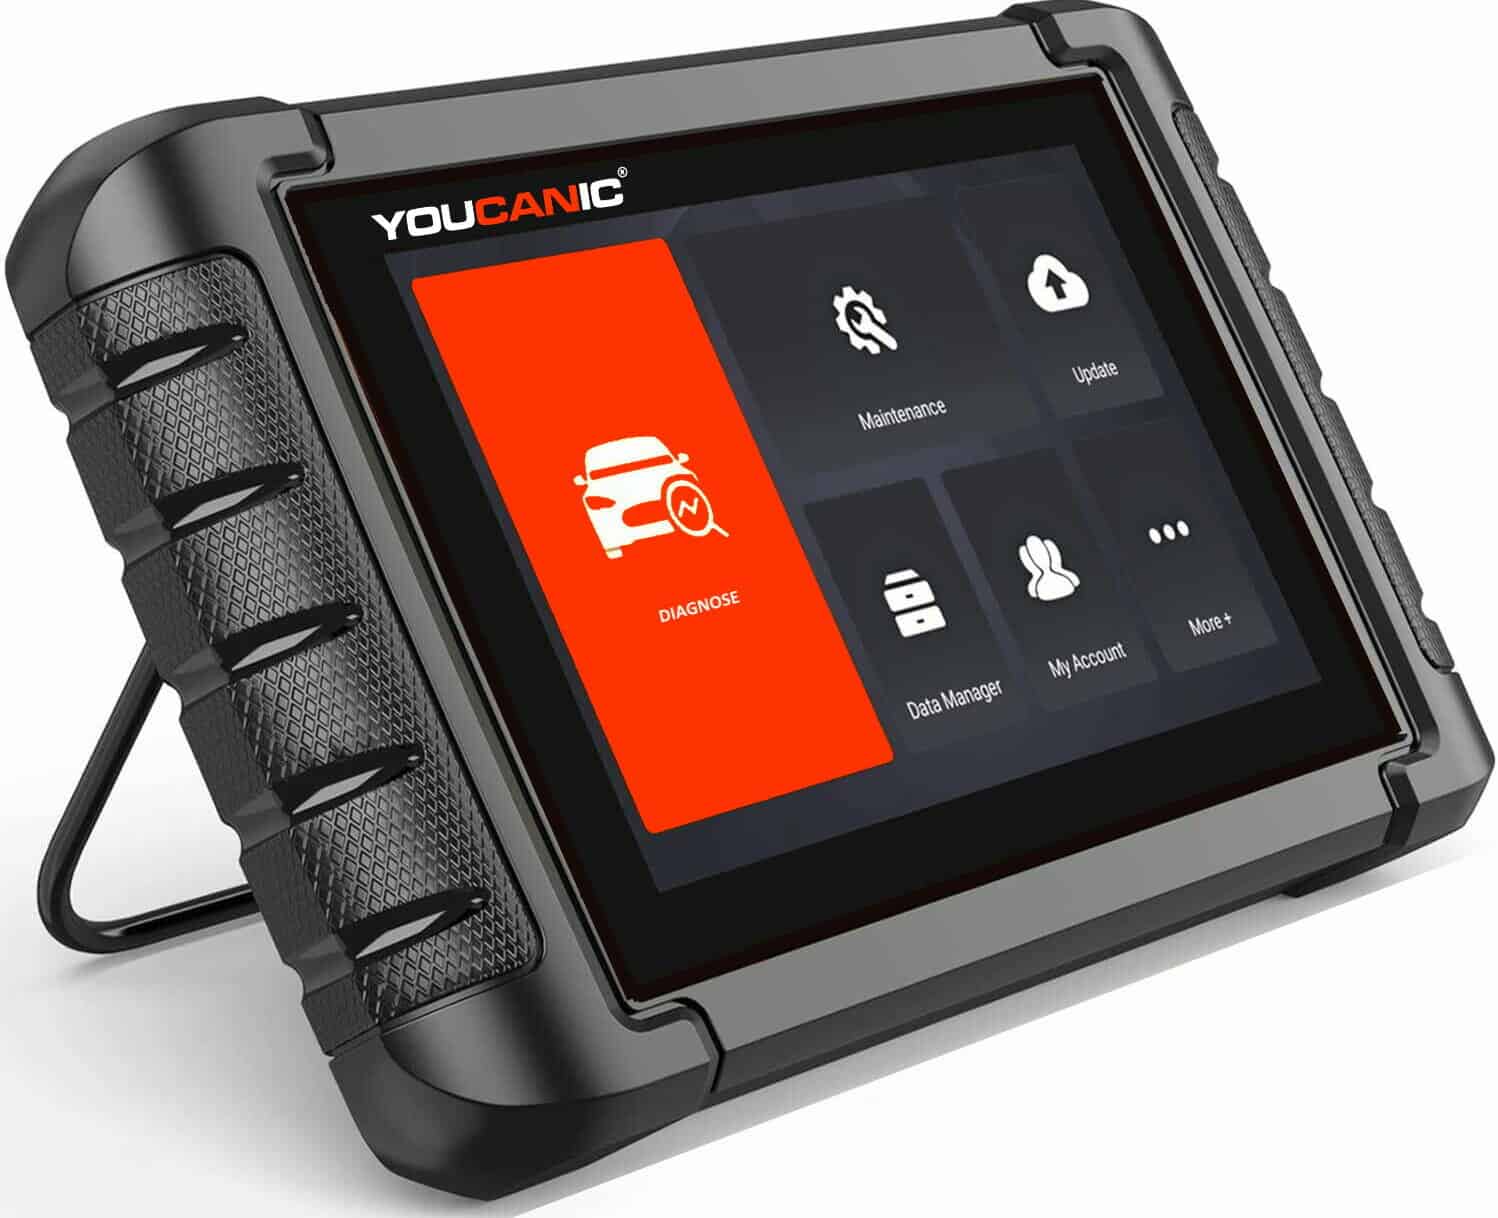
This guide will teach you how to use the YOUCANIC full system scanner to diagnose vehicle problems on any make and model. Except for programming new control units, the YOUCANIC scanner can read, clear, and show live sensor data from all the control modules installed on most vehicles from 1996 to the present.
When your car breaks down is never a good feeling because you never know if it will be a 20-dollar fix or cost you thousands. The worst part is that most mechanics will charge you hundreds for a simple 20-dollar fix.
Diagnosing a vehicle with a professional scanner involves connecting the scanner to the vehicle’s onboard diagnostic system (OBD) and retrieving diagnostic trouble codes (DTCs). The OBD system monitors various systems and components within the vehicle, and when a malfunction is detected, it stores a DTC to indicate the specific issue. The professional scanner reads these codes and displays them on the screen, providing a starting point for the diagnosis.
Next, the technician should use the scanner’s live data function to monitor sensor readings, actuator tests, and other real-time data while the vehicle is running. This information can help pinpoint the source of the problem and determine if any related systems or components are affected. The technician can also use the scanner to perform bi-directional tests and actuator controls, allowing them to actively control certain systems and components within the vehicle and monitor the results.
It’s important to note that retrieving DTCs and using live data are the first steps in diagnosing a vehicle. A skilled technician will also use their knowledge and experience and additional tools and equipment to diagnose and repair the issue fully.
In conclusion, diagnosing a vehicle with a professional scanner provides valuable information to a technician, but it’s just one of the many tools used in the diagnostic process. A thorough understanding of vehicle systems and a combination of diagnostic tools and experience are needed to diagnose and repair a vehicle accurately.
How to read all DTCs
- Connect the scanner to the OBD-II port under the dashboard.
- Turn on the ignition but do not start the car. For vehicles with START/STOP press the button twice without pressing the brake pedal.
- Turn on the diagnostic scanner.
- Select DIAGNOSE from the main screen.
- Select the vehicle’s make and model. If the option comes up to auto scan, select it, and the vehicle makes, and models will be auto-detected.
- Select Control Units.
- Select the control unit you need to diagnose.
- Next, select Read Fault codes.
- Fix the problem shown in the previous step. Go back to the previous menu and select Clear Fault Codes.
- Scroll down to show live sensor data.
The best thing you can do to save money and headaches is to learn how to diagnose vehicle problems yourself.
Conclusion

You don’t have to take the vehicle to the dealer every time a malfunction or warning light appears on the dashboard. We designed the YOUCANIC scanner to show all the diagnostic information you can see when you visit a dealer.
Remember that fault codes should be researched, and often, you need to look at other modules to figure out what is going on with the vehicle. Multiple fault codes are created in most cases, pointing to one problem.
With the help of a little diagnostic scanner, you will find out what is going on with your vehicle in just a few minutes. Even if you don’t plan on fixing the problem yourself, you will be able to have a better understanding of what is wrong with your car.


When turning off Main switch on 2017 Genesis G80 and turning vehicle on will it make it misfire and turn on check engine light