Front Headlight Clearance Marker Light Replacement Mitsubishi Mirage
Is the front clearance marking light not working on your Mitsubishi Mirage? This guide provides instructions on replacing the front headlight clearance marker light of the Mitsubishi Mirage G4. Following the procedures below, learn to remove and change your Mitsubishi Mirage’s front clearance marker light.
What you will need
- Headlight marker light bulb
Procedure
- Open the hood. Pull the hood release under the dashboard and go to the front of the vehicle. Then, unlock the hood latch and pull the hood up. Use the hood lift to hold the hood up.

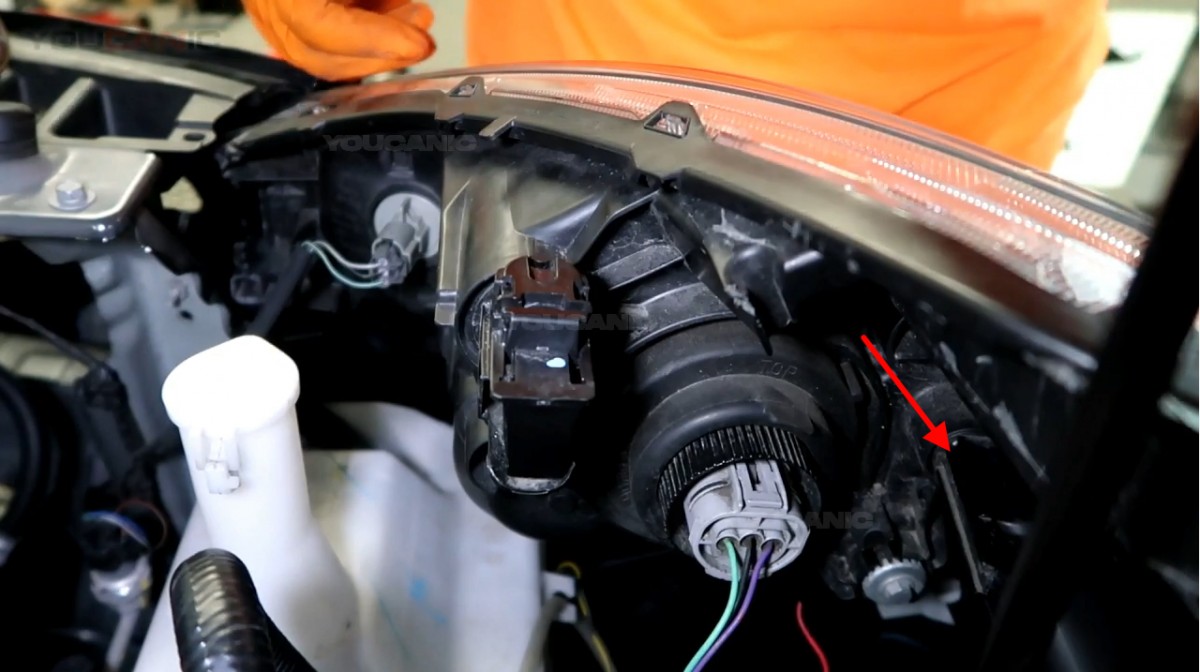
- Find the clearance marker adapter located behind the headlight.

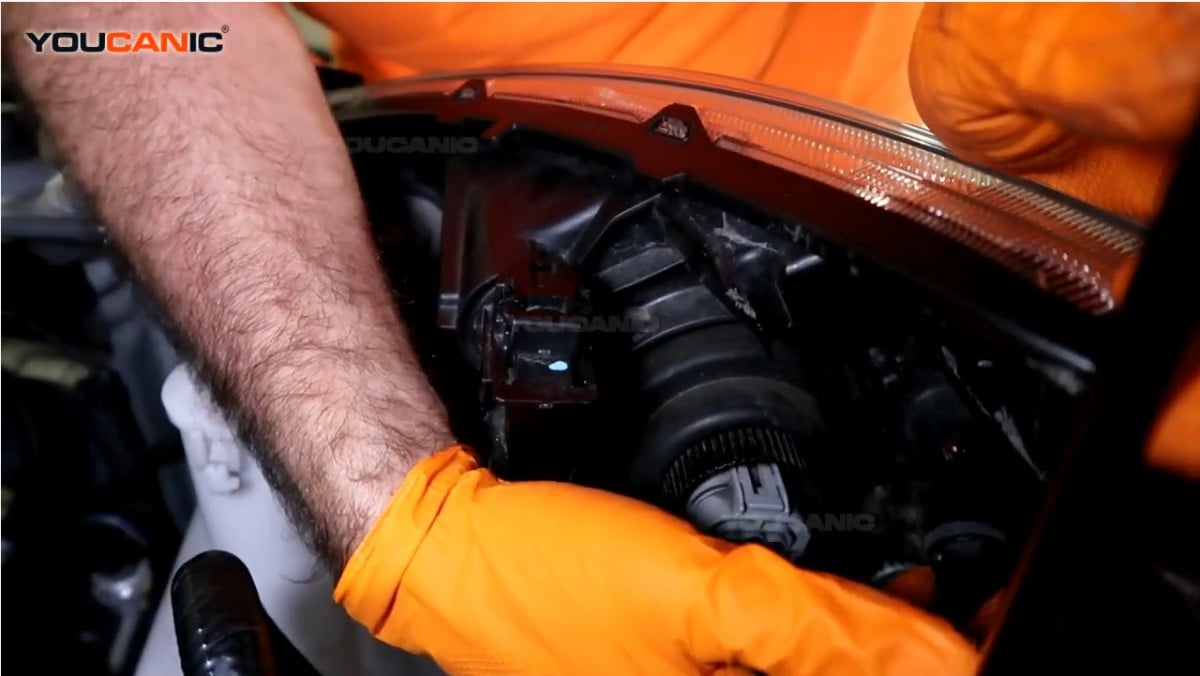
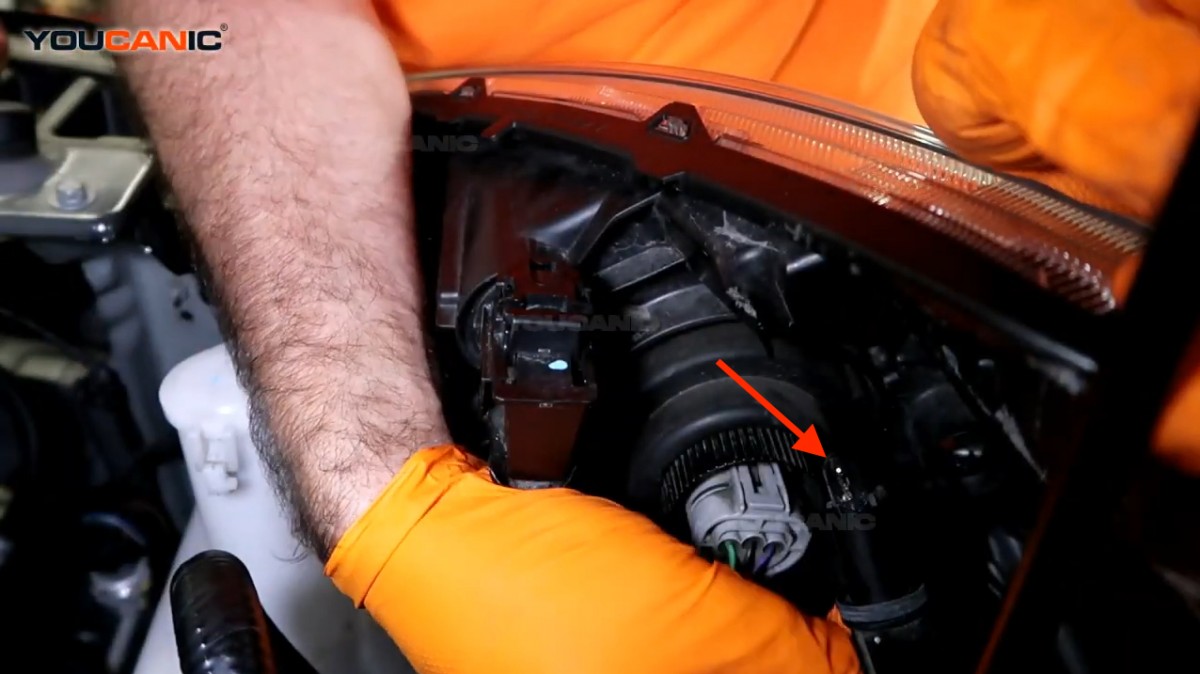
- Remove the adapter from the headlight. Twist the adapter counterclockwise and pull it out from the headlight.

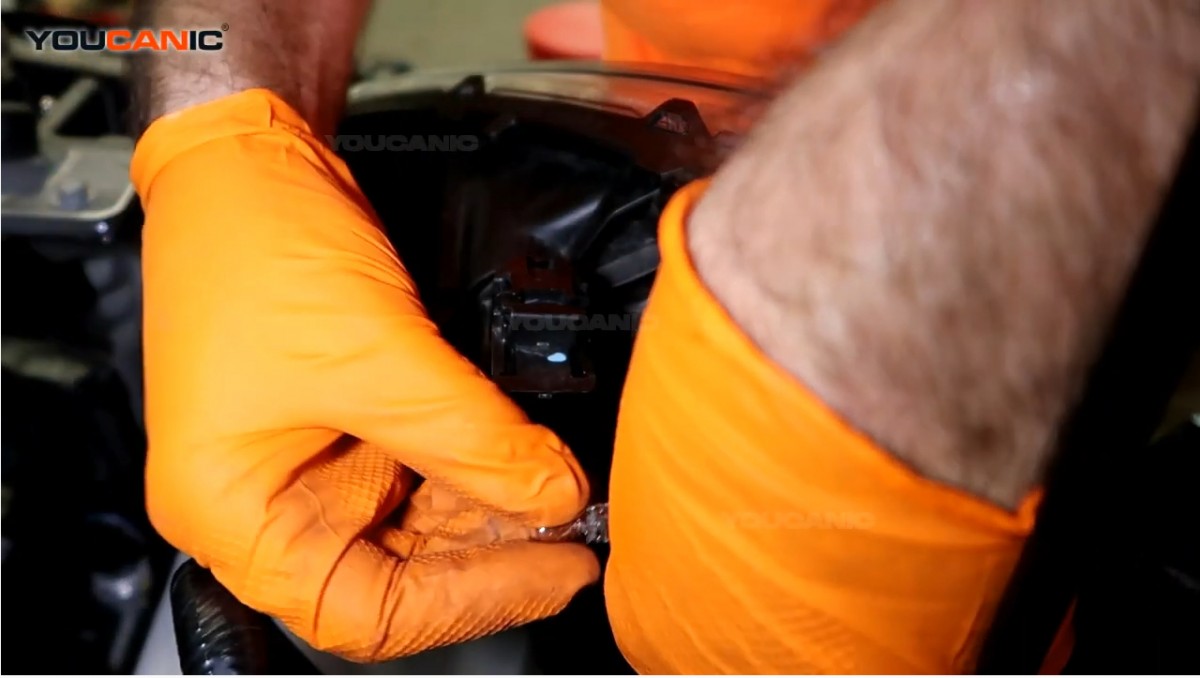
- Remove the light bulb from the adapter by pulling the light bulb out.

- Install the new light bulb. Push the light bulb into the clearance marker adapter.

- Reinstall the clearance marker adapter to the headlight. Put the adapter back into the headlight and twist it clockwise to lock it in.
 Check the light bulb by turning on the light in your vehicle.
We hope you find the Front Headlight Clearance Marker Light Replacement Mitsubishi Mirage guide helpful. Check these troubleshooting and repair guides for more help on your Mitsubishi.


 Check the light bulb by turning on the light in your vehicle.


