Toyota Camry Sway Bar Link Replacement
Is your Toyota Camry clucking/rattling noise when driving at low speeds and has poor handling when turning? This guide is a step-by-step procedure for replacing the sway bar link on a Toyota. These procedures are based on a 2012-2017 Camry but apply to other models.
How to Replace the Toyota Camry Sway Bar Link
Symptoms
- Clunking noise.
- Rattling noise.
- Knocking sound on uneven roads.
- Lack of stability when driving.
- Noise while going over speed bumps.
- Poor handling when turning.
What you will need
- Sway bar link (Toyota Camry 2012)
- Floor jack
- Jack stand
- 17mm wrench
- 19mm wrench
- Torque Wrench
Procedure
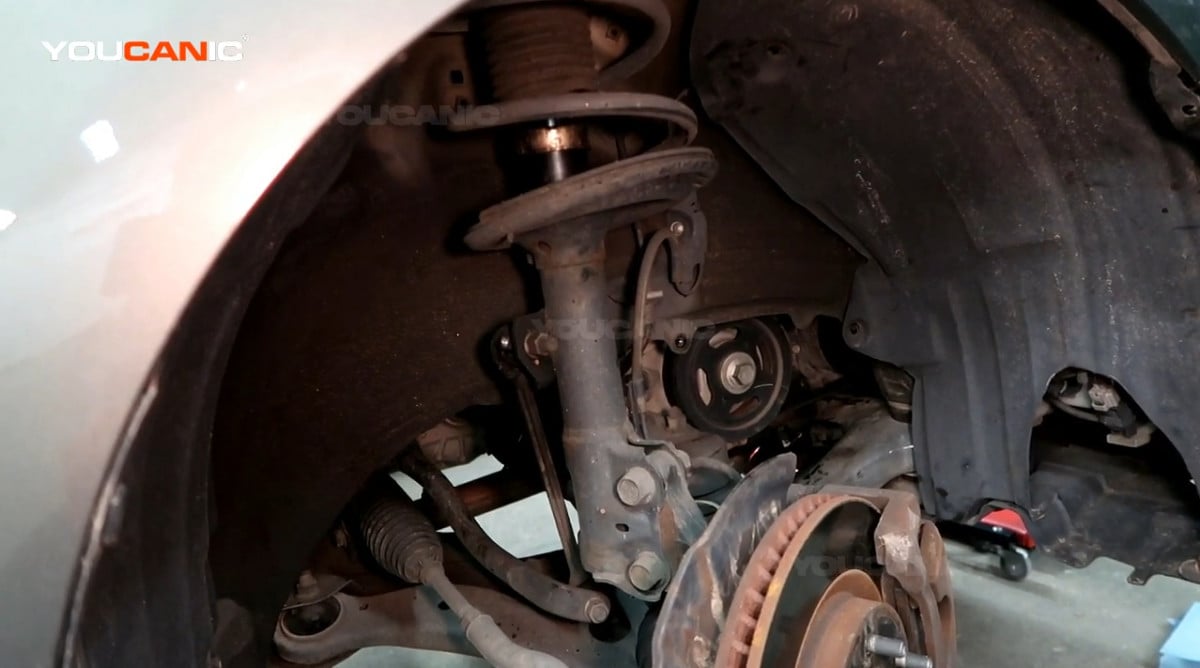
- Park the vehicle on safe, level ground and loosen the lug nuts on the wheel.
- Jack up the vehicle, support the vehicle with a jack stand, and remove the wheel.

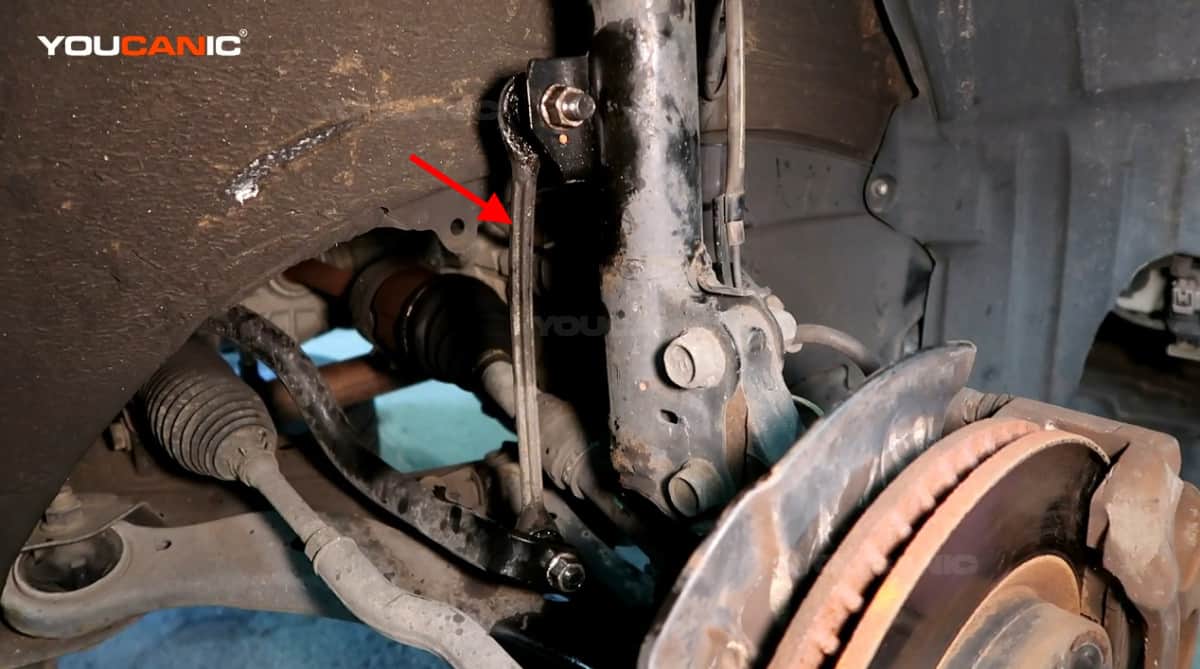
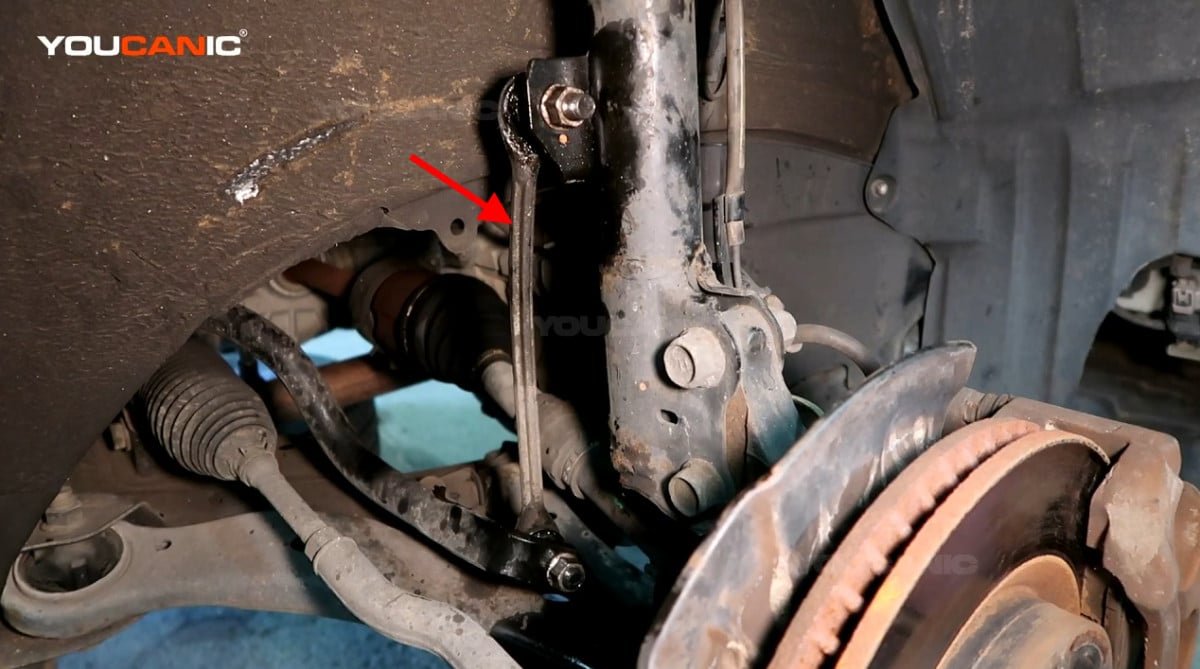
- Locate the sway bar link on the vehicle’s suspension.

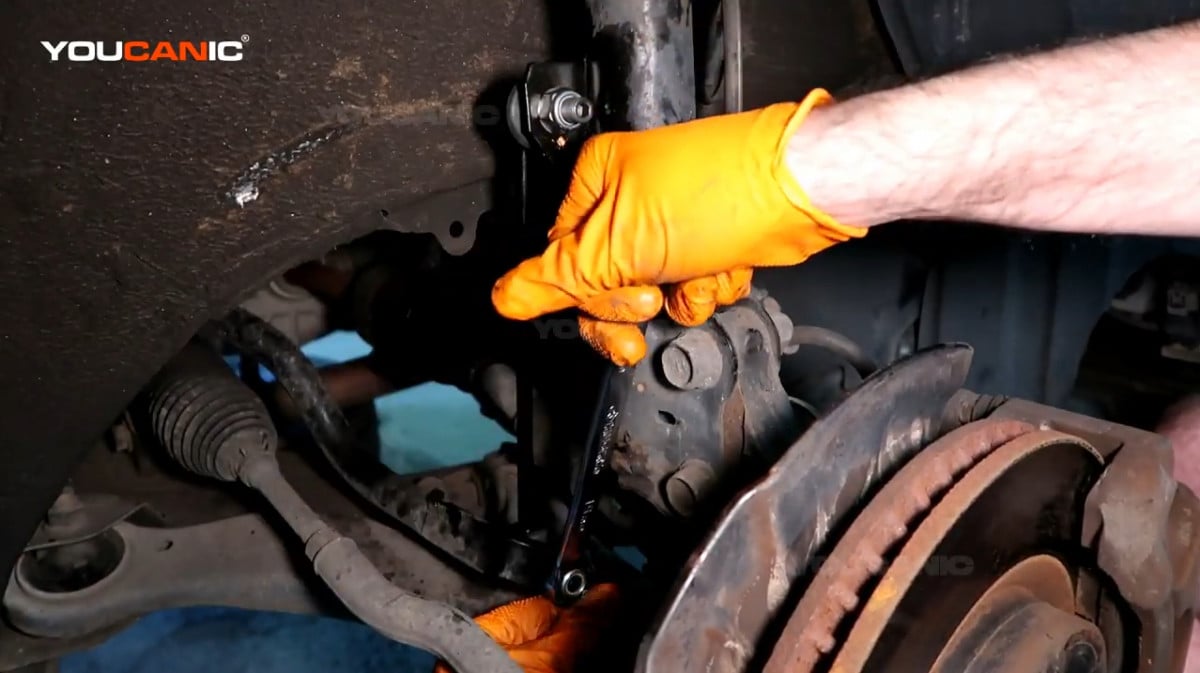
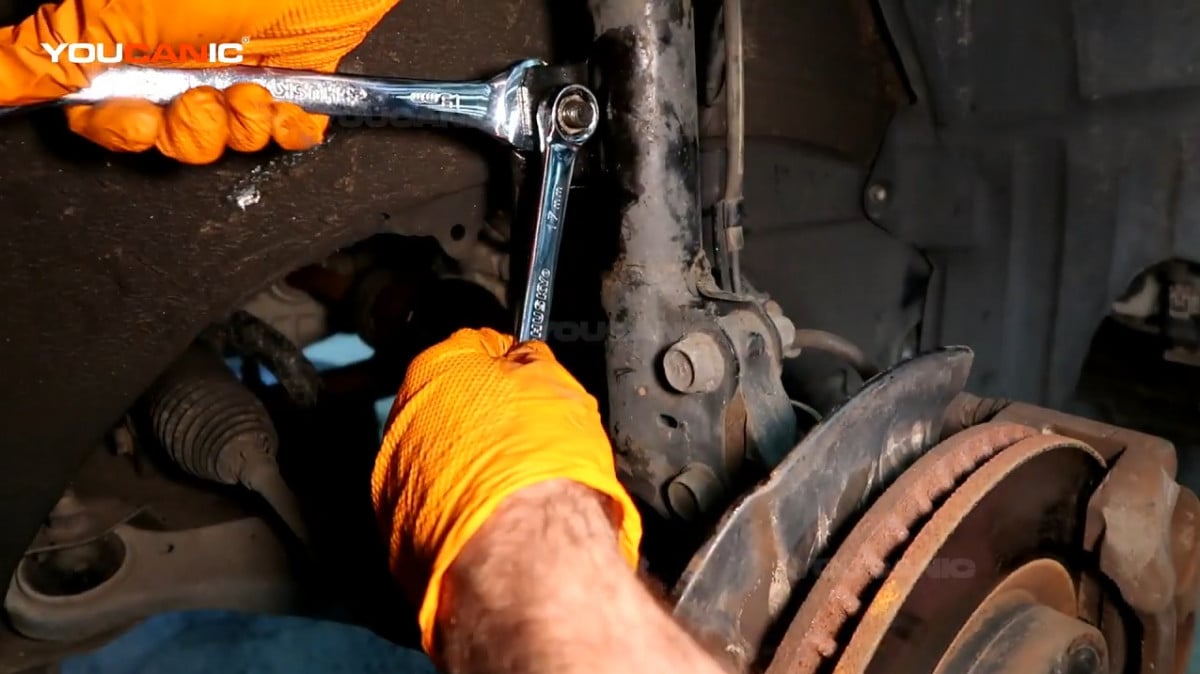
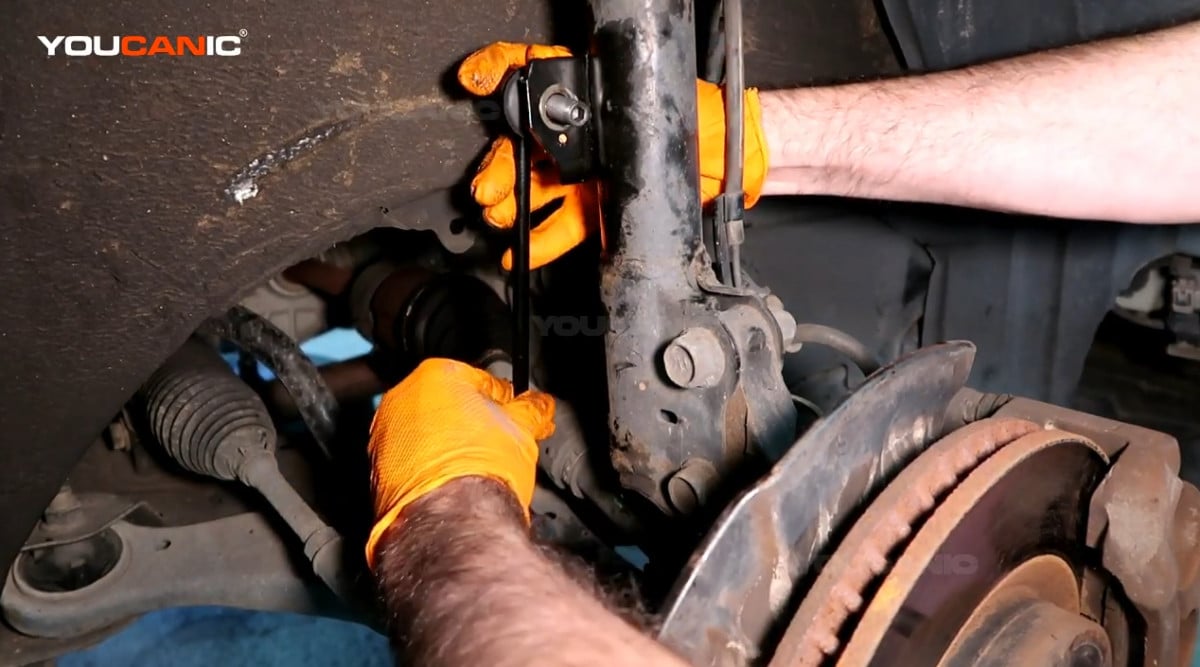
- Remove the 17mm nut on the top and bottom of the sway bar link using a 17mm wrench and turn it counterclockwise. Use a 19mm wrench or plier to hold the bolt and prevent it from spinning.


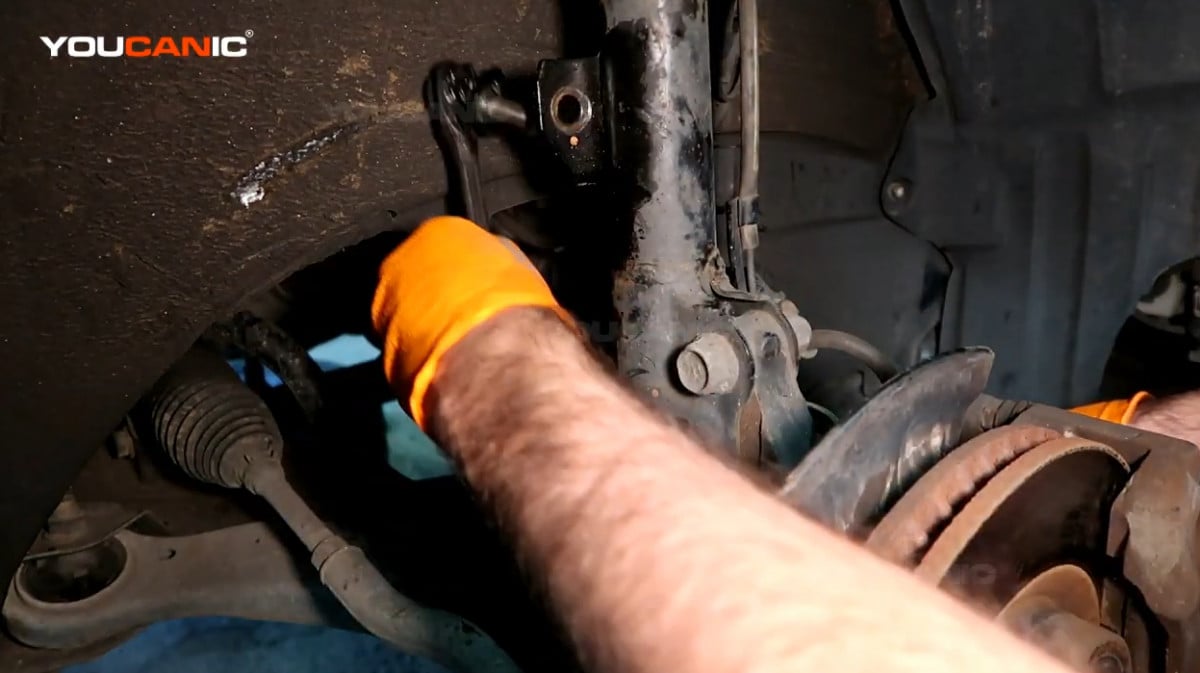
- Remove the sway bar link from the vehicle.

- Get the new sway bar link and line it up to the vehicle.

- Install the 17mm nuts on the top and bottom of the sway bar link. Use a 17mm wrench and twist the nut clockwise to tighten.
 Repeat the procedure for the lower sway bar link.
- Carry the wheel back to the vehicle and reinstall its lug nuts.
- Lower the vehicle on the ground.
Torque Specifications
- Sway Bar Link: 74 N·m (55 ft·lbf)
- Front Wheel: 103 N·m
- Stabilizer bar bracket: 19 N·m (14 ft·lbf) (Not shown on this tutorial. For information only.)
We hope you find the Toyota Camry Sway Bar Link Replacement guide helpful. Check these troubleshooting and repair guides for more help on your Toyota.



 Repeat the procedure for the lower sway bar link.