Tail Light Assembly Replacement Toyota Camry 2012-2017
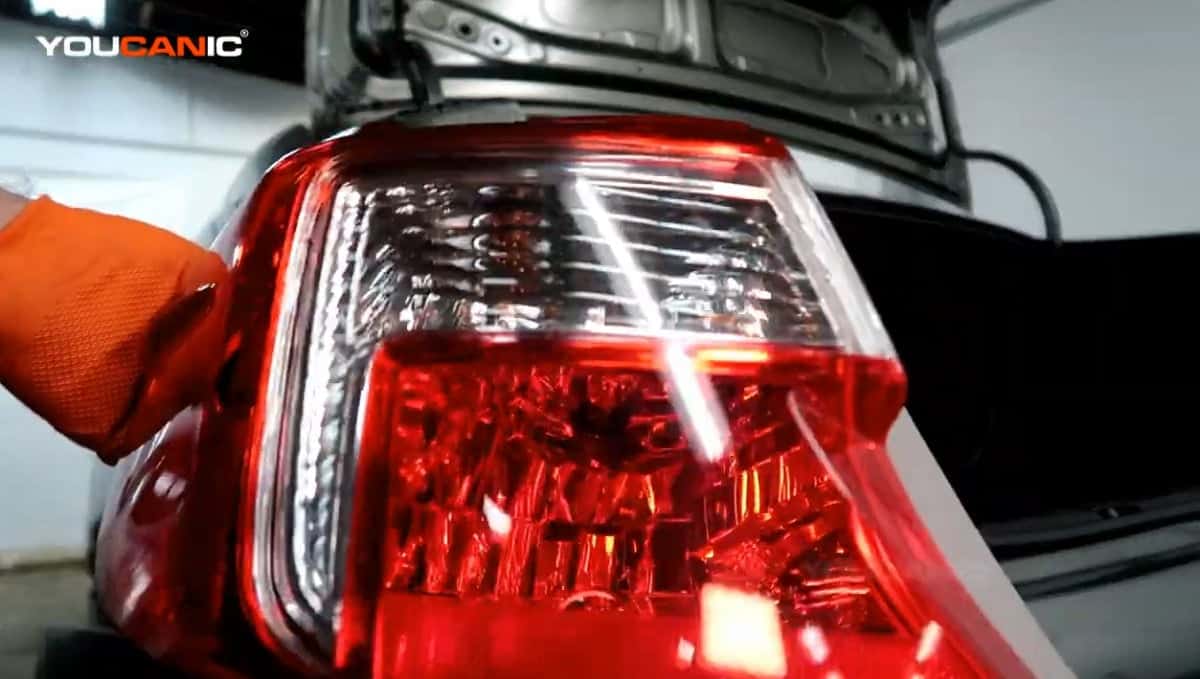
Is your Toyota Camry’s tail light assembly not working? Learn how to fix the problem by replacing it. This guide provides a step-by-step procedure for replacing the inner and outer tail light assemblies on a 2012-2017 Toyota Camry XV50.
How to Replace Toyota Camry Tail Light Assembly
What you will need
- Mechanic Metric Toolset
- 10mm socket wrench
- Fastener removal tool
- Inner tail light assembly
- Outer tail light assembly
Procedure
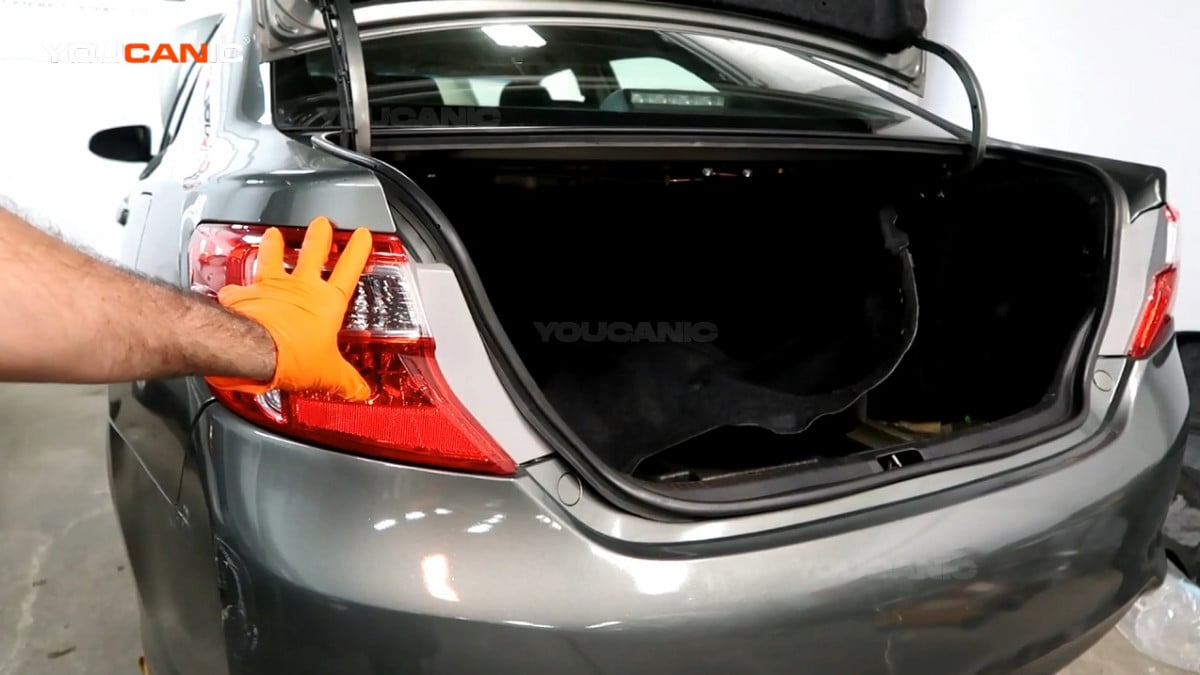
- Open the trunk. Pull the trunk release on the lower left side of the driver’s seat and raise the trunk.

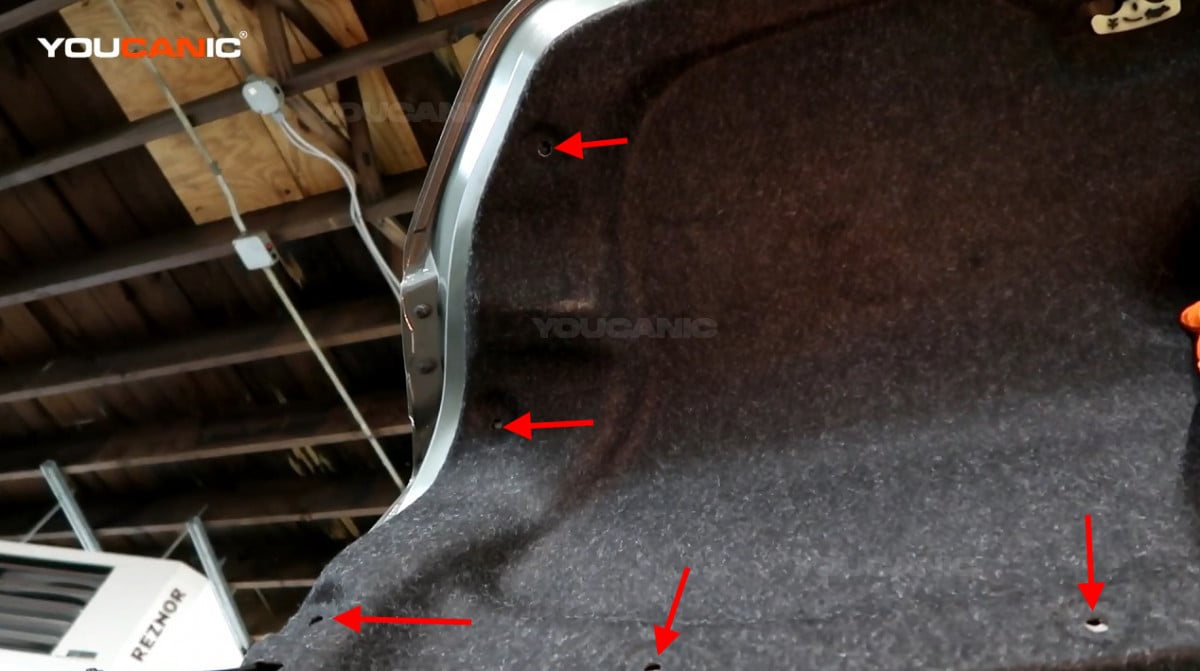
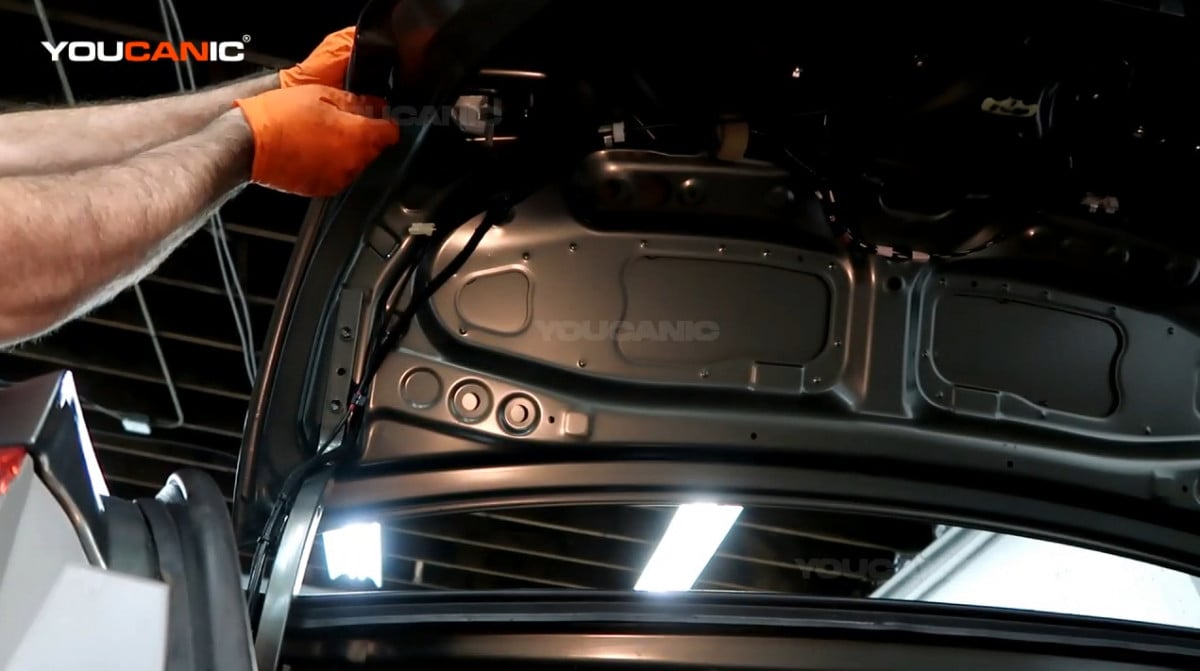
- Remove the push clips on the inner trunk shield and pull the trunk shield out.

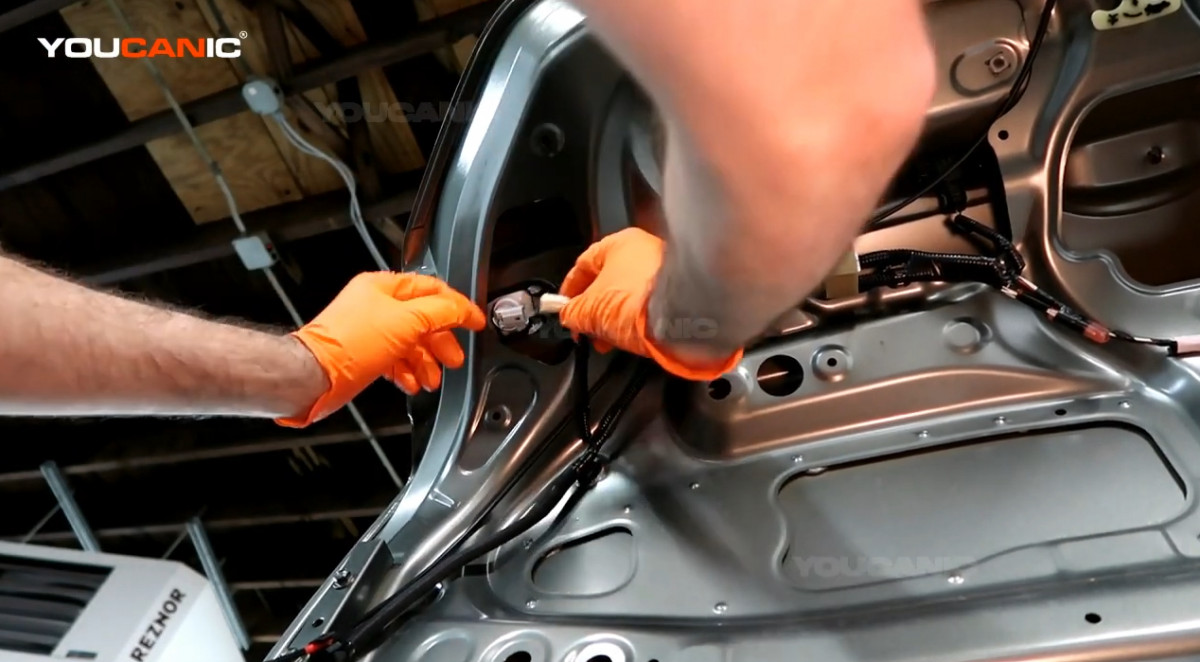
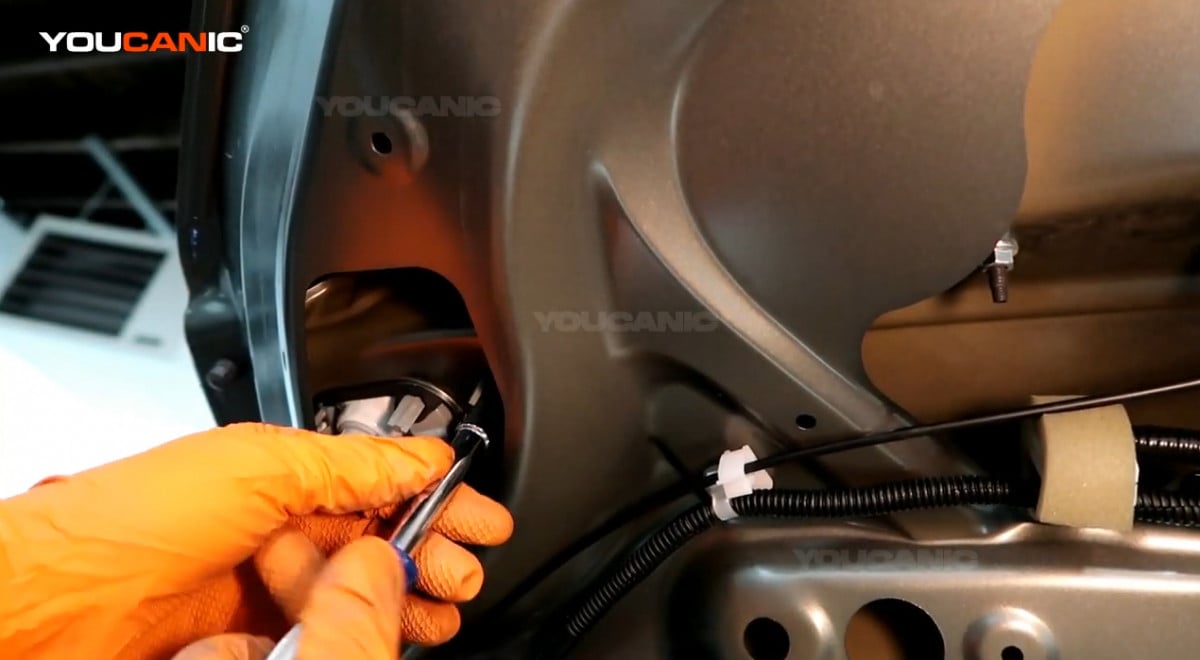
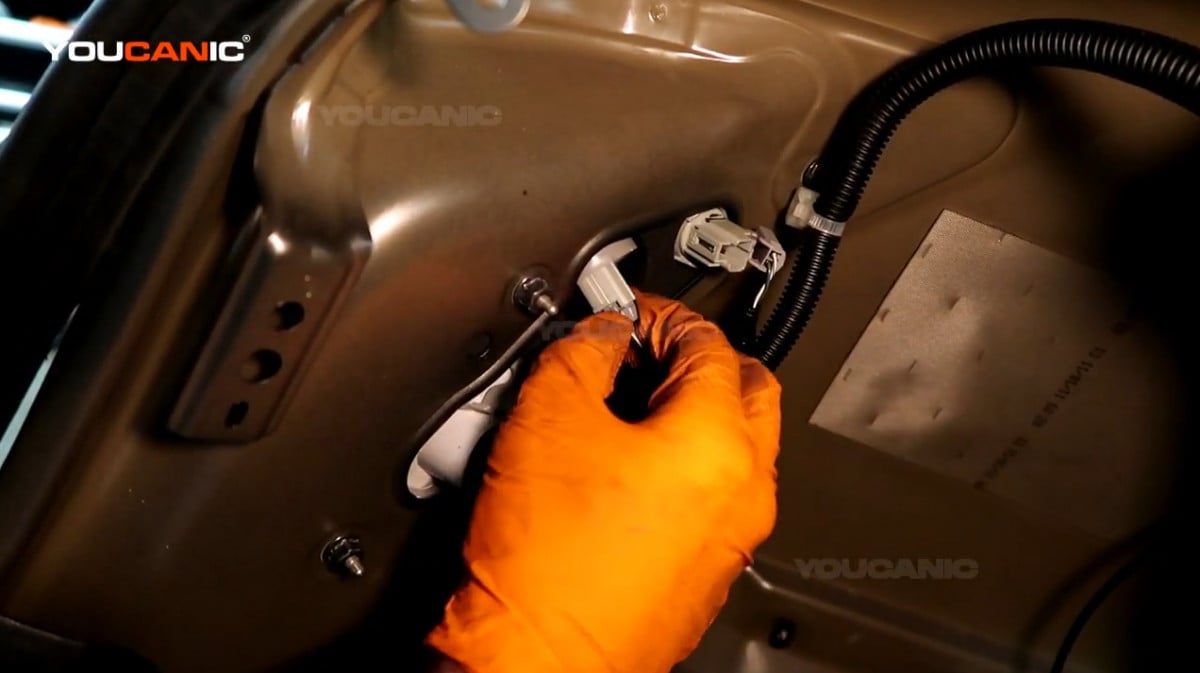
- Disconnect the electrical connector of the reverse light by pushing the tab on the connector and pulling it out.

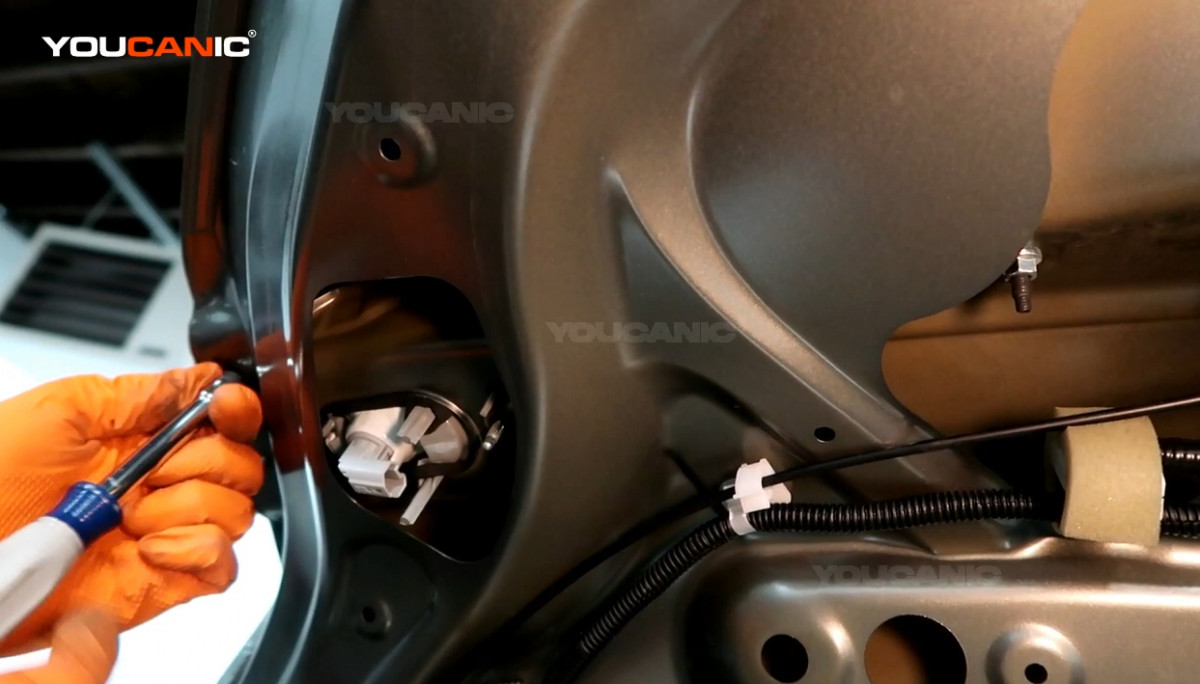
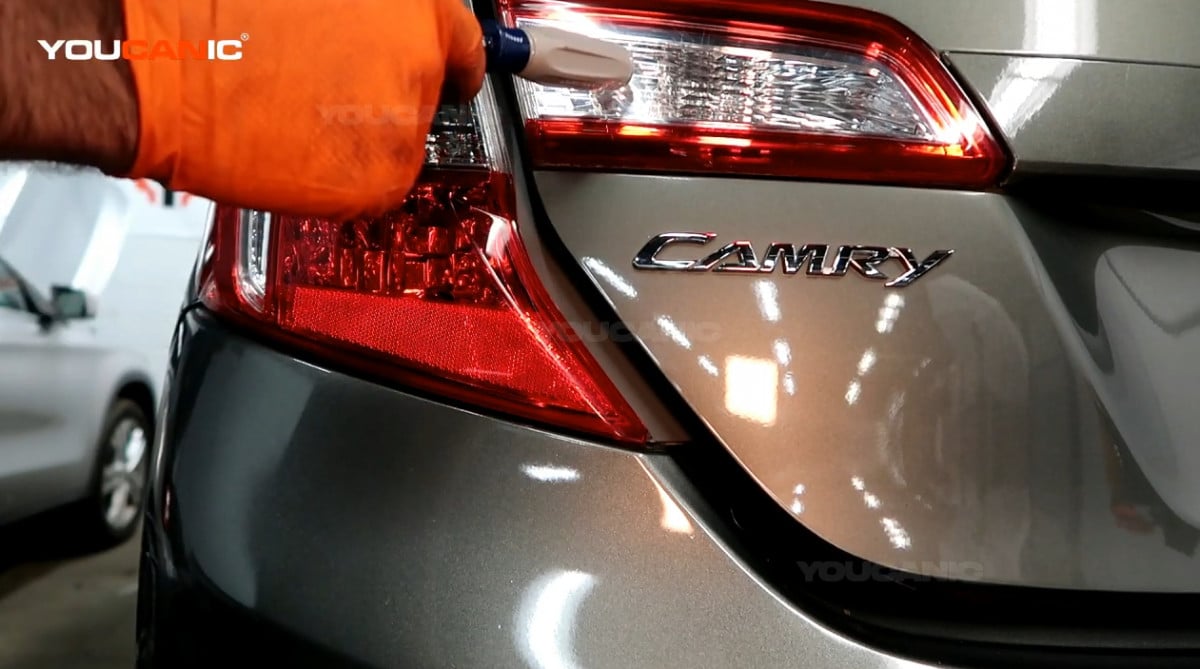
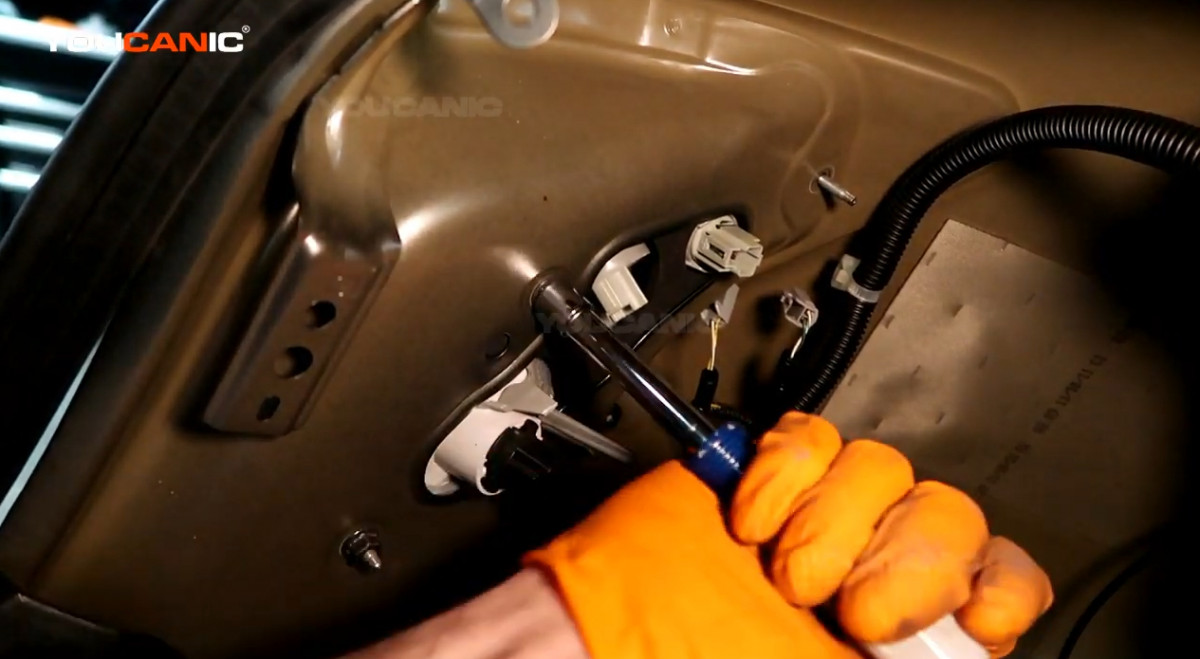
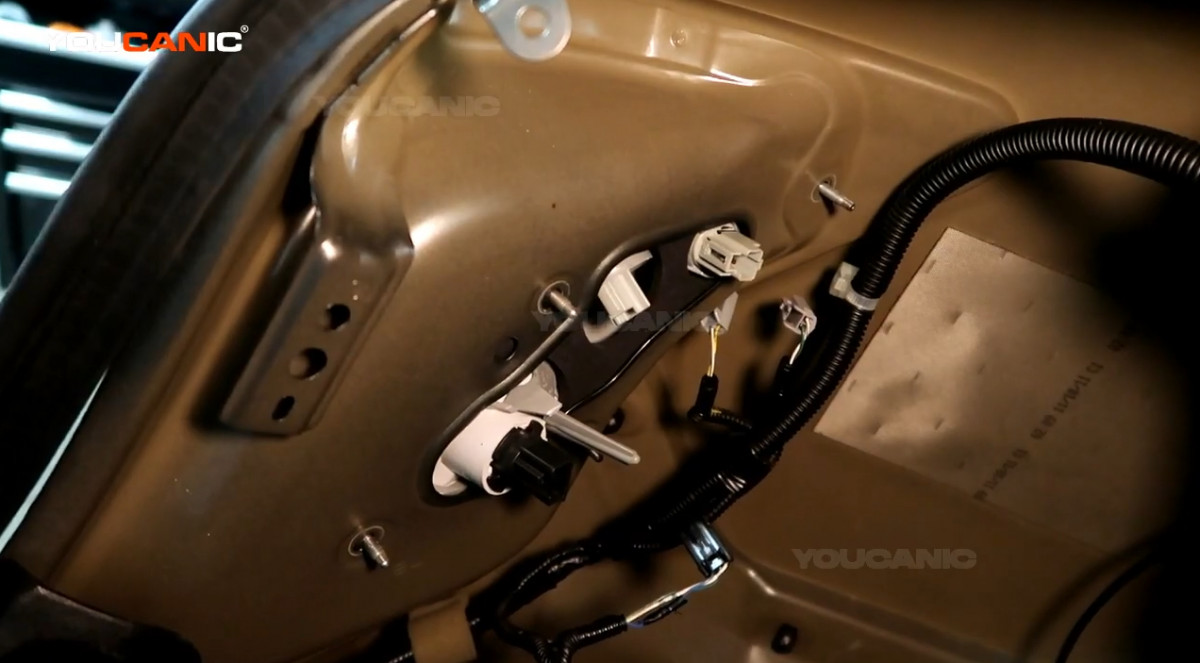
- Remove the 10mm bolt on the right side of the reverse light socket and the two 10mm plastic bolts on the outer side of the inner tail light assembly.


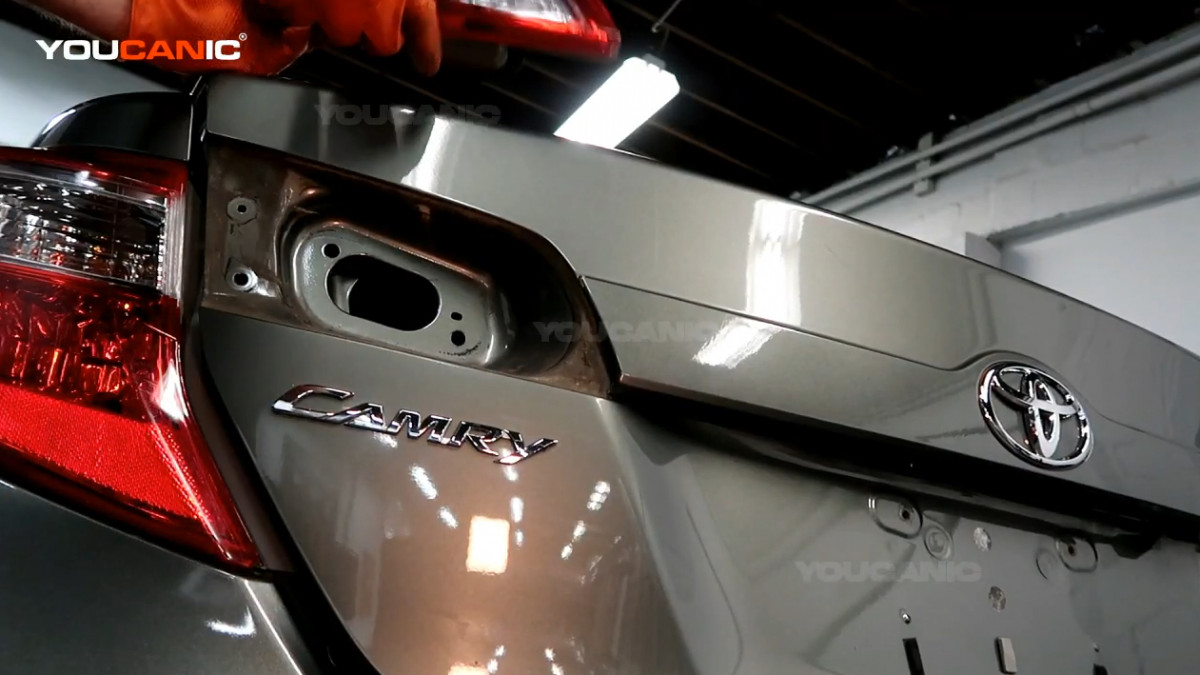
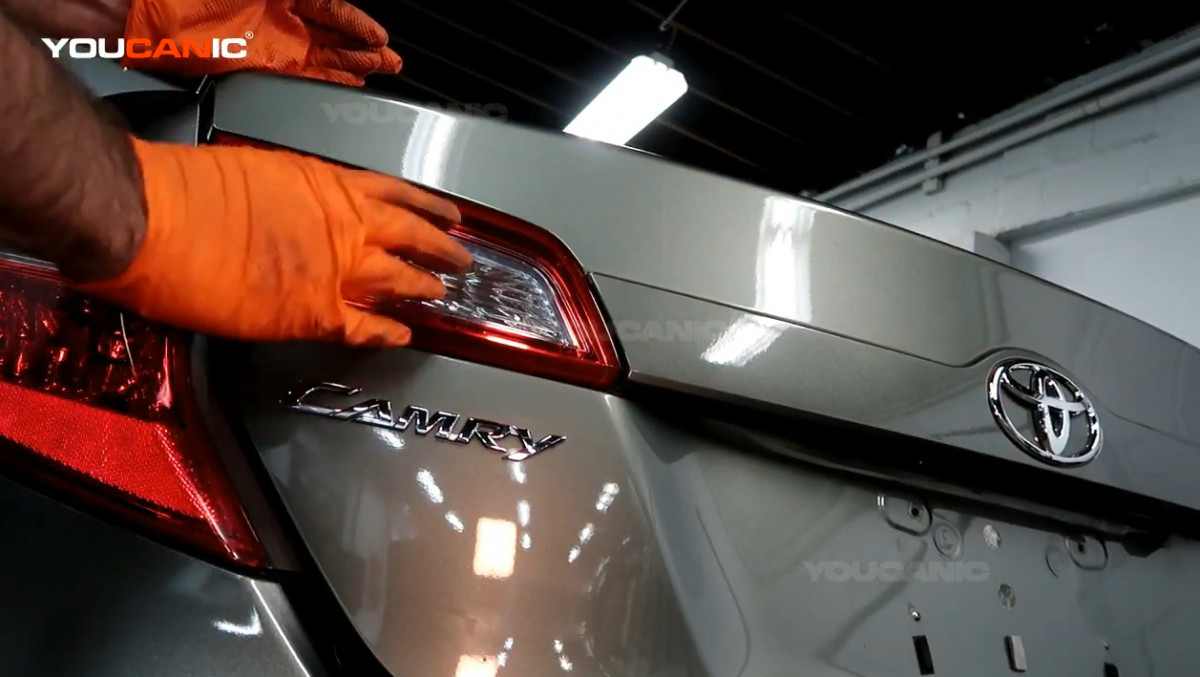
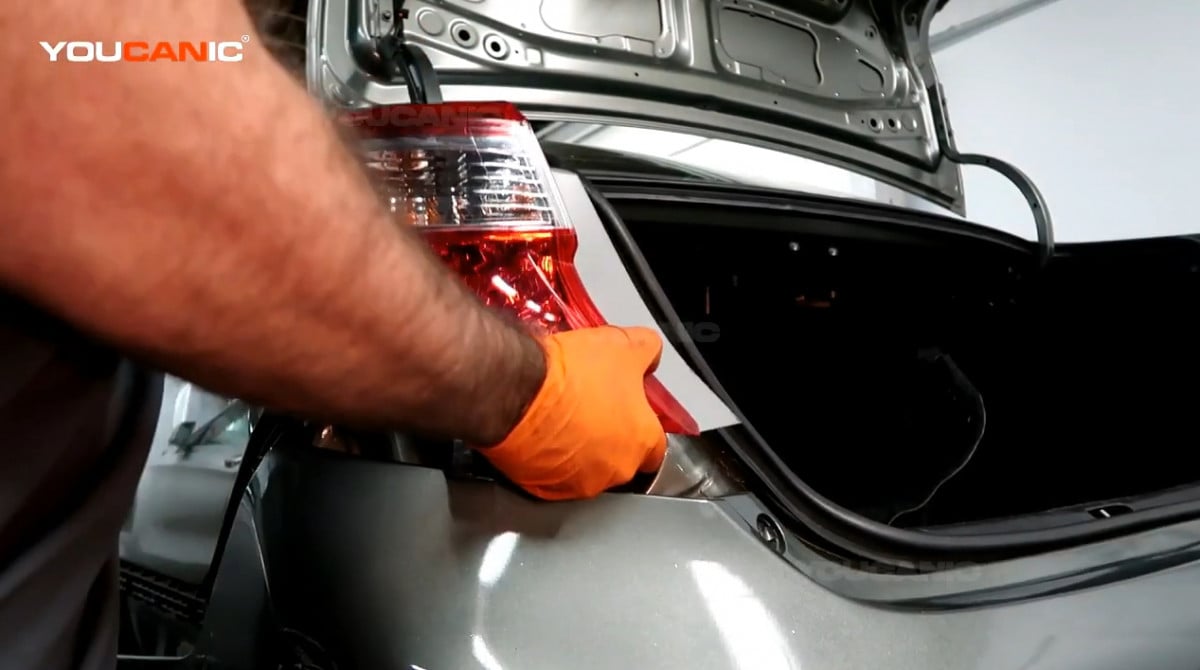
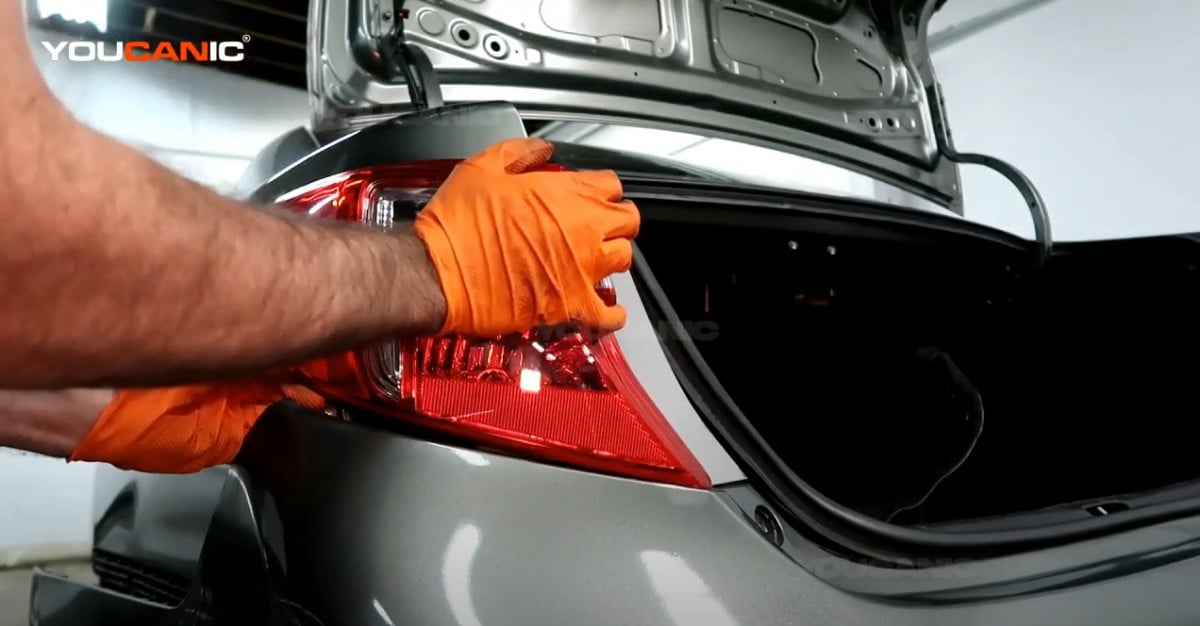
- Push the inner tail light assembly out from the vehicle.


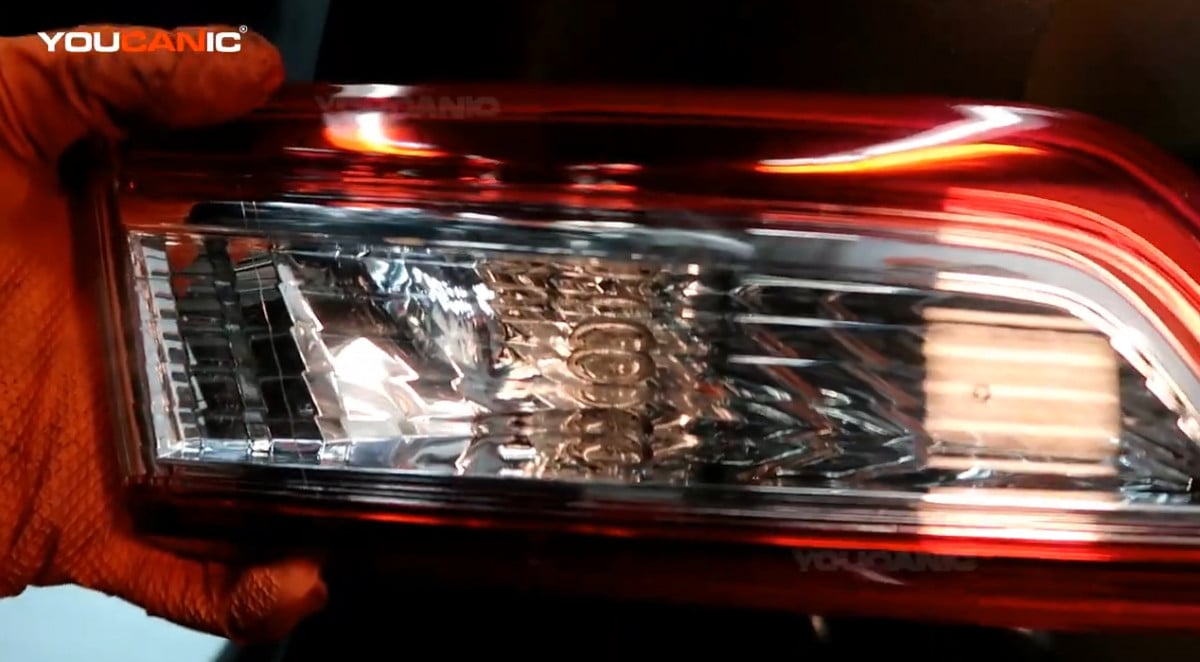
- Get the new inner tail light assembly and put it in the trunk in the proper orientation.


- Reinstall the 10mm plastic bolts and 10mm bolt on the inner tail light. Then, reconnect the electrical connector of the reverse light.


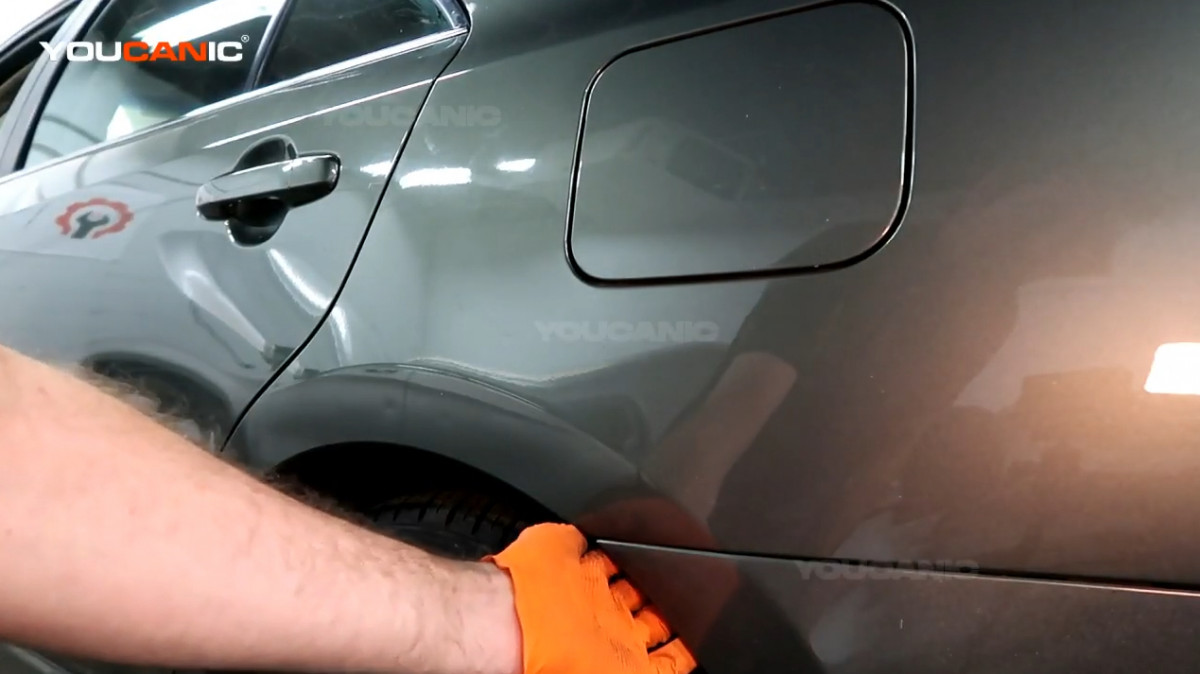
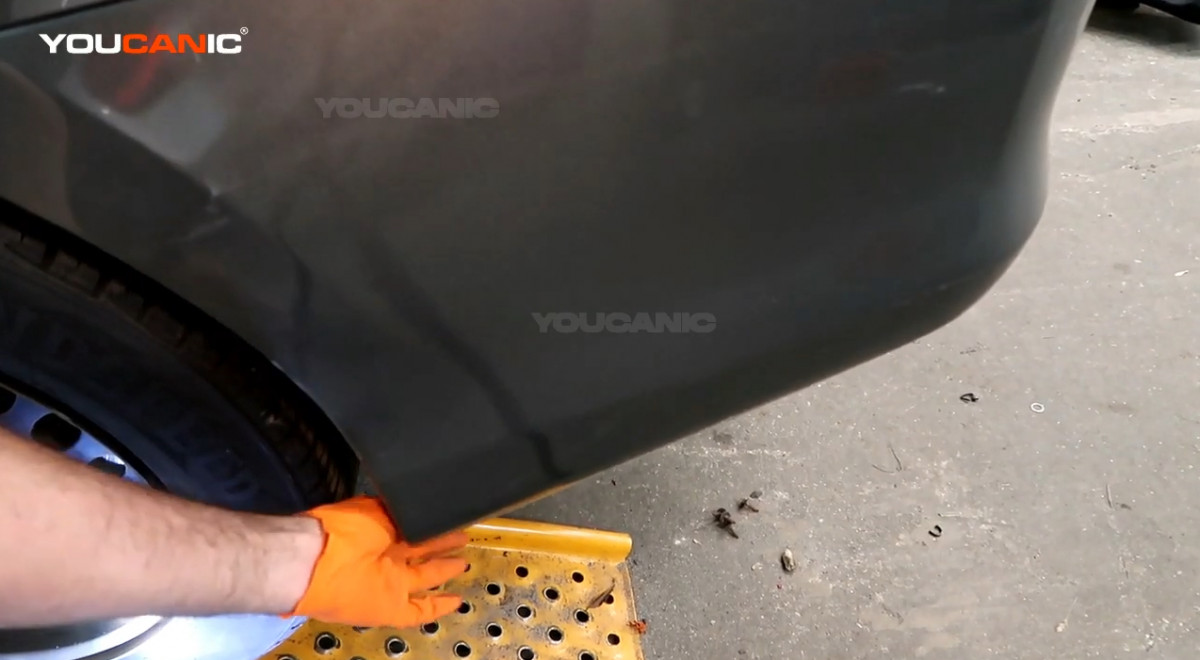
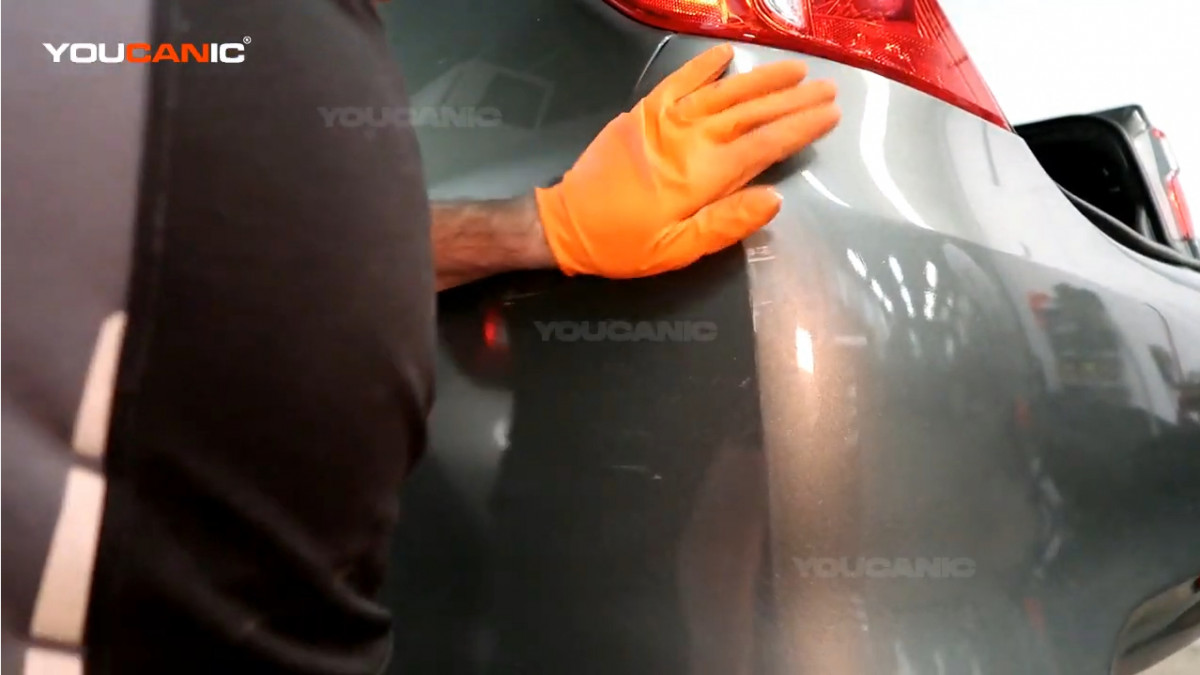
- Drop down the rear bumper by removing the bolts holding to it.


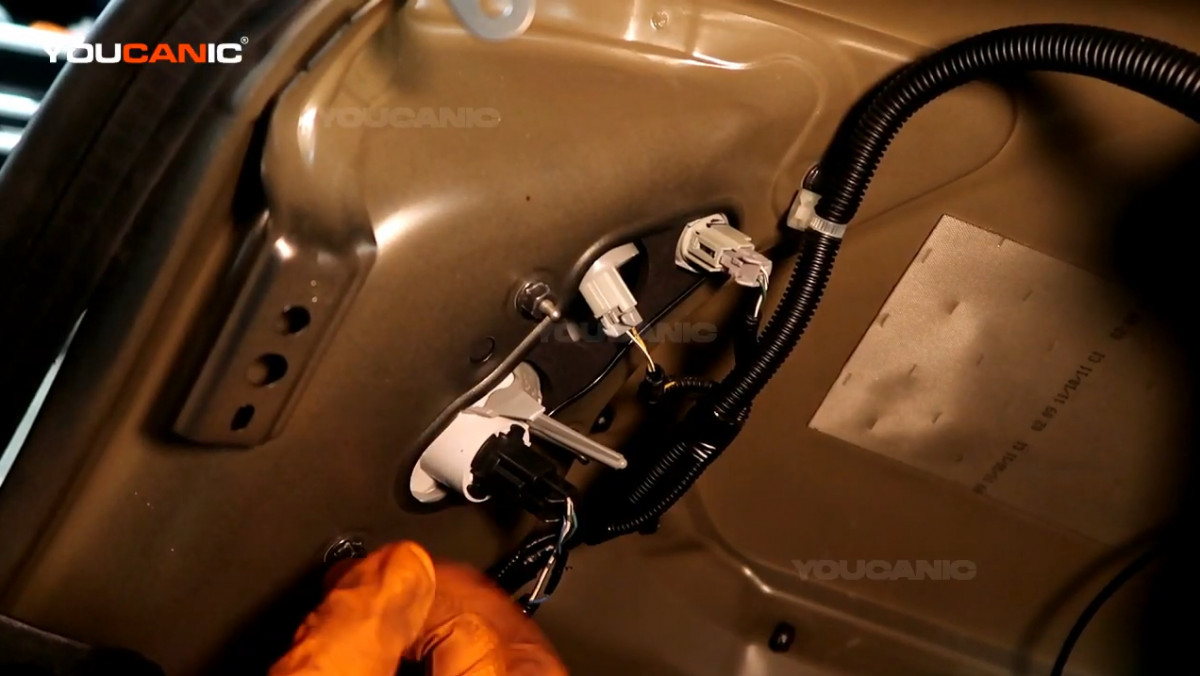
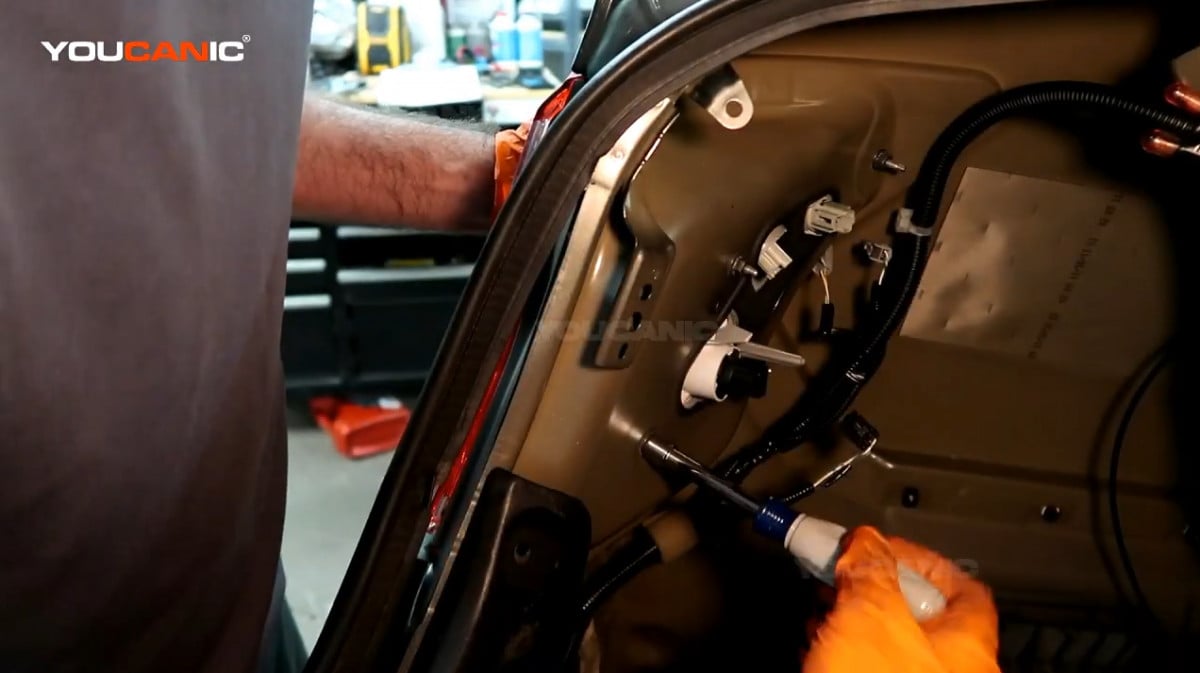
- Remove the inner trunk shield by removing the push clips and disconnecting the electrical connectors behind the outer tail light assembly by pushing the tab on the connector and pulling it out.


- Remove the four 10mm bolts holding the outer tail light assembly.


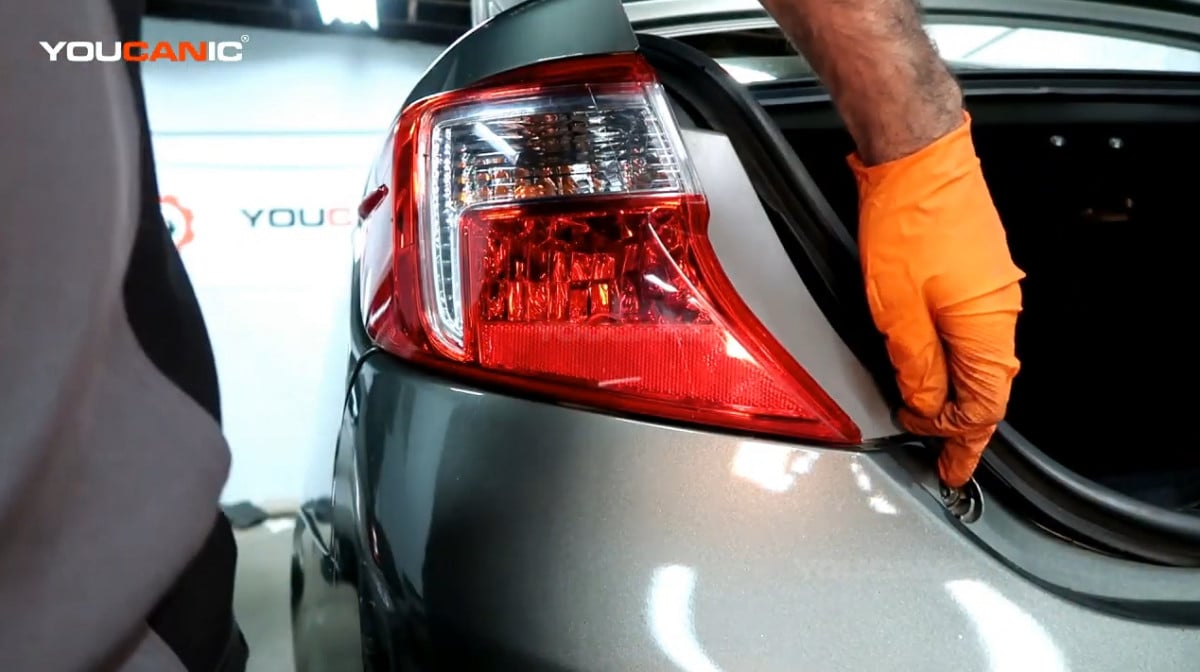
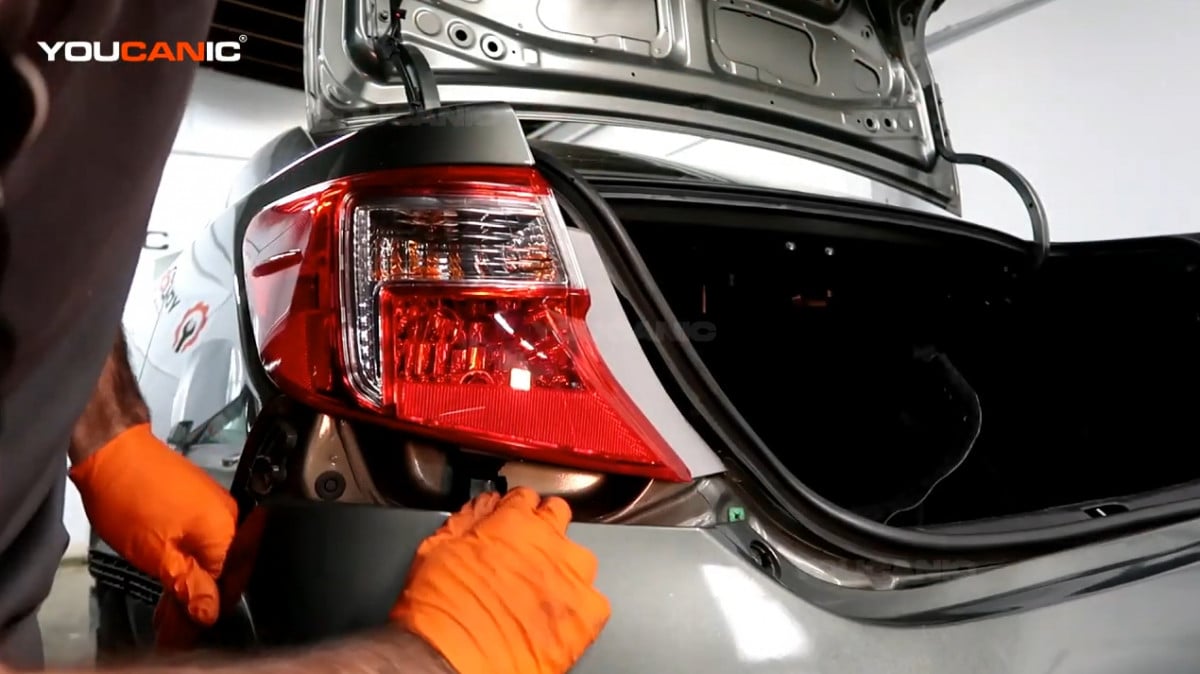
- Remove the outer tail light assembly by wiggling it out from the vehicle.

- Get the new outer tail light assembly and line it up to the vehicle.


- Push the rear bumper to its proper position and reinstall the bolts on the rear bumper.

- Reinstall the four 10mm bolts behind the outer tail light assembly and reconnect the electrical connectors by pushing them into the lights’ sockets.


- Put back the trunk shield and reinstall the push clips of the trunk shield.
We hope you find the Tail Light Assembly Replacement Toyota Camry 2012-2017 guide helpful. Check these troubleshooting and repair guides for more help on your Toyota.

