Restore Wood trim using the French polishing technique
Need to restore the wood trim on your vehicle? Learn how to do it by following the procedures below.
I found an old book belonging to my dad for a lost art of wood polishing and mirror finishing. My dad used to mix the flakes when I was a kid and refinish our furniture back home; we call it something else back home, a different name here.
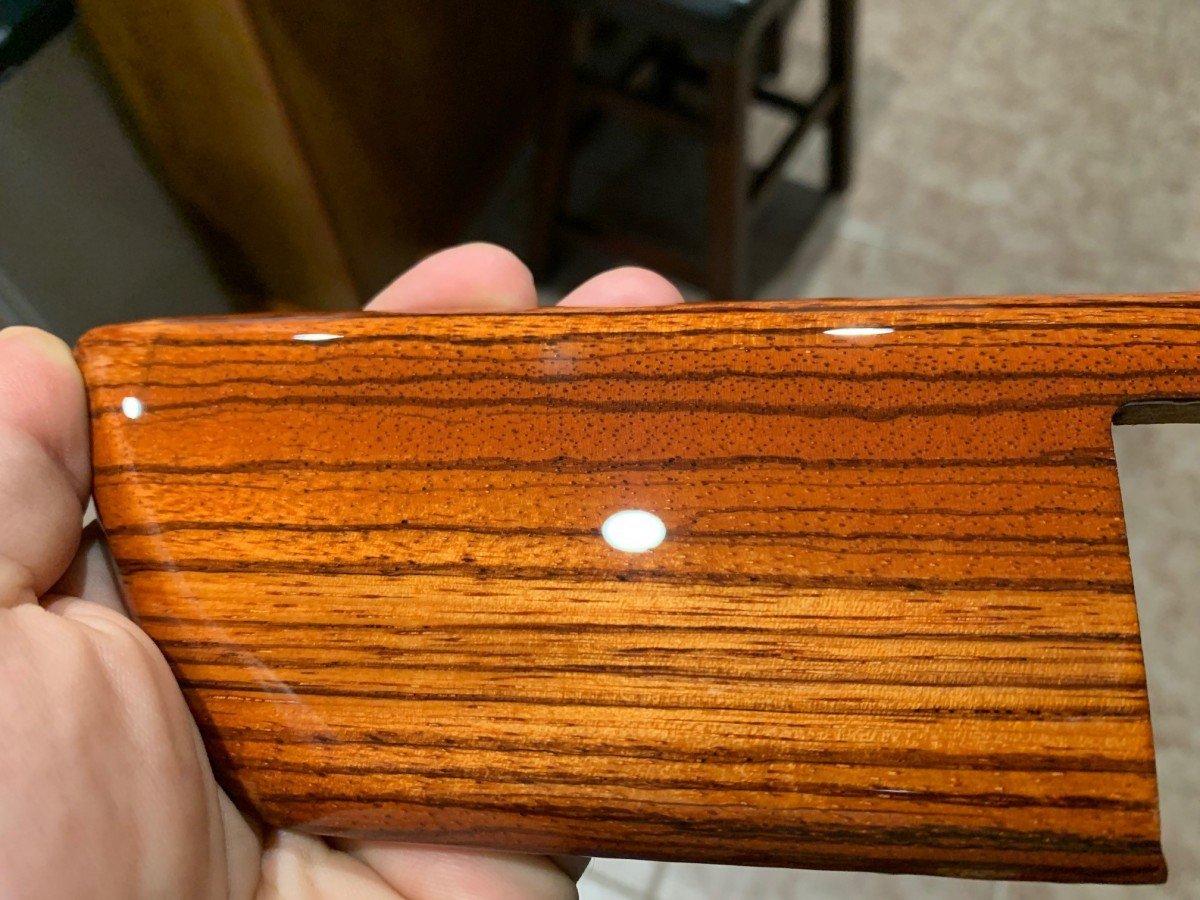
I want to share this technique to restore any wood project, no STAIN, no PAINT, no CHEMICALS … etc.. Shellac is a resin secreted by the female lac bug on trees in the forests of India and Thailand. It is processed and sold as dry flakes. I wrote a summary from the book for the ones who want to restore auto wood, furniture … etc.
How to French Polish Your Woodworking Project
French polishing is a traditional wood finishing technique commonly used on antique furniture. French polish is not a specific material but rather the effect of applying shellac to a woodworking project that produces a hardened surface with a very glossy, mirror-like finish.
French polishing dates back to the Victorian era but was brushed aside early in the 20th century in favor of less labor-intensive finishing methods. However, this “lost art” produces a luster that is impossible to duplicate with mass-production methods. French polish finishes are also straightforward to repair.
Materials Needed
- Sandpaper in various grits, including 400- and 1,200-grit
- Tack cloths
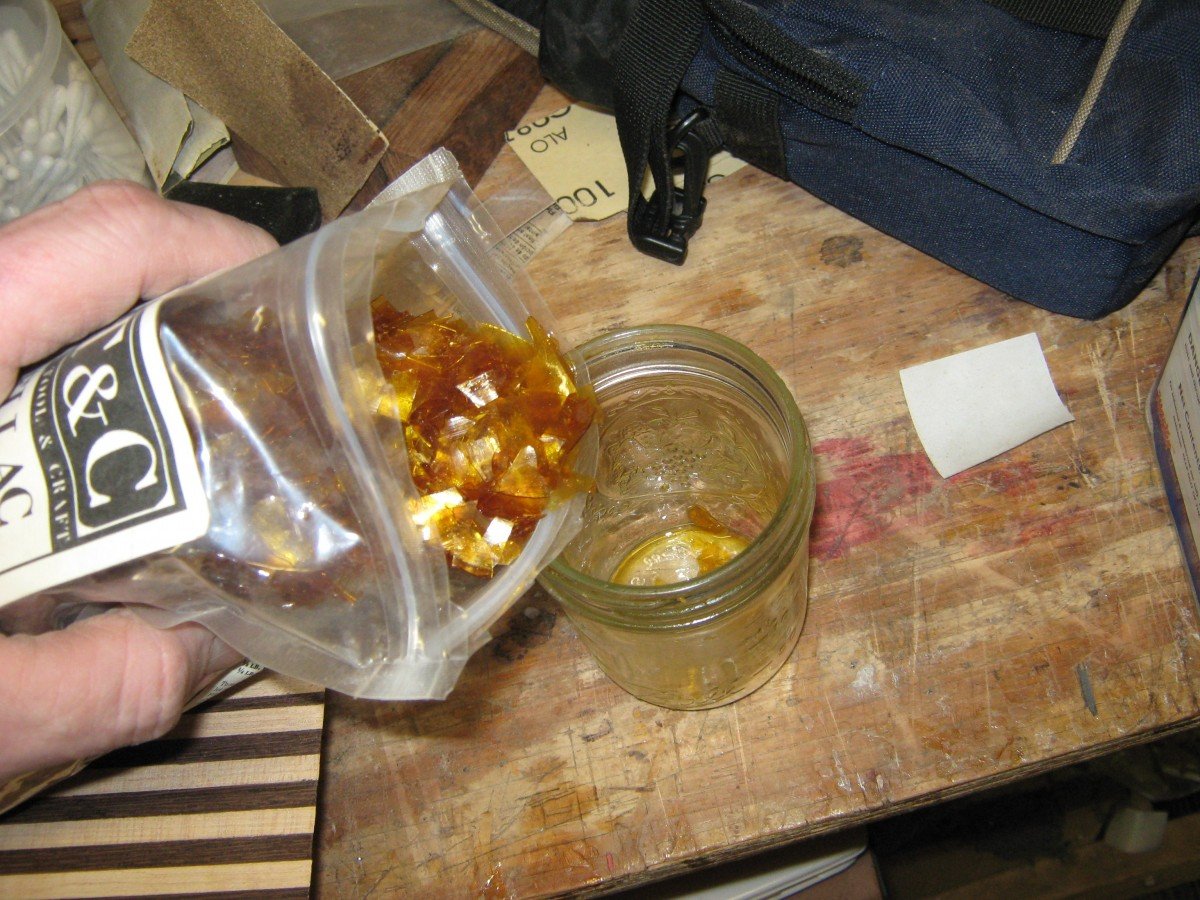
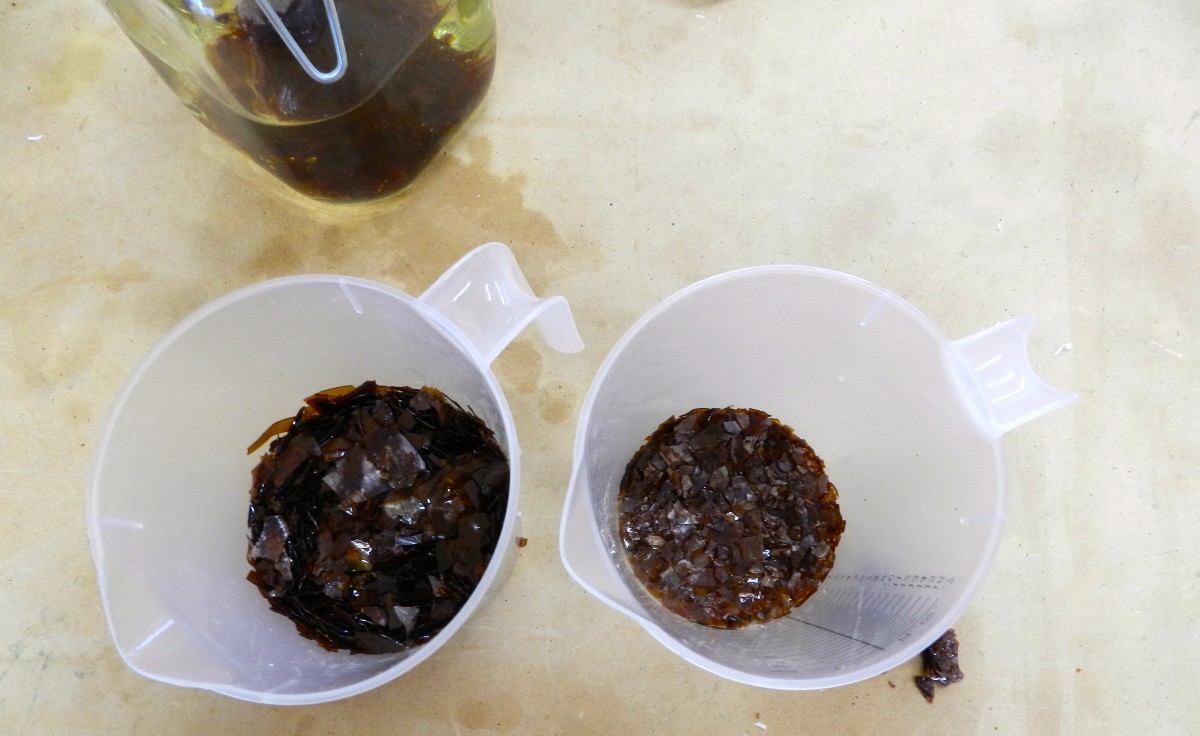
- Shellac flakes (not the premix one from the store; it is fake and not real shellac) are available only on eBay. Search for shellac flakes, pick a color.
- Denatured alcohol
- FFFF-grade pumice inside a salt shaker.
- 100-percent extra virgin olive oil or pure mineral oil
- Wool or surgical gauze
- 100-percent cotton fabric (clean, old t-shirts work great)
- Eyedropper bottle
- Squeeze bottles with fine tips
Mix your Shellac using shellac flakes and denatured alcohol. Mix the shellac to a “2-lb. Cut,” following a shellac mixing chart (attached).
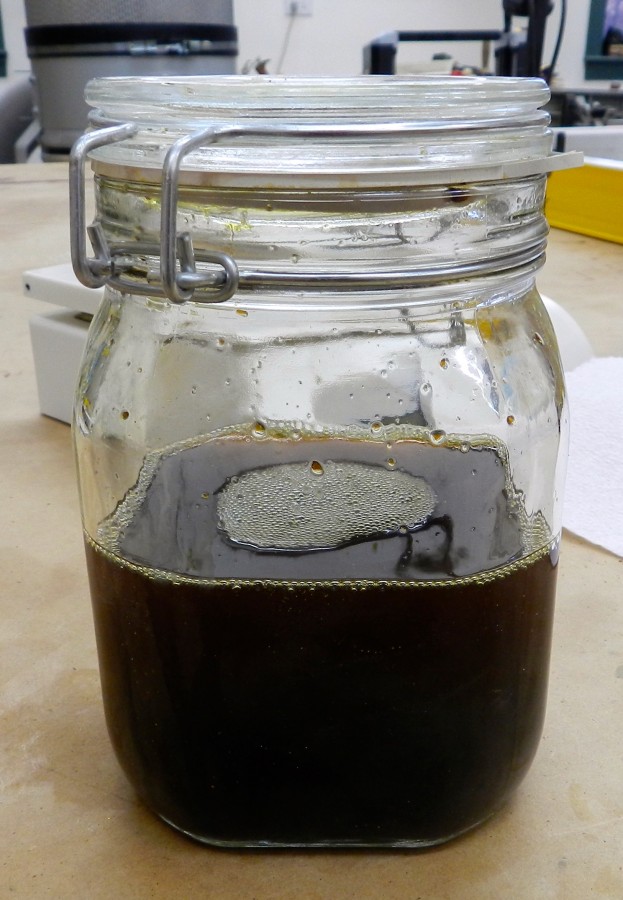
Fill a squeeze bottle with the mixed shellac. Soak the flakes for 45 – 60 minutes, put the mixing bottle in the sun to bake, and then use a cheese bag or gauze to strain it. You don’t want any undissolved flakes to show in your work.
Sand the Project
Begin by sanding your project thoroughly, using progressively finer grits of sandpaper, and working up to at least 400 grit. Wipe off all sawdust utilizing a tack cloth. Wipe down the entire project with a cotton cloth slightly dampened with water.
This will raise any loose wood fibers or “hairs” on the surface. Allow the project to dry, then sand again with 400-grit sandpaper to knock down the hairs. Wipe the project again with a tack cloth, followed by a cloth slightly dampened with denatured alcohol.
The alcohol will remove the last of the sawdust without discoloring the wood.
Make Your Polishing Pad
To apply the shellac, you need a pad consisting of a tightly wadded piece of wool or gauze surrounded by cotton fabric. To make the pad, make a tight ball of wool or gauze about the diameter of a quarter.
Place this ball in the center of a 6-by-6-inch piece of cotton fabric and fold the four corners to meet at the top, forming a teardrop shape.
The idea is that the wool or gauze core of the pad will act as a shellac reservoir. With a moderate amount of shellac stored in the core, pressing the pad onto the wood will leave a thin, even layer of shellac on the surface of the wood.
Shellac is very sticky, sometimes making it difficult to glide the pad across the wood’s surface. To combat this problem, you apply a few drops of olive oil or mineral oil onto the outer surface of the pad before each use.
If the pad becomes difficult to glide across the surface, add more oil. (Because of the way the thin layers of shellac will dry, pure oil will rise to the surface and will not affect the finish. Any impurities in the oil may not rise properly, so 100-percent pure, neutral oil is critical.)
Apply a Sealing Coat
To apply the French polish finish, some 2-lb Shellac is applied to the pad’s core using a squeeze bottle. Tap or press the pad against your hand to spread the shellac evenly throughout the core.
The cotton fabric should not be saturated with shellac because you want to apply extremely light, thin layers of shellac to the wood. Less is more in this case.
Next, use an eyedropper bottle or your finger to apply a few drops of olive oil to the pad as a lubricant.
The first coat of shellac will seal the wood, so you’ll wipe the pad (going with the grain) onto the wood. Ideally, avoid starting and stopping at any point on the stock, as this will cause excessive shellac to be applied at the starting or stopping point.
The best method is to use an “airplane” motion: sweep the pad down onto the wood like a plane landing on a runway (going with the grain). When you reach the end of the wood, lift the plane (pad) back off the runway without stopping. This will help prevent any unsightly blotches or marks.
As you apply this sealing coat, you may find that the cotton cover of your pad is picking up small amounts of sawdust or other fine particles that were left behind.
When this occurs, replace the outer covering of your pad with another piece of cotton fabric (and a couple more drops of oil).
After applying a single even shellac base coat, wait a few minutes and apply a second coat similarly. Repeat once more with a third base coat. Remember to use oil to keep your pad gliding smoothly.
Store your pad in an airtight container and allow the shellac to dry thoroughly.
Fill the Grain With Pumice
Next, use pumice to fill any cracks and smooth the surface as much as possible. With your pad’s core nearly depleted of shellac, place a new cover on your pan and add about ten drops of alcohol to the core. Press the pad onto the back of your hand to clear the liquid; shake some pumice onto the pad’s surface using a salt shaker. Work small amounts of pumice into the wood with random, circular motions (in small areas at a time). Do not work with the grain, as this will sweep the pumice out of any open pores. Continue until all pores are filled and the sealing coat is exceptionally smooth.
Apply the French-Polish
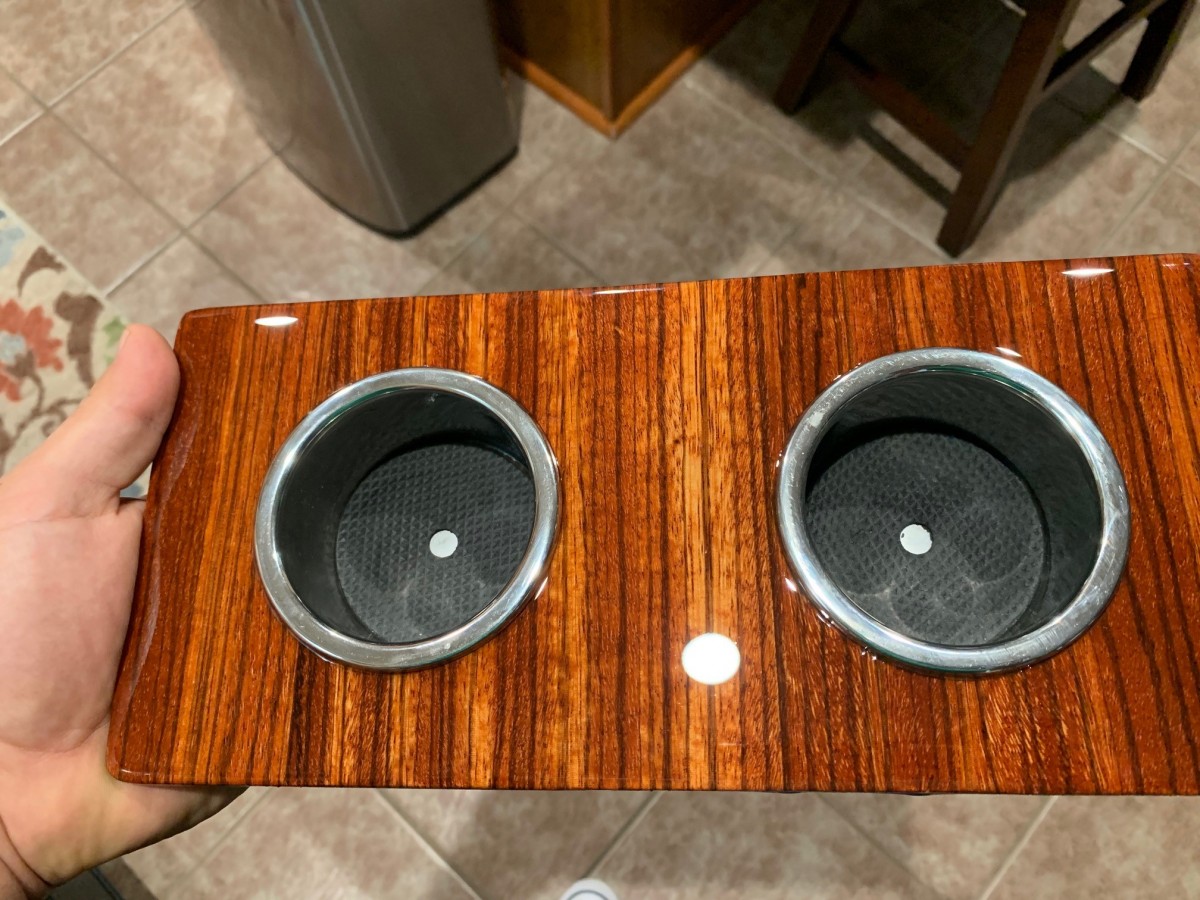
To apply the French polish, move the original core pad to a new cotton pad cover. Reload the core with shellac, and add a few drops of oil to the cover. Begin applying extremely thin layers of shellac to the piece, working in random, circular motions with firm but even pressure on the wood.
This thin layer of shellac will dry very quickly, so you can apply several thin coatings in one session. When the pad requires reloading, remove the padding and add more shellac to the core.
For this first layer of polish, you may need to make hundreds of passes over the surface of the wood.
When you’re satisfied with the results, take a break and wait a few hours for the shellac to dry thoroughly. Place your pad in an airtight container to save it for the next session.
Once the first layer has dried thoroughly, place a small amount of alcohol into the pad’s core and “spirit” the surface, using the same “airplane” technique you used in applying the sealing coat.
This step will remove the oil that has risen to the surface while the shellac is curing. The oil must be extracted before applying the next layer.
Repeat the entire polishing and spiriting process six to eight times until you’re satisfied with the finish.
Examine the surface at all angles under bright light. If any blemishes in the finish need to be addressed, sand them out using 1,200-grit wet/dry sandpaper and a couple of drops of oil.
Remove the sawdust with a very slight amount of alcohol, and continue polishing and spiriting as necessary to eliminate the blemish and even out the finish.


We hope you find the Restore Wood trim using the French polishing technique guide helpful. Check these troubleshooting and repair guides for more help on your vehicle.


