Tesla Model 3 Front Strut and Spring Replacement Guide
Is your Tesla unstable driving highway speeds and has a bumpy ride due to a faulty strut and spring? Learn how to fix the problem by replacing the front struts of your Tesla.
This guide provides instructions on how to replace the front struts on the first-generation Tesla Model 3. This guide can replace your worn front struts or upgrade the suspension springs.
What you will need
- Tesla Model 3 Front Struts
- Tesla Jack Pad (required to jack up the vehicle safely)
- Floor Jack
- Jack Stands
- 13mm deep socket (thin walls)
- Mechanic Tool Set Metric
- Open-end wrench set
- Spring compressor – Required if you are replacing only the struts but want to keep old springs. It is also required if you upgrade the springs or install lowering springs on your Tesla Model 3. It can be rented from most auto parts stores for free.
- Torx bit set
- Torque wrench
Procedure
- Park the Tesla on level ground.

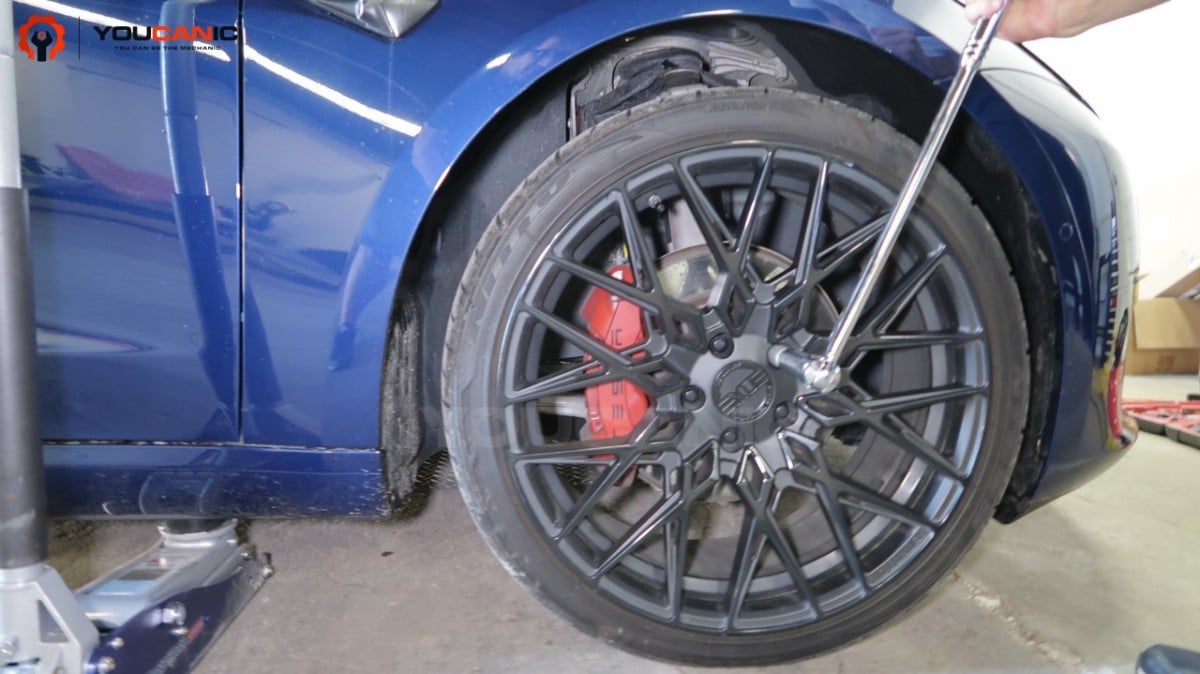
- Loosen the lug nuts, but do not remove them yet or the wheel.

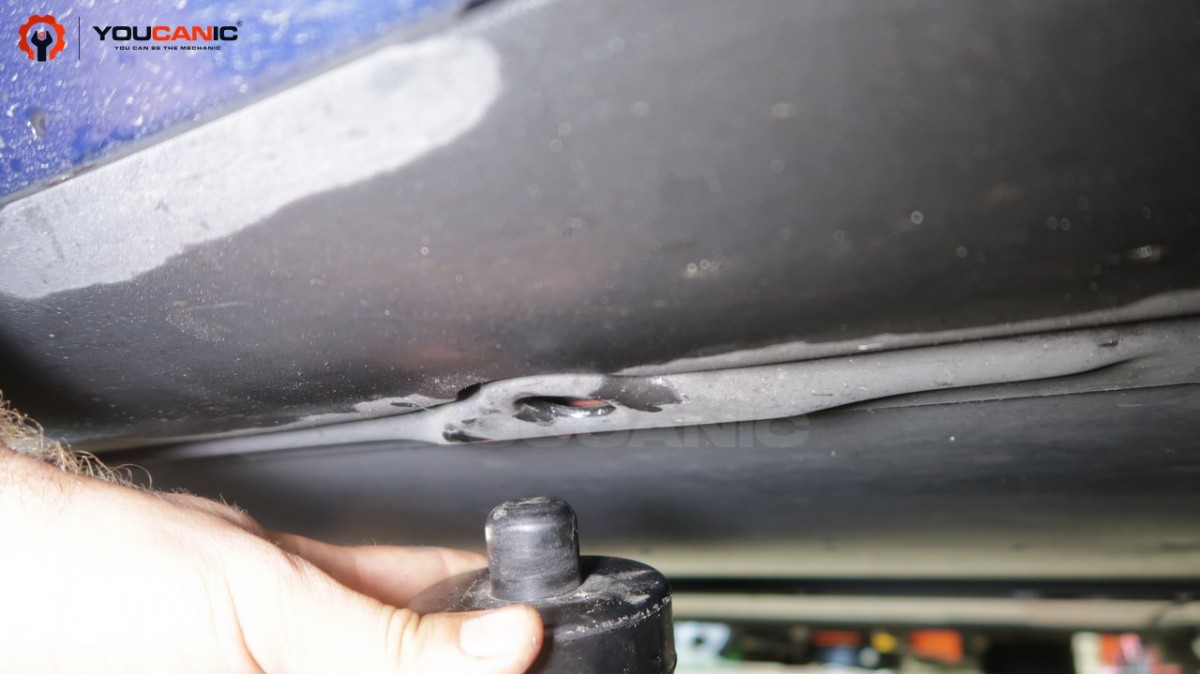
- Insert the jack pad in the hole used to jack up the vehicle. Using the jack pad adapter will prevent damage to the battery pack.

- Raise the vehicle and secure it with jack stands and the jack. Do not rely just on the jack. Jack stands should only be placed to support the frame. Do not place a jack stand under the battery.
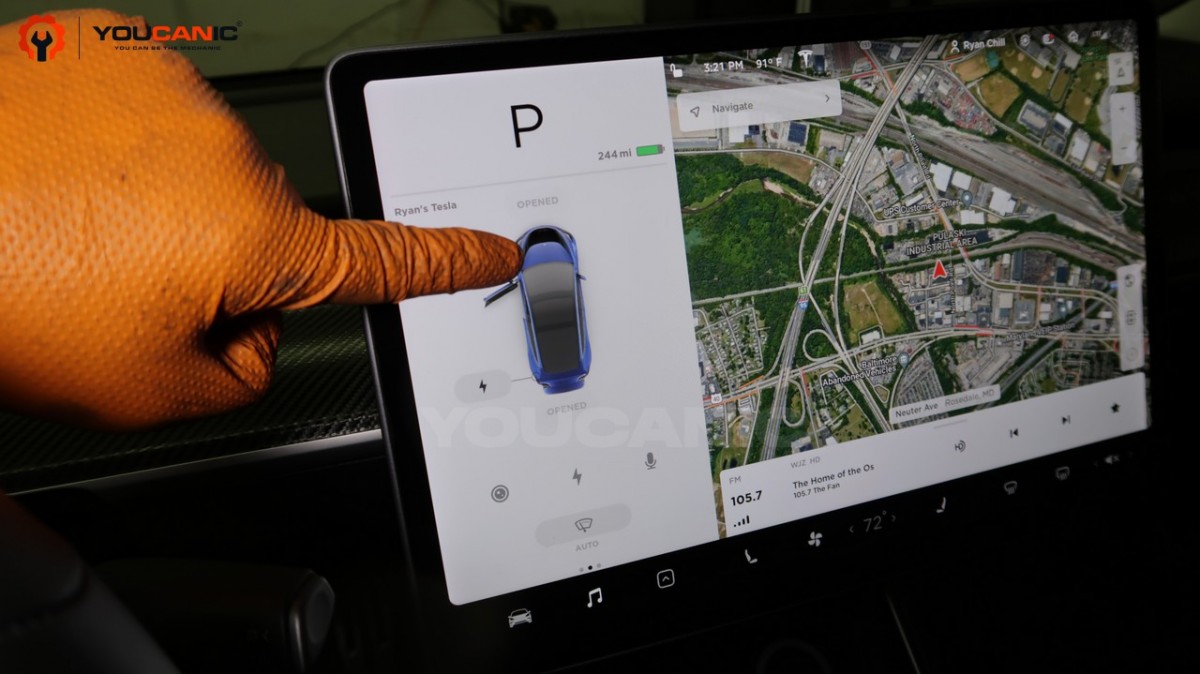
- Open the hood of the vehicle by pressing OPEN on the touchpad.

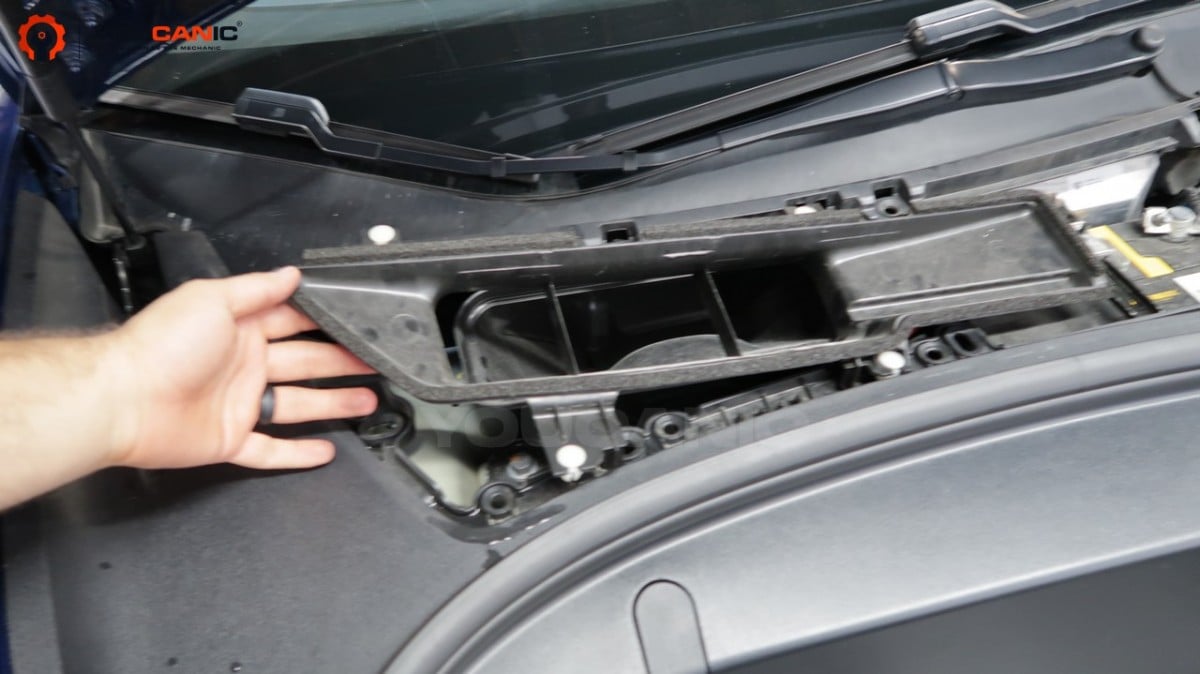
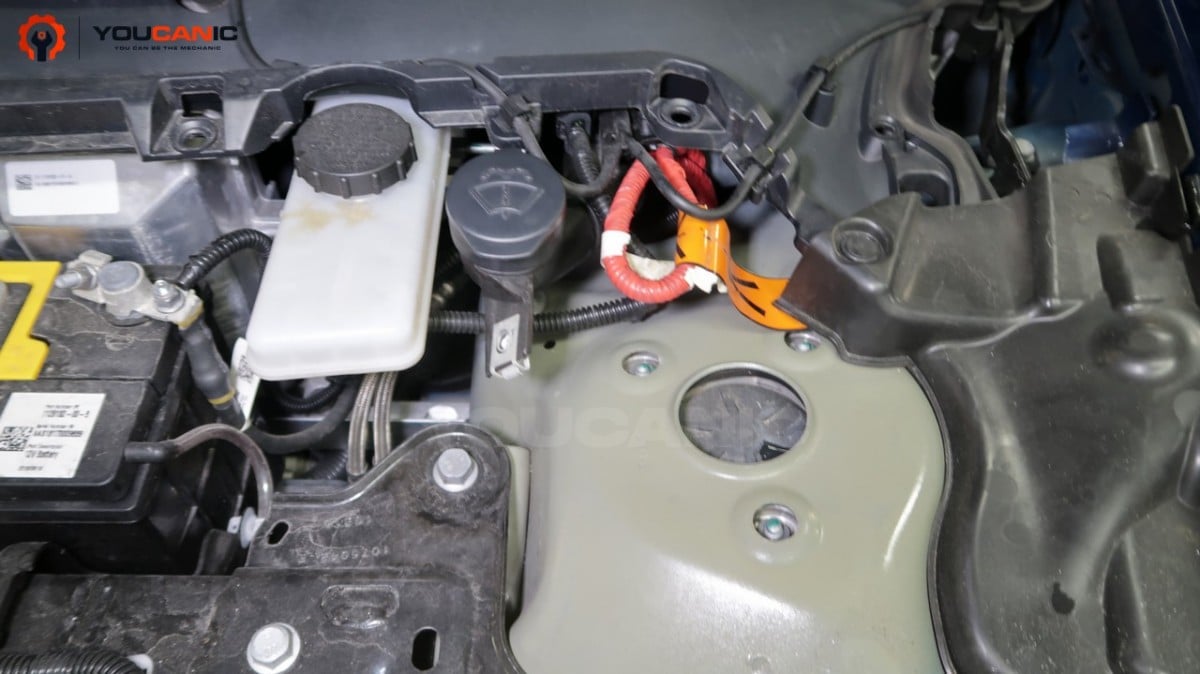
- Remove the plastic cover in the front by lifting it. This piece does not have any screws. The center plastic pops up.
- Remove the air inlet vent. White plastic clips pop up.

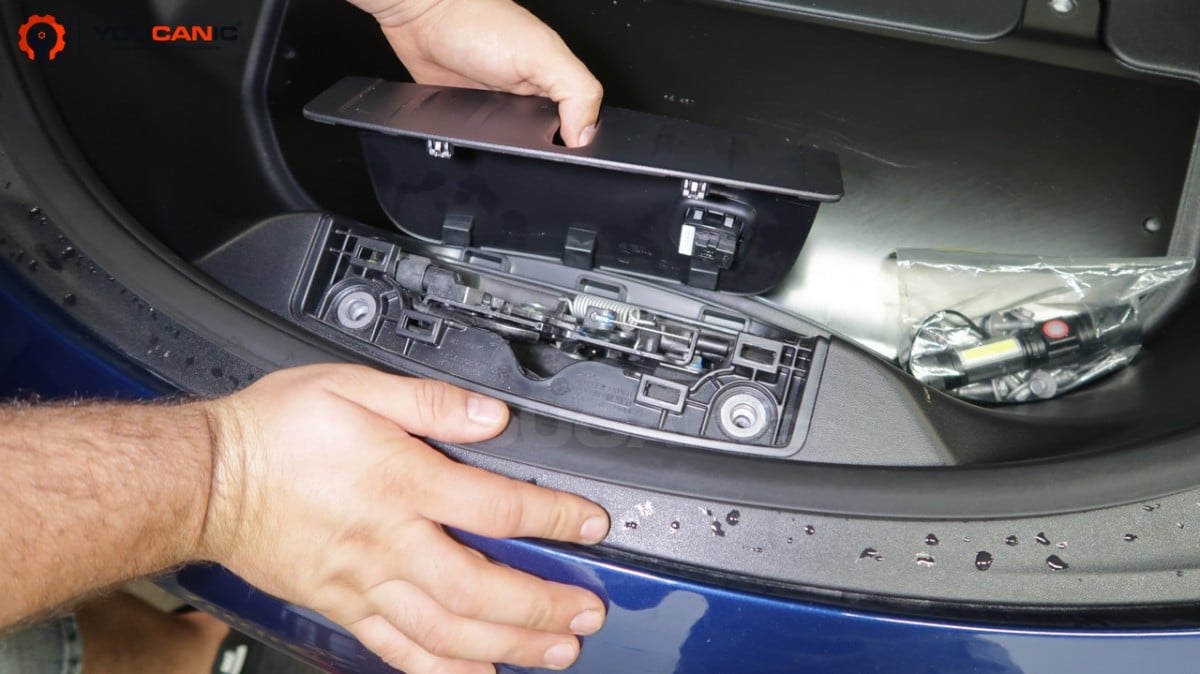
- Next, remove the 10mm bolts and remove the larger plastic cover. Two bolts are at the back. Two more bolts are by the hood latch.

- Once all the bolts are removed, lift the plastic cover. Note that you will need to disconnect the wire for the light.
- Raise the vehicle. Secure it with jack stands in addition to the jack. Remove the wheel.

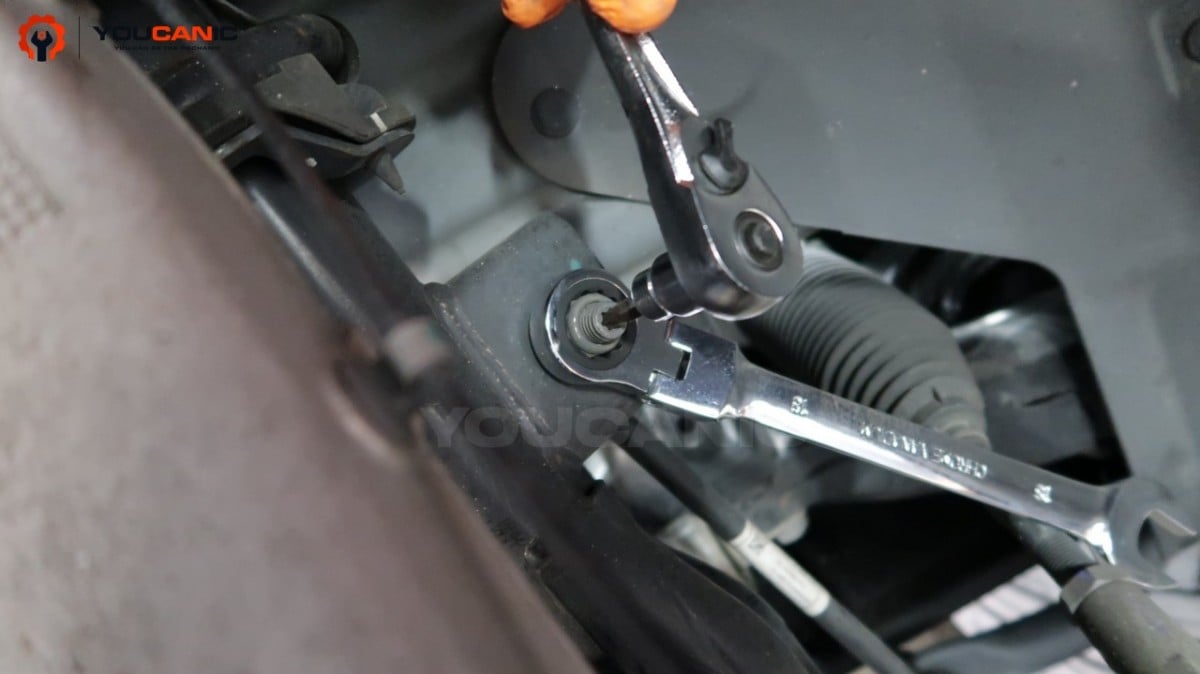
- Use an 18mm socket to remove the nut for the sway bar link. If the nut and bolt start to spin, use a T30 tox bit to hold the center of the bolt while you remove the nut with an open-end wrench.

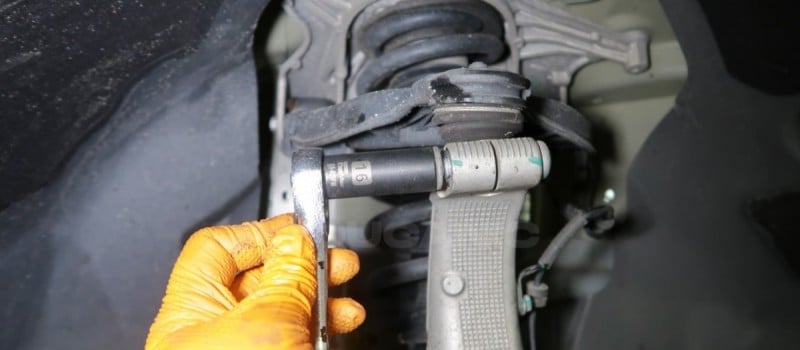
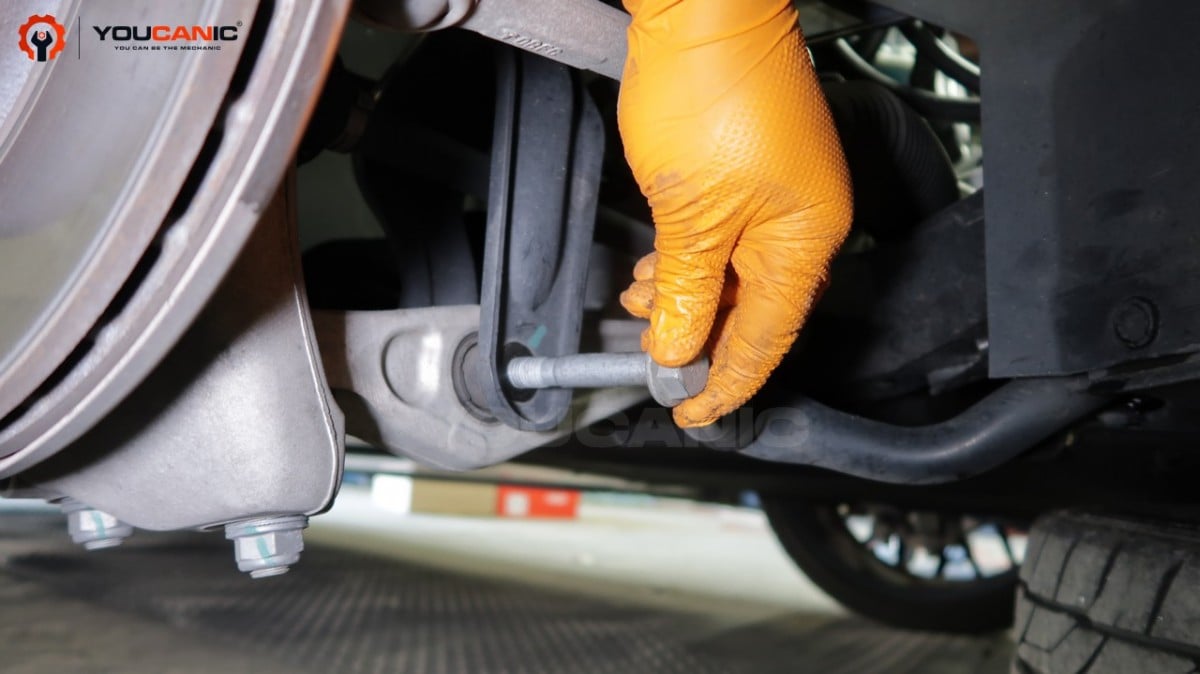
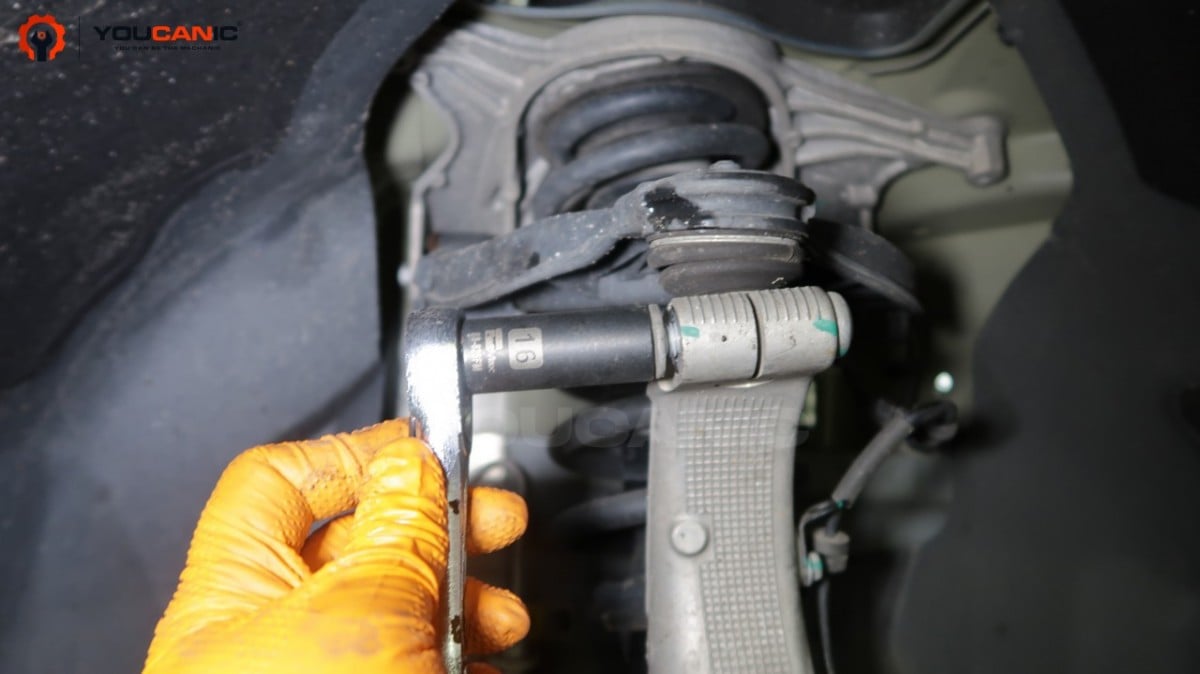
- Use a 21mm socket and wrench to remove the bolt that secures the strut to the lower control arm.

- Use a 13 mm socket to remove the three bolts from the strut. If your 13mm socket does not fit in this hole, you may be able to use a standard 1/2″ socket. The other option (not recommended) is to use a large drill bit to enlarge the hole. Getting to these bolts is tricky and requires patience.

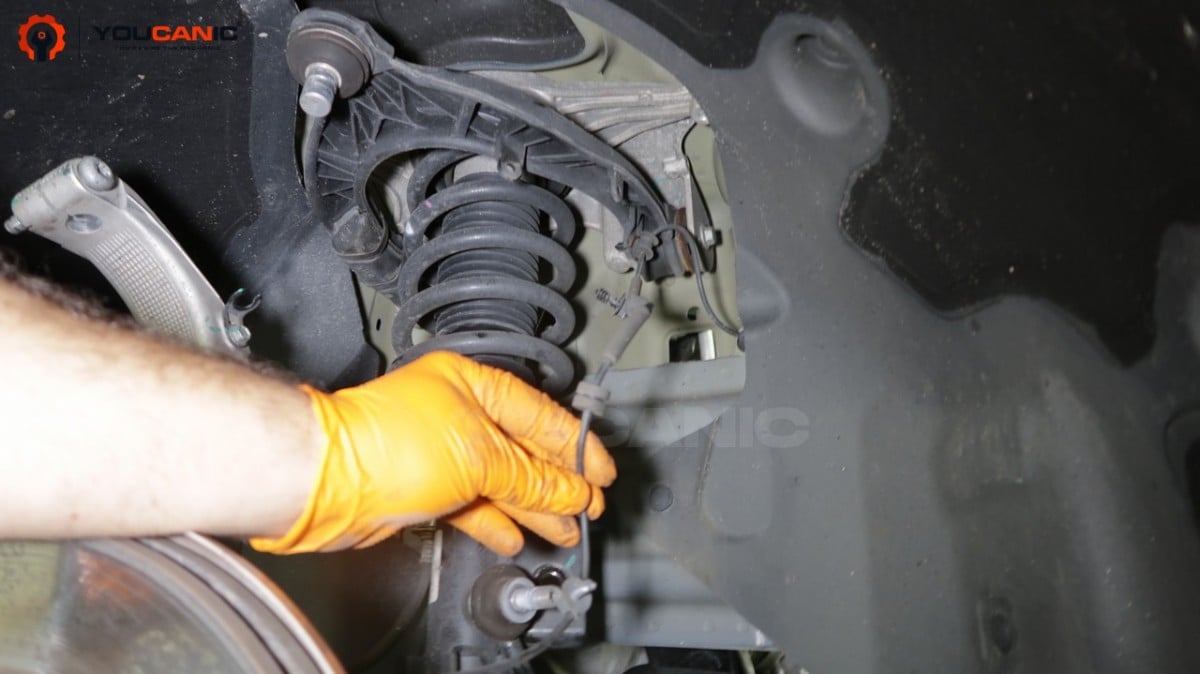
- Unhook the ABS wire from the steering knuckle.

- All-wheel models only – Remove the nut and bolt that secures the steering knuckle to the upper control arm. This step is not necessary for rear-wheel-drive models.

- Remove the strut from the vehicle. Two people are needed for this step. The upper control arm will need to be pushed up. The lower control arm will need to be pushed down.
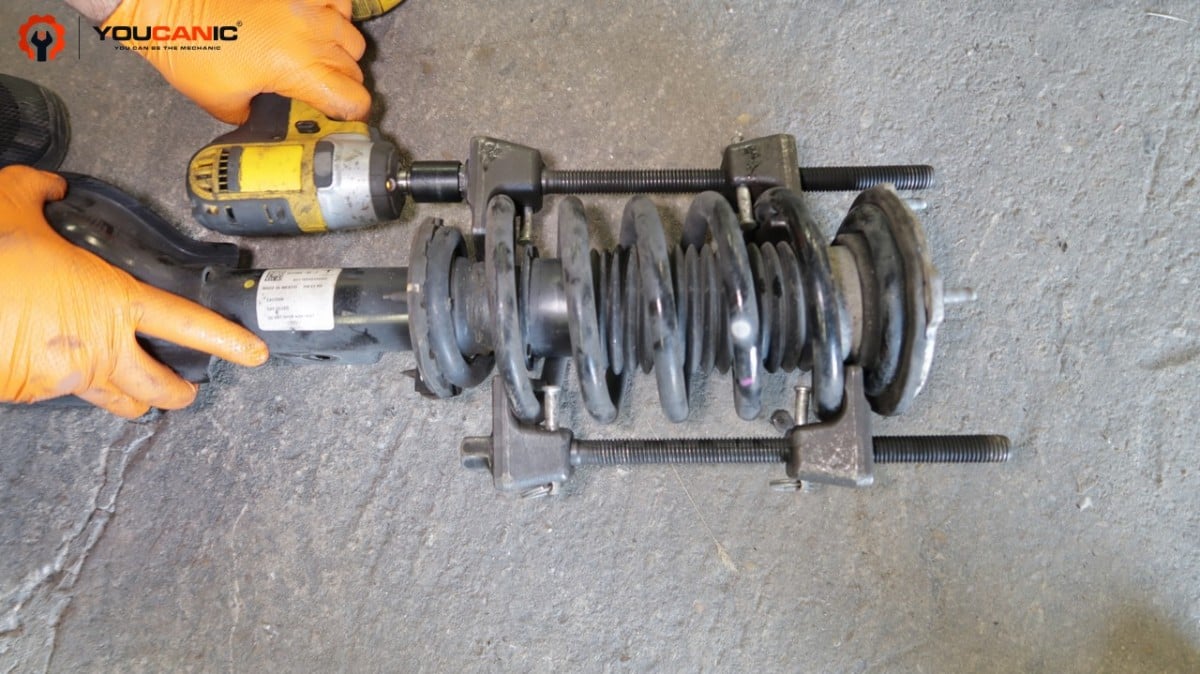
- Place the spring compressors on opposite ends of the spring.

- Tighten each spring compressor a few threads at a time. Do not compress only one spring compressor; move to the other side. Tighten both spring compressors by alternating between the two.
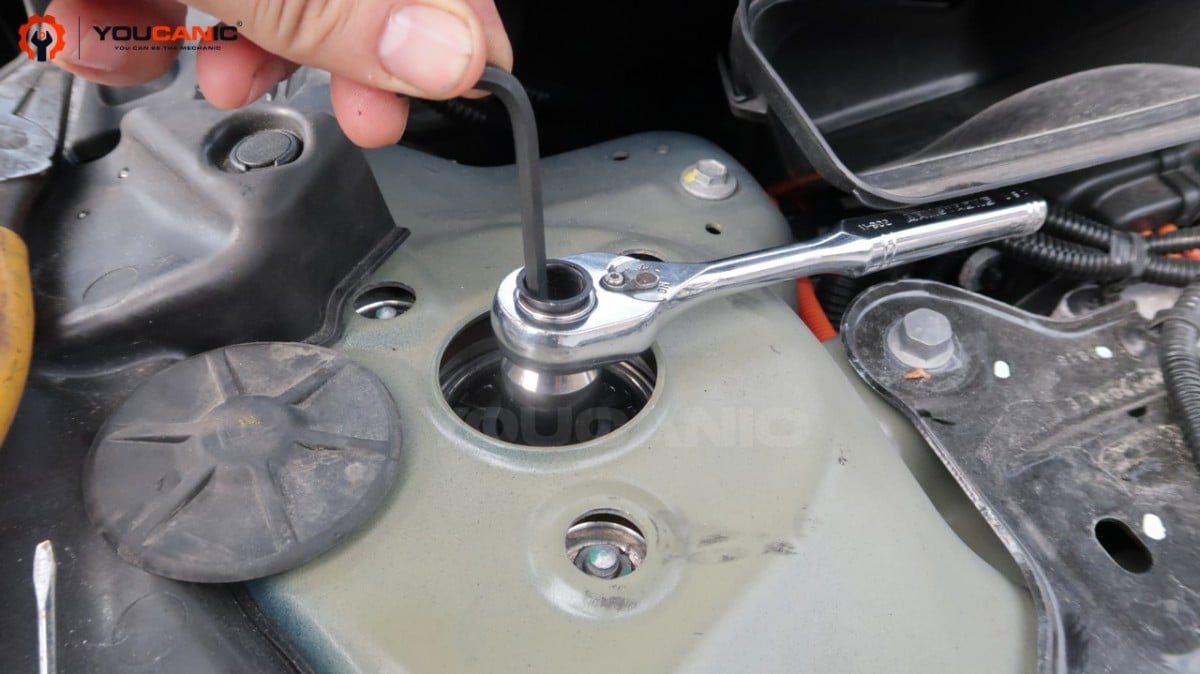
- Once the spring compressor has compressed the spring significantly, you should notice the strut mount is loose. Remove the rubber cover at the center of the strut mount. Use a deep socket to remove the nut at the center of the strut mount.
- Remove the strut mount by sliding it out of the spring. Swap the strut or install the upgraded springs/lowering springs.
- Install in reverse order. Check the strut nut once the vehicle is lowered to the ground.

Replacing the front struts on a Tesla Model 3 is relatively easy and similar to replacing the same component on many European vehicles such as BMW and Mercedes-Benz.
Tips
- Make sure the rubber pieces for the springs are seated properly. They should be rotated to match the spring.
- Pay attention to the alignment of the strut support bolts to the strut. The bolts must be installed in the same position, or the strut bolts will not align with the bolt holes.
- When you remove the strut from the car, you will need two people to push down on the lower control arm and push up the upper control arm. The second person will remove the strut/spring assembly from the vehicle.
- You must separate the steering knuckle from the upper control arm on AWD models. You do not need to separate the upper control arm on RWD models.
- On AWD, replacing the bolt to secure the steering knuckle to the upper control arm ball joint is recommended.
Torque Specifications
- Three nuts at the top that secure strut to frame: 20 ft-lb / 25Nm
- Sway bar end links 73 ft-lb / 98Nm
- Strut to lower control arm: 100 ft/lbs
- Lug Nut Torque Spec: 130 ft/lbs
- Bolt/nut combination for clamp-on knuckle / upper control arm ball joint – 41 ft-lb / 56Nm
These are the estimated values only.
It takes about two hours to replace a front strut or upgrade one spring on a Tesla Model 3. Replacing both front struts on a Tesla Model 3 takes three to four hours.
We hope you find the Tesla Model 3 Front Strut and Spring Replacement Guide helpful. Check these troubleshooting and repair guides for more help on your Tesla.

