How to Test a Brake Pad Wear Sensor
In automotive maintenance, one of the crucial elements for ensuring safety on the road is keeping a close eye on your brake system. Brake pads are a fundamental component of this system, and monitoring their condition is essential. If you’ve ever wondered whether you can reuse a brake pad wear sensor or need to replace it, a multimeter can be your best friend. In this guide, we’ll walk you through the steps to use a multimeter to determine if your brake pad wear sensor is still in good condition and can be safely reused, saving you time and money on unnecessary replacements. So, let’s dive into the world of brake pad sensors and multimeters, ensuring your vehicle’s braking system remains in top-notch shape.
Procedure
- Loosen the lug nuts of the vehicle’s wheel by turning them counterclockwise using a lug wrench.
- Jack up the vehicle and support it with jack stands.
- Remove the lug nuts and pull the wheel out of the vehicle.
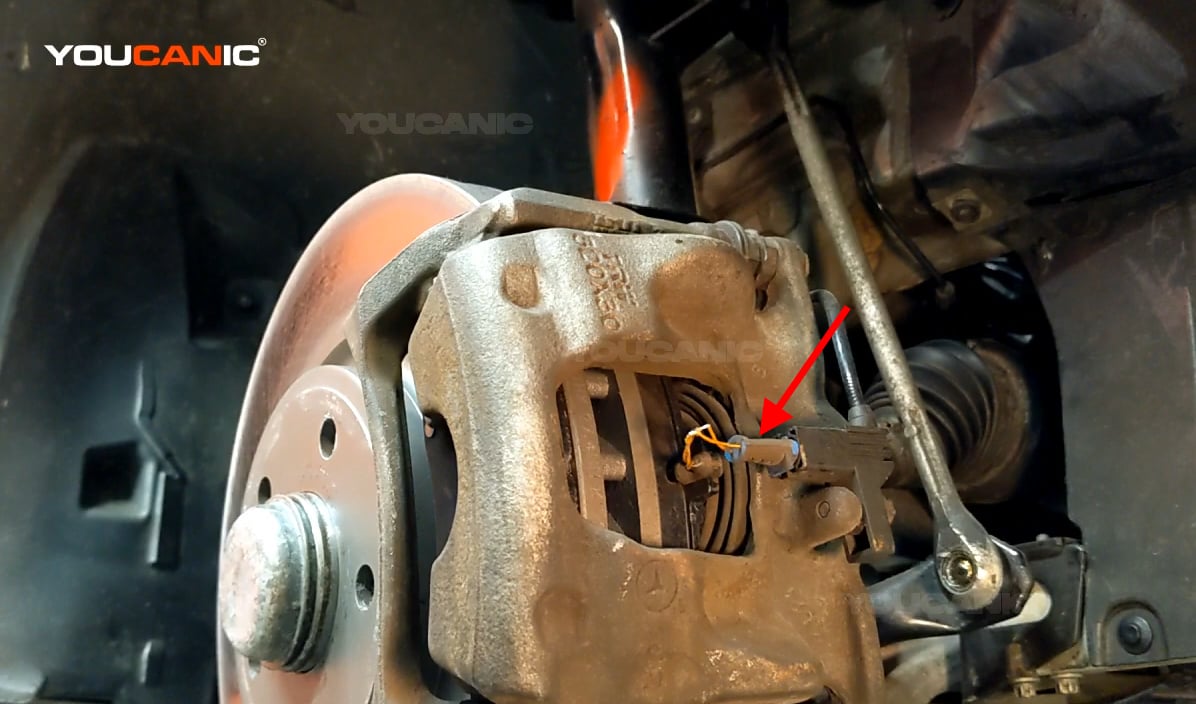
- Locate the brake pad wear sensor on the vehicle’s caliper.

- Unplug the electrical connector of the brake pad wear sensor by pulling it out.
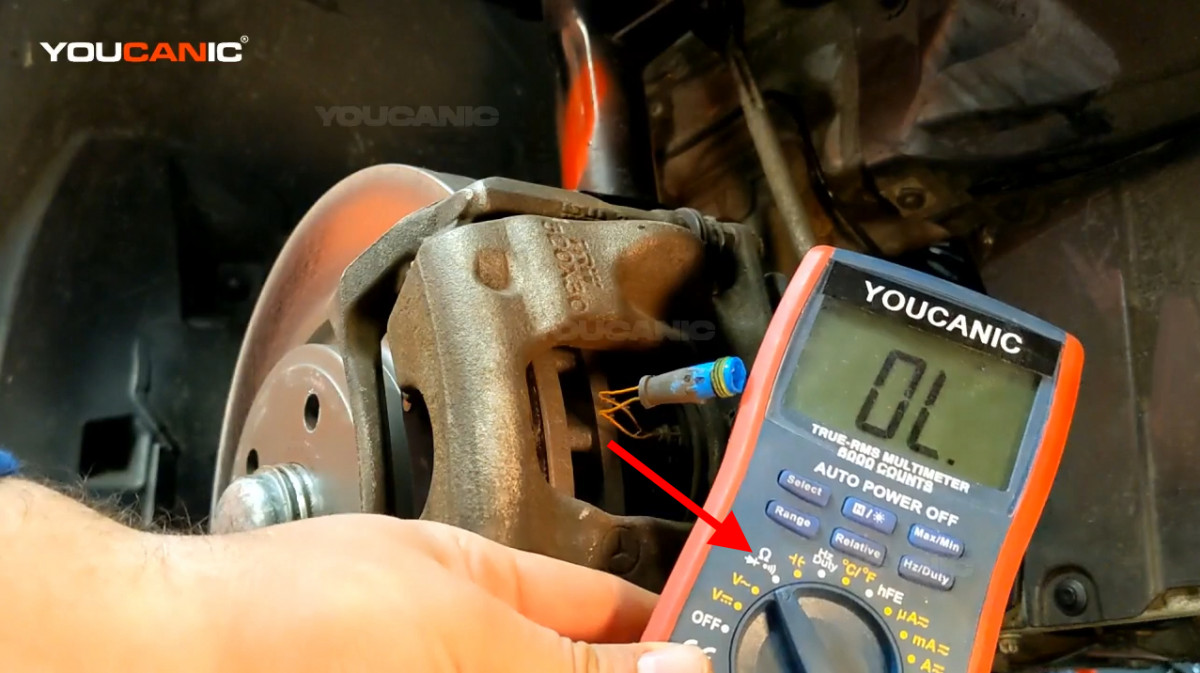
- Set the digital multimeter to the continuity test menu.

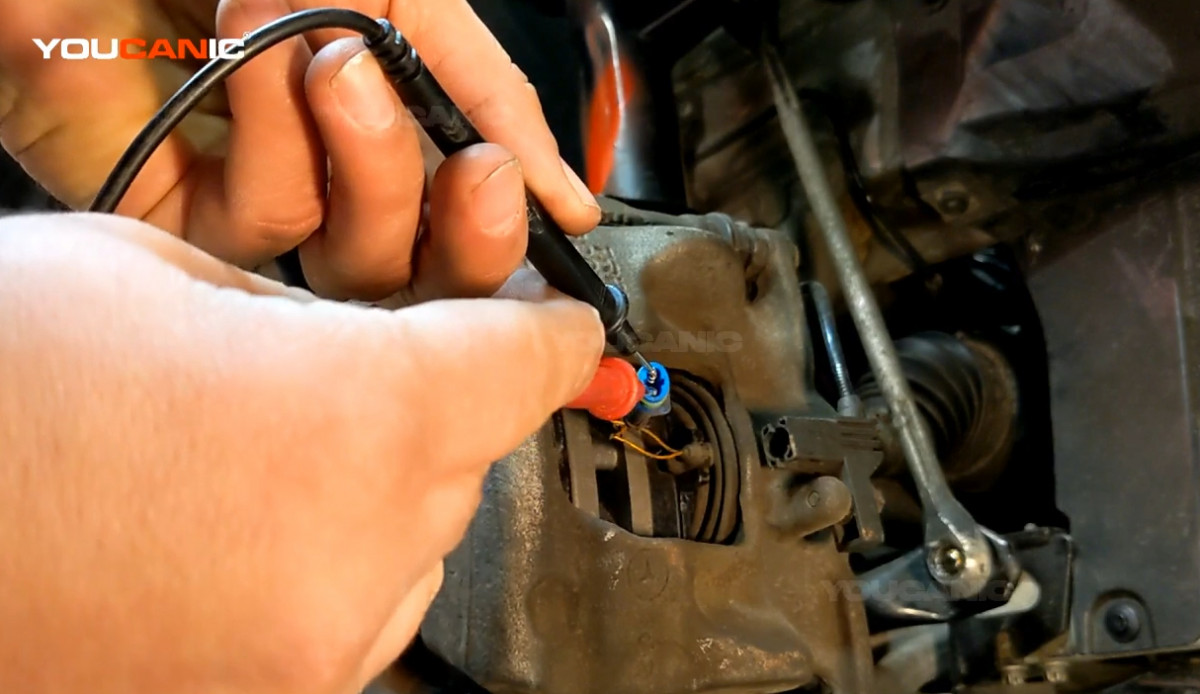
- Connect the two probes of the multimeter to the electrical connector of the brake pad wear sensor. If the multimeter is beeping, the brake pad wear sensor is working.

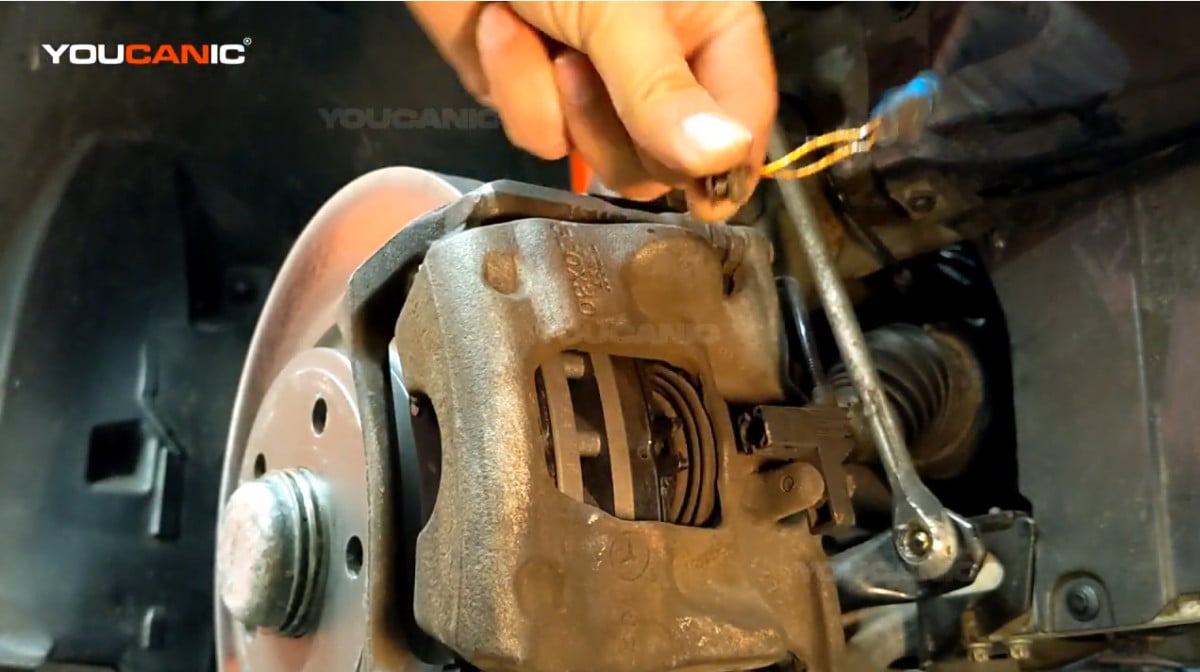
- To replace the brake pad wear sensor, remove it by pulling it out from the vehicle.

- Connect the new brake pad wear sensor to the brake pads and its electrical connection port. Press the brake pad sensor to set them into place.
- Place the wheel back to the vehicle and reinstall its lug nuts.
- Remove the jack stands and release the floor jack.
- Tighten the lug nuts by turning them clockwise using a lug wrench.


