Ford Fusion Cabin Air Filter Replacement Guide
Does your Ford Fusion have poor airflow and unusual odor from the vents? Learn how to fix the problem by replacing the cabin air filter of your vehicle. This guide is a step-by-step procedure for replacing the cabin air filter on a Ford Fusion 2013-2020.
How to Replace Ford Fusion Cabin Air Filter
What you will need
- Ford Fusion Cabin Air Filter
- 7mm Nut Driver
- Fastener Remover
- Philips Screwdriver
Procedure
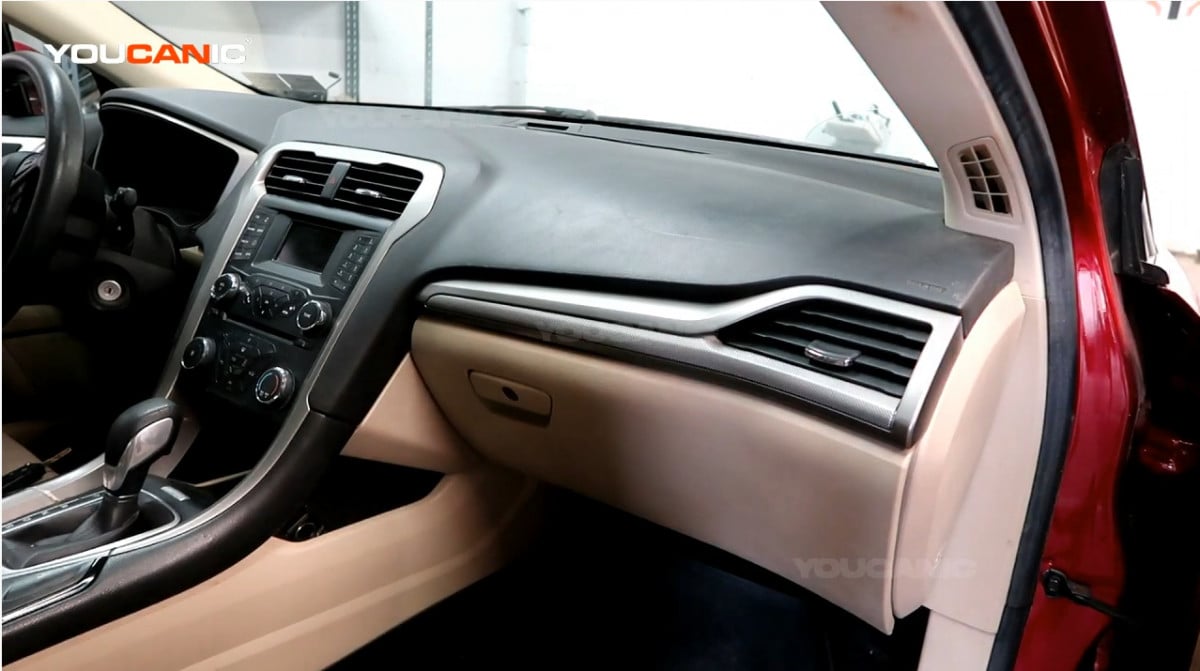
- Unlock the vehicle and open the front passenger door.

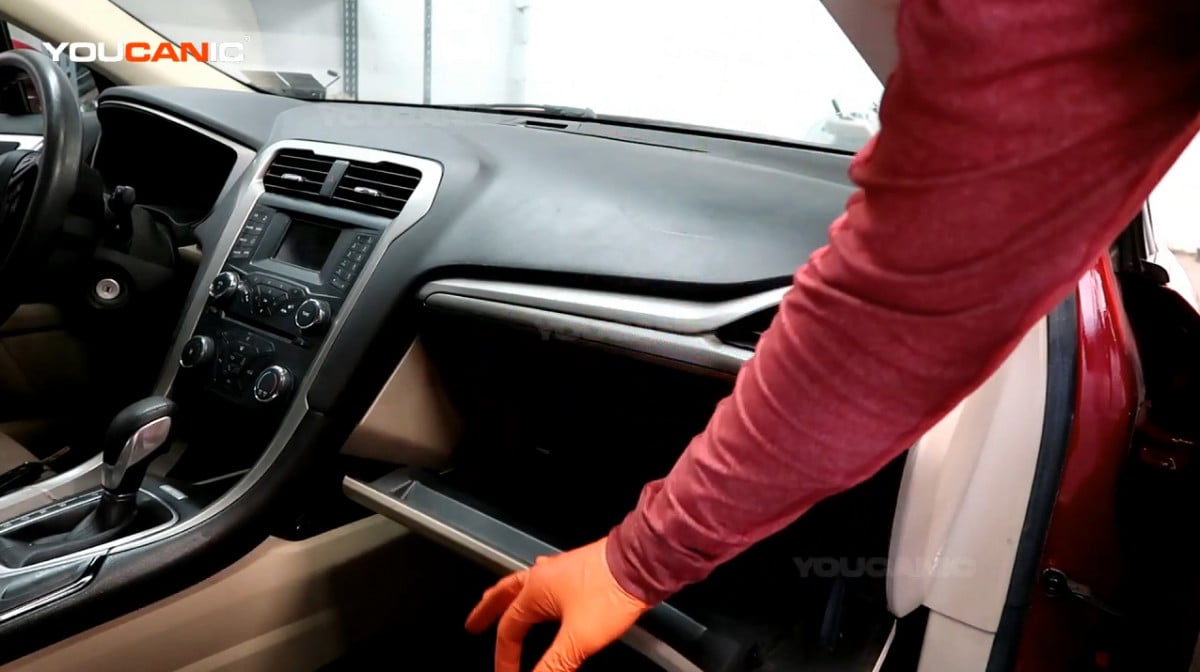
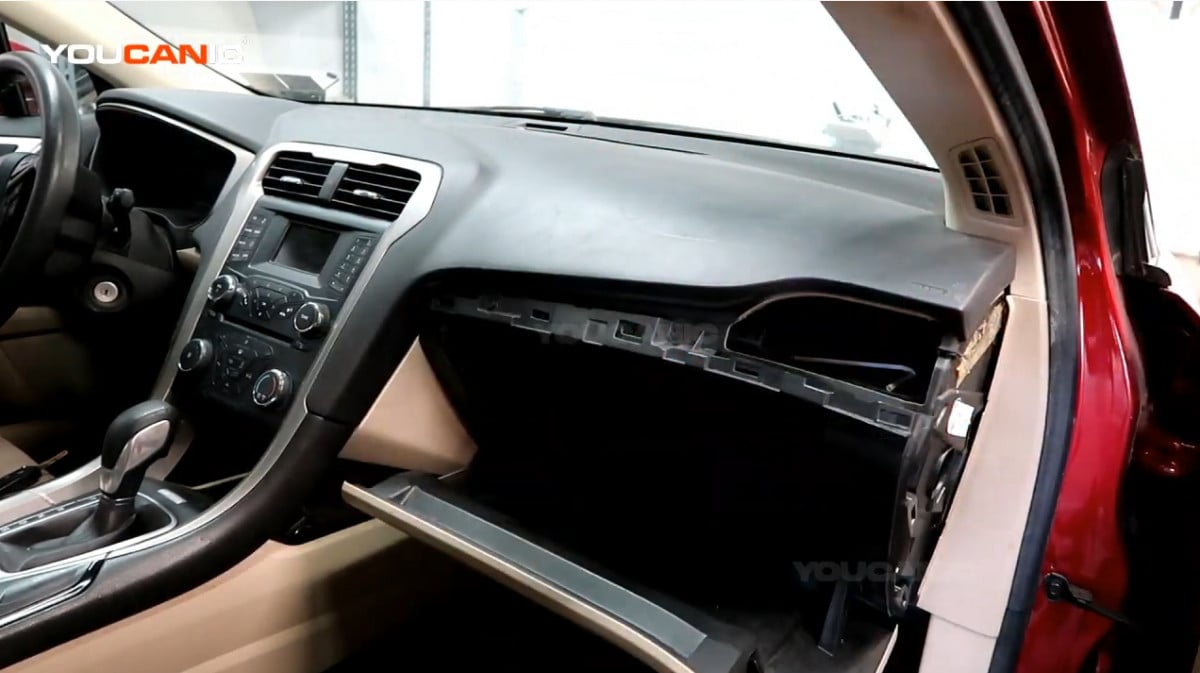
- Open the glove box.

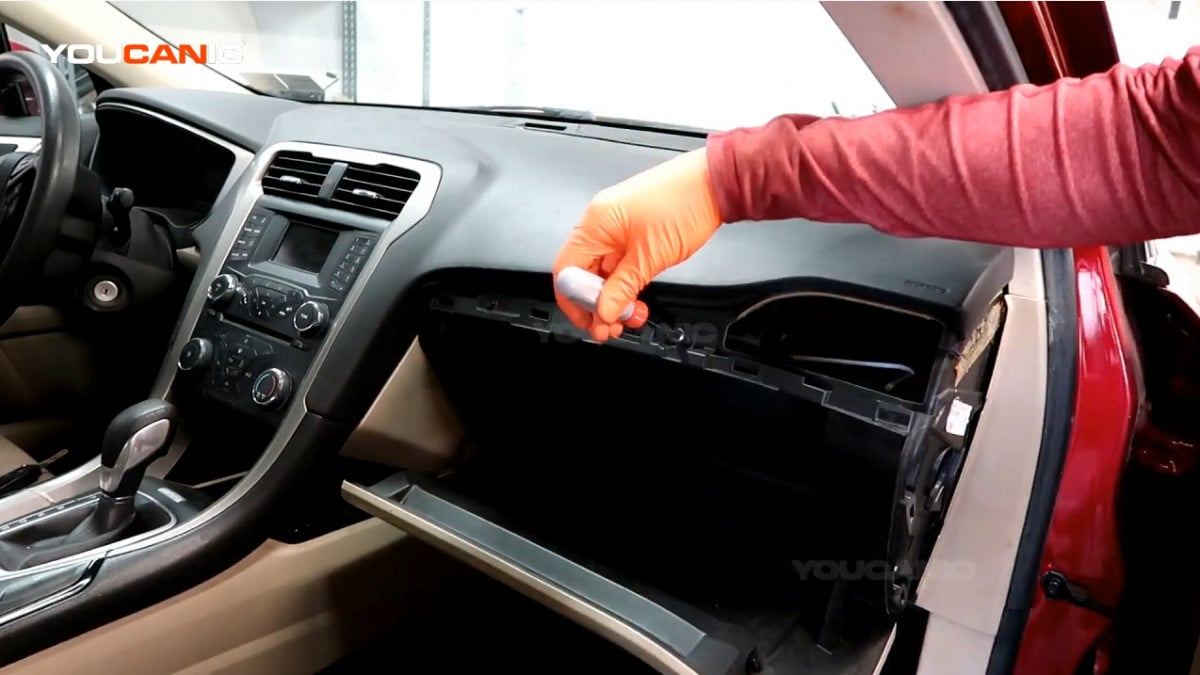
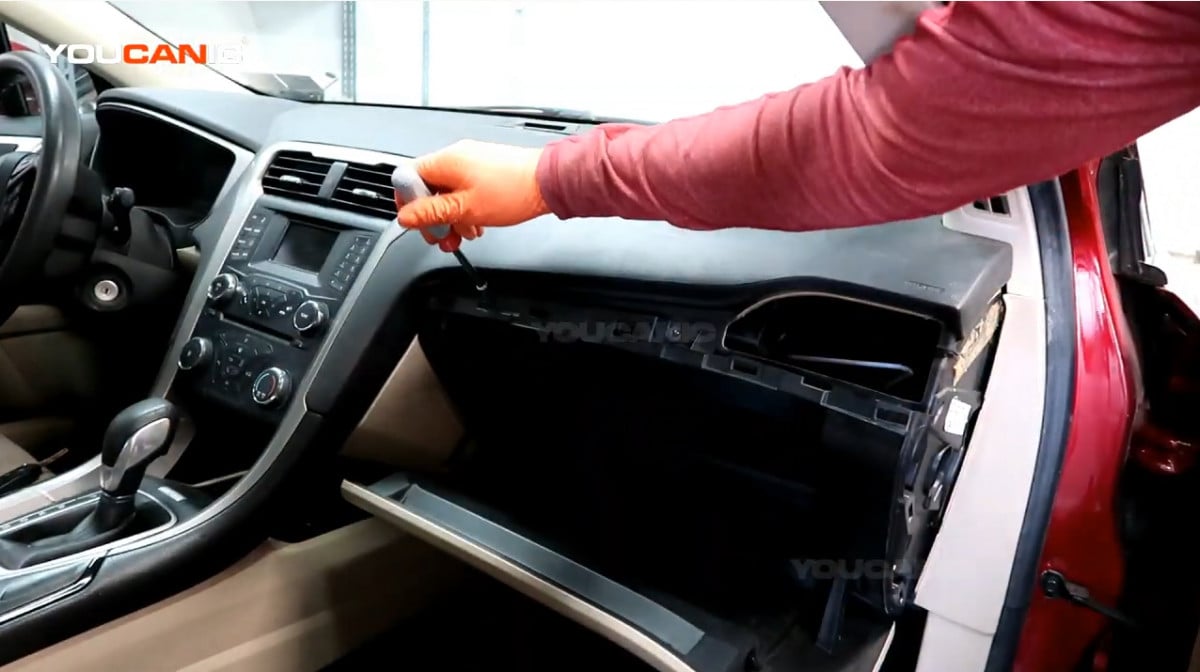
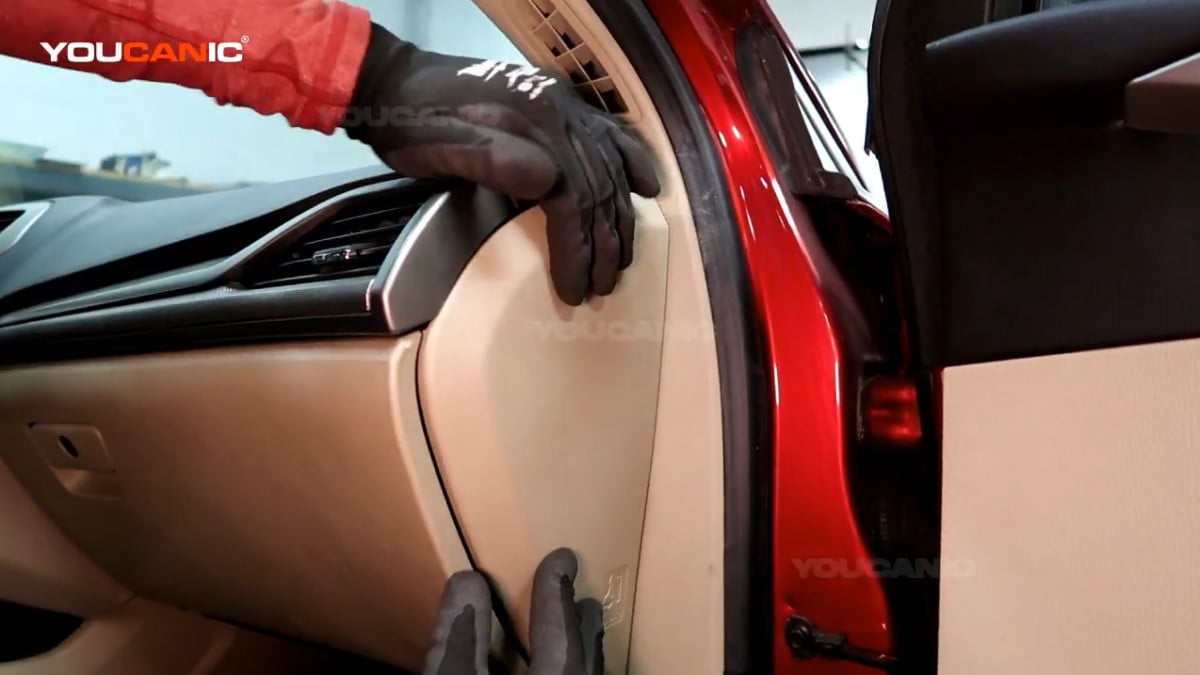
- Pry out the cover on the right side of the glove box using a fastener remover or prying tool.


- Pry out the plastic trim above the glove box using a fastener remover or prying tool.


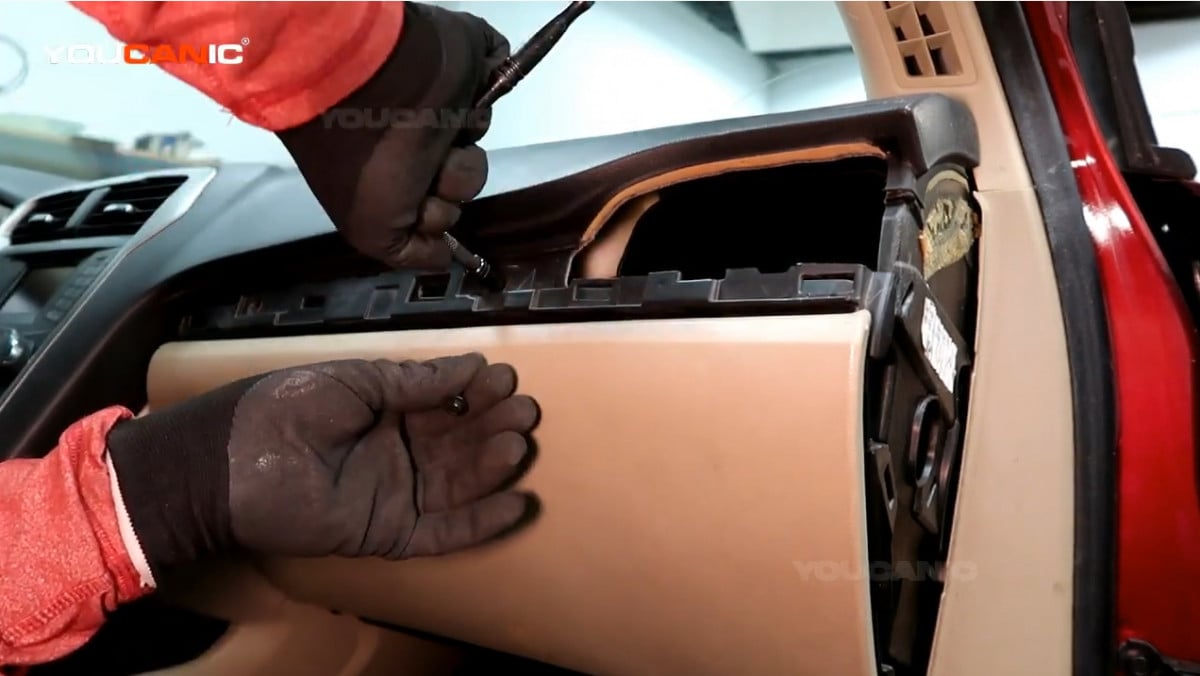
- Remove the two 7mm bolts located above the glove box. Use a 7mm nut driver or 7mm wrench to remove the bolt.


- Remove the two 7mm bolts located below the glove box.
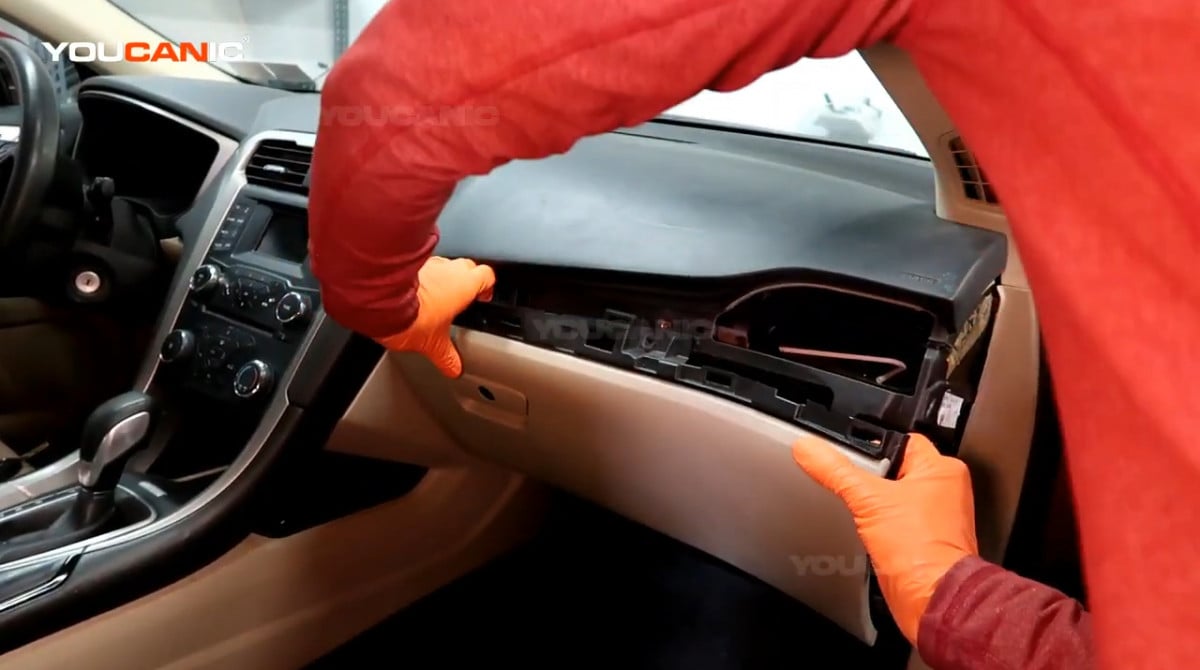
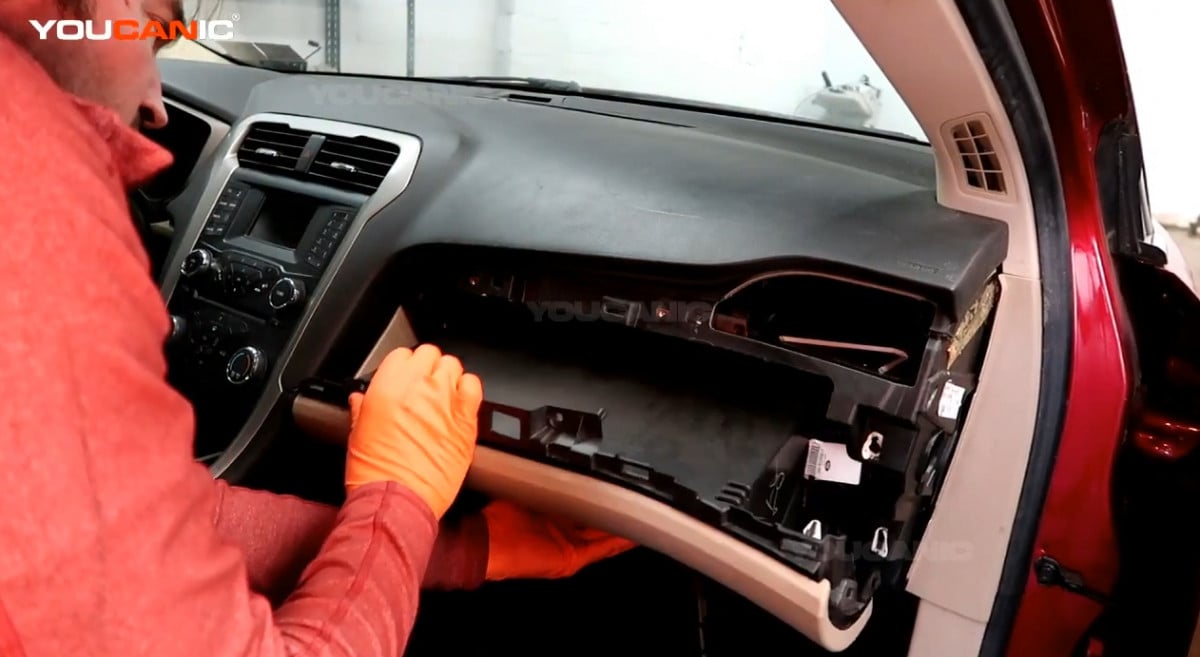
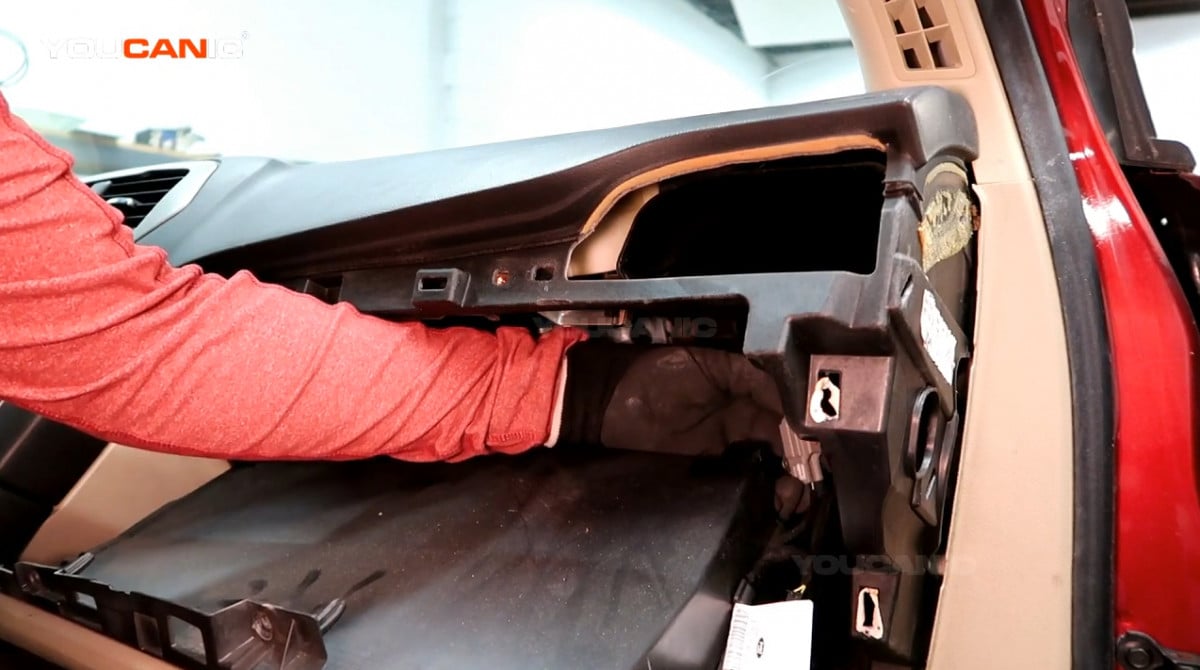
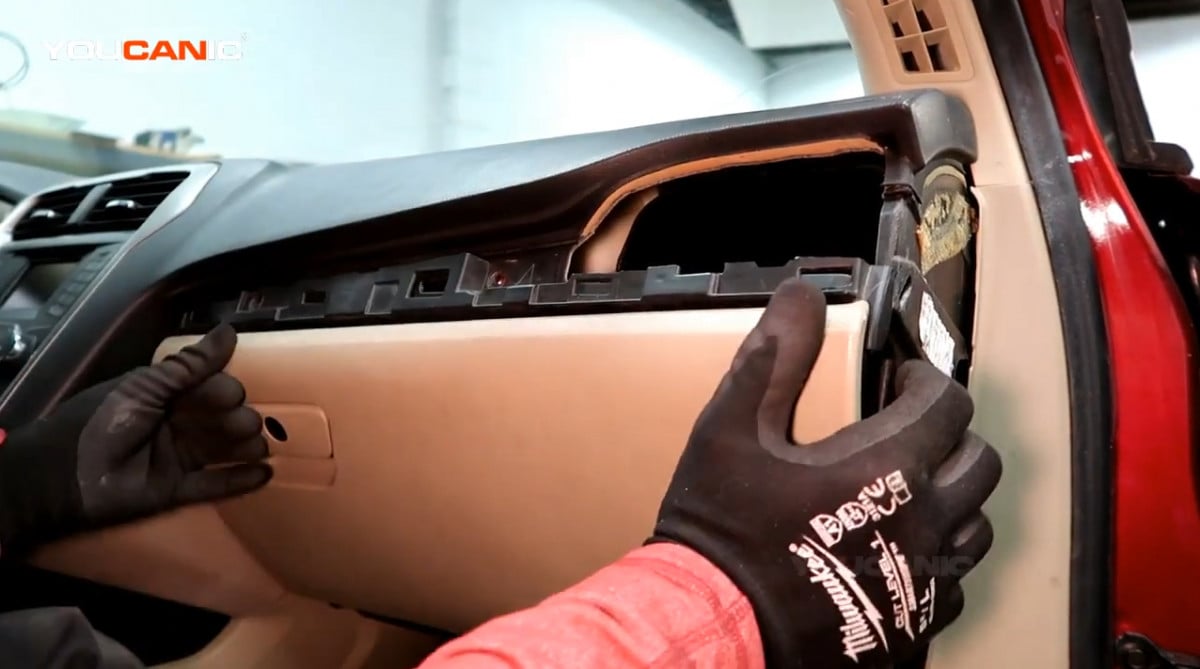
- Pull the whole glove out of the vehicle.


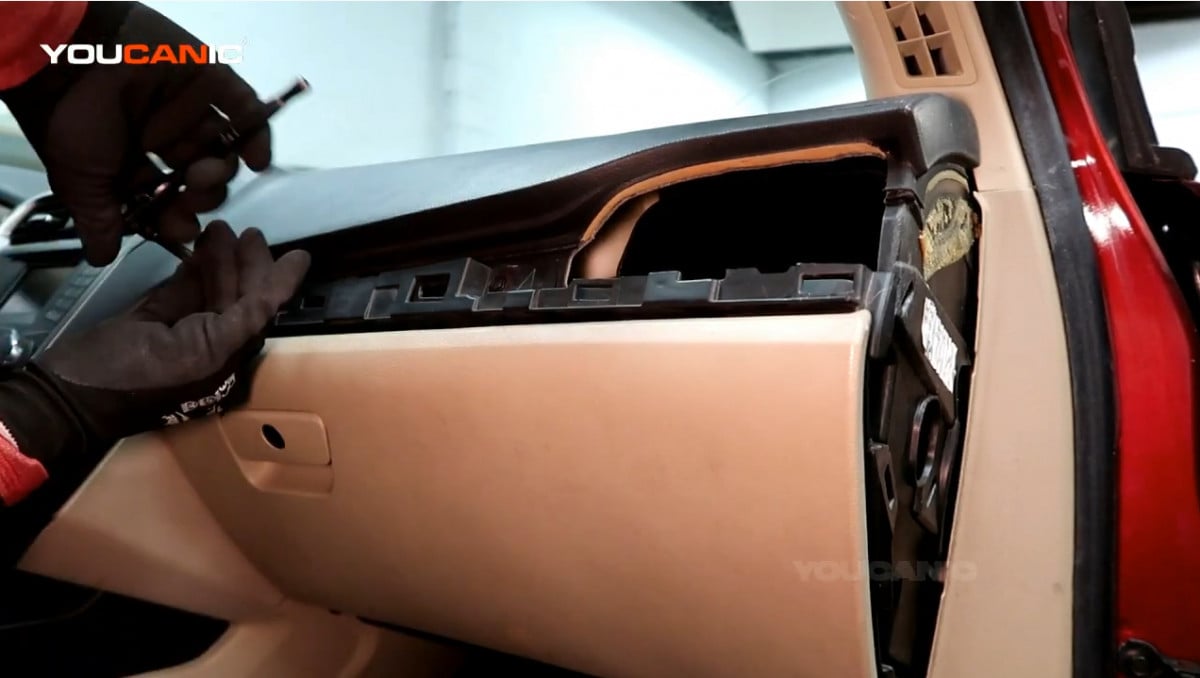
- Disconnect the connector of the glove box by pressing the clip and pulling the connector out.

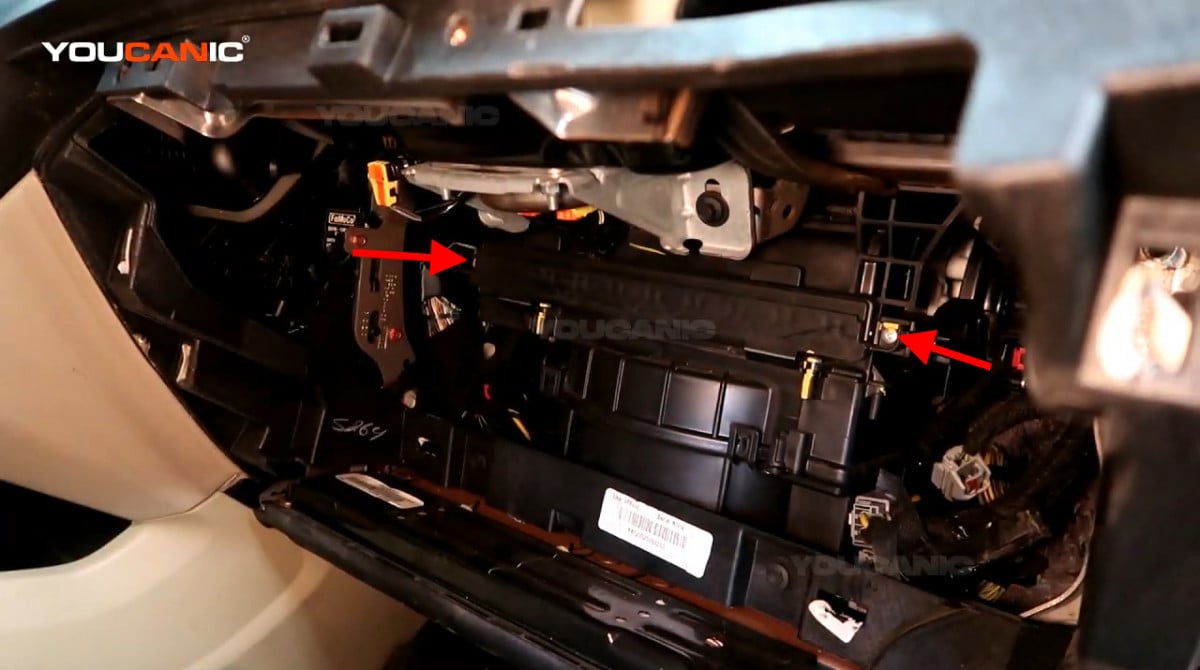
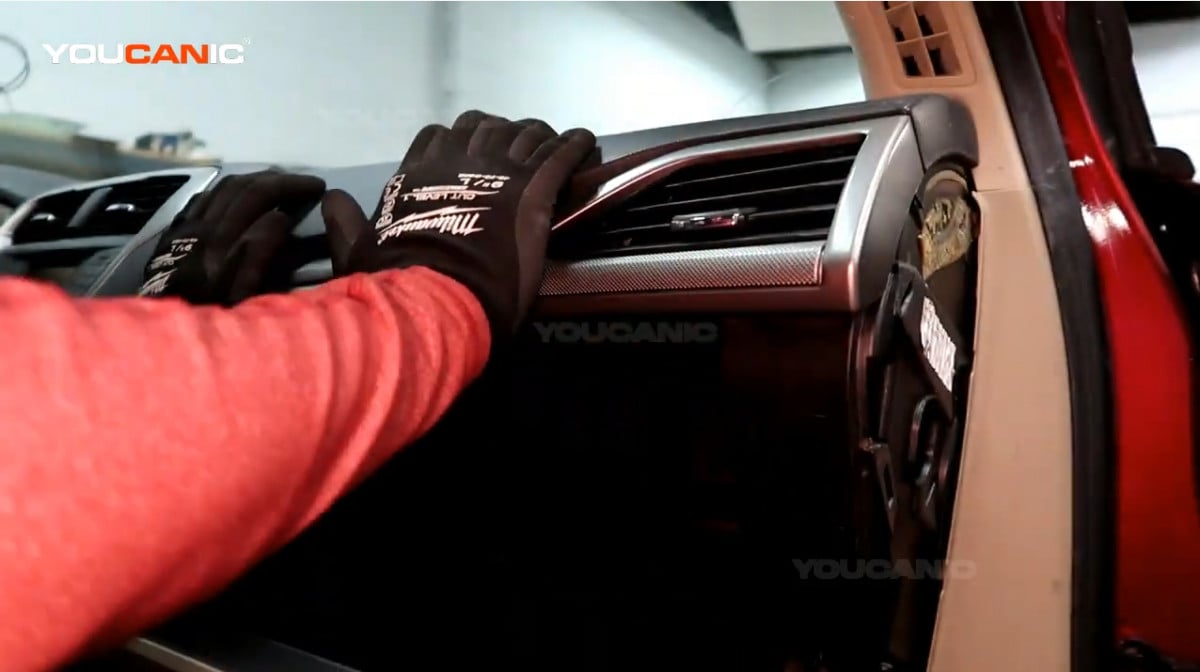
- Remove the two screws on both sides of the cabin air filter cover using a Philips screwdriver.

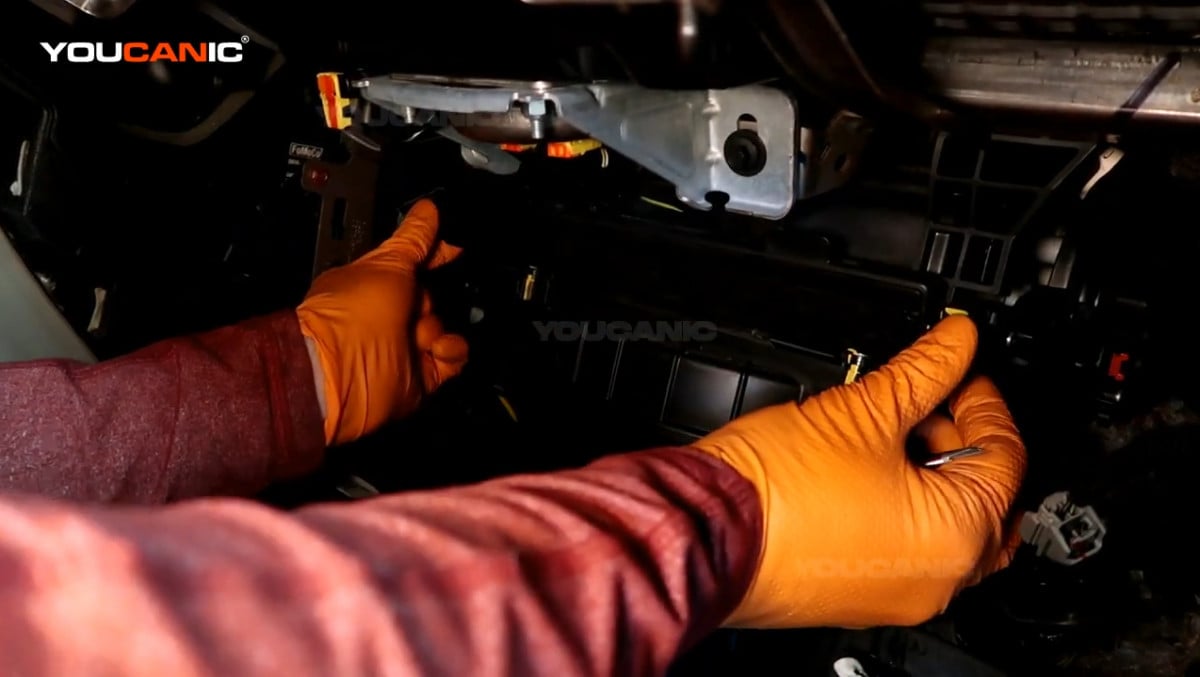
- Push the tabs on both sides and pull the cover down.


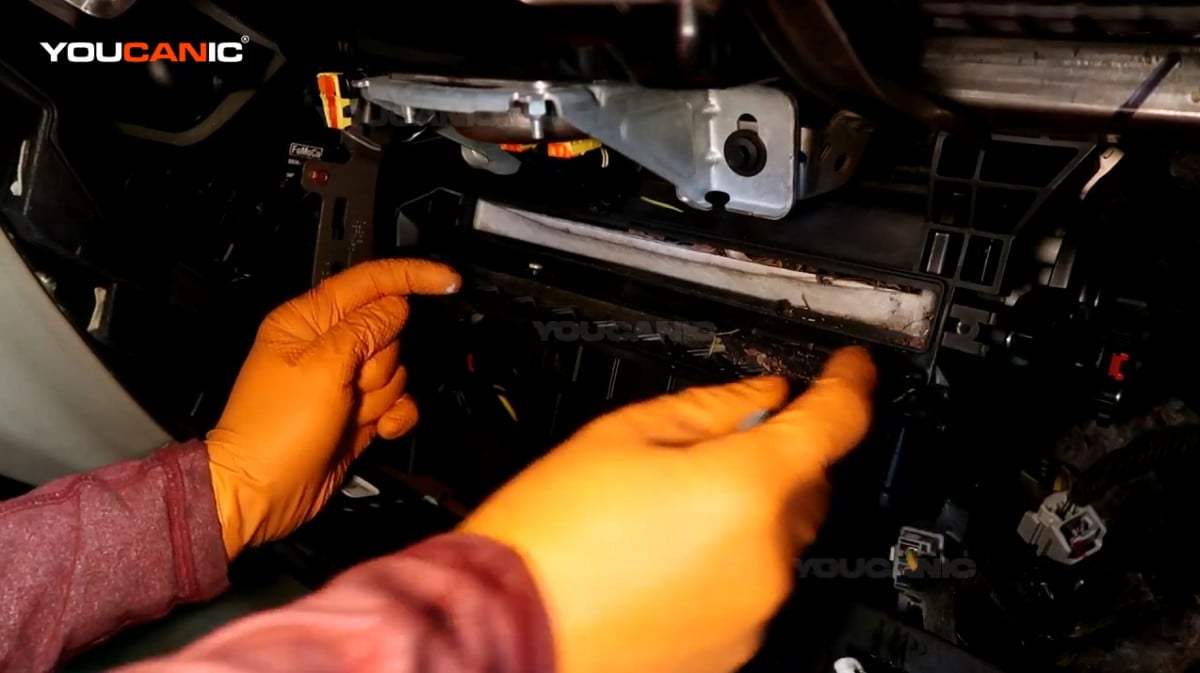
- Pull the cabin air filter out.


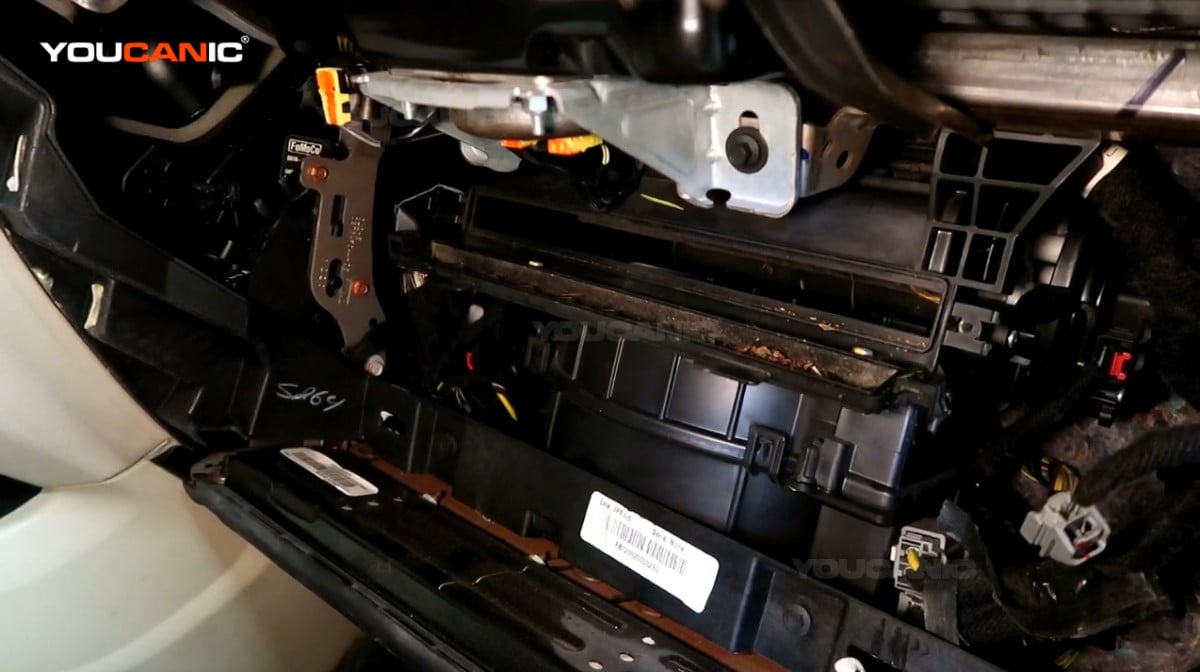
- Remove the dirt on the cabin air filter housing using a vacuum.

- Place the new cabin air filter and make sure that you install it in the proper orientation.
- Close the cabin air filter cover by pushing it until the tabs snap into place.

- Reinstall the two screws on both sides of the cabin air filter cover.
- Reconnect the connector of the glove box.

- Line up the glove box back to the vehicle and push it to lock it into place.

- Reinstall the two 7mm bolts above and below the glove box.


- Line up the plastic trim back to the vehicle and press it in to set it into place.

- Line up the cover on the right side of the glove box and push it in to lock the tabs back into the vehicle.

That’s it. Replacing the cabin air filter on a Ford Fusion is more involved than in most cars, but overall, this repair is easy.
Recommended Interval
- Replace the cabin air filter once a year.
We hope you find the Ford Fusion Cabin Air Filter Replacement Guide helpful. Check these troubleshooting and repair guides for more help on your Ford.


