Ford ABS Wheel Speed Sensor Replacement DIY
Is the ABS warning light displayed on your Ford Fusion dashboard? Learn how to fix the problem by replacing your vehicle’s ABS wheel speed sensor. This guide is a step-by-step procedure for replacing the ABS wheel speed sensor on a Ford Fusion 2013-2020.
This tutorial shows you how to replace the front ABS wheel speed sensor on a Ford Fusion, but the procedure is very similar for the rear ABS sensor.
What you will need
- Ford Fusion ABS wheel speed sensor
- Breaker bar
- Floor jack
- Jack stands
- 8mm nut driver or 8mm socket wrench
- Prying tool
The rear ABS sensor has a different part number from the front and therefore is not interchangeable. The left and right ABS sensors are the same and can be switched without any issue.
Procedure
- Park the vehicle on a flat-level ground surface.

- Loosen the lug nuts of the front wheel using a breaker bar.

- Jack up the vehicle’s front and support it with jack stands.

- Remove the wheel from the vehicle.
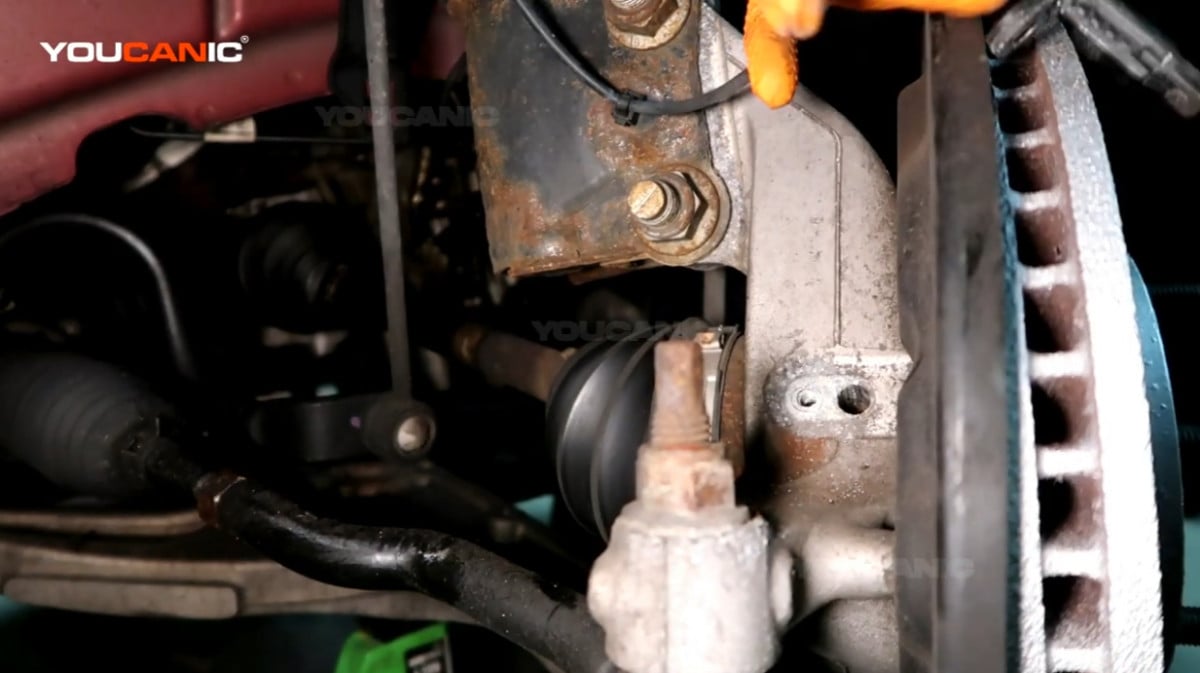
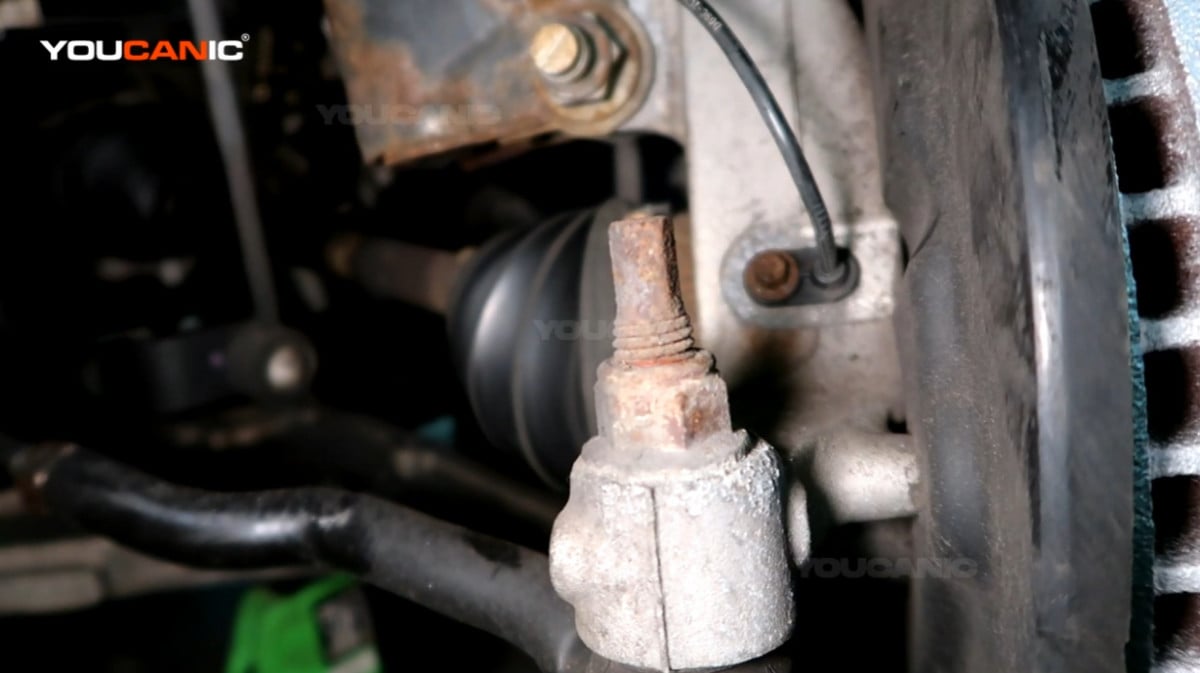
- Locate the wheel speed sensor on the back of the rotor.

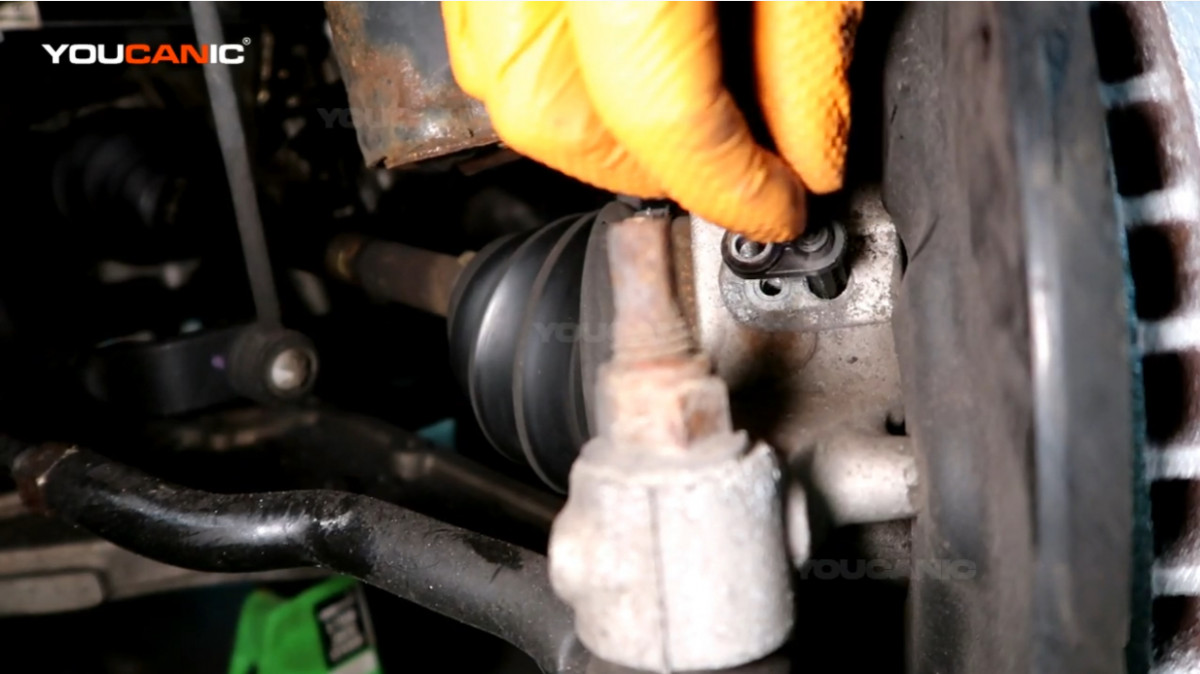
- Remove the 8mm bolt on the sensor using an 8mm socket wrench or 8mm nut driver. Spraying penetrating oil can make removal easier.

- Pull the sensor out from the vehicle.

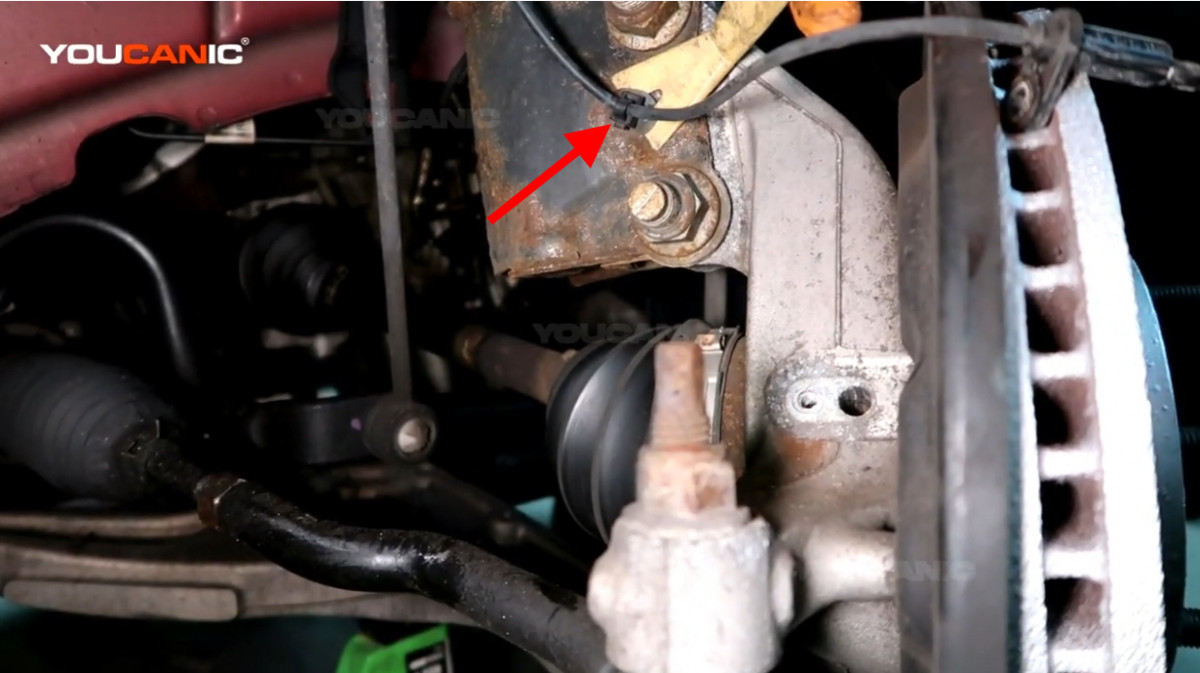
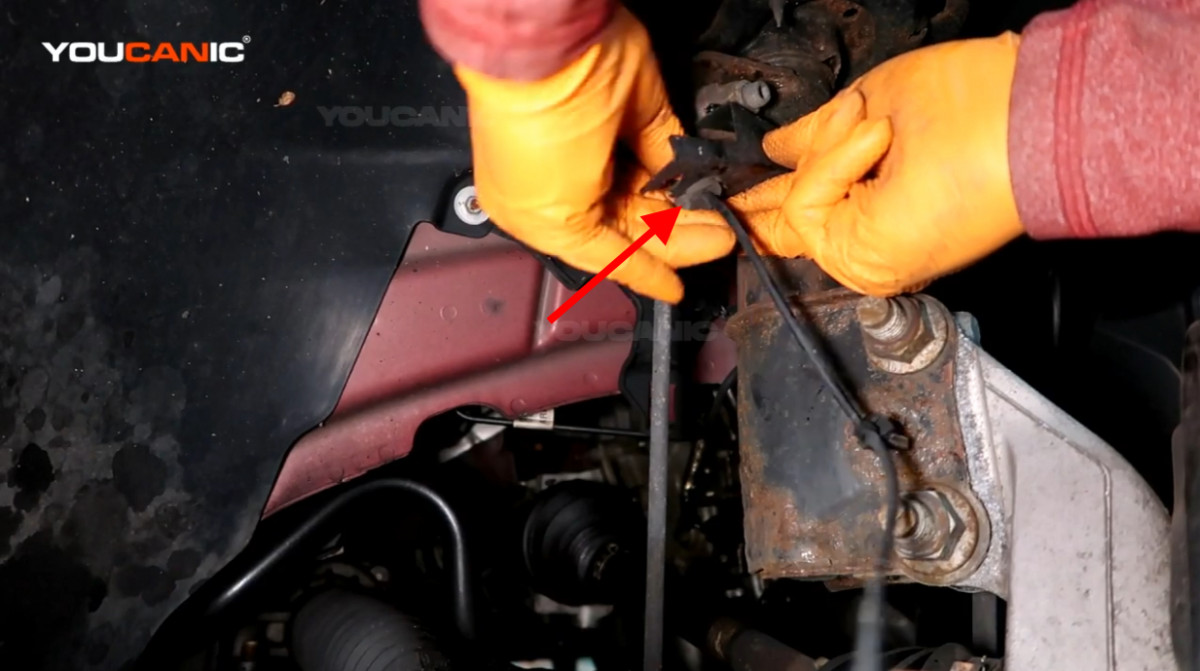
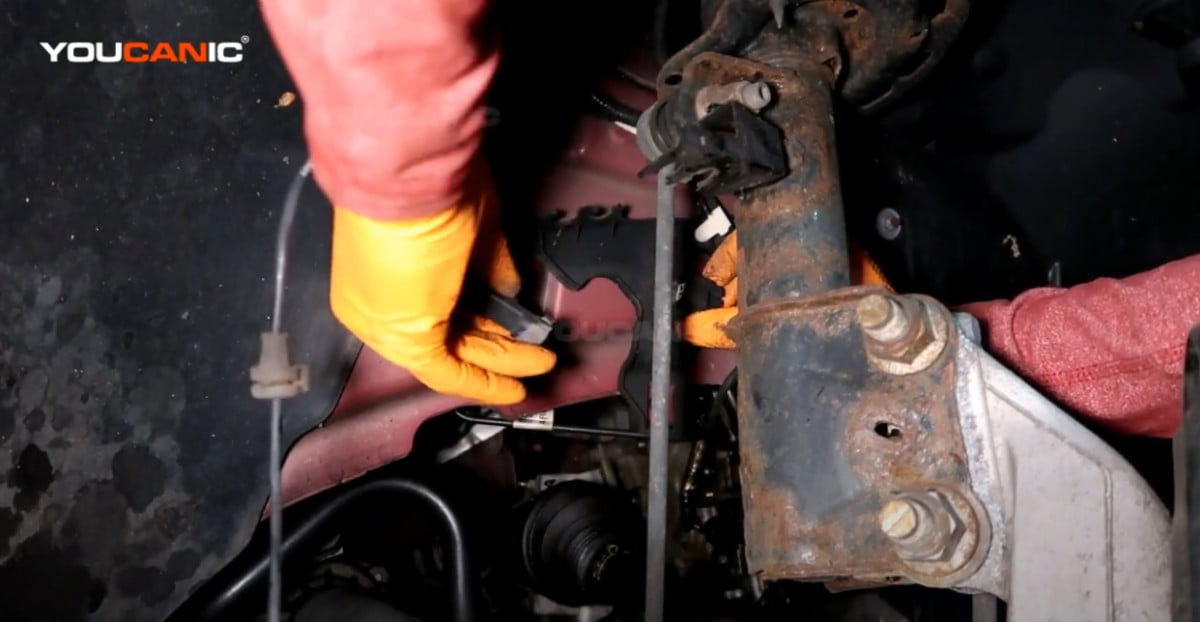
- Pull out the cable from all the clips and clamps attached to it.


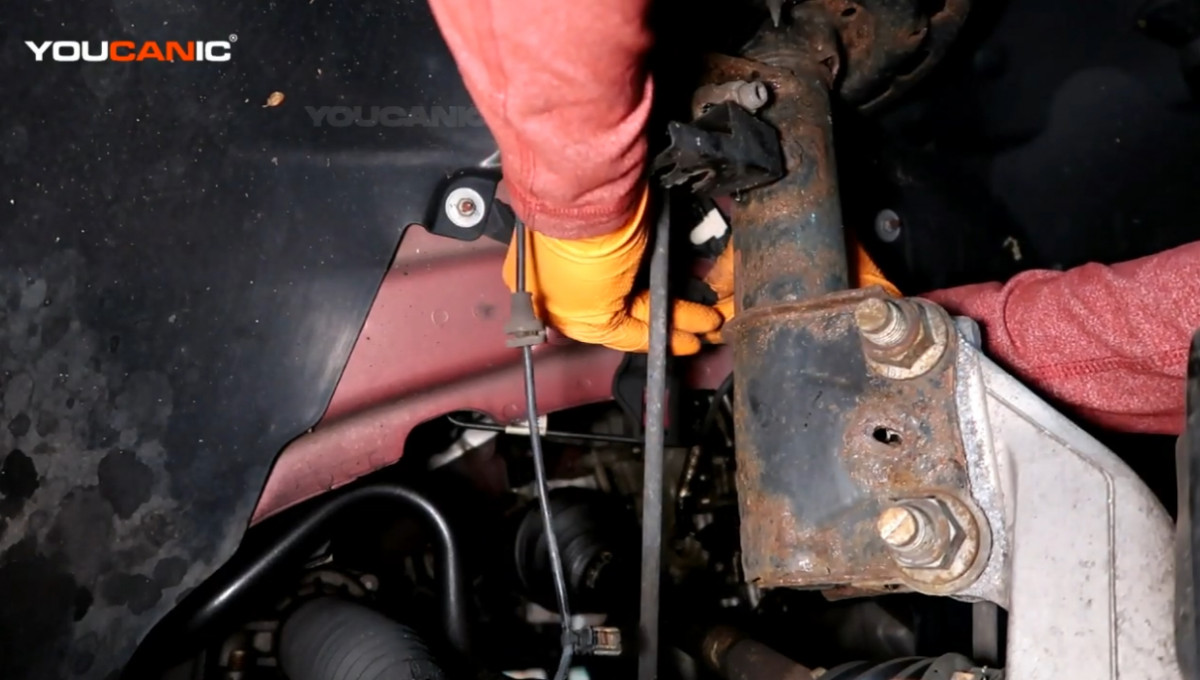
- Disconnect the connector by pressing the clip and pulling the connector out.


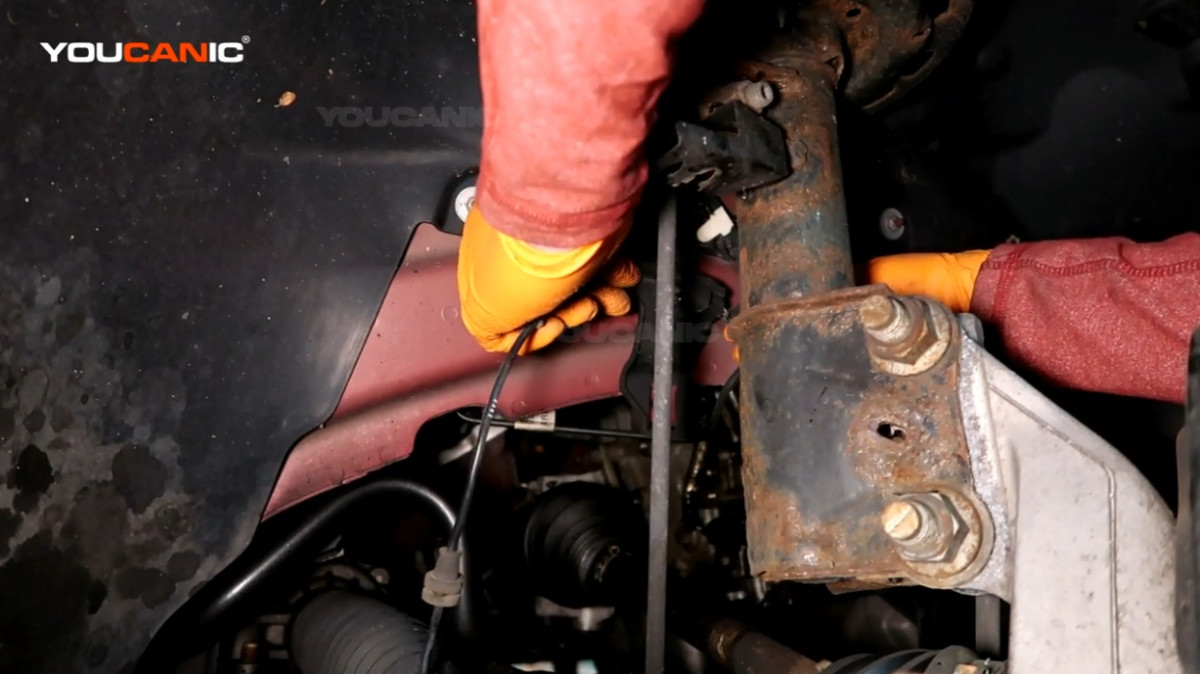
- Connect the new wheel speed sensor.

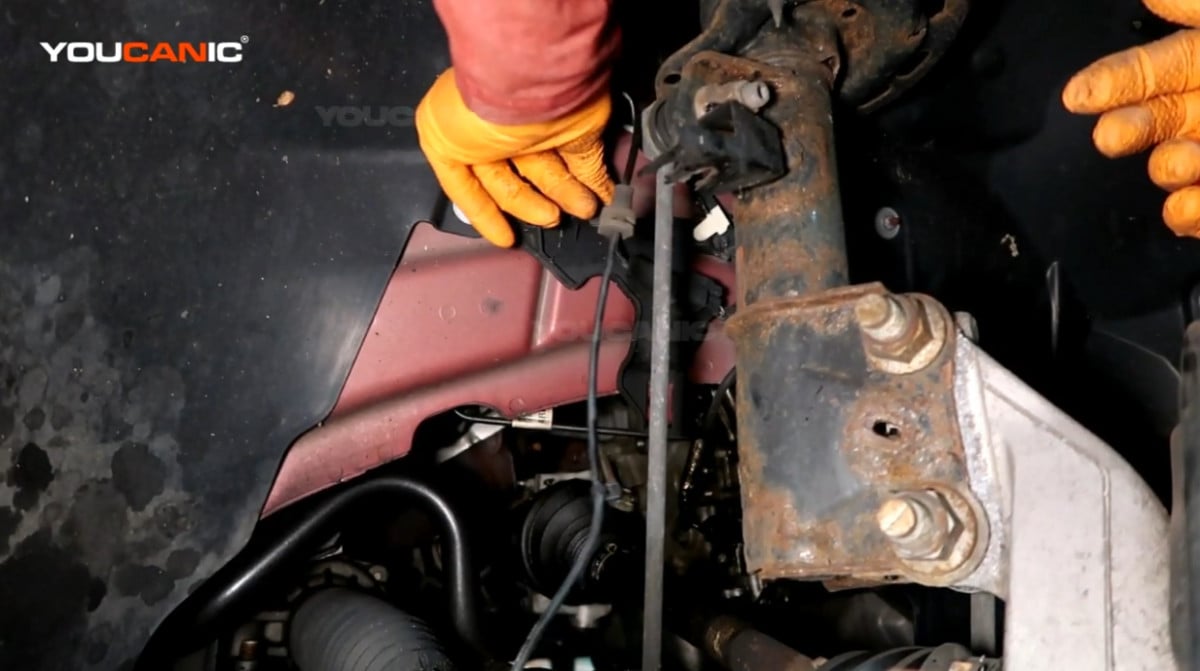
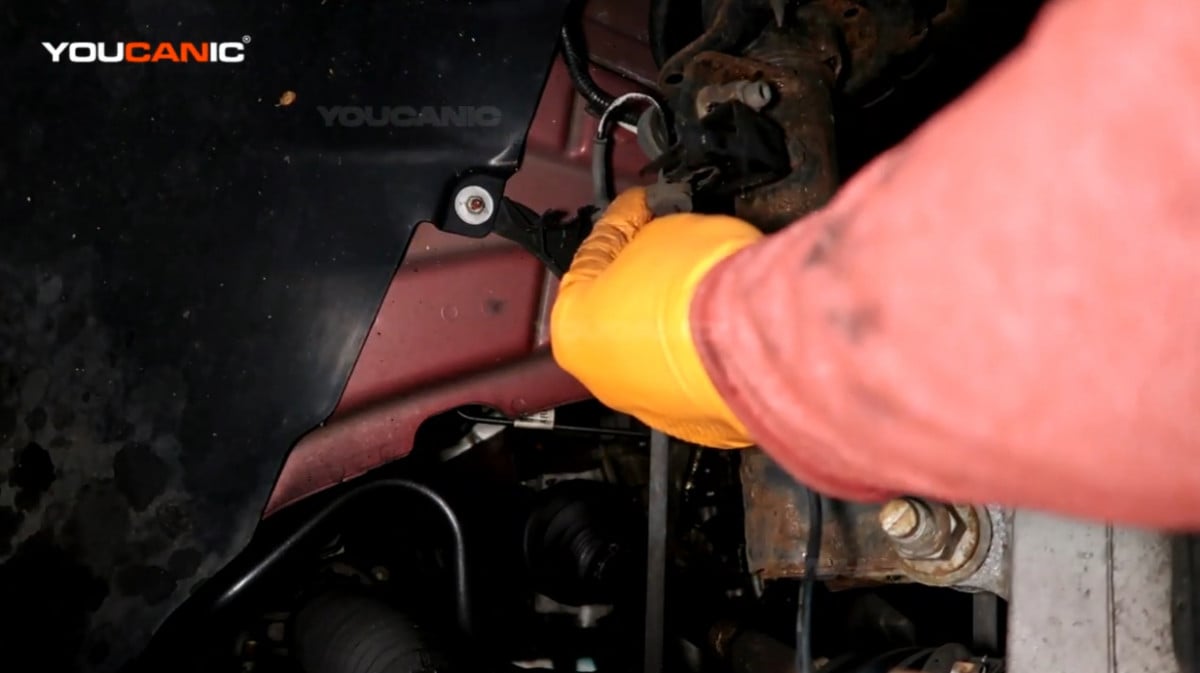
- Attach the cable of the new wheel speed sensor to the clips and clamps. Ensure the cable is set in its original routing; otherwise, it may stretch or rub against the wheel.


- Insert the sensor into the hole in the knuckle.

- Reinstall the 8mm bolt on the sensor and twist it clockwise to tighten.

- Place the wheel back in the vehicle and reinstall the lug nuts. Torque the lug nuts to spec.
- Start the vehicle and turn the steering wheel left and right several times, then drive for about five minutes and ensure the ABS and traction control light reset.
If the tracking control light and ABS remain on after you replace the faulty ABS sensor, you will have to reread the fault codes from the ABS module to find out what other codes are still present.
ABS Light On
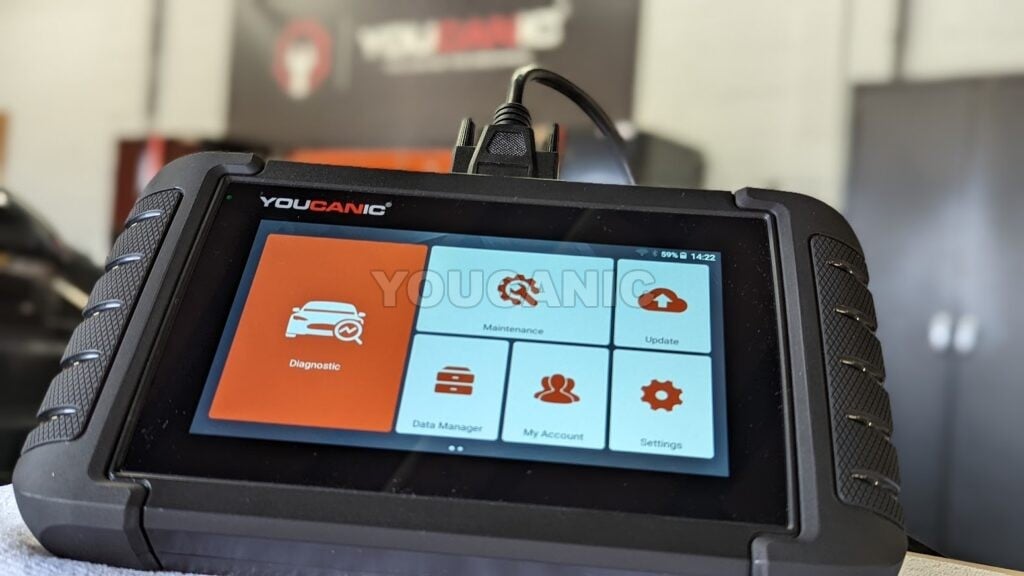
If the ABS light is on after replacing the ABS wheel speed sensor, you can use the YOUCANIC Full System Scanner to reset the ABS light. This scanner can also read and clear fault codes through every vehicle’s control module.
We hope you find the Ford ABS Wheel Speed Sensor Replacement DIY guide helpful. Check these troubleshooting and repair guides for more help on your Ford.


