Ford Fusion Valve Cover Gasket Replacement
Is there an oil-burning smell, an oil leak on your engine, and the valve cover of your Ford Fusion is dirty? Learn how to fix the problem by replacing the valve cover gasket of your vehicle. This guide is a step-by-step procedure for replacing the valve cover gasket on a Ford Fusion 2013-2020.
What you will need
- Ford Fusion Valve Cover Gasket
- Mechanic Toolset Metric
- 8mm Socket
- 10mm Socket
- Ratchet Wrench
- Torque Wrench
Procedure
Open the hood. Pull the hood release under the dashboard and unlock the hood latch. Next, pull the hood up and set the hood strut to hold the hood open. If you need help with this step, follow these procedures for opening the hood.
Disconnect the camshaft position actuator connector located on the left of the oil cap. Pull the clip to unlock the connector, then press and pull the connector to disconnect.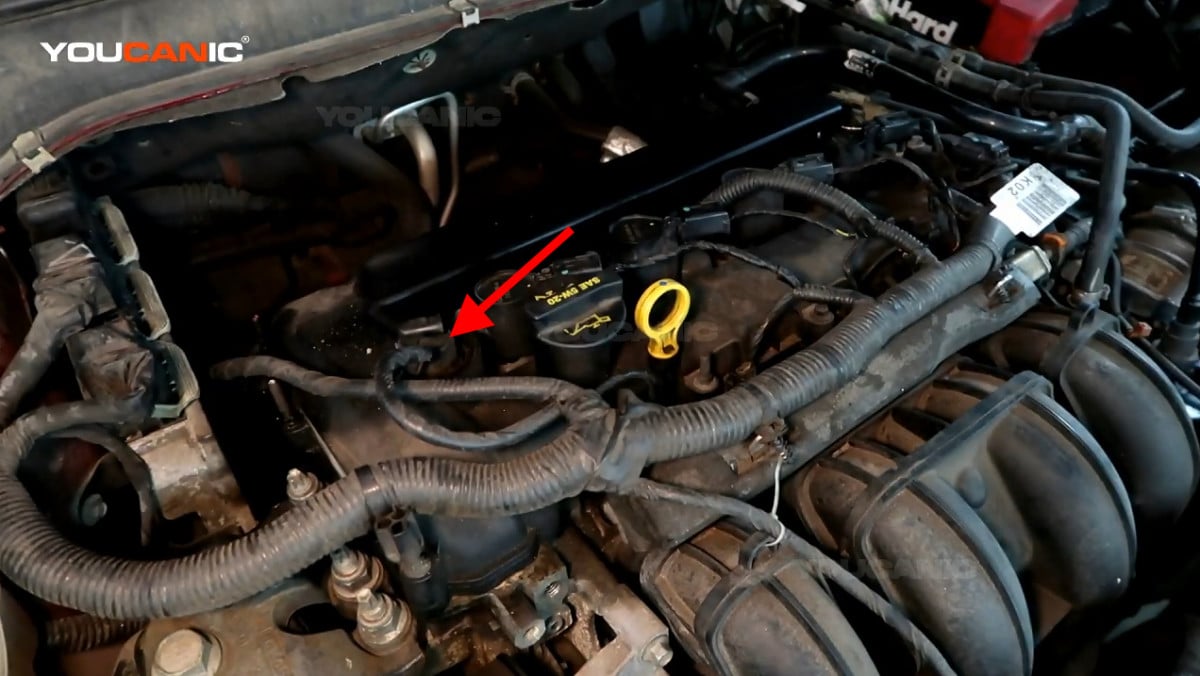
Disconnect the front and middle connectors of the ECU (Engine Control Unit) by pulling them out.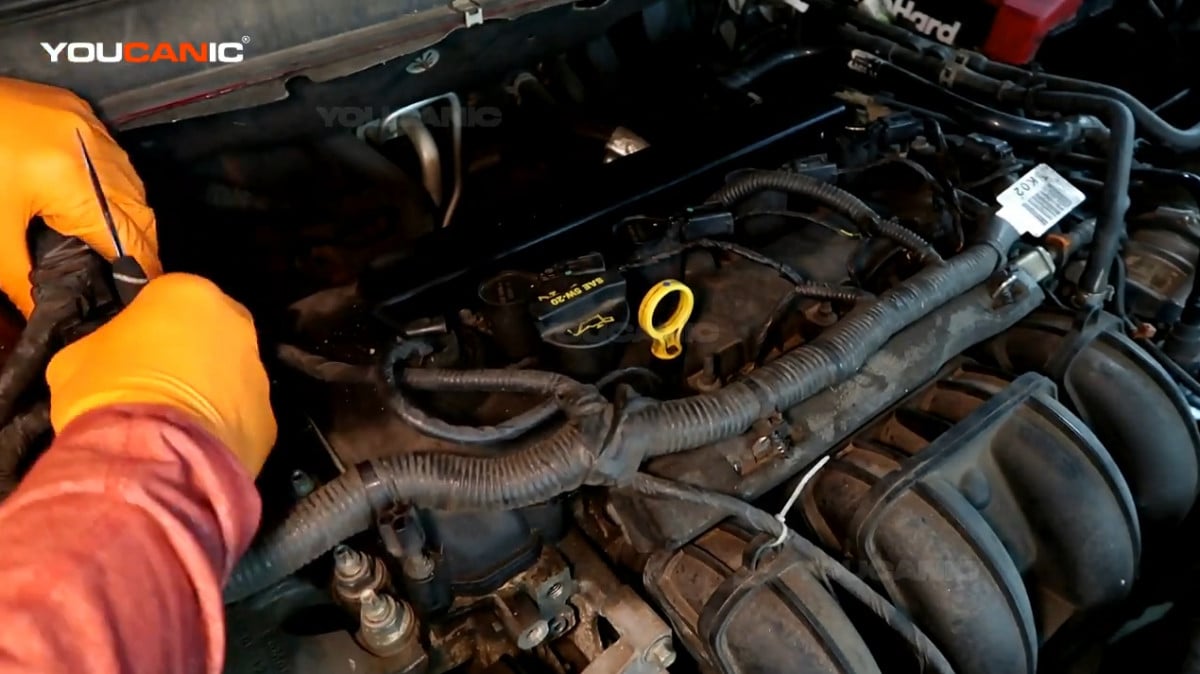
Disconnect the electrical connector behind the left side of the valve cover. Press on the clip and pull the connector out to disconnect.
Disconnect the coil pack connectors by pressing the clip and pulling the connector out.
Disconnect the connector for the camshaft position sensor by pressing the clip and pulling the connector.
Pull out the rubber cover and disconnect the connector in the middle of the coil pack. Press on the clip and pull the connector out to disconnect.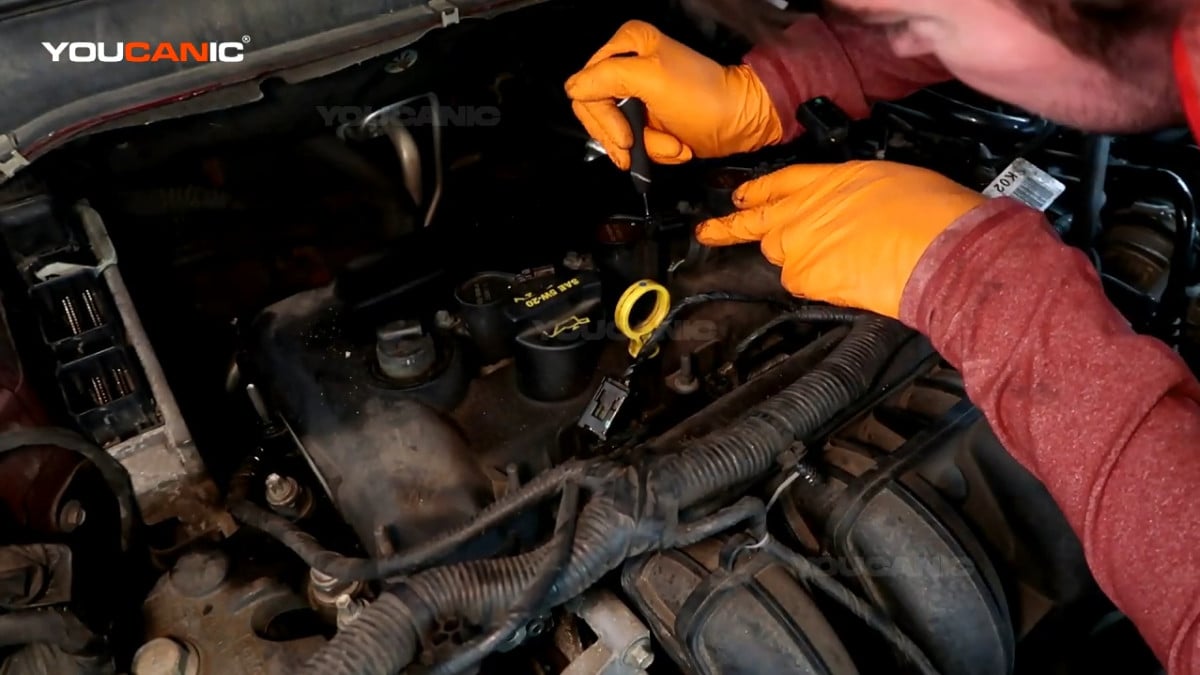
Locate the connector on the right side of the valve cover and disconnect it. Pull the clip below the connector and pull the connector out.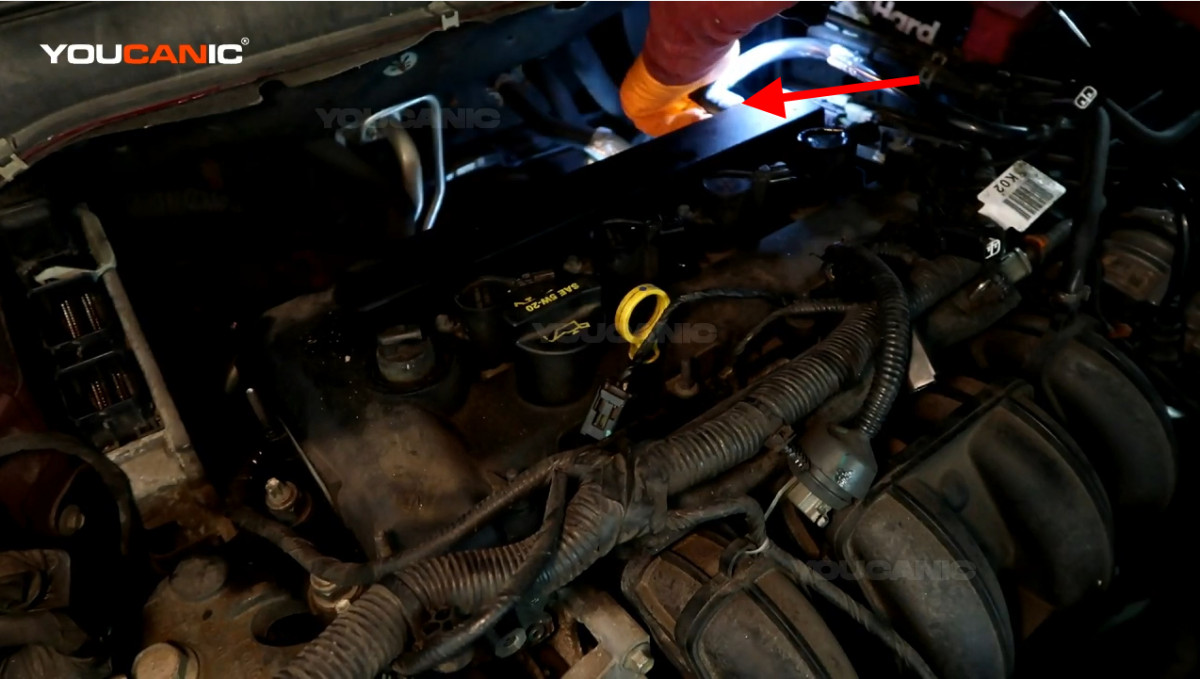
Remove the four 8mm bolts on the ignition coil and pull the coils out. Use an 8mmmm socket to remove the bolts.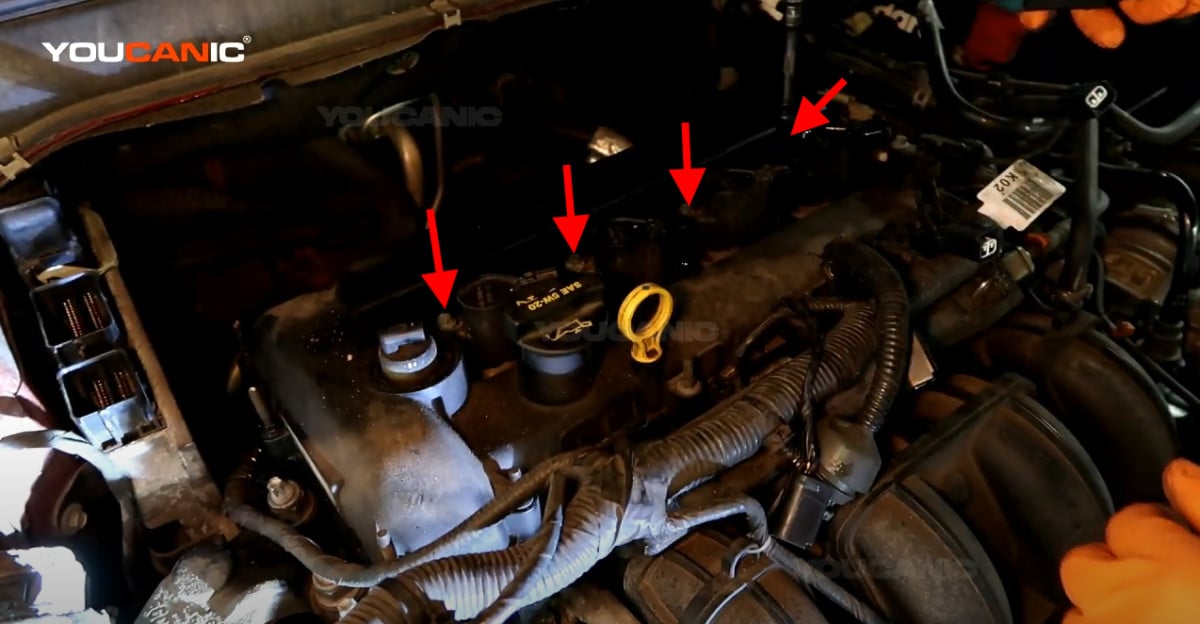
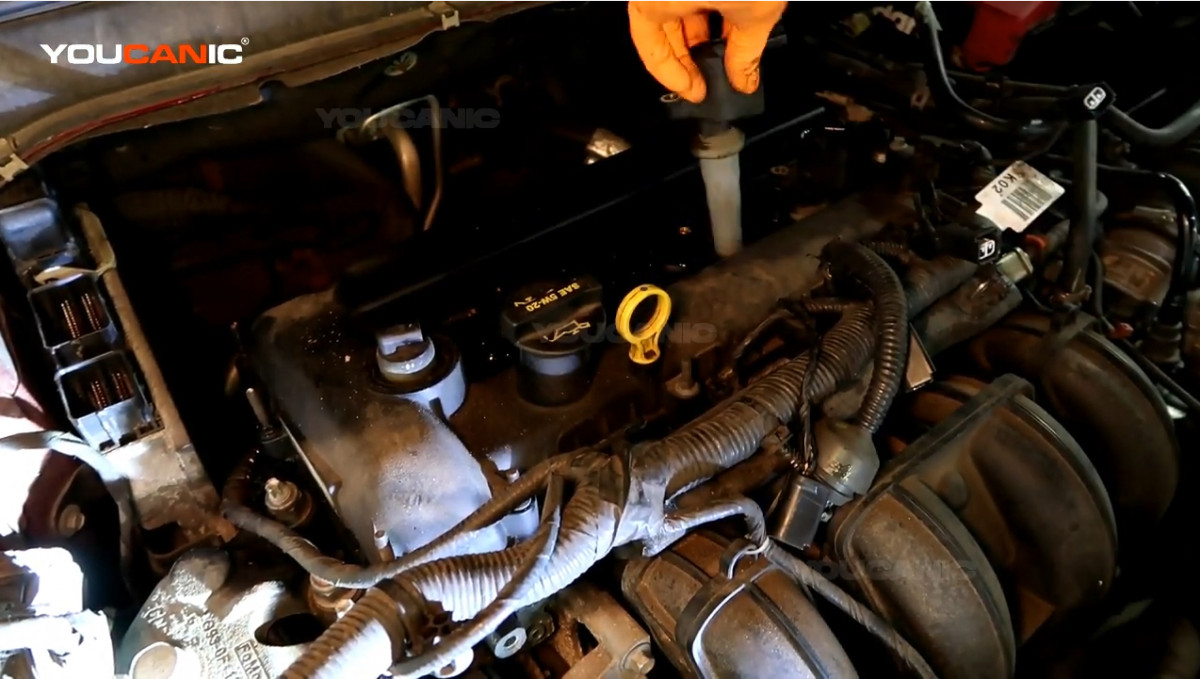
Remove the 10mm bolt on the knock sensor and pull the sensor out. The knock sensor is located on the lower right side of the valve cover.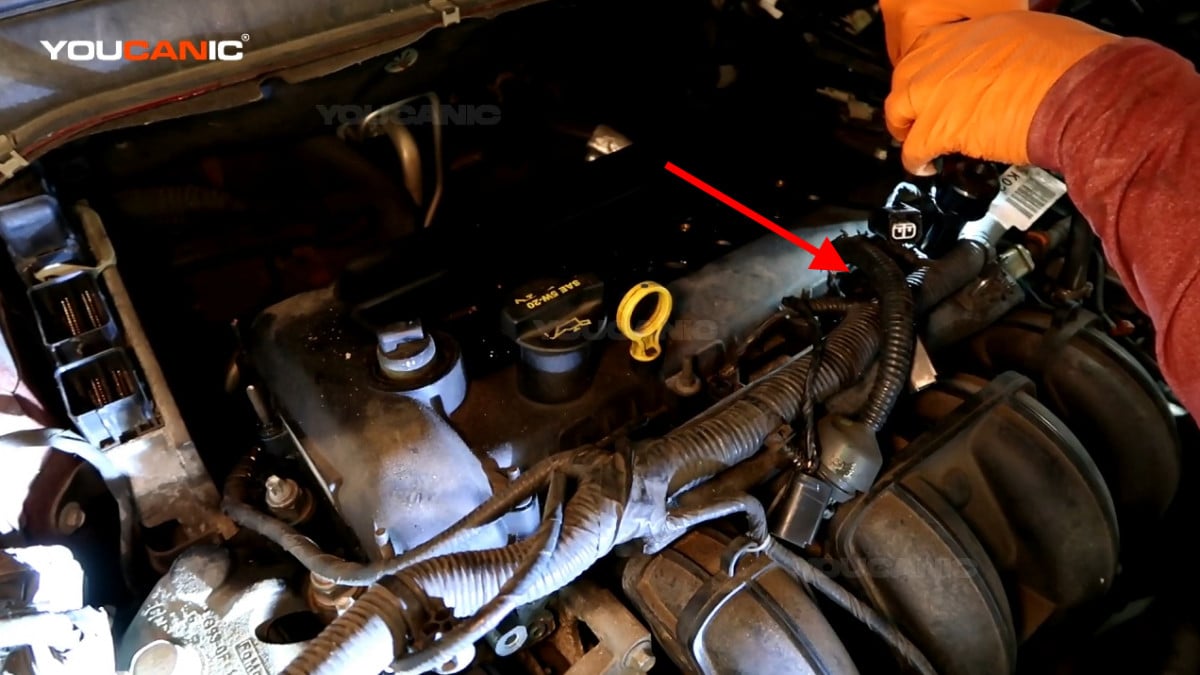

Remove the two 10mm bolts on the bracket that holds the O2 sensor cables on the left side of the valve cover.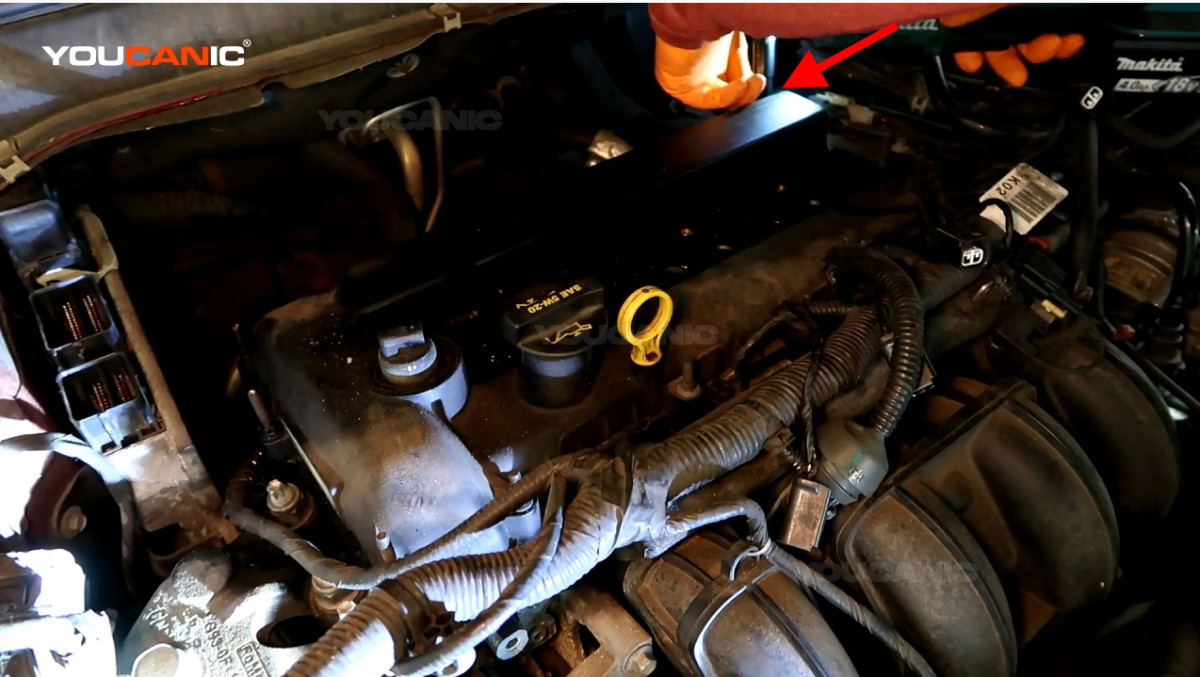
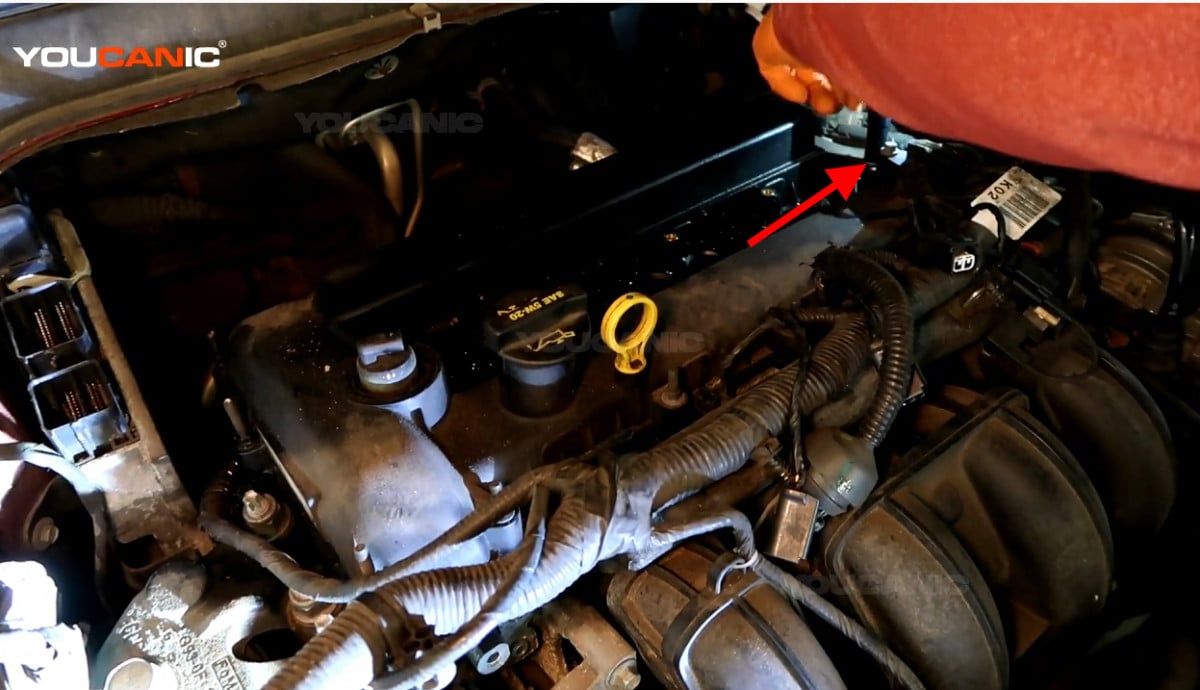
Loosen all the 8mm bolts around and on the middle of the valve cover using an 8mm socket. There’s a total of fourteen 8mm bolts to be loosened.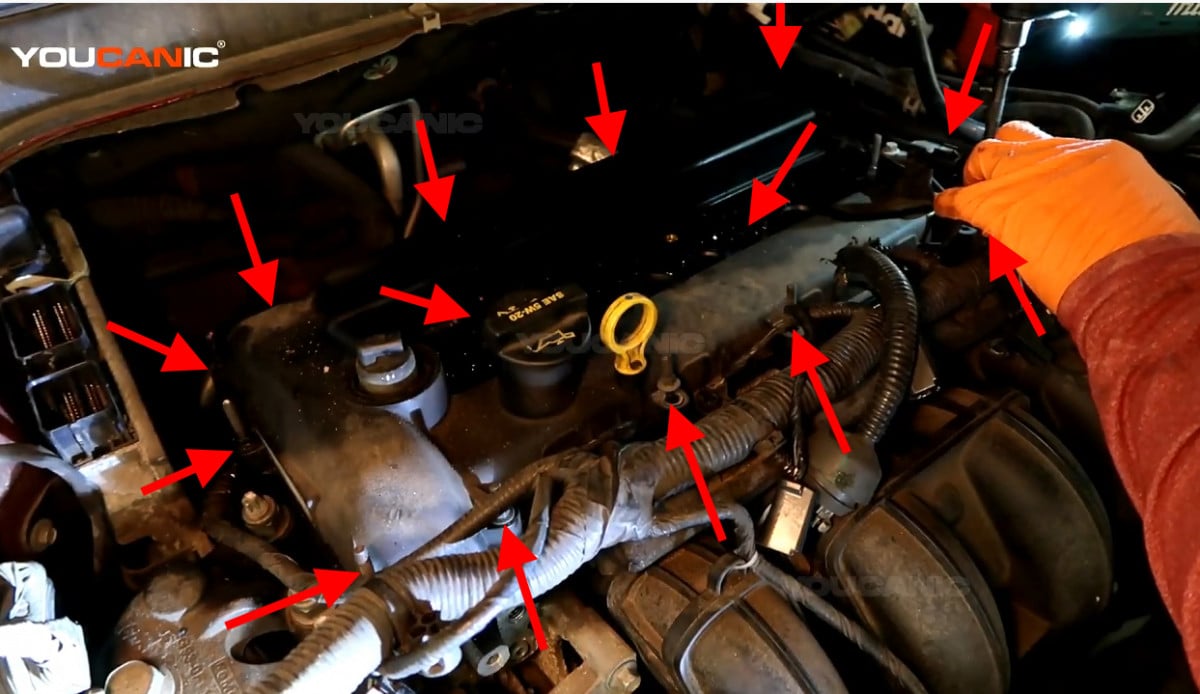 The arrows drawn indicate the locations of the 8mm bolt around the valve cover.
Pull the oil dipstick out and set it aside.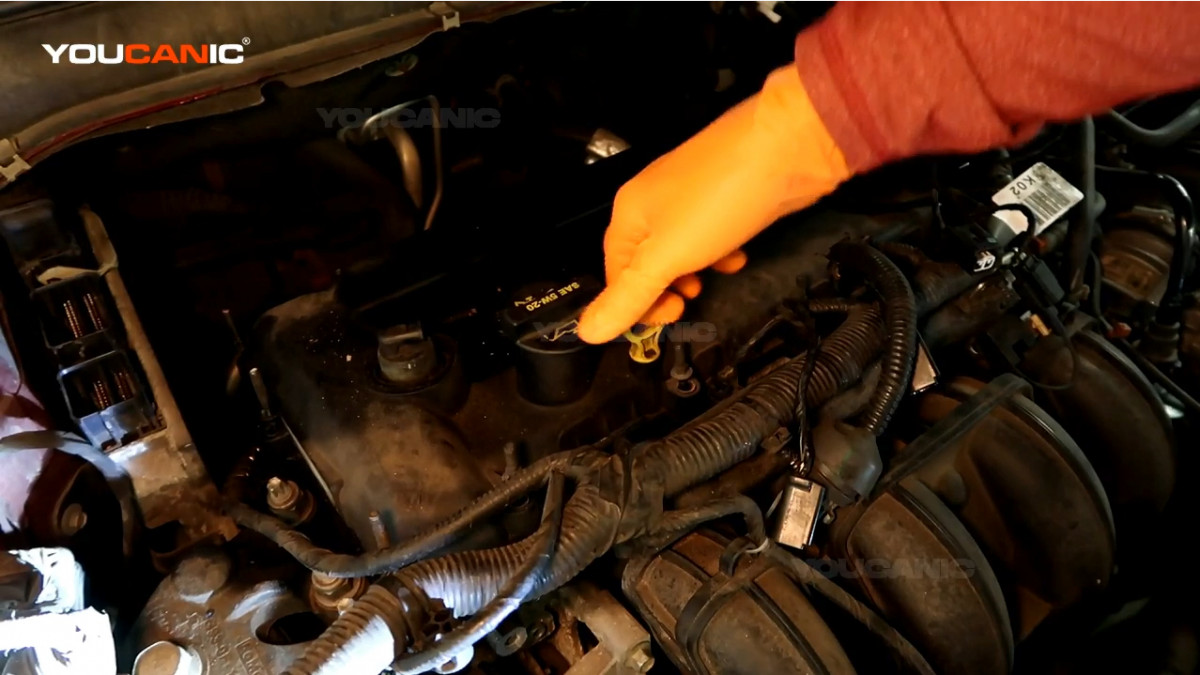
Pull the connectors and cables away from the valve cover.
Pull the valve cover out from the vehicle.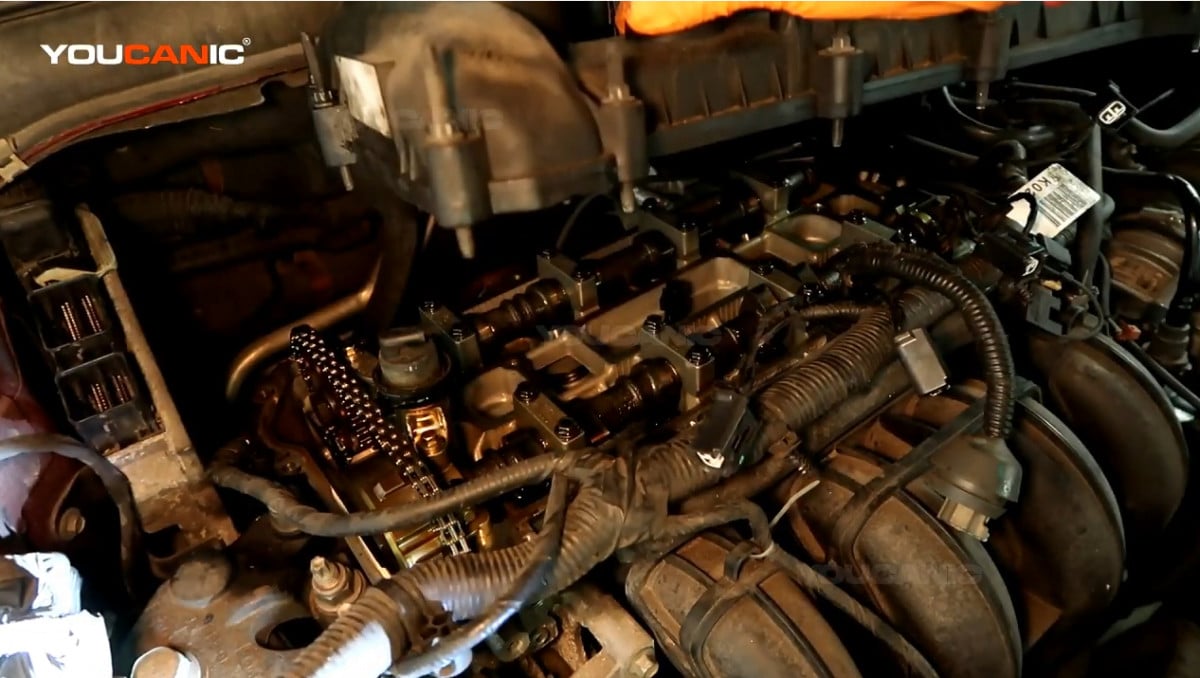

Pull out the four gaskets on the valve cover. Use a pick tool to pull the gasket.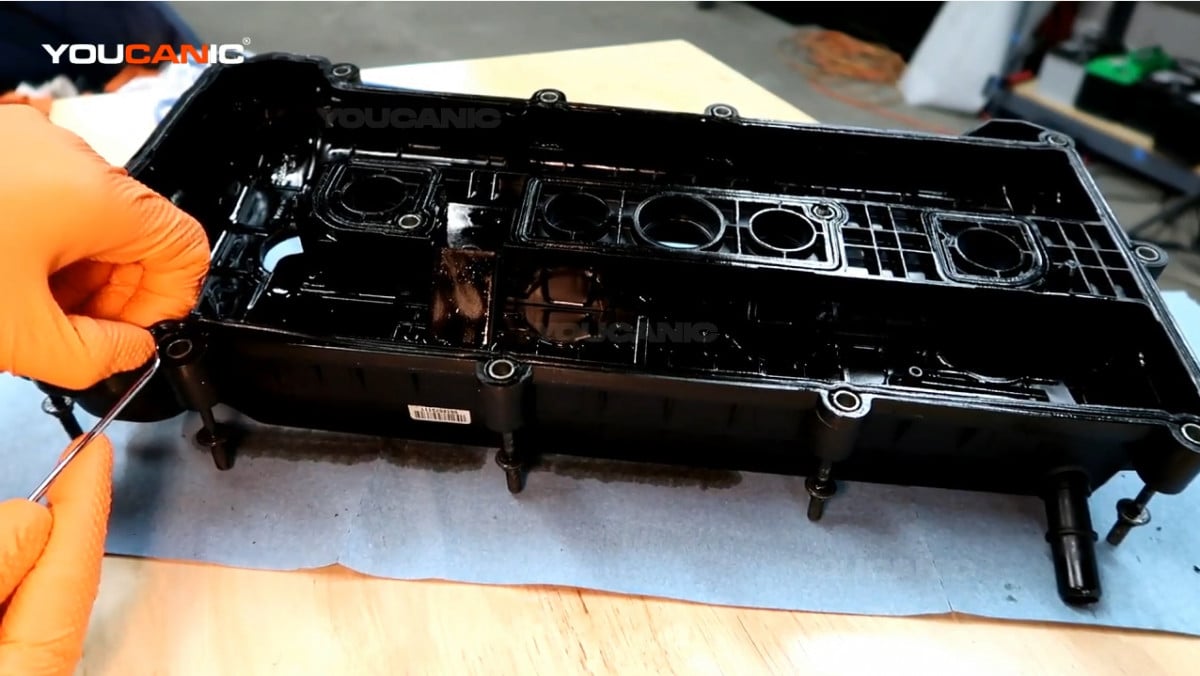
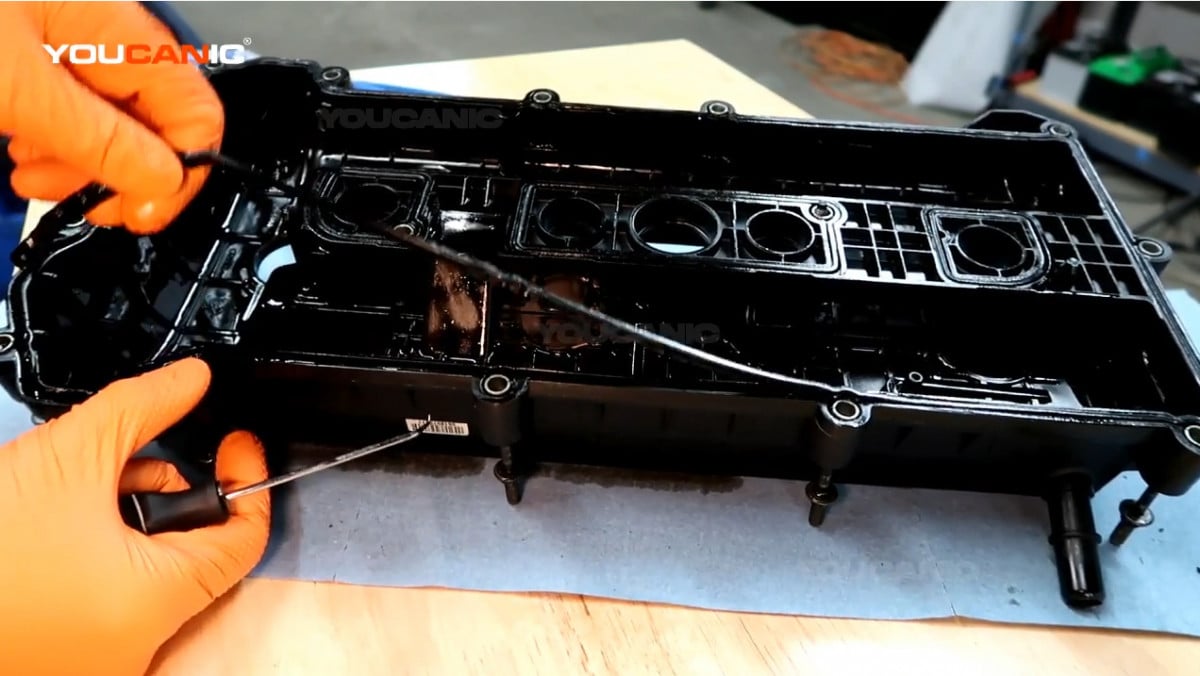
Clean the valve cover by wiping it. Use a cloth that can absorb oil.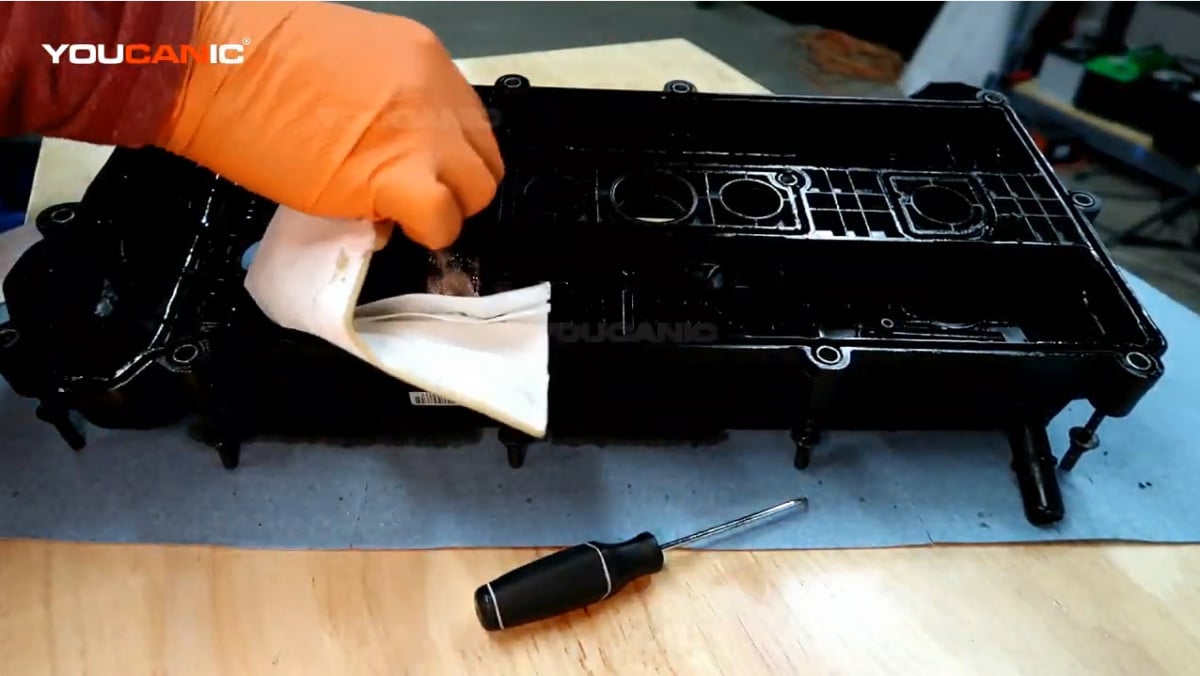
Line up the gaskets into the valve cover and press them to set them into place.
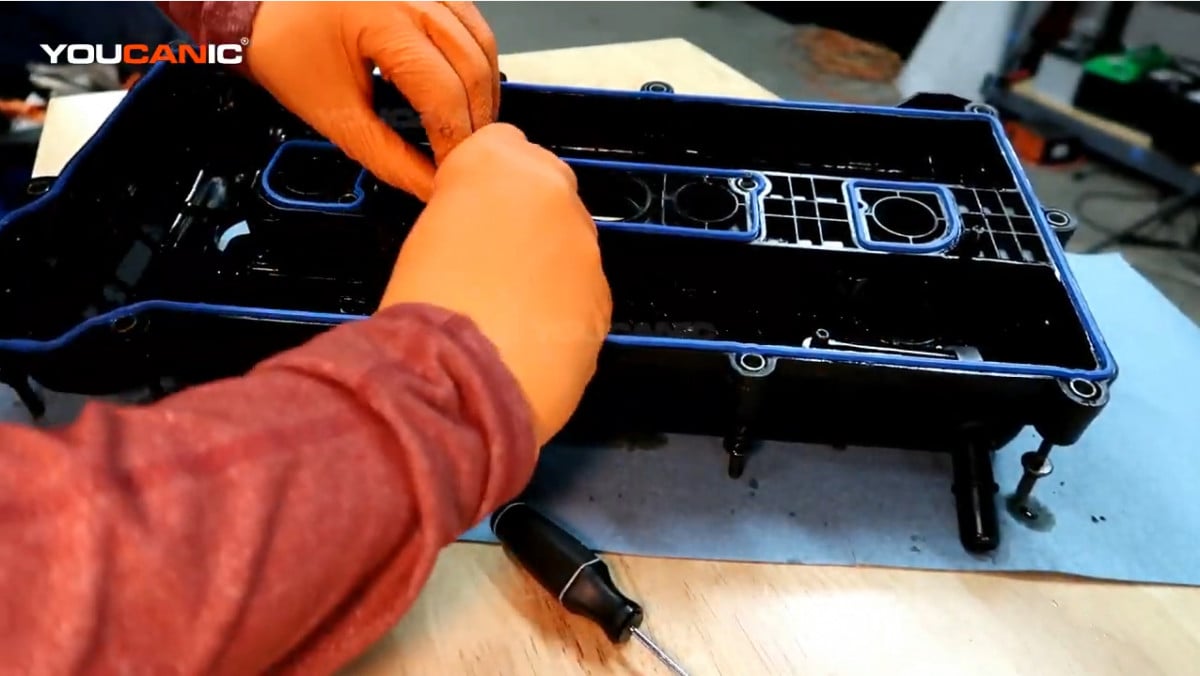
Add a little gasket maker on the valve cover’s upper left and lower left edge.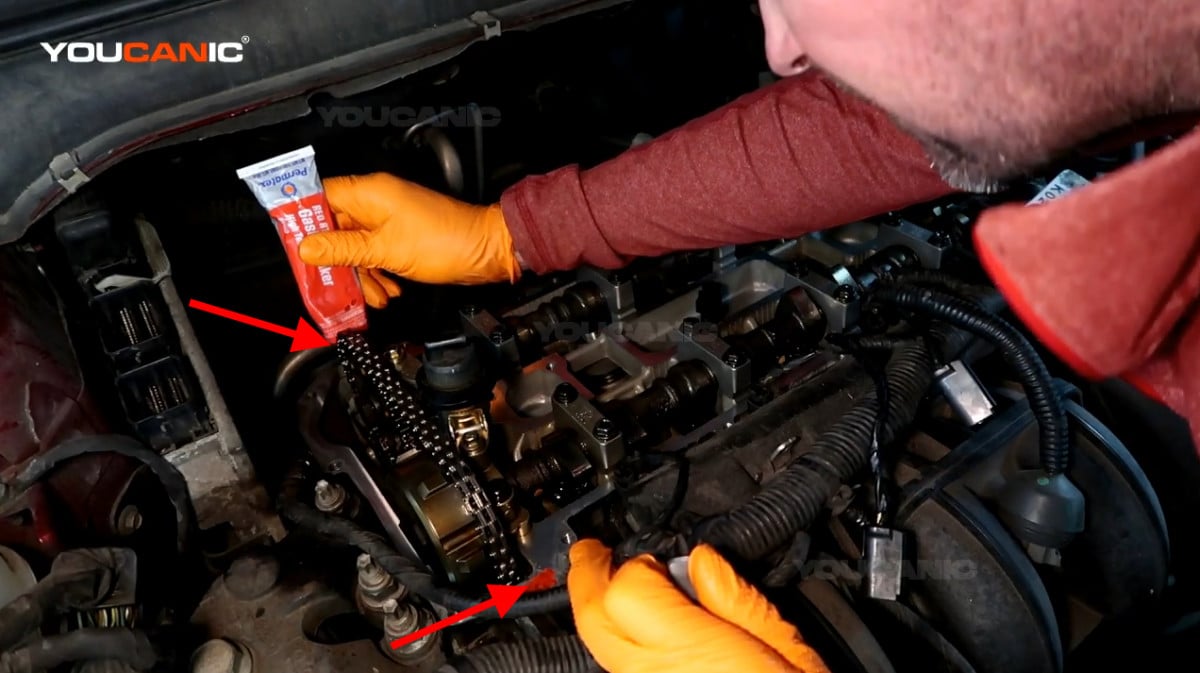
Line up the valve cover back to the engine.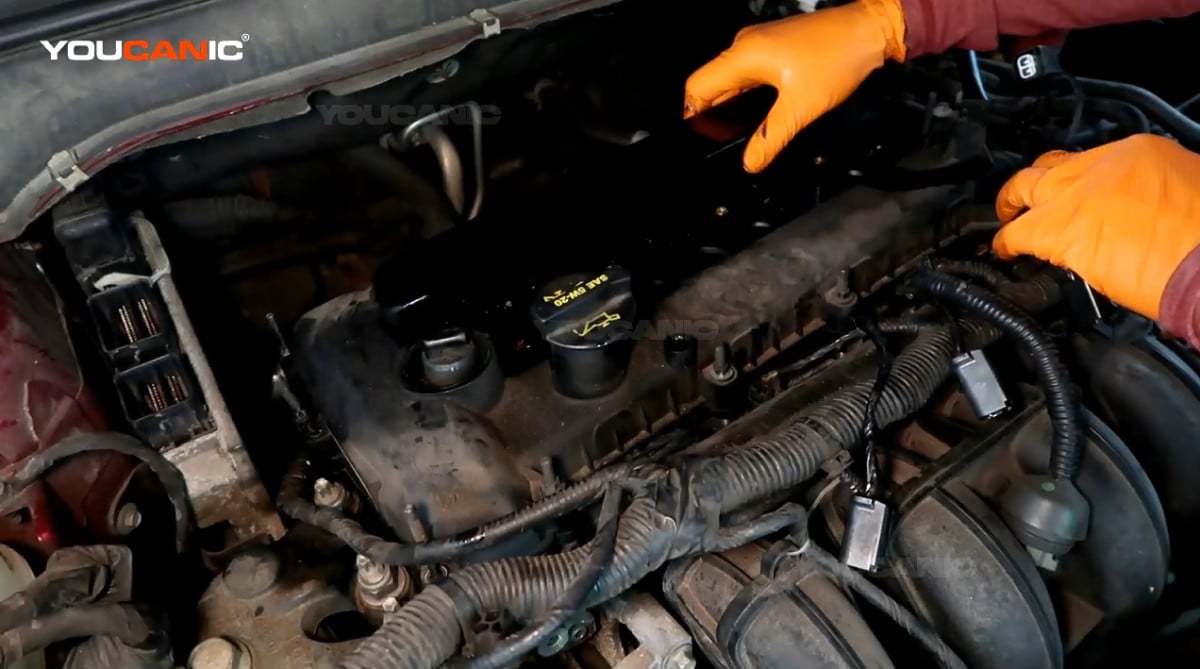
Tighten all the fourteen 8mm bolts equally using an 8mm socket. Turn the bolts clockwise to tighten in a cross pattern.
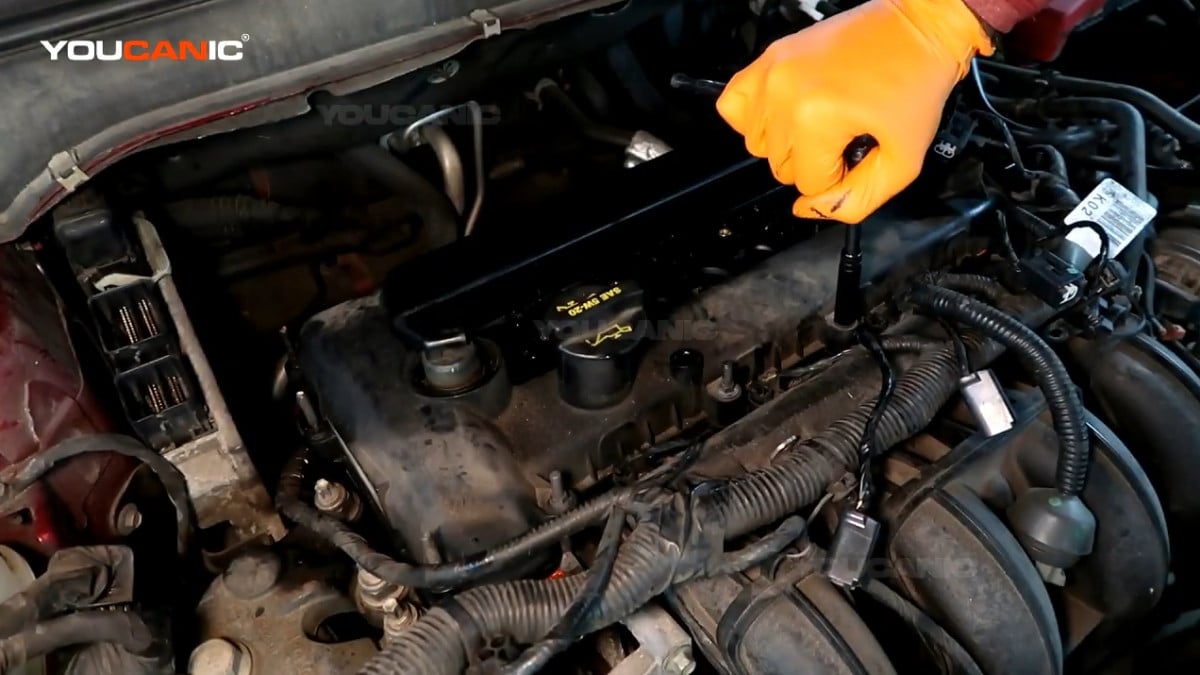
Line up the knock sensor back to the valve cover and reinstall the 10mm bolt.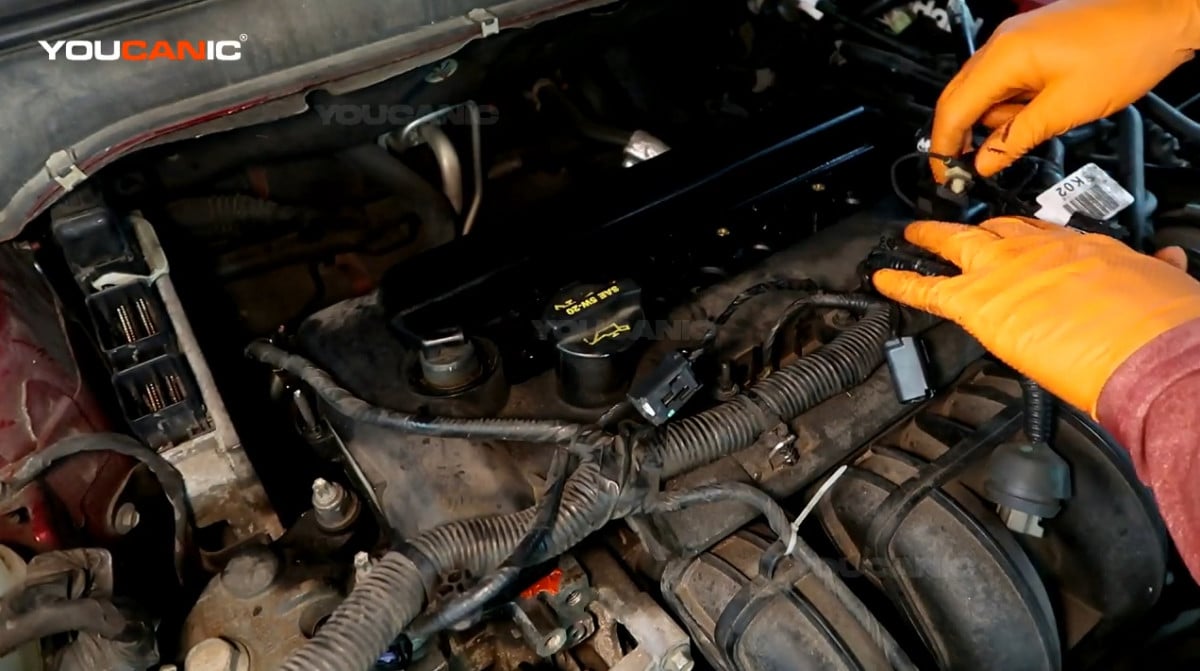
Line up the bracket that holds the O2 sensor cables and reinstall the two 10mm bolts.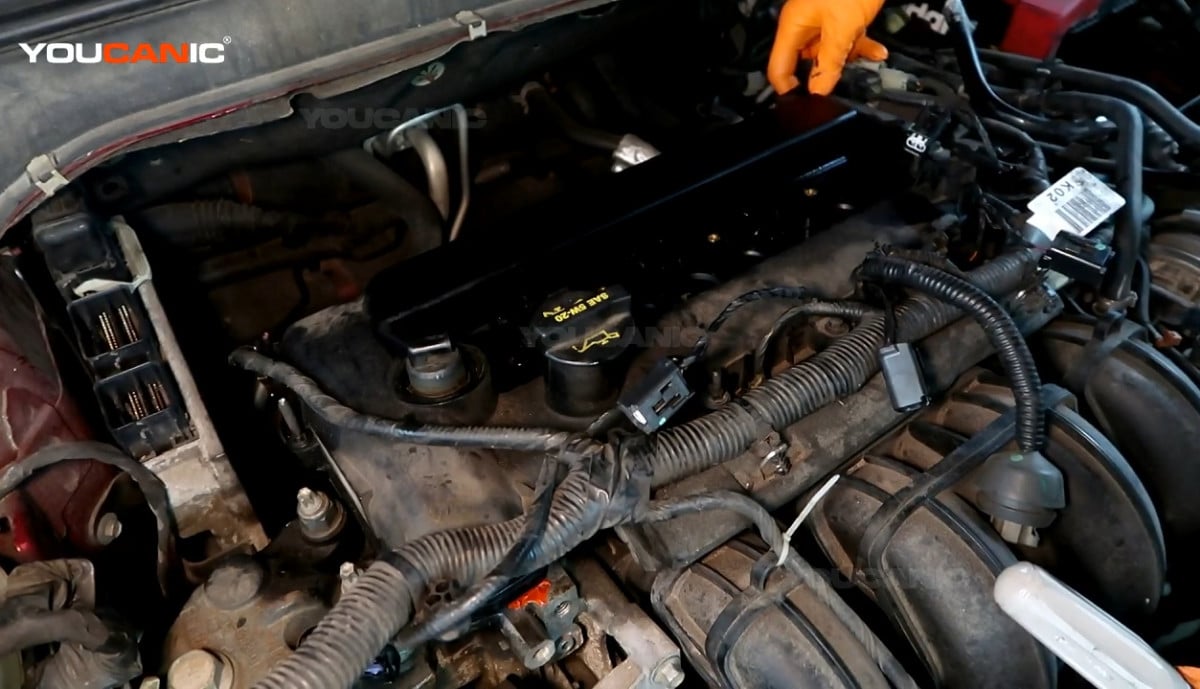
Reconnect the electrical connector in the middle of the coils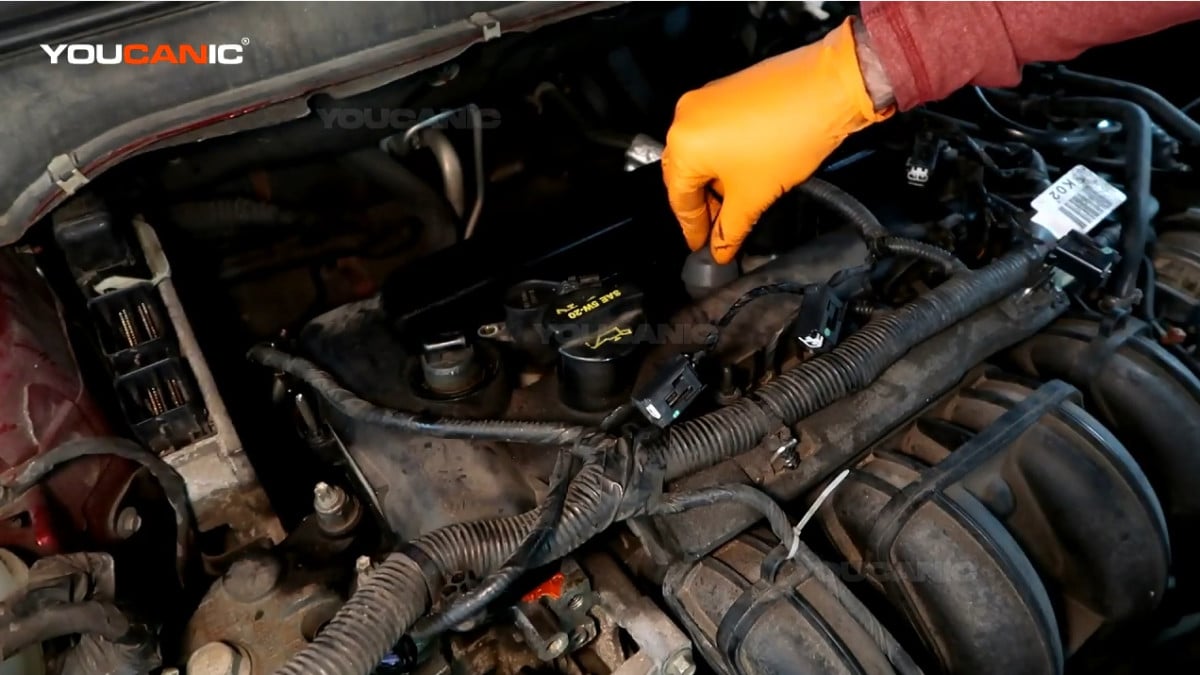
Line up the coil pack back to the engine and press them to set them into place. Then reinstall the four 8mm bolts that hold the coil pack.
Reconnect the electrical connectors for the ignition coils.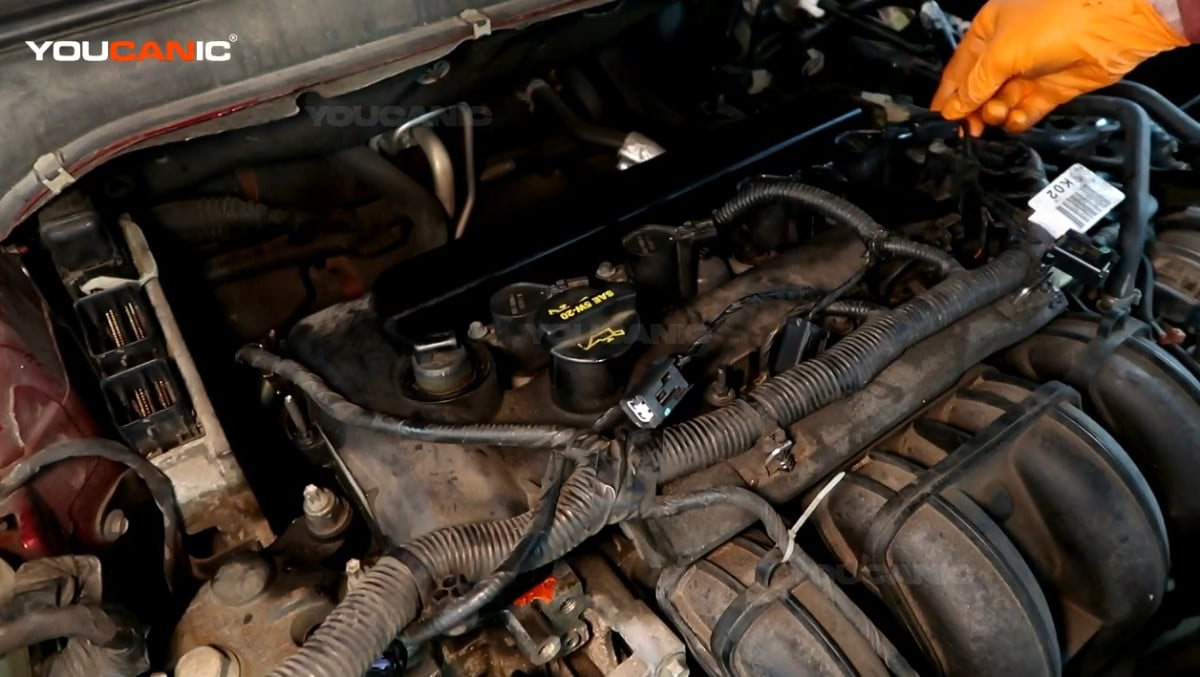
Reconnect the electrical connector for the camshaft position sensor.
Reconnect the two electrical connectors of the ECU (Engine Control Unit).
Reinstall the dipstick back to the engine.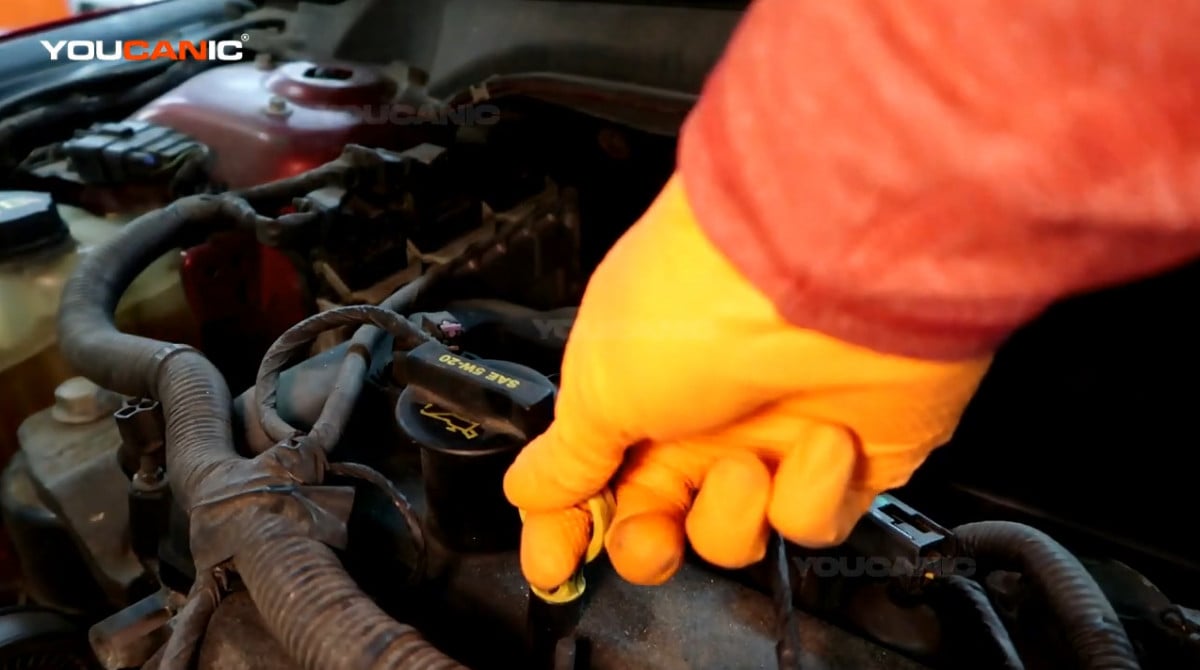
Torque Specifications
Torque the valve cover bolts to 10Nm.
We hope you find the Ford Fusion Valve Cover Gasket Replacement guide helpful. Check these troubleshooting and repair guides for more help on your Ford.


