Ford Fusion Door Actuator & Handle Replacement
Need to replace the door actuator and outer door handle of your Ford Fusion? This guide will show step-by-step procedures for removing and replacing the door actuator and exterior door handle on a Ford Fusion 2013-2020.
What you will need
- Ford Fusion Exterior Door Handle
- Ford Fusion Door Actuator
- Mechanic Toolset
- 10mm Socket
- Pick Tool
- T27 Screwdriver
- T30 Screwdriver
Procedure
Remove the door panel. If you need help with this step, follow the door panel removal procedures.
Remove the window. If you need help with this step, follow these procedures for the window removal process.
Remove the window regulator. Follow the window regulator removal procedures if you need help with this step.
Pull the exterior door handle out while loosening the T27 bolt behind the door lock. Use a T27 screwdriver and twist the bolt counterclockwise to loosen it.
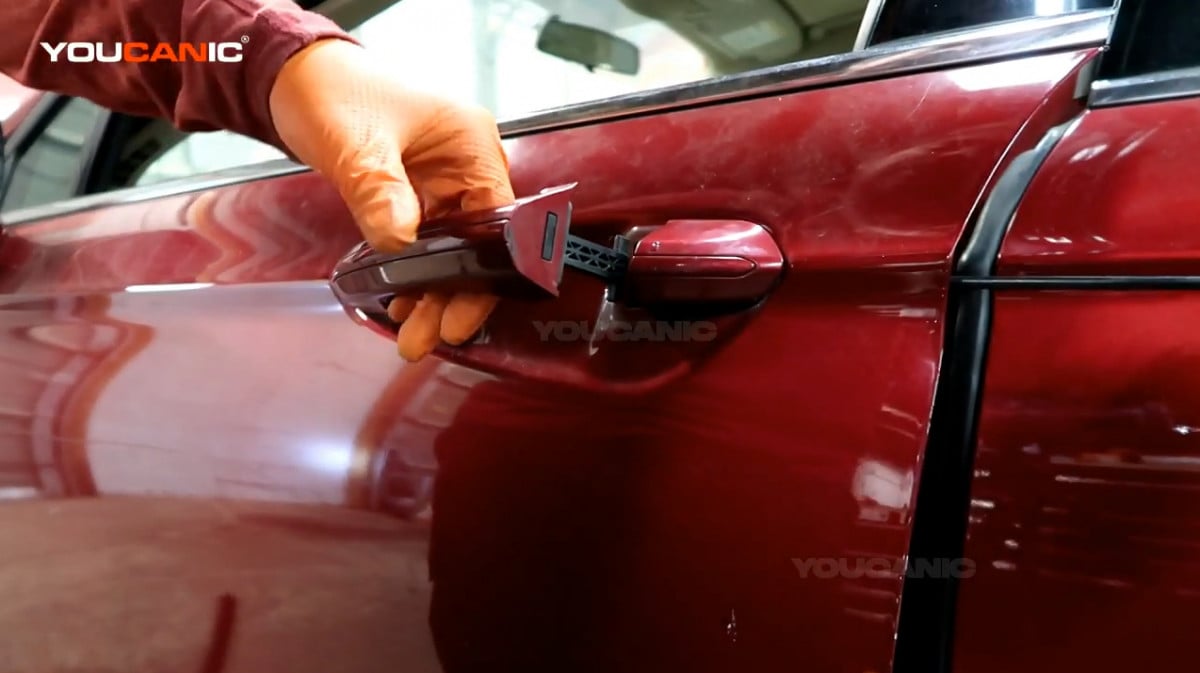
Remove the door lock by pulling it out. If it doesn’t come off, loosen the T27 bolt more.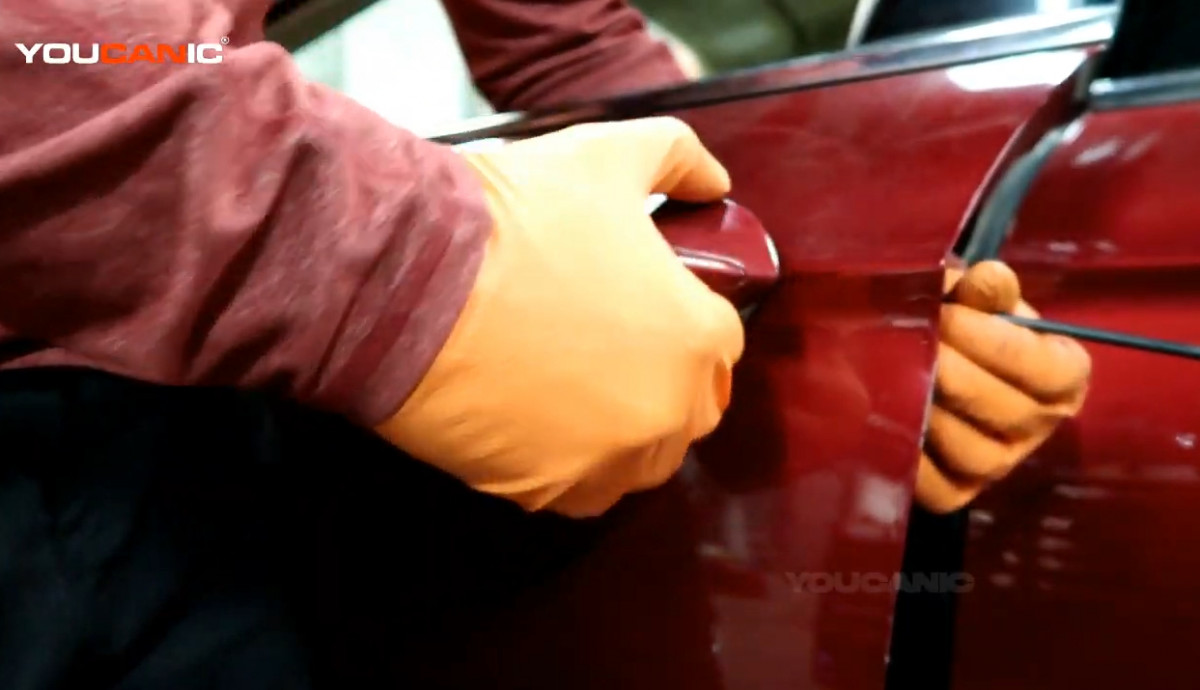
Slide the exterior door handle towards the back of the vehicle and pull it out to remove it.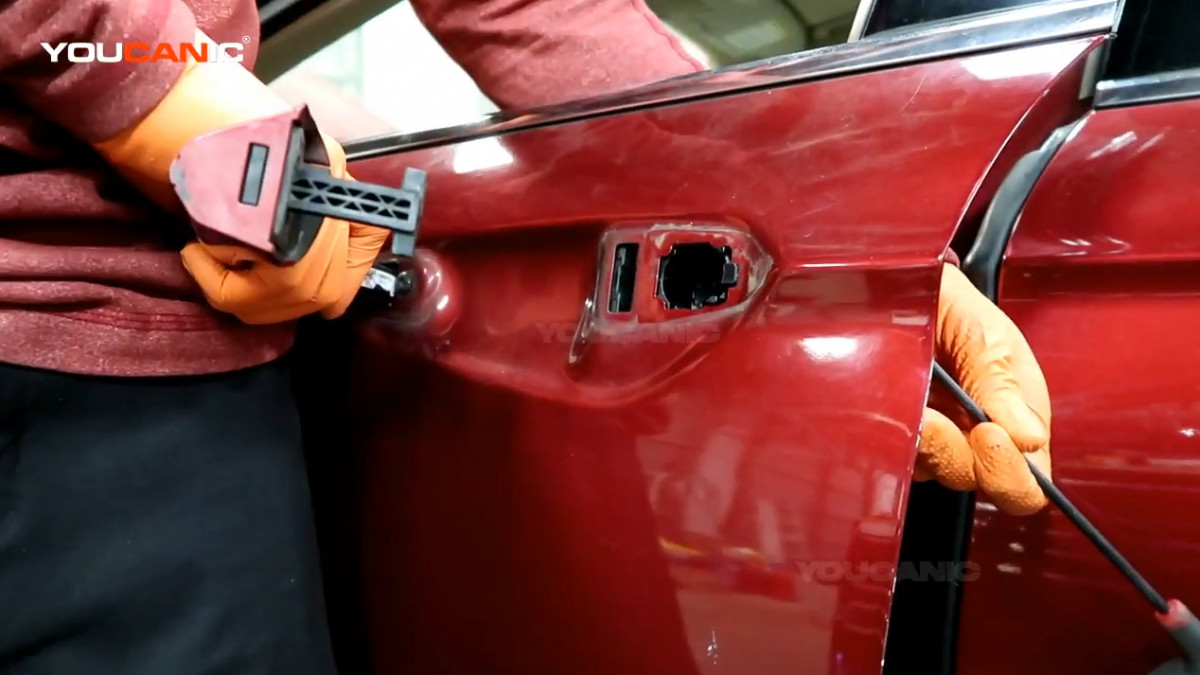
Loosen the T30 bolt located on the exterior door handle’s area. Use a T30 screwdriver and twist it counterclockwise to loosen.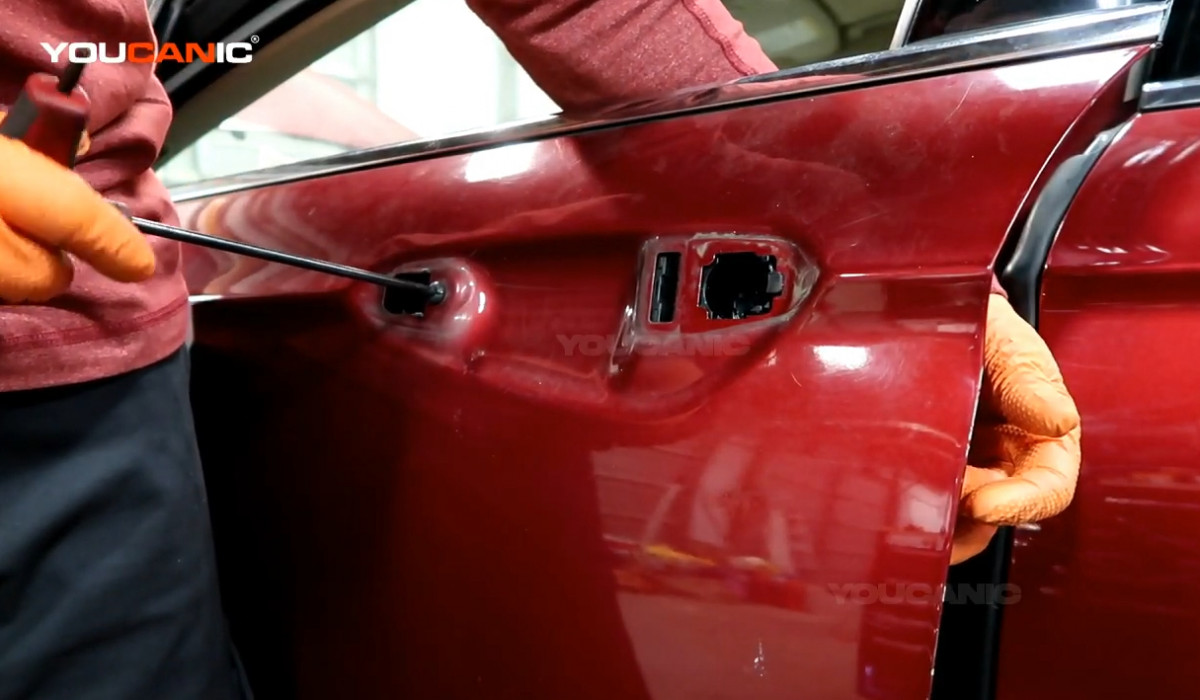
Remove the three T30 bolts holding the door latch using a T30 screwdriver and twisting it counterclockwise.
Disconnect the electrical connector of the door actuator. Reach inside the door, then press on the clip and pull the connector out.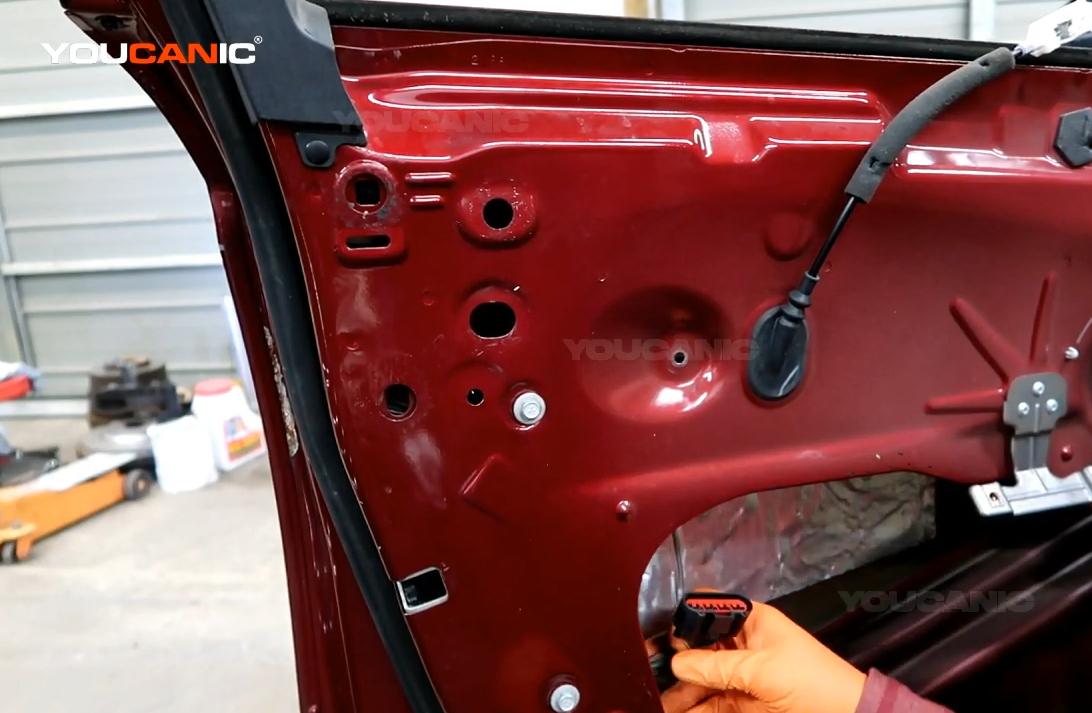
Push the connector’s clip out of the door using a pick tool or a screwdriver.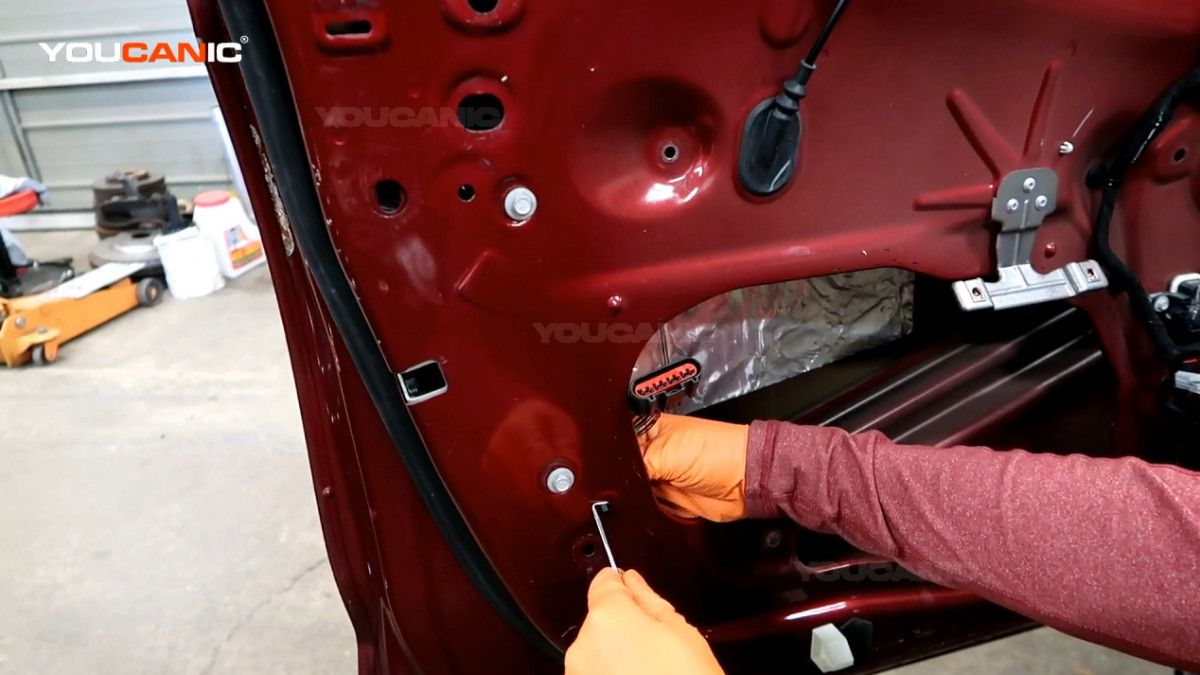
Pull out the rubber cover of the inner door handle cable. Then, insert the rubber cover and cable inside the door.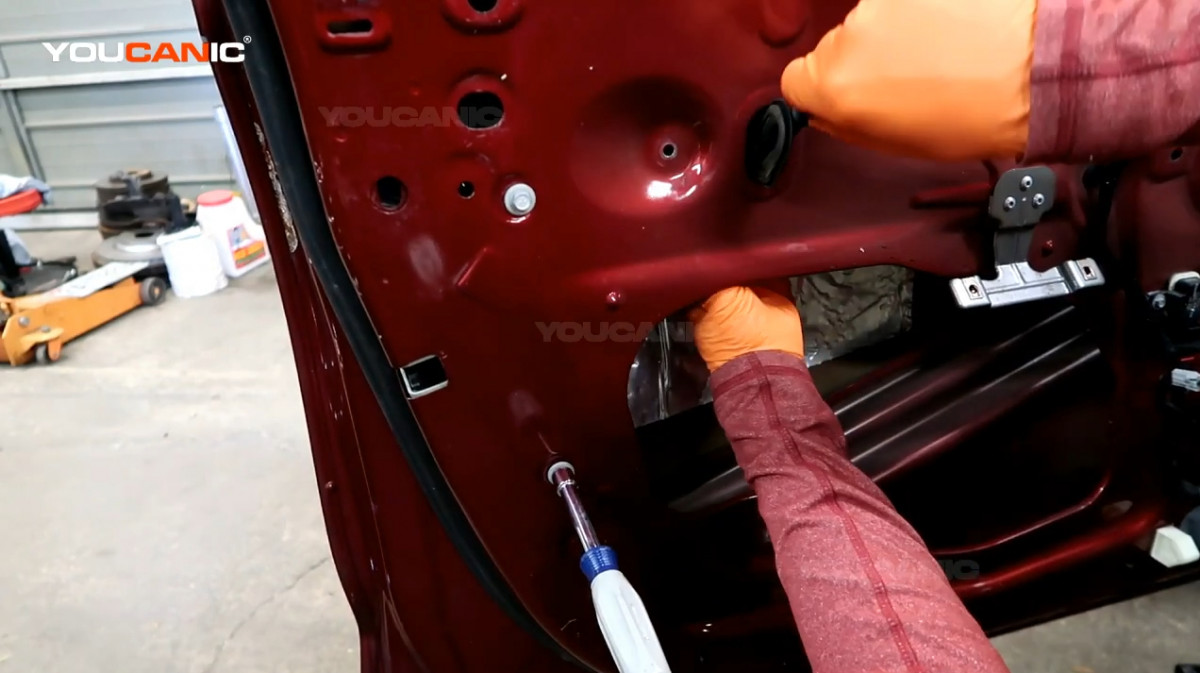
Remove the two 10mm bolts using a 10mm socket and twist it counterclockwise.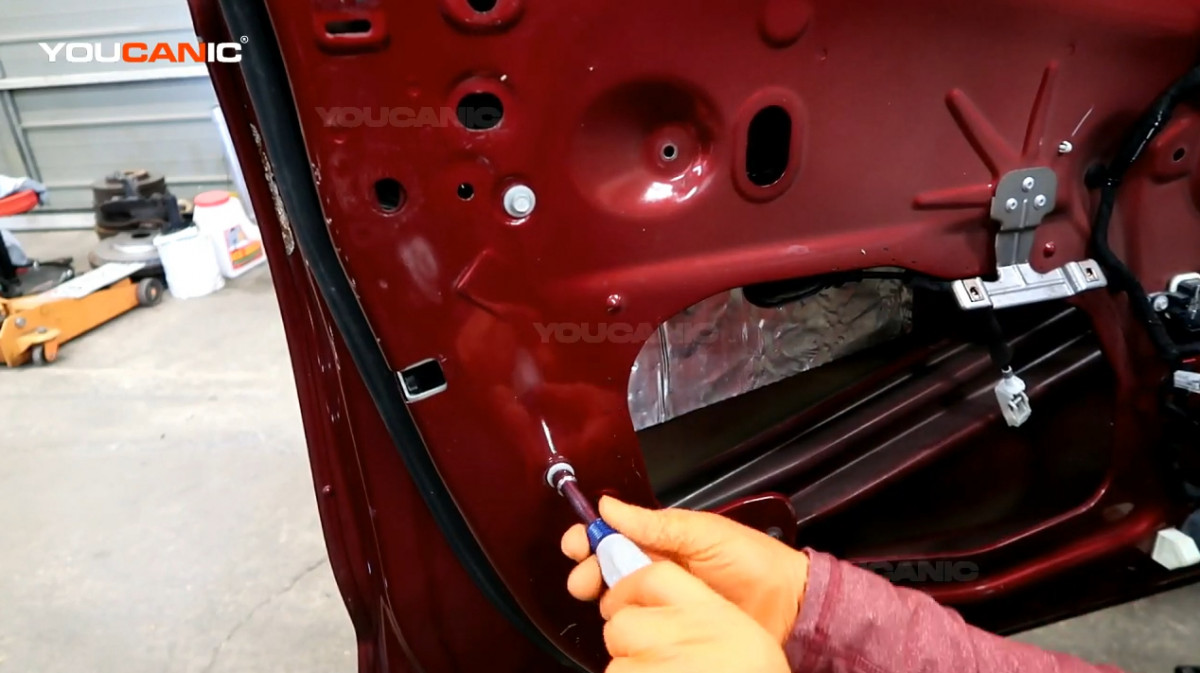
Reach inside and slide the door actuator forward to unhook the tabs holding it. Then, carry the door actuator out from the door.
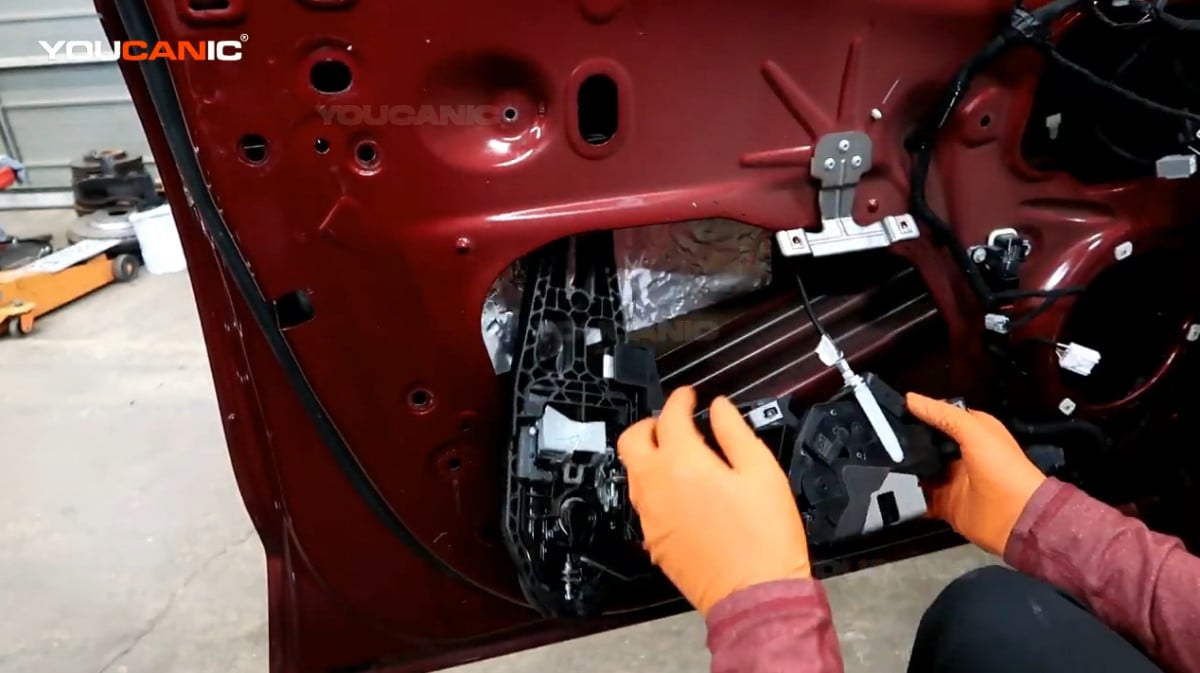
Place the new door actuator inside the door and line it up to its proper position.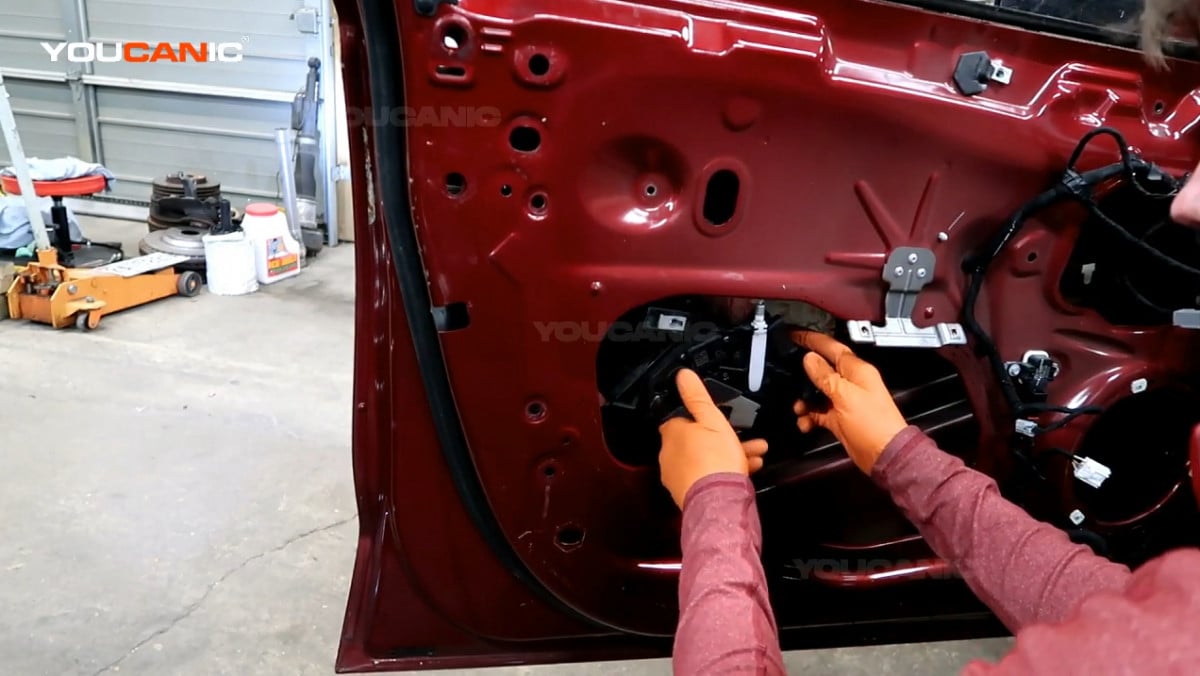
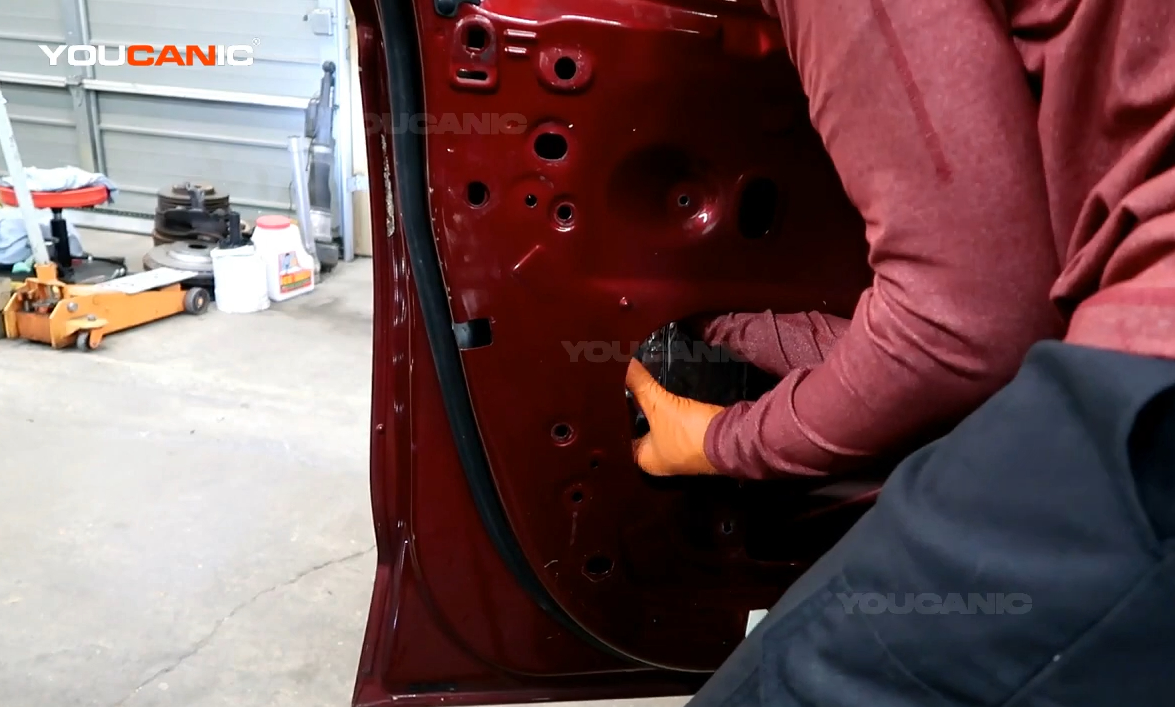
Place the new door actuator inside the door and line it up to its proper position.

Reinstall the two 10mm bolts to hold the door actuator. Tighten them when done reinstalling the three T30 bolts on the door latch.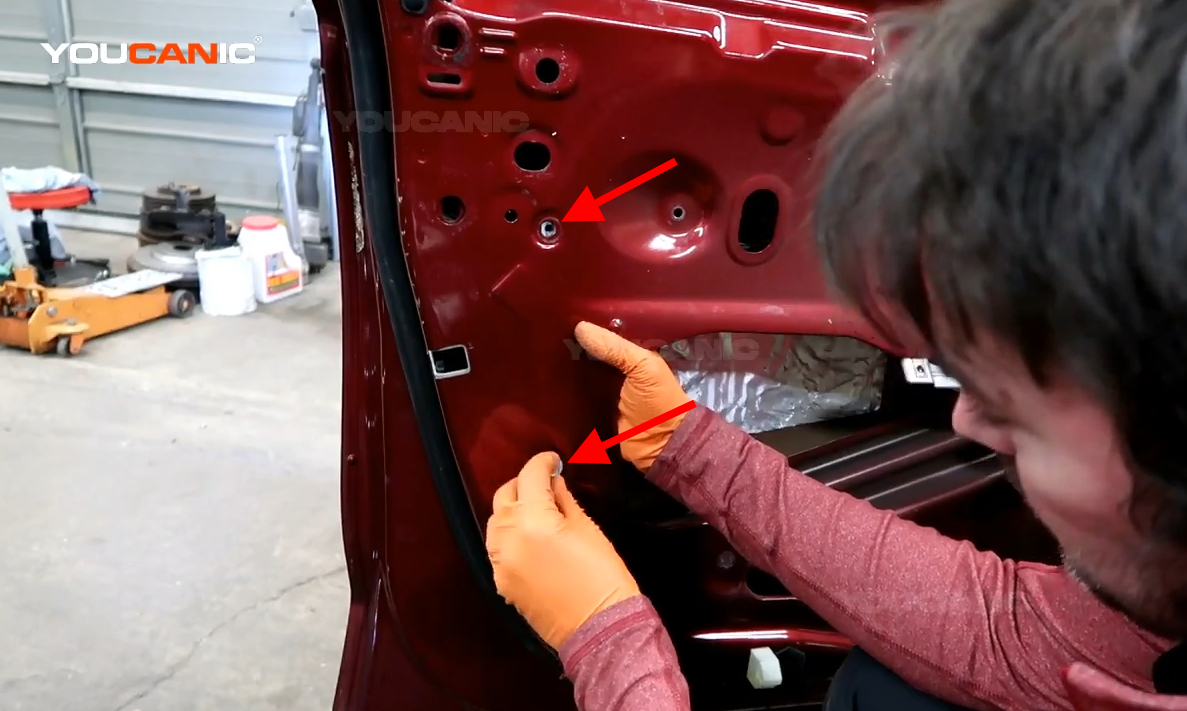
Reinstall the three T30 bolts on the door latch by twisting it clockwise to tighten.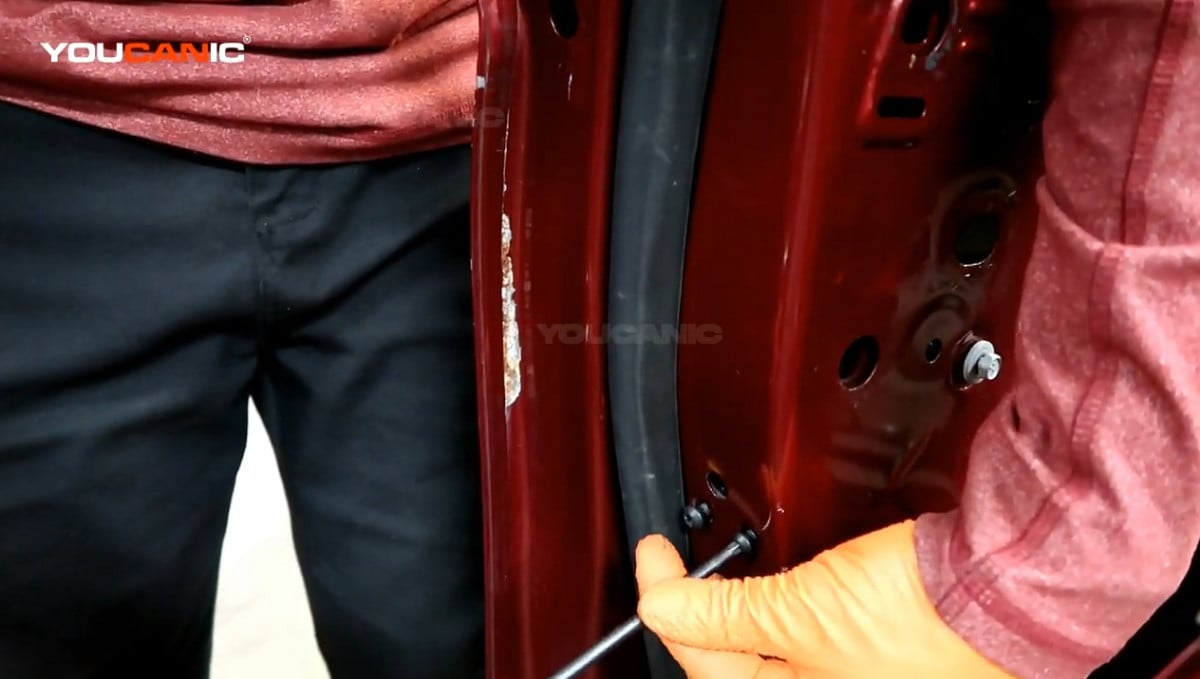
Tighten the T30 bolt on the area of the exterior door handle.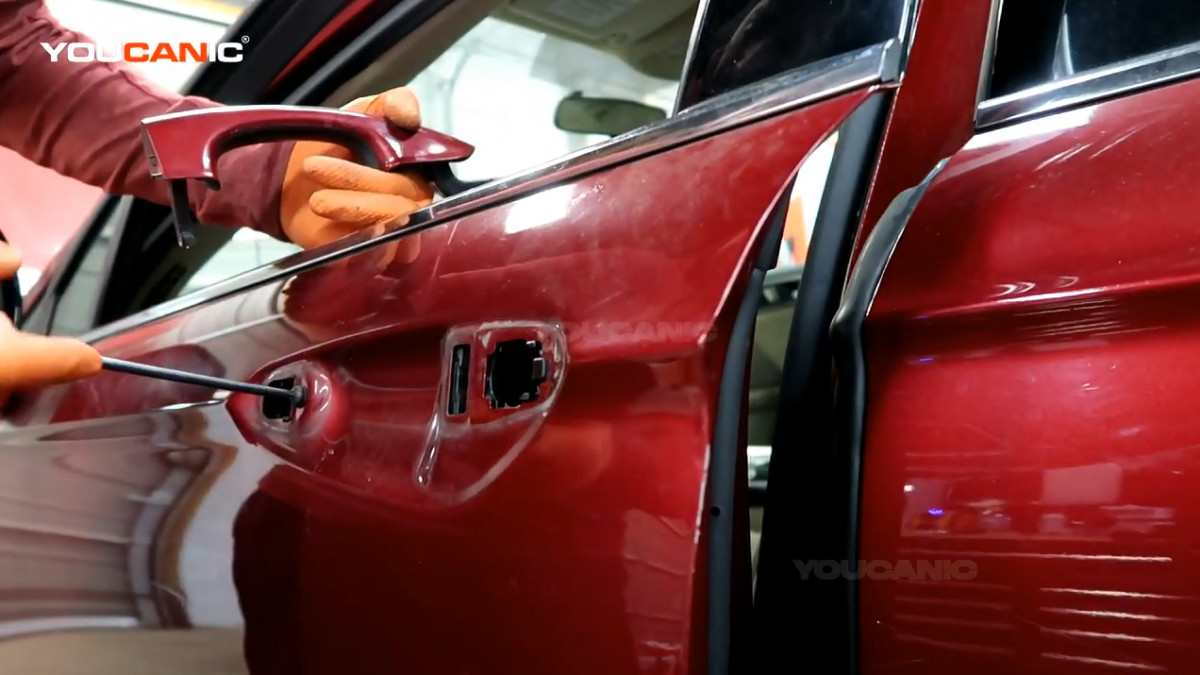
Insert the left side of the new exterior door handle and slide it towards the front of the vehicle.
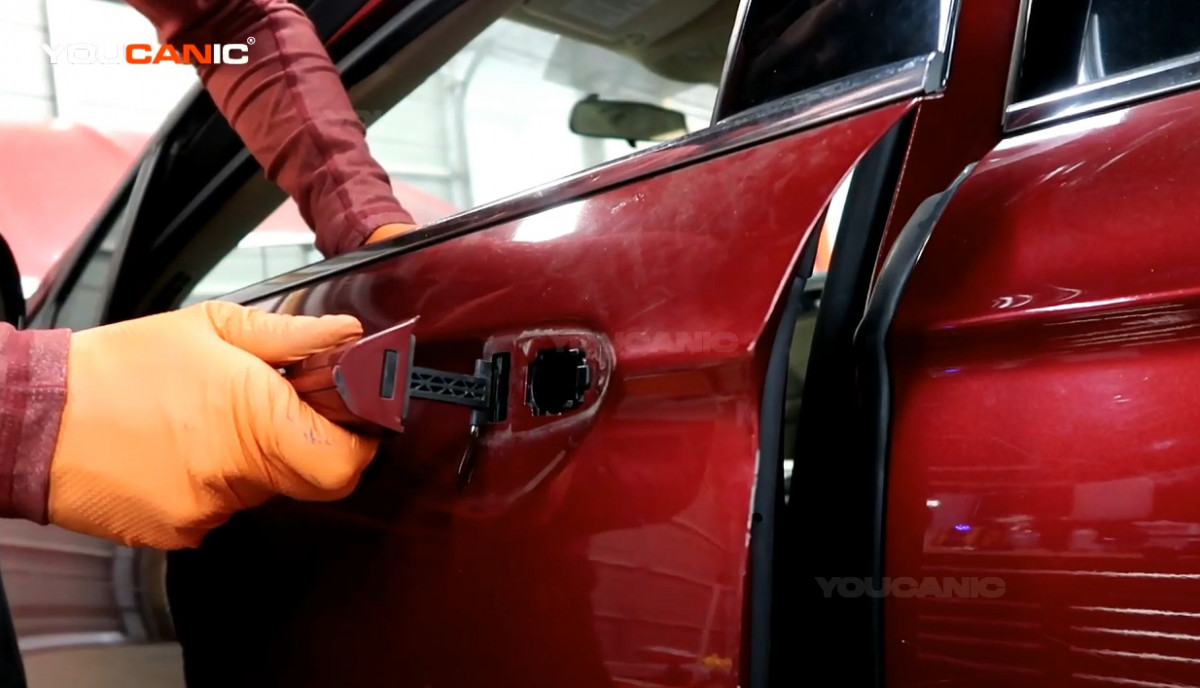
Push the exterior door handle while twisting the T27 bolt behind the door lock clockwise.
Pull the exterior door handle and reinstall the door lock by pushing it back to the door.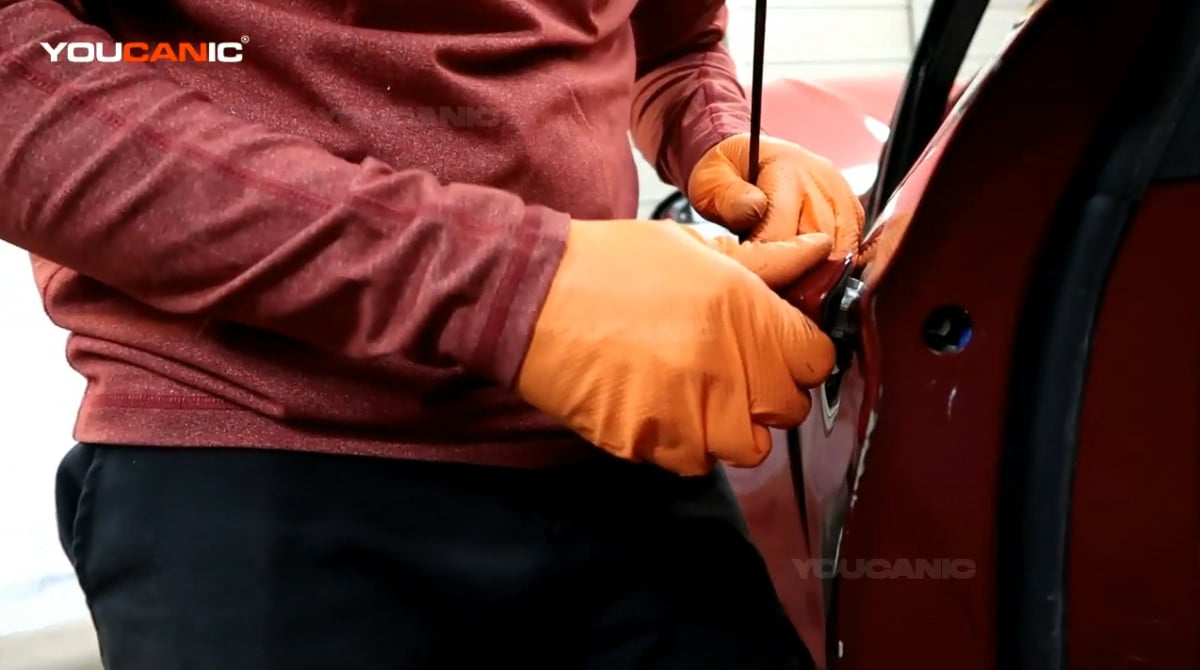
Tighten the T27 bolt behind the door lock by twisting it clockwise.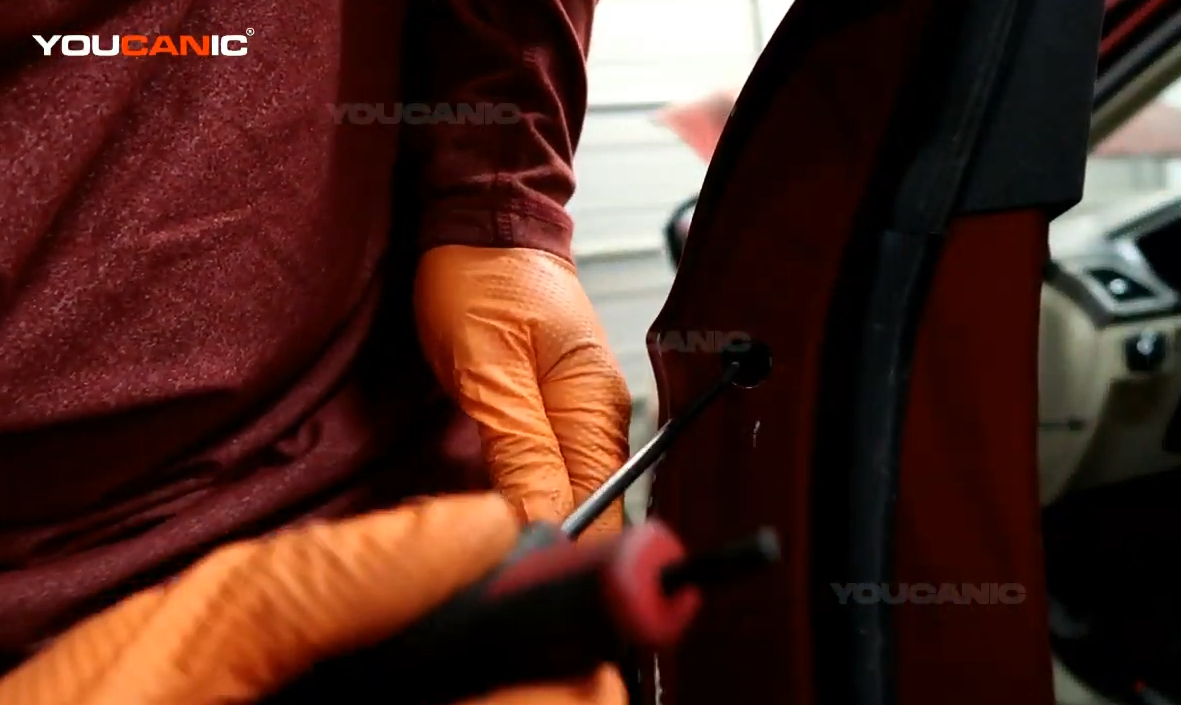
Insert the cable of the inner door handle back into its hole and push its rubber cover back into the door.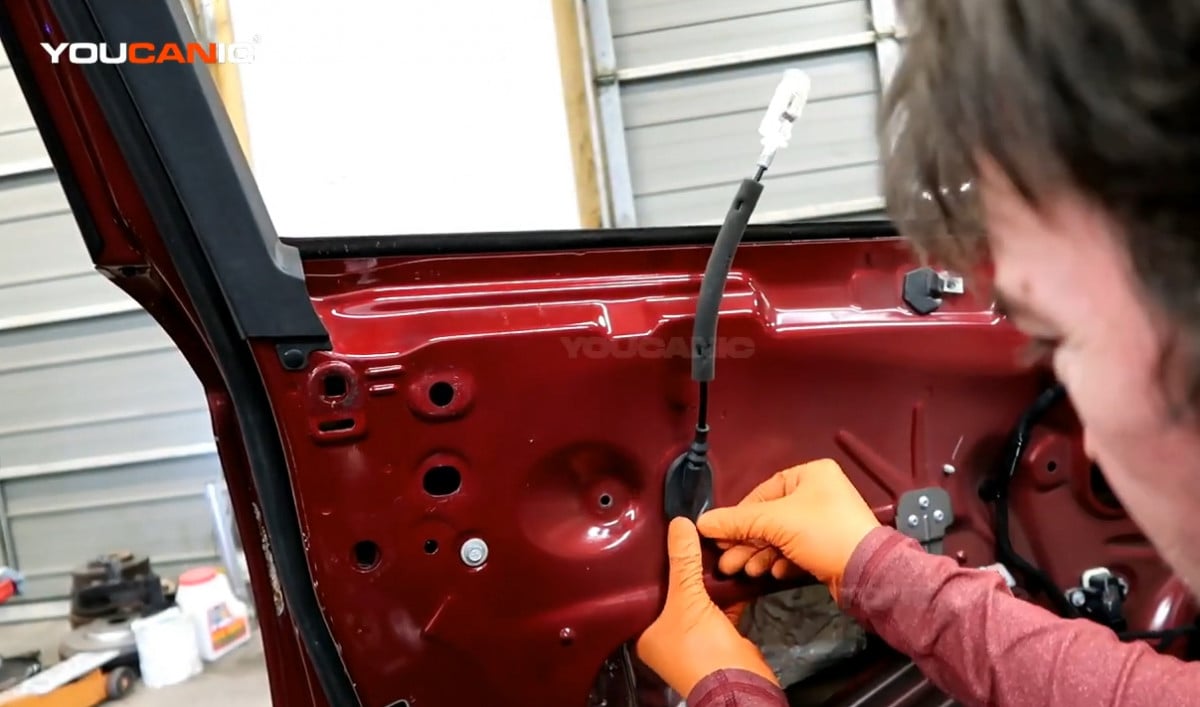
Reinstall the window regulator. If you need help with this step, follow these procedures for the installation process of the window regulator.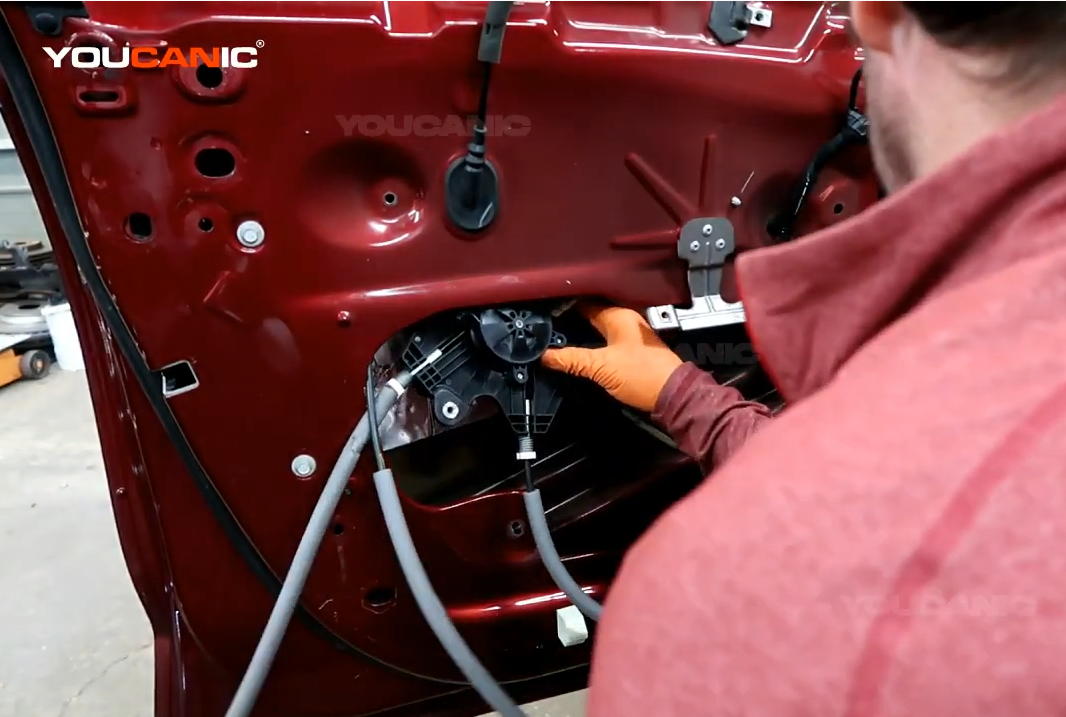
Reinstall the window. If you need help with this step, follow these procedures for the window installation process.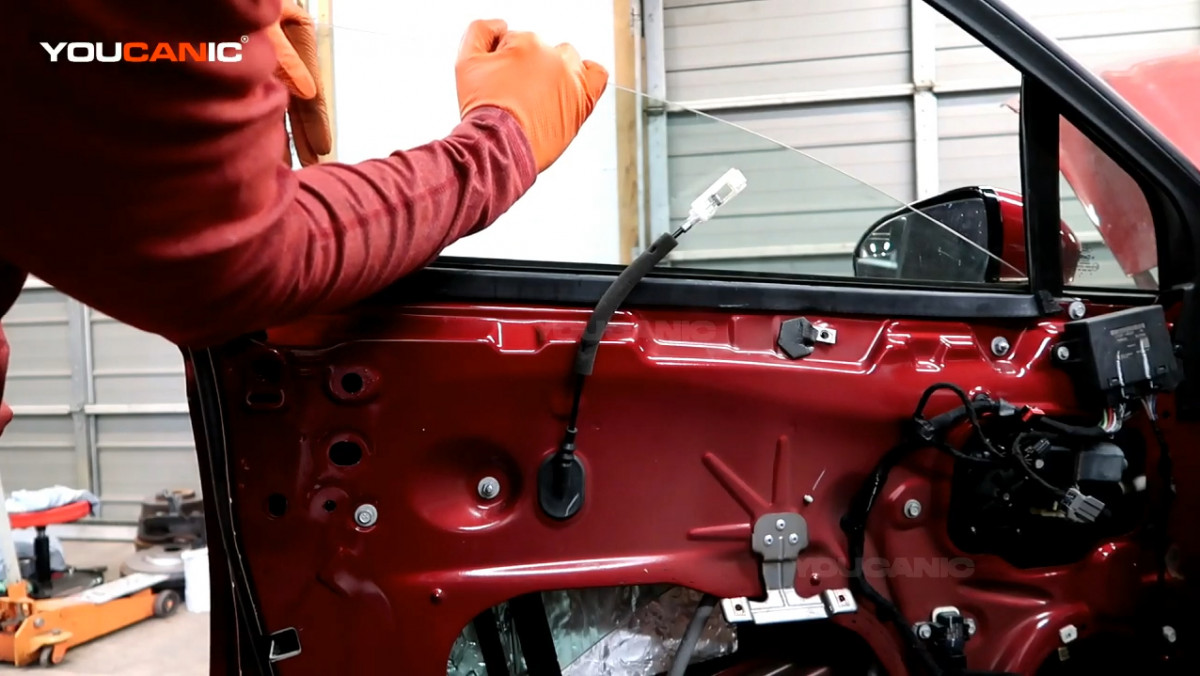
Reinstall the door panel. If you need help with this step, follow these procedures for installing the door panel.
We hope you find the Ford Fusion Door Actuator & Handle Replacement guide helpful. Check these troubleshooting and repair guides for more help on your Ford.


