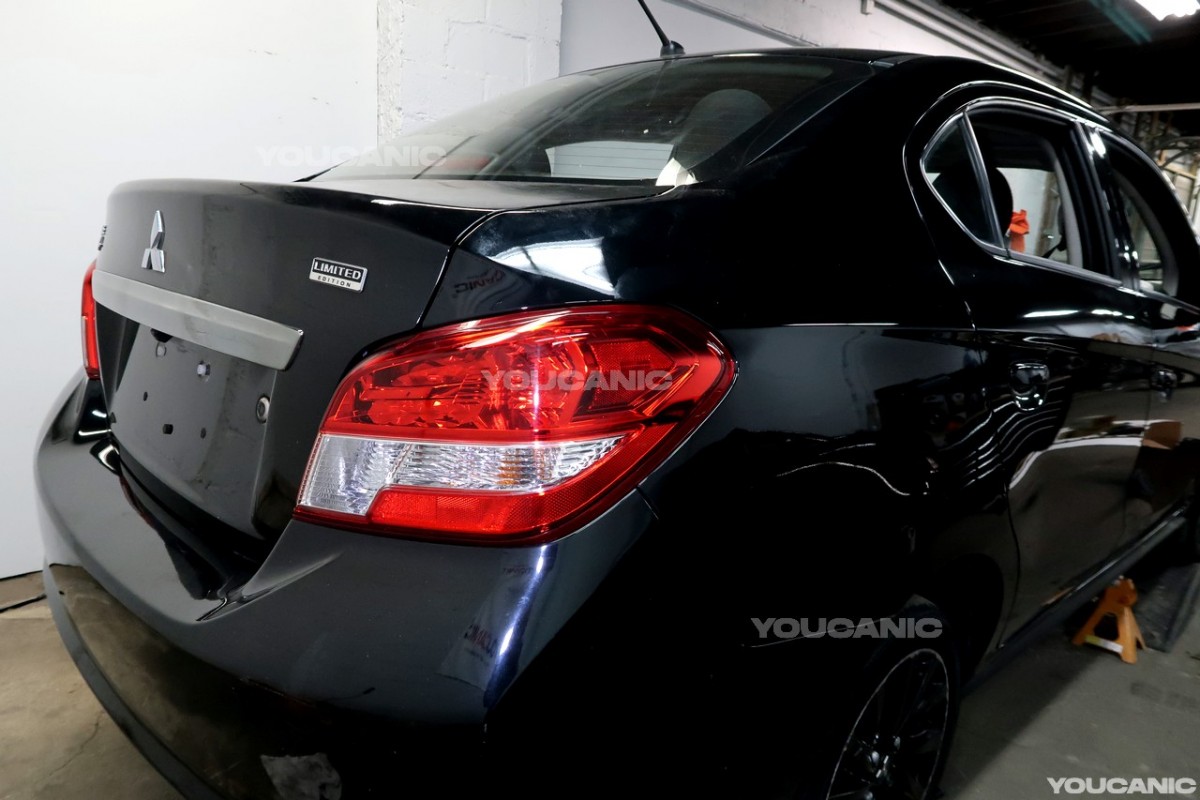
Mitsubishi Mirage Brake Light Bulb Replacement Guide
Is the brake light of your Mitsubishi Mirage not working? Learn how to fix the problem by replacing the brake light bulb of your Mitsubishi Mirage. This guide provides step-by-step instructions on replacing the brake light bulb on a Mitsubishi Mirage G4 sedan.
What you will need
- Prying tool
- Screwdriver
- Brake light bulb
Procedure
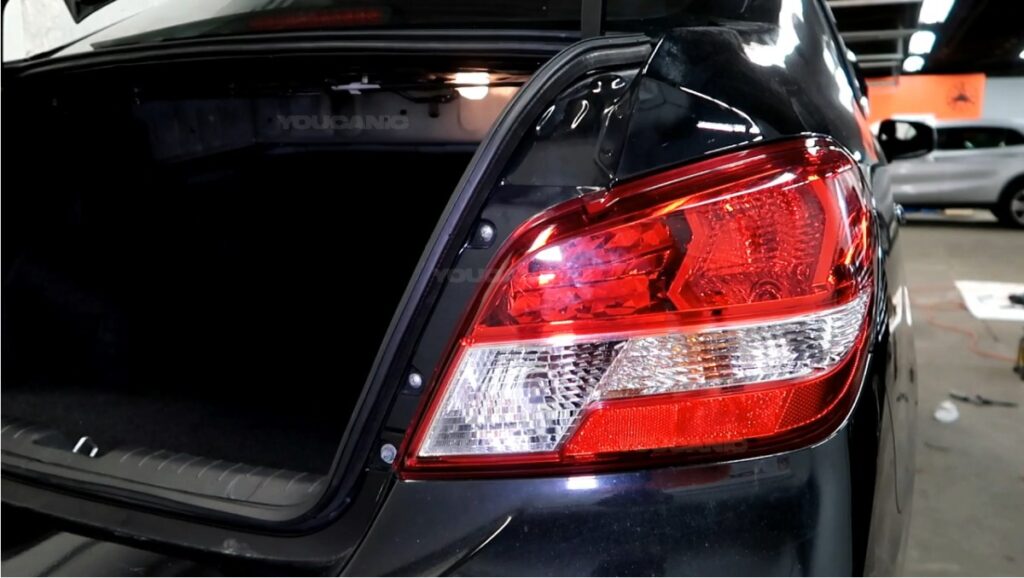
- Open the trunk of your car by pulling the trunk release under the driver’s seat.

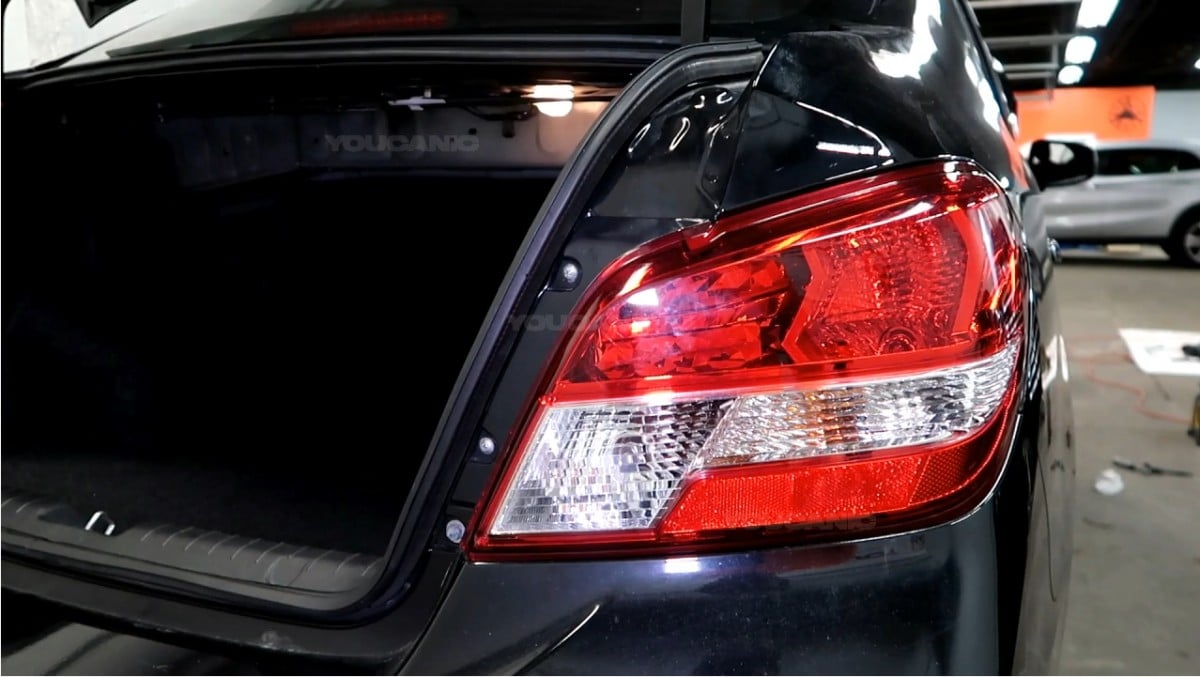
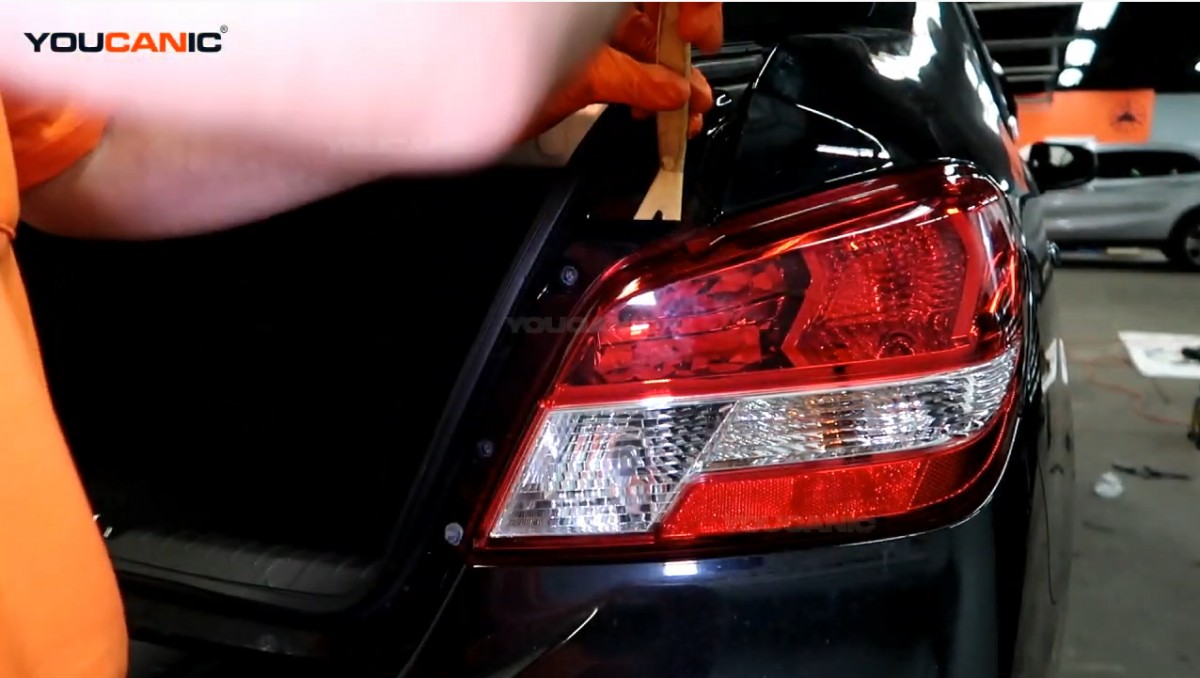
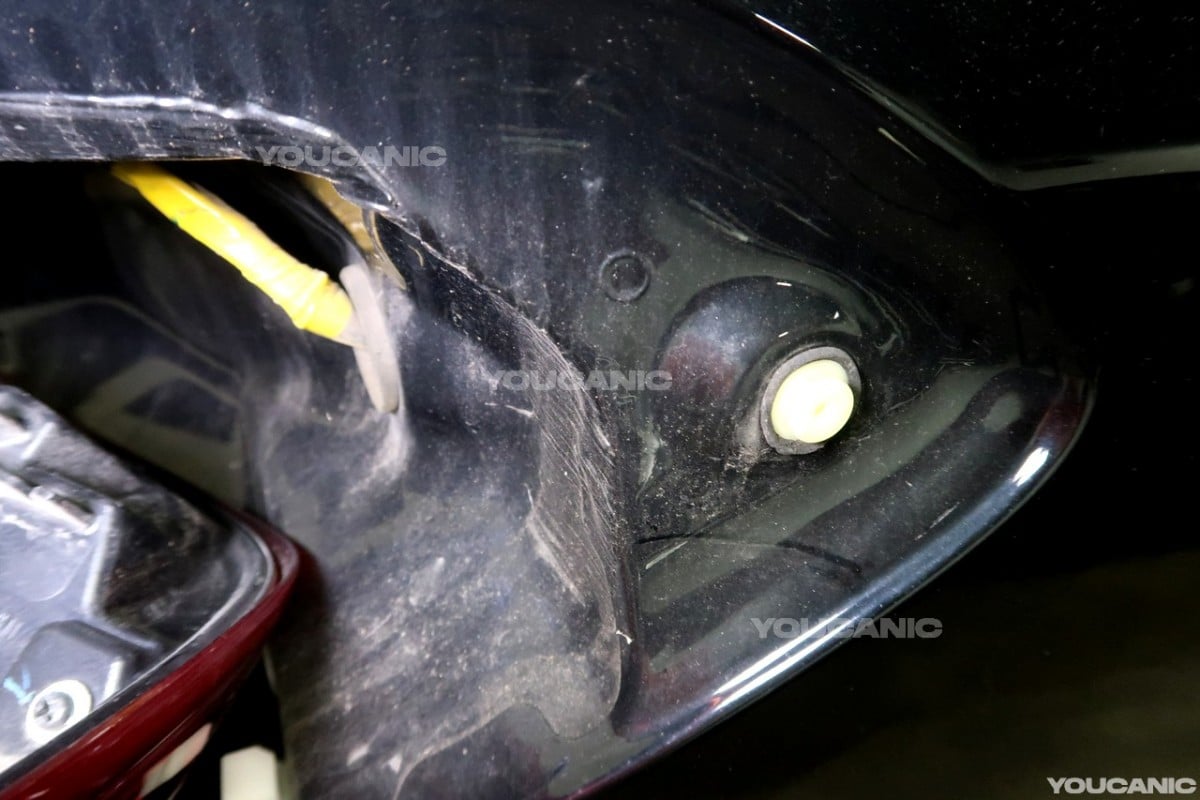
- Remove the tail light. Remove the two screws holding the tail light and use a prying tool to pop out the tail light.
 Then, pull out the tail light once the clips have been unlocked. Use a screwdriver and turn it counterclockwise to remove the screw.
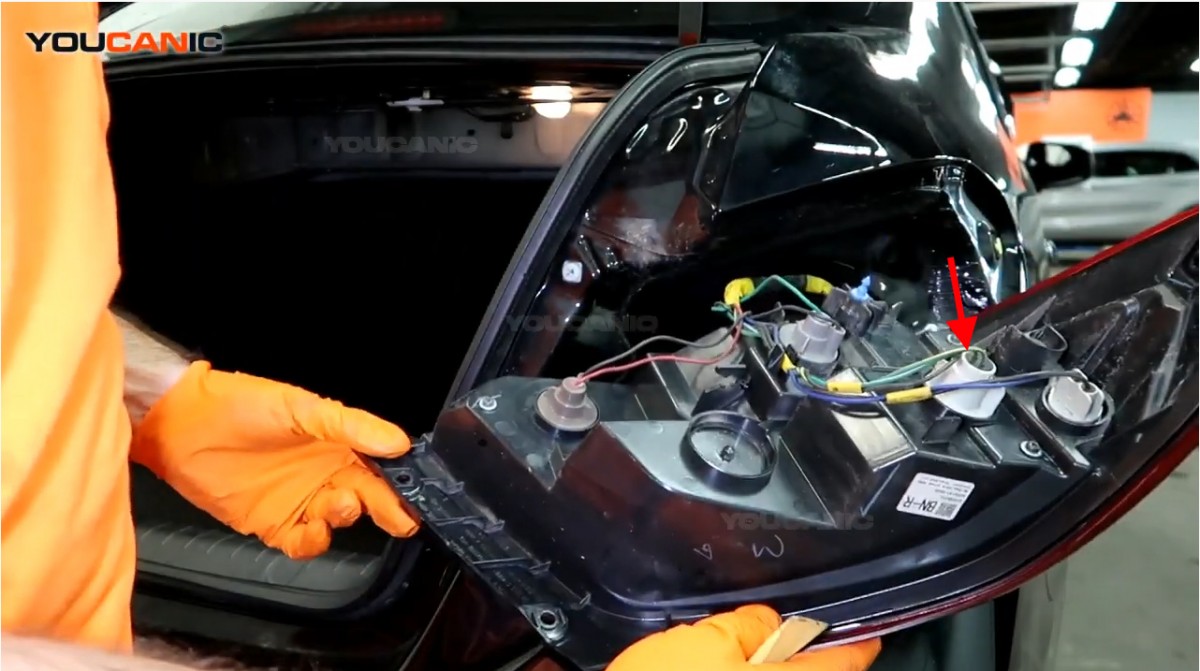
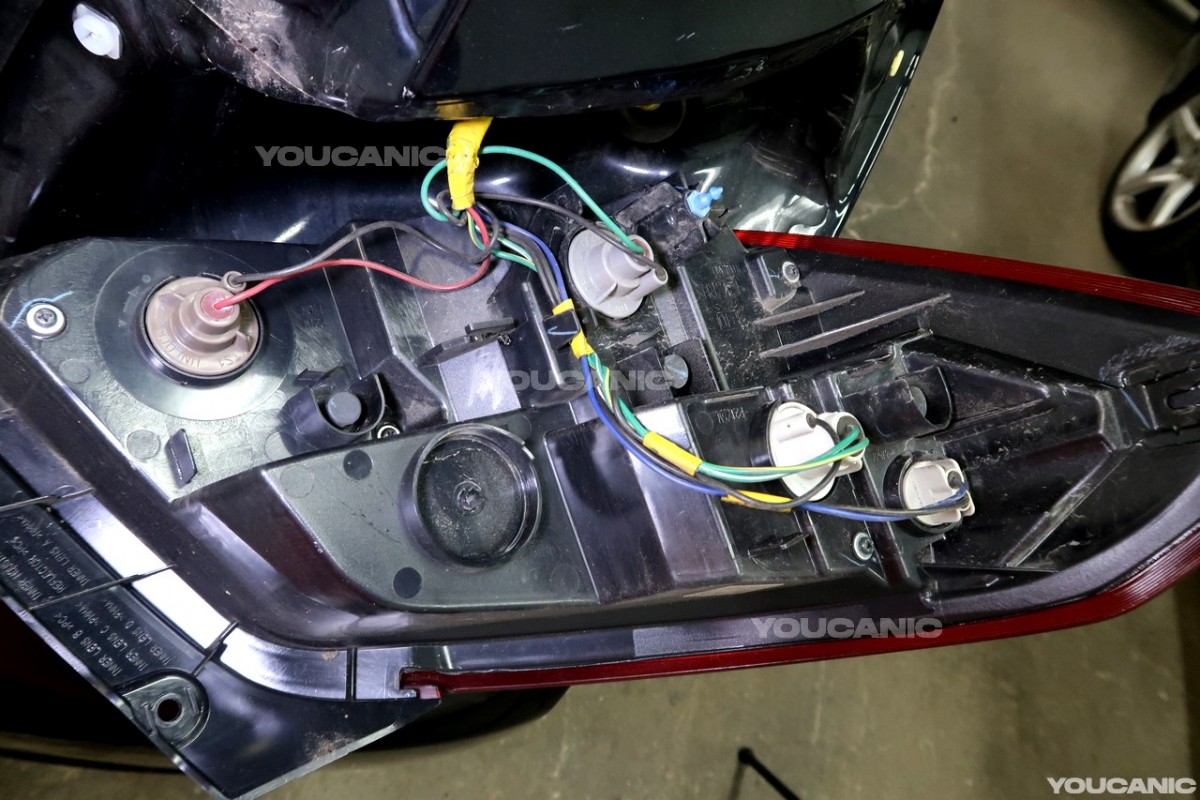
- Remove the brake light connector. Twist the connector counterclockwise to unlock it, then pull it out to remove the connector from the tail light.
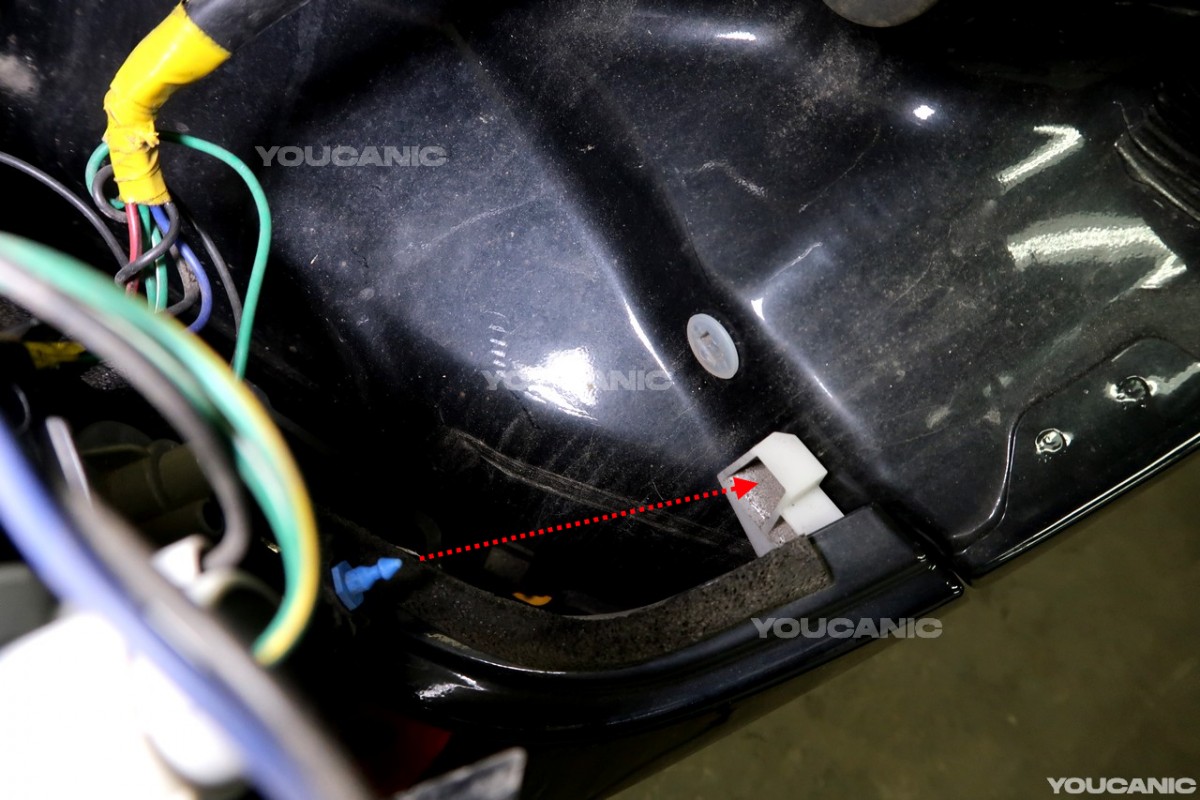
 The arrow indicates where the brake light can be found.
 -
Remove and replace the brake light bulb. Once the brake light connector is out, remove the old light bulb by pushing it in and twisting it counterclockwise. Then replace it with a new one. Push the brake light bulb in to put the new one, then twist it clockwise. Make sure that the light bulb is in its proper position because the prongs of the bulb are not the same.

- Reinstall the brake light connector by pushing and twisting it in its place. Twist the connector clockwise to lock the connector in.

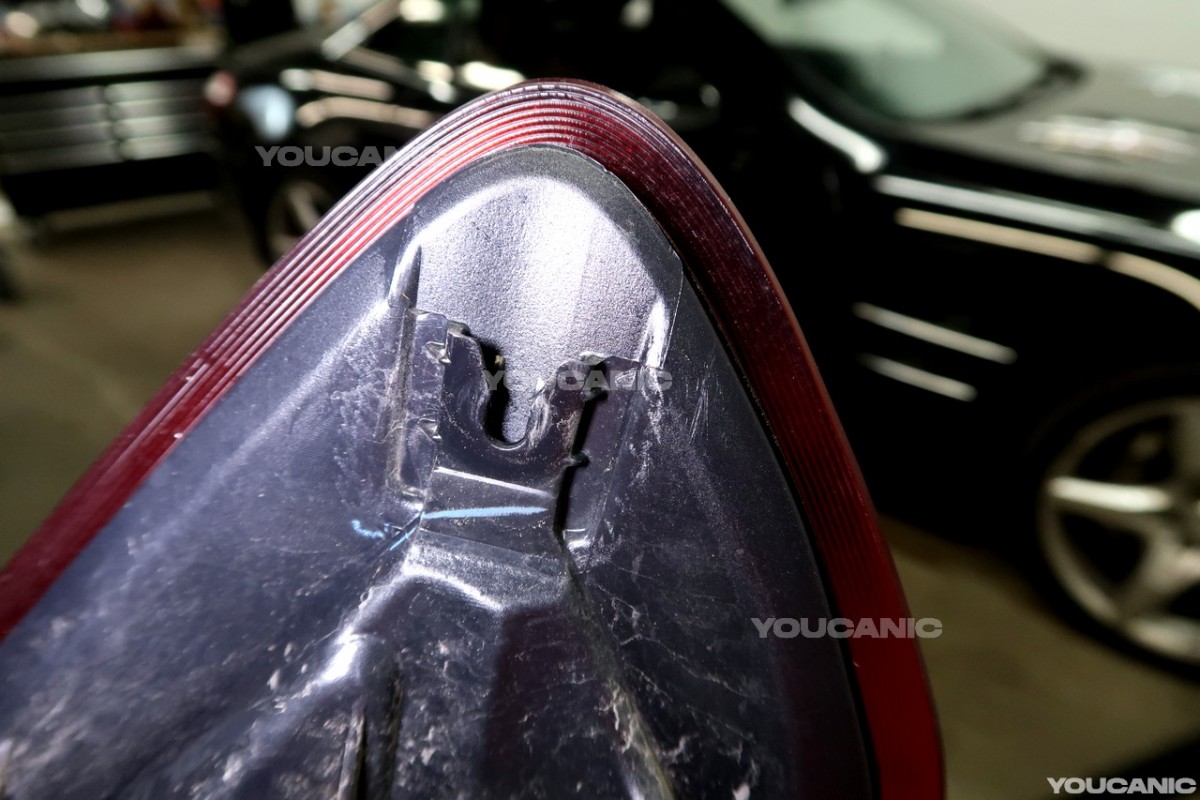
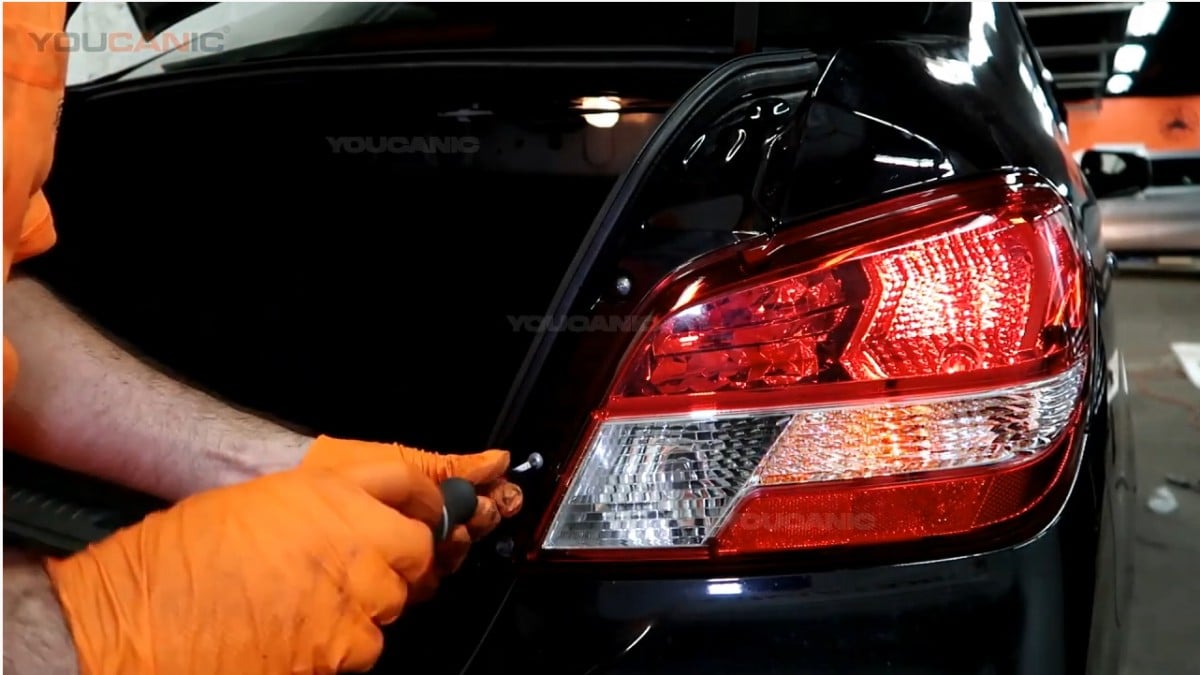
- Reinstall the tail light on the vehicle. Align the tail light onto the clips and push it in to lock the clips of the tail light. Then screw back the two screws you removed from the tail light.


 Tightening the screw of the tail light by turning it clockwise.
 - Close your trunk and test the new brake light by pressing on the brake pedal.

We hope you find the Mitsubishi Mirage Brake Light Bulb Replacement Guide helpful. Check these troubleshooting and repair guides for more help on your Mitsubishi Mirage.


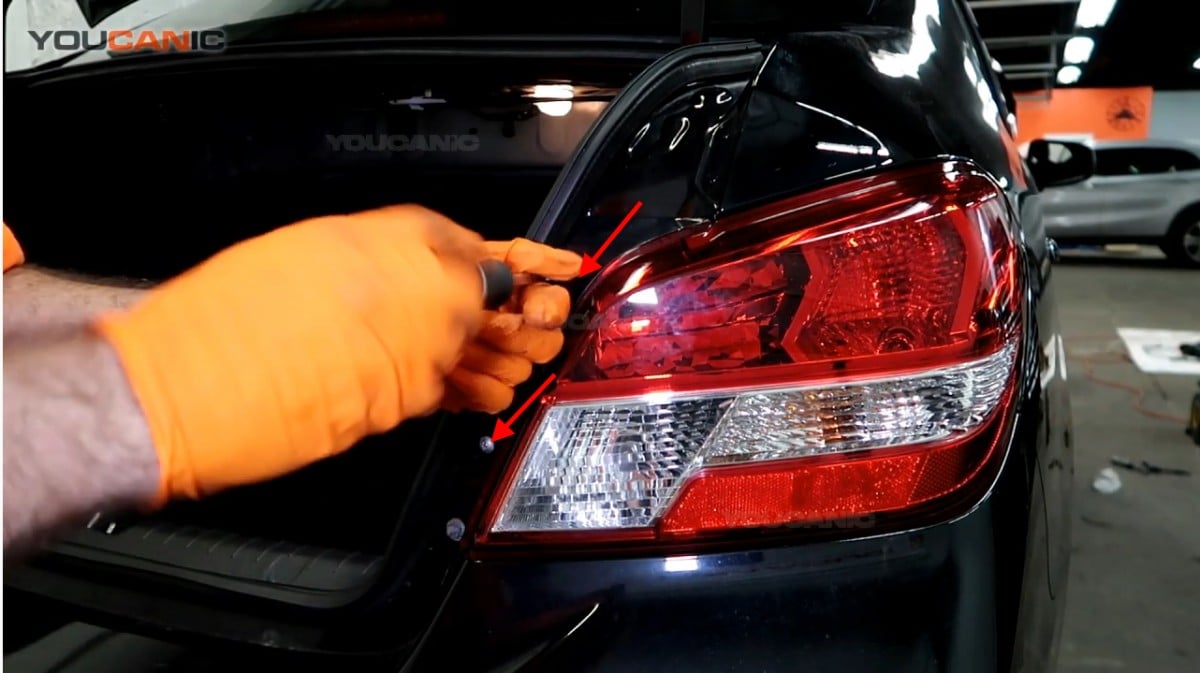 Then, pull out the tail light once the clips have been unlocked. Use a screwdriver and turn it counterclockwise to remove the screw.
 The arrow indicates where the brake light can be found.
 Tightening the screw of the tail light by turning it clockwise.