2011-2018 Kia Optima Battery Replacement
Learn how to replace the battery on a Kia Optima. This guide is for 2011, 2012, 2013, 2014, 2015, 2016, 2017, and 2018 model years. The battery used on your Kia Optima is usually an H7 AGM battery. 800 CCA is recommended, but a battery with cold-cranking amps as low as 650A will work.
What you will need
- Group Size H7 AGM battery
- The cold-cranking amps in your replacement battery should have a minimum rating of 800 CCA.
- You will need a few basic tools, such as:
- 10mm, 12mm metric socket set
- 3/8 extension
- ratchet
- battery terminal cleaner
Procedure
- Set parking brakes and turn off the ignition. Move the gear shifter into Park, turn off the ignition, and set the parking brakes.
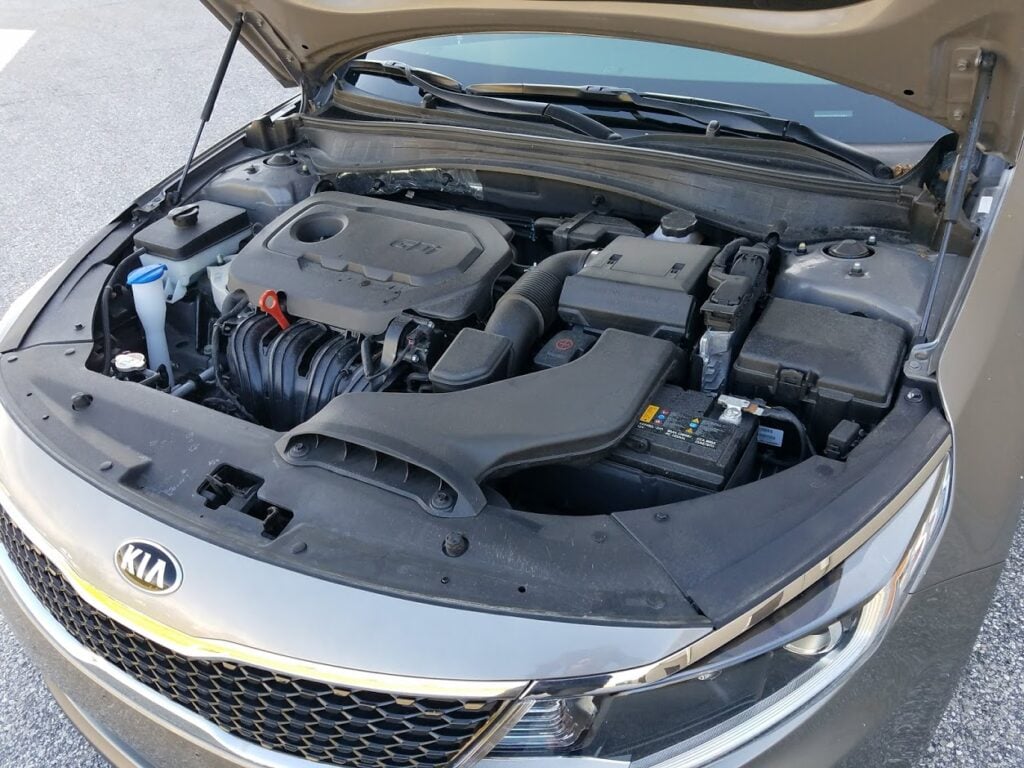
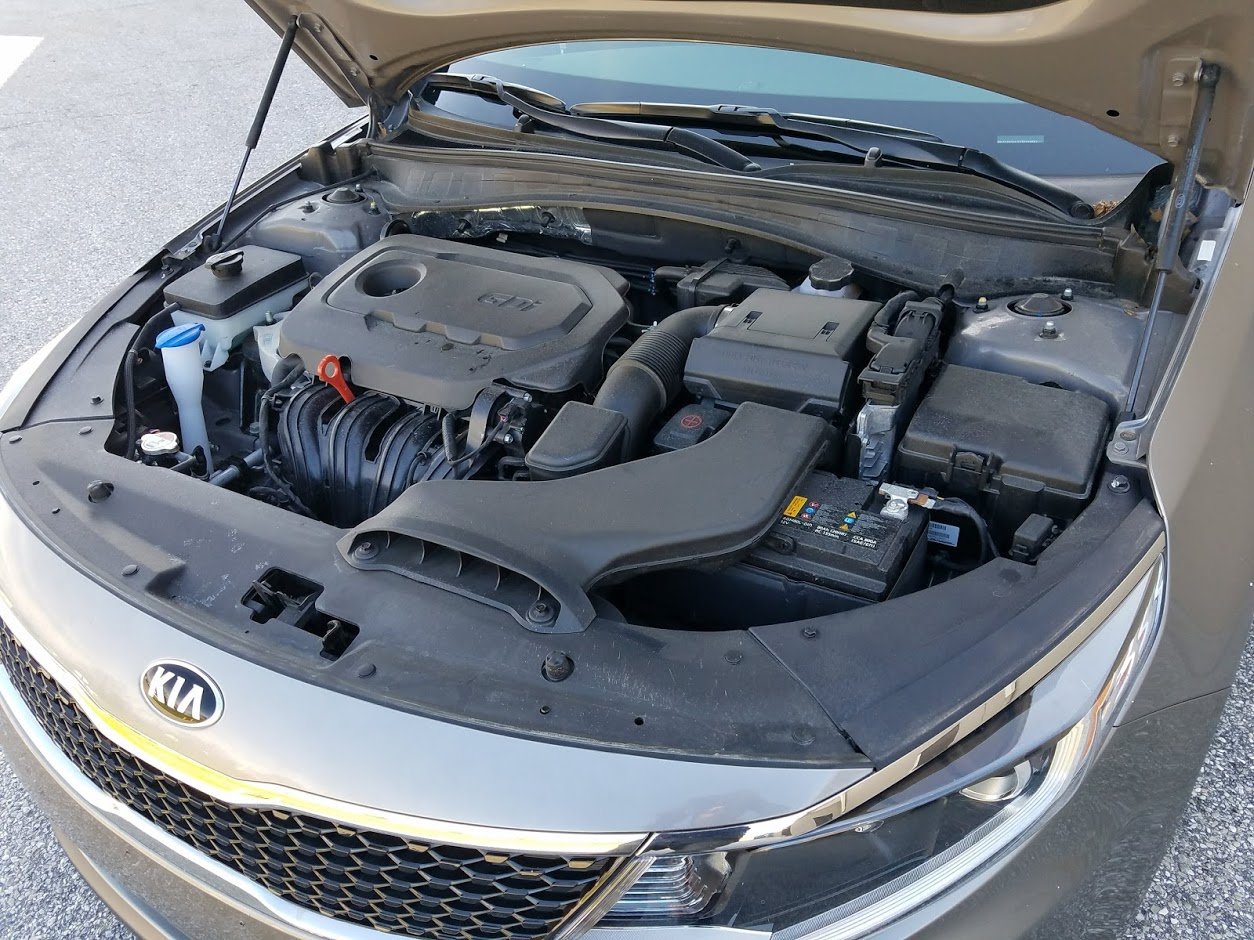
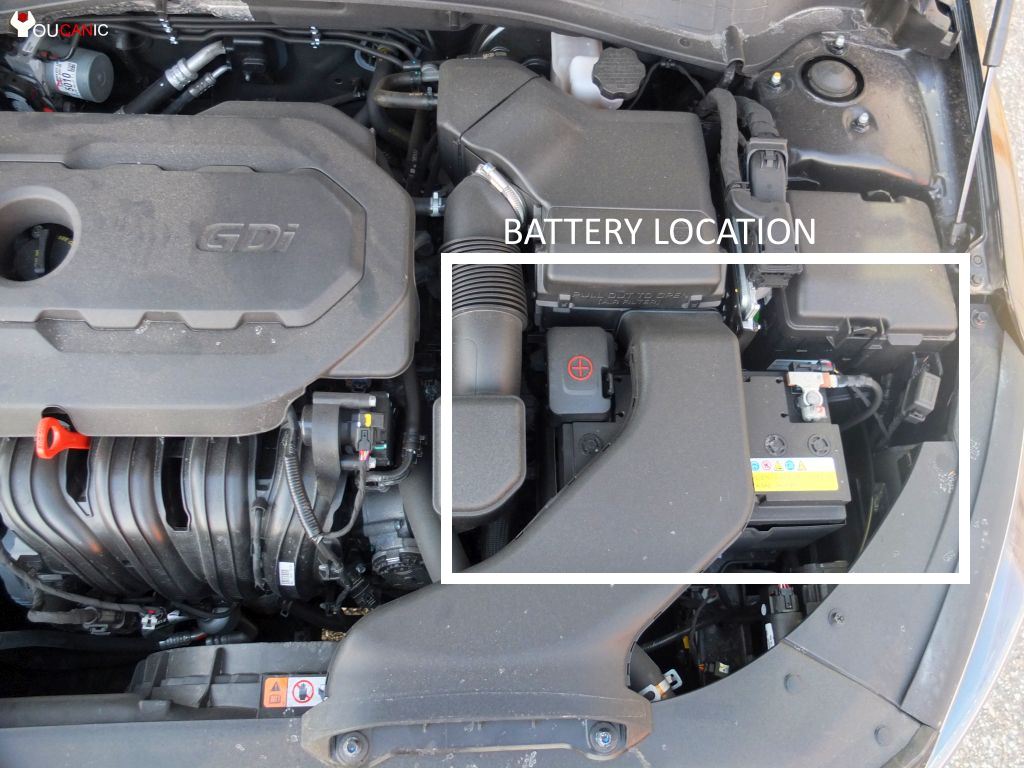
- Open the hood. Locate the battery towards the front in the engine bay, driver’s side.

Remove the intake air duct. In certain Kia models, such as the Optima, the air assembly sits on top of the battery. This will need to be removed. Other Kia models like Rio and Sedona may not have this cover. Two screws hold this cover in place that will need to be removed. In some models, plastic fasteners hold the air intake in place, while others use a 10 mm bolt; once the screws are removed, lift the air intake assembly, as shown in the video below.

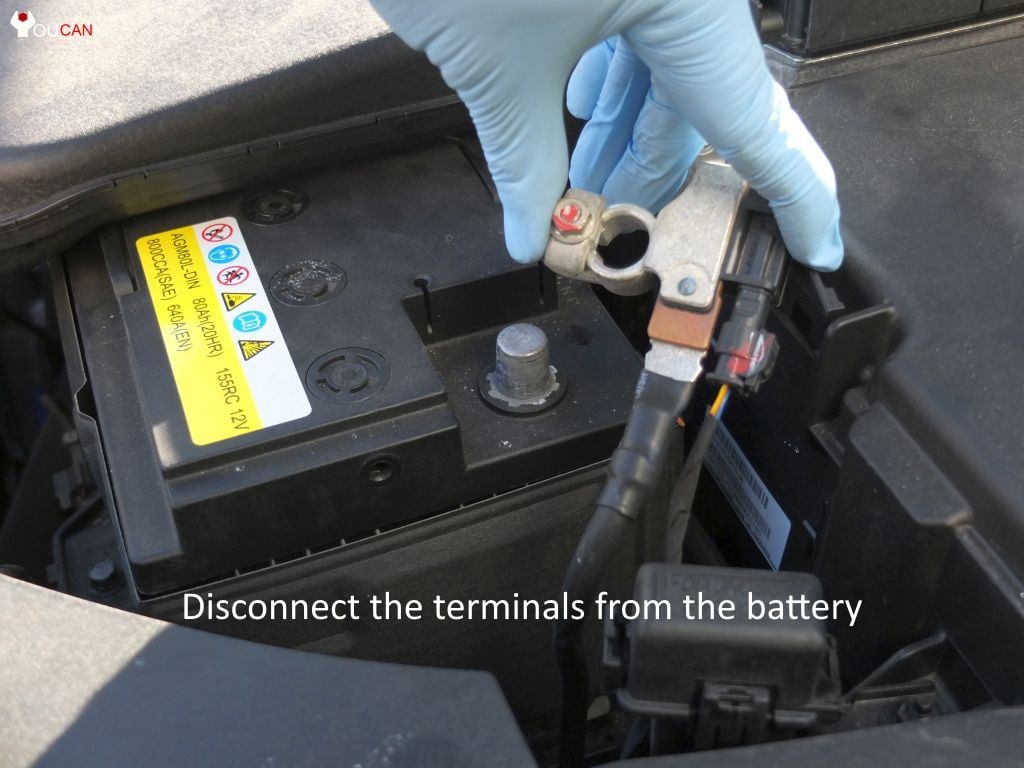
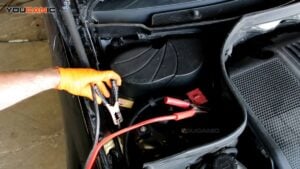
Disconnect the negative and positive battery terminals. Disconnect the negative battery cable first. Remove the negative cable. You will notice a minus or negative symbol stamped on the battery near the negative battery post.

- Once you loosen the bolt on the clamp, the cable can be removed from the post. If the clamp does not come off easily, try twisting it as you pull it away from the terminal.
- The next step is to disconnect the positive cable. The positive terminal will either have a plus sign near the post or the word positive printed. You can easily distinguish the positive battery post from the red plastic cover or cable.
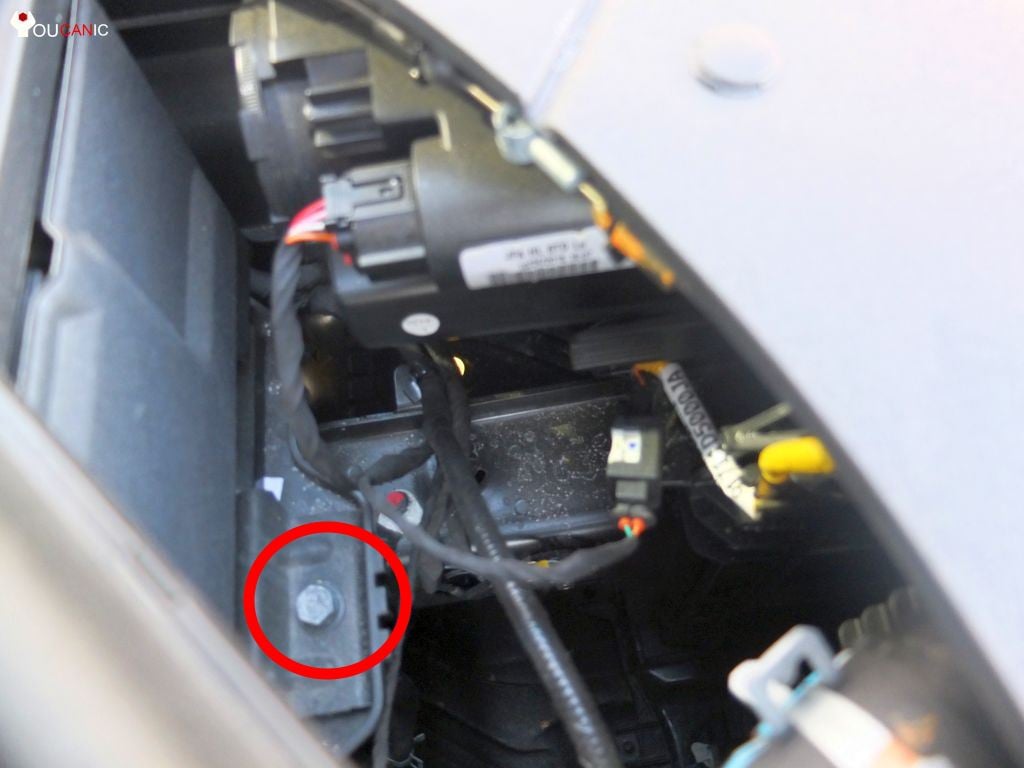
Remove the 12mm bolt and bracket. Remove the 12 mm bolt on the side of the battery. It can be tricky to get to this bolt, so use an extension to reach it.

Install a new battery. Use both hands to lift the old battery, as car batteries are very heavy. Batteries may have a handle to help you with the removal. Carefully lift the old battery from the tray and set it on the ground.
- Once the old battery is removed, carefully install the new battery. Reinstall the battery bracket. Make sure that the battery does not move.
- Try to move the battery back and forth to ensure that the battery is secure. Before you reconnect the cables, clean the terminals using the battery post brush tool. Next, connect the positive cable and fasten the terminal bolt.
- Connect the negative battery terminal and tighten the bolt last. Start the car and monitor the lights on your instrument cluster.
- Confirm that there are no warning lights on, and all the electronic controls work. Turn on the radio to confirm that it works; if not, re-enter the security code that should be included in the documentation with the car.
If you have any warning lights on ABS or Electronic Stability Control (ESC), drive your Kia for a few minutes. Make sure to turn the steering wheel to the left and right. The engine must be running, and the car can be in Park.
If warning lights remain on after the steering angle reset procedure, follow the guide on diagnosing vehicle problems like a Pro.
We hope you find the 2011-2018 Kia Optima Battery Replacement guide helpful. Check these troubleshooting and repair guides for more help on your Kia.
Notes
- We recommend wearing eye protection when replacing the battery on your Kia.
- It is important to remove the negative terminal before the positive terminal. A short circuit can occur when the positive terminal touches any metallic part of the car if the negative terminal is still connected to the battery.
- Replace the battery in your Kia with a replacement that has the same: size, ratings, and cranking amps.
Torques Specifications
- Positive Battery Terminal Bolt: 10 Nm ( 7.4 lb-ft)
- Negative Battery Terminal Bolt: 6 Nm (4.4 lb-ft)
- Mounting bracket bolt: 12 Nm (8.8 lb-ft)







Terminal brackets tool?