Mitsubishi Turn Signal Wiper Steering Wheel Switch Replacement
The combination switch is an electronic switch assembly that controls several vehicle functions. It manages the turn signals, the high—and low-beam headlights, and the wipers. It is usually mounted on the steering column and is easily accessible to the driver.
This guide provides photos, video, and instructions on changing the combination switch on a Mitsubishi. The combination switch houses the turn signal, light, high beam, and wiper stalk. This repair is quite in-depth and does require some technical automotive knowledge. However, with some persistence, you can tackle this repair yourself if you follow this guide.
How to Replace Mitsubishi Turn Signal Wiper Steering Wheel Switch
Symptoms
Common symptoms of a failing combination switch:
- Turn signals are not operating properly
- Wipers not operating properly
- The headlights are not working properly
- Switch getting stuck or not staying in place when using turn signals
What you will need
Tools
- Flathead screwdriver
- Phillips head screwdriver
- T30 Torx (on specific older models)
- 17mm socket and ratchet
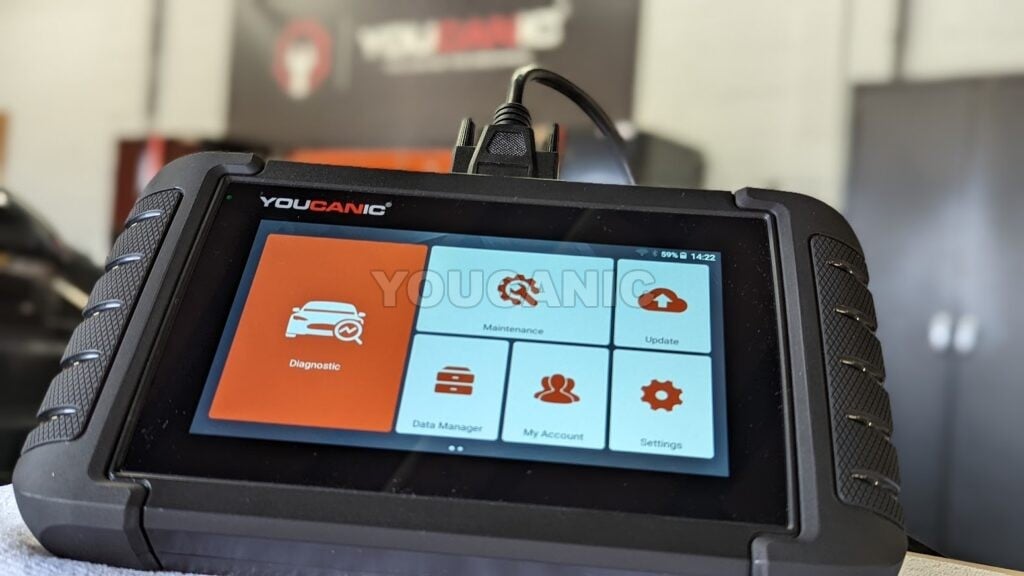
- Professional OBDII scan tool
- Pliers
- Torque Wrench
Parts
- Mitsubishi Combination Switch
Procedure
- Start by disconnecting the battery. Wait at least fifteen minutes before you start working on the airbag system. Always keep your body away from the airbag. If not handled with care, an airbag may deploy and cause injuries. You must remove the airbag, steering wheel, and clockspring assembly.
- You may follow these steps to remove the airbag.
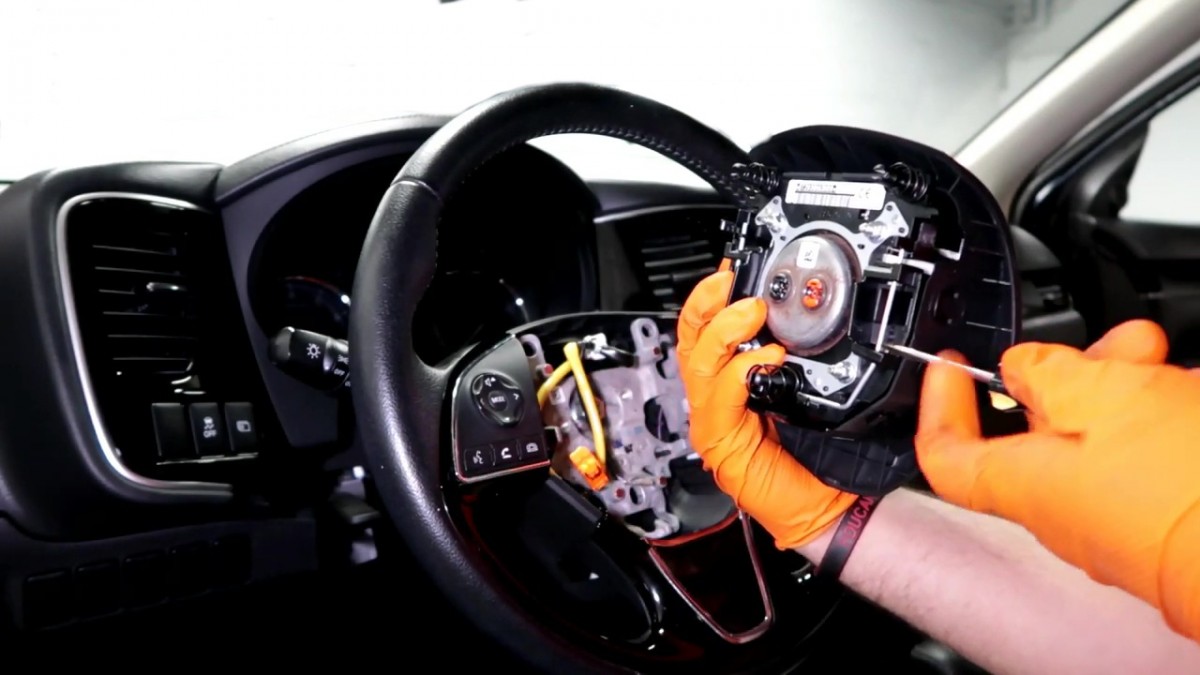
 To release the airbag, use a flat-head screwdriver to push the retaining lock inwards on the left and right sides of the steering wheel’s base.
- Disconnect the electrical connectors by popping the lock and pulling the connector away from the airbag assembly.

- Detach the horn’s electrical connector by pushing its locking clip and then pulling the connector off the airbag assembly.

- Set the airbag aside in a safe area.
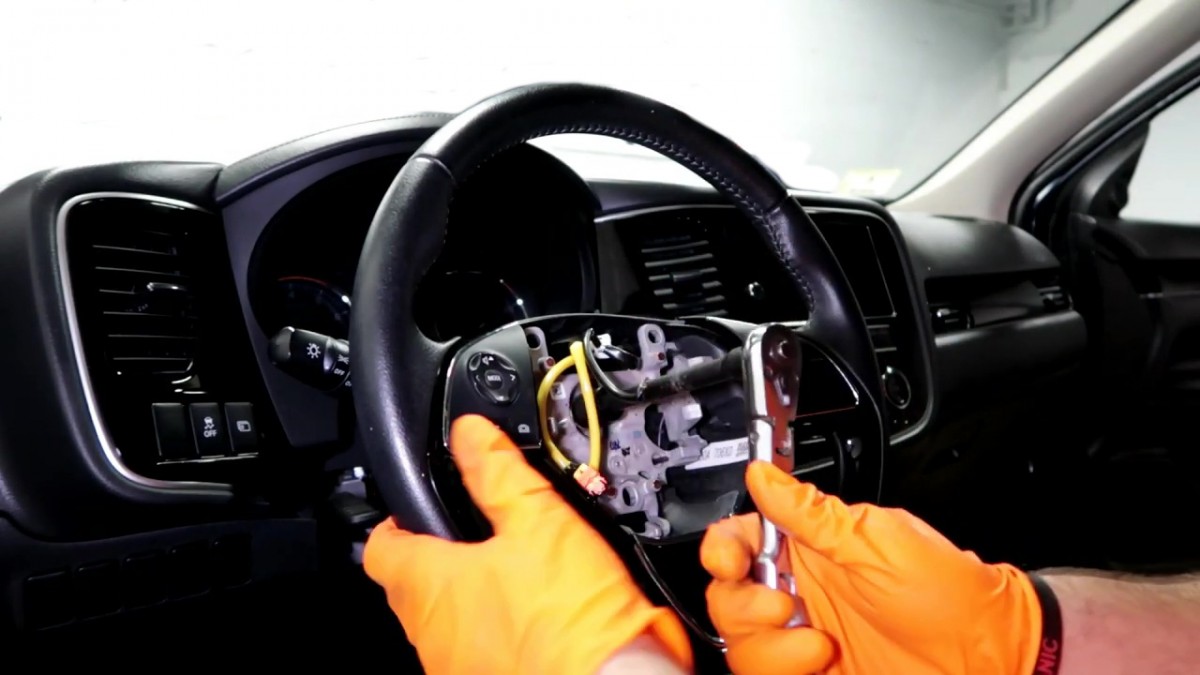
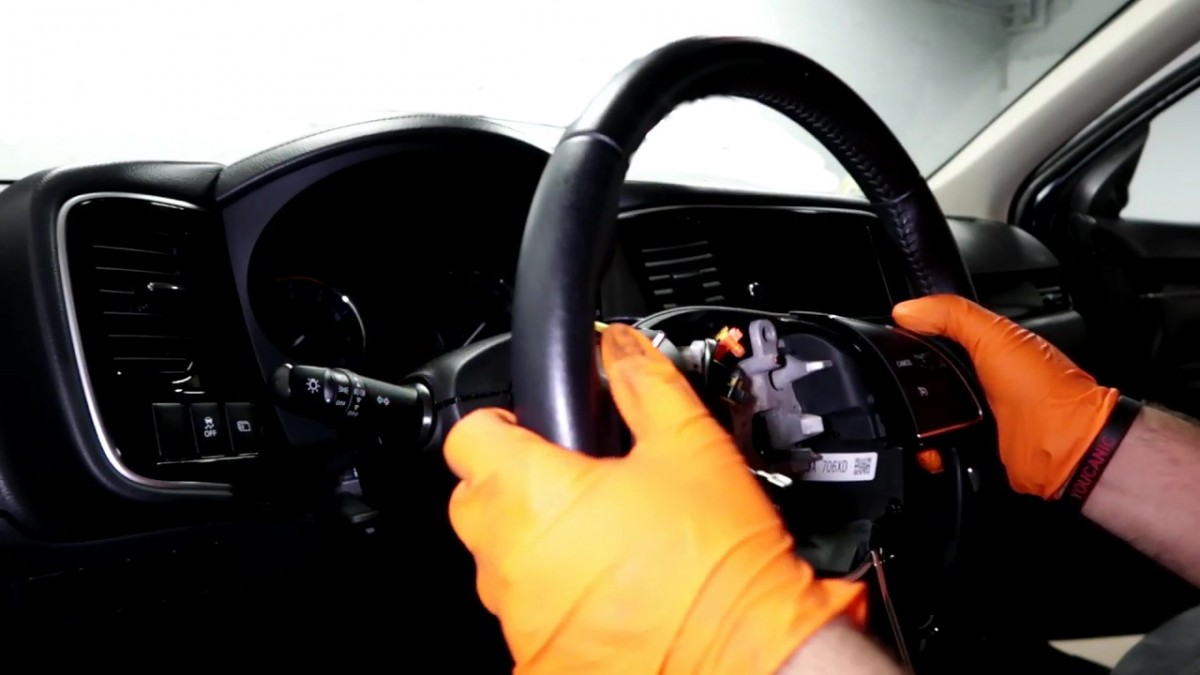
- Once the airbag assembly is removed, you can remove the steering wheel using the following steps. Remove the 15mm bolt at the center of the steering wheel. Have a friend counter-hold the steering wheel so as not to put pressure on the steering wheel locking mechanism.

- Mark the steering wheel and steering column with a marker to reinstall the steering wheel in the exact location.
- Remove the steering wheel by pulling it back while pushing the wires through the steering wheel.

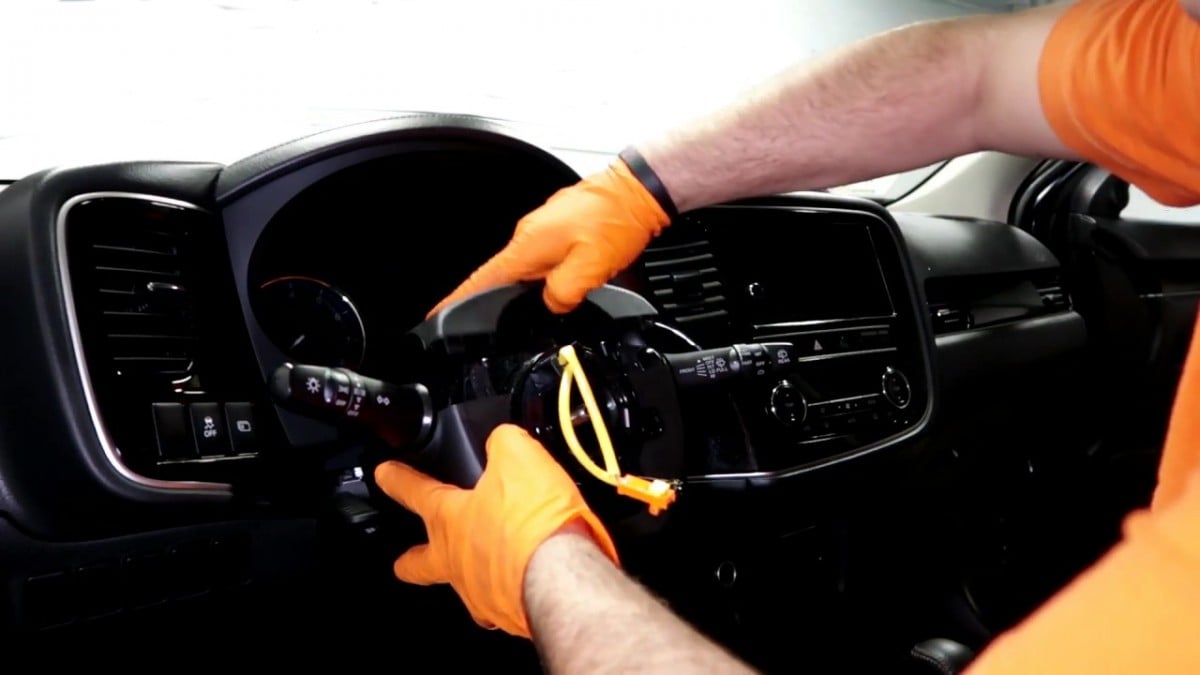
- You may follow the instructions below to remove the clock spring. Remove screws under the plastic trim by using a Philips head screwdriver. Remove the plastic trim over the clock spring by prying it off with a dash removal tool.
 If a dash removal tool is unavailable, use a flat-head screwdriver, but be careful not to scratch the trim.
- Unplug the electrical connectors from the clock spring by pressing on the connectors and then pulling them.
- Remove the clock spring from the steering column by pressing on the three small clips. Please mark the clock spring’s original position and avoid playing around with it since most clock springs have integrated steering sensors.
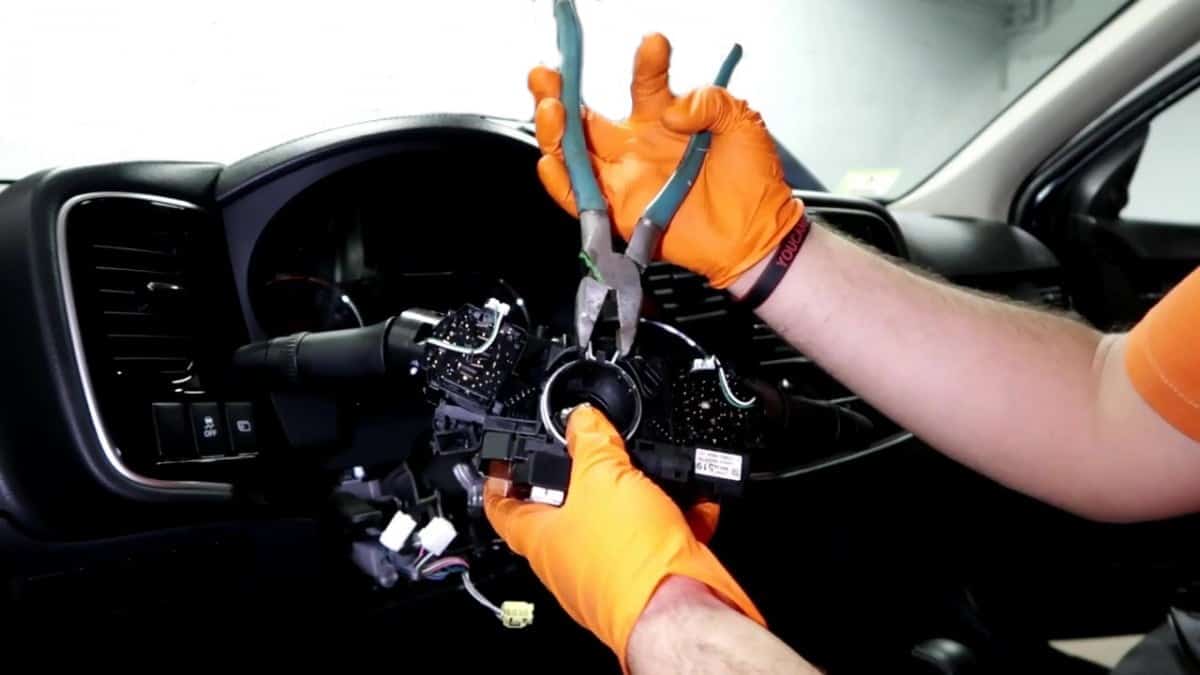
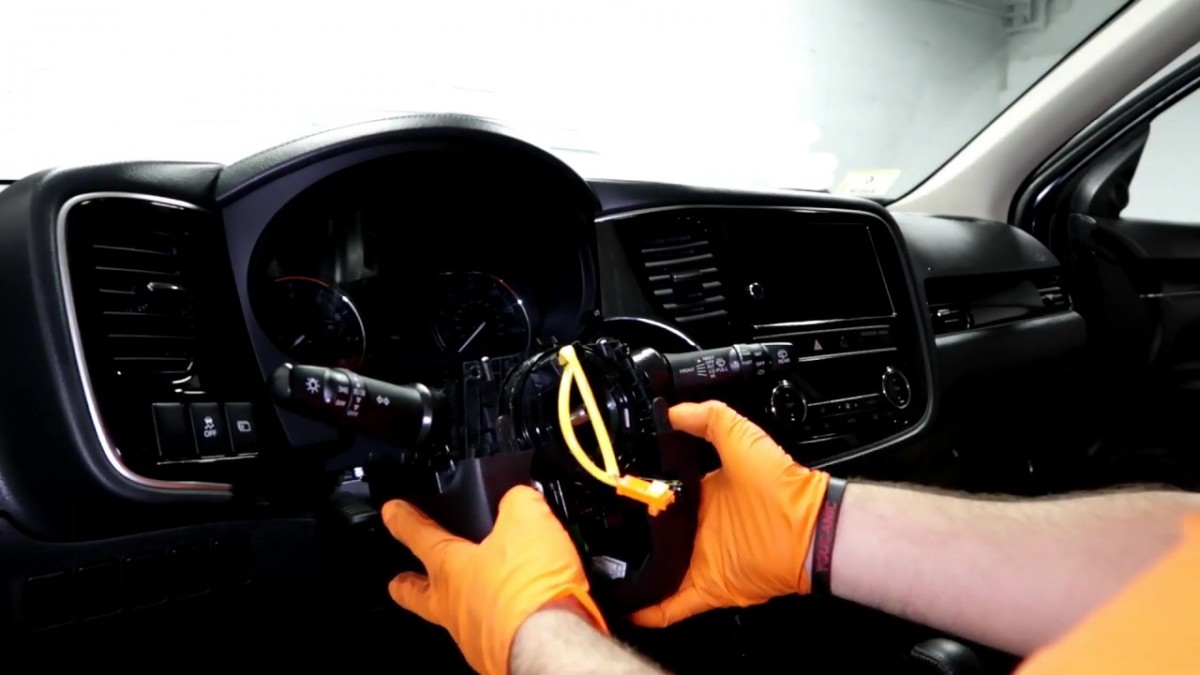
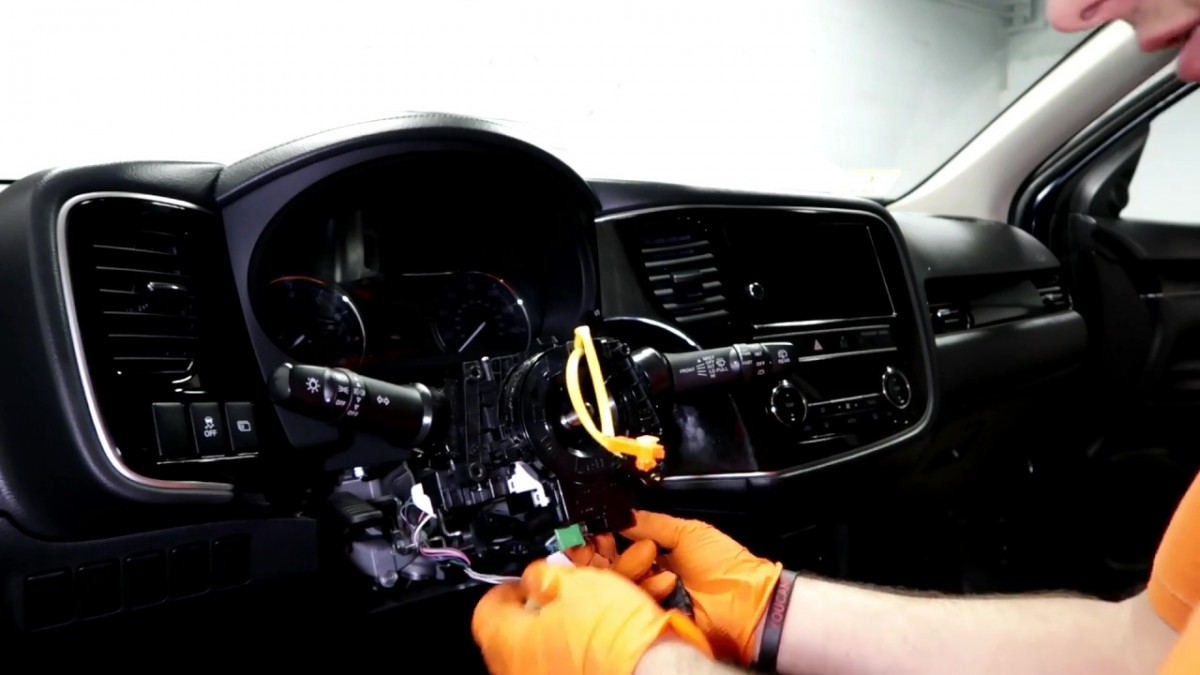
- Next, remove the three electrical connectors from the combination switch by pressing the tabs on the end and pulling them out. Please note that when removing the yellow electrical connector, the connector for the airbag, you need to release the green lock before pulling the connector.


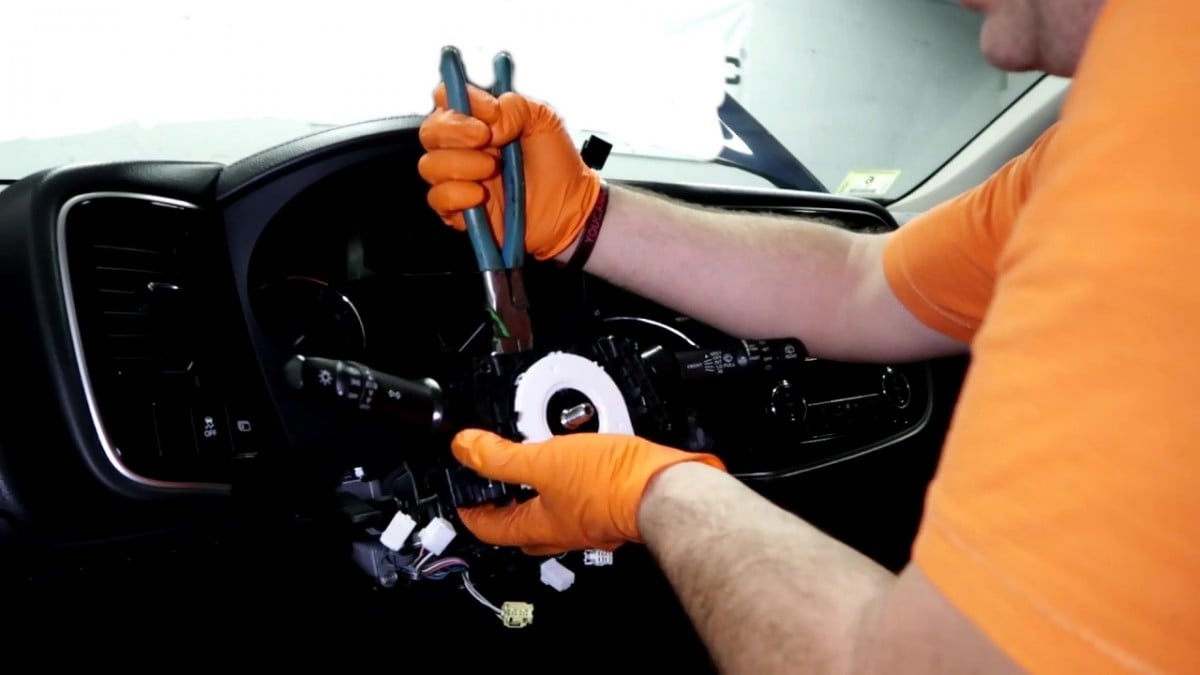
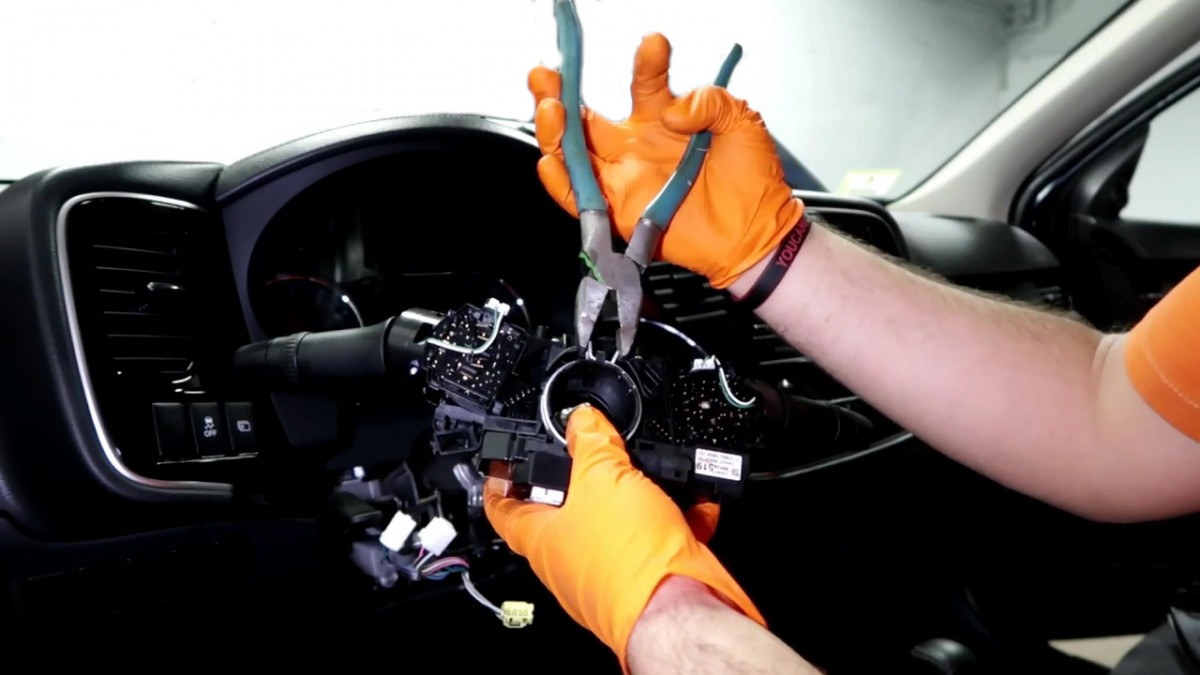
- To detach the combination switch assembly from the steering column, use a pair of pliers to access the locking spring clamp on top of the combination switch and squeeze the metal clamp while pulling the assembly towards you.

- Install the new combination switch assembly and reconnect the combination switch’s electrical connectors, including the airbag’s electrical connector.
 Follow steps 6, and 4 in reverse order while adhering to safety procedures.
 - Finally, the battery is connected, and the vehicle is started. Check for malfunctioning indicator lights on the dash. If the airbag light is on, clear the airbag control module with a professional OBDII scan tool.
- Test to ensure all the switches are working; you are done!
This guide will show you how to remove and replace the combination switch on a 2019 Mitsubishi Outlander. It is common for the combination switches to fail on a vehicle, and it can happen due to wear and hard use.
Torque Specifications
- Steering wheel nut 30-35 ft-lbs
Verify torque value by calling your vehicle dealer and providing the VIN.
Vehicle Applications
All Mitsubishi models include Galant, Lancer Evo, Outlander, Eclipse, Mirage, and more. All year models, including current-gen, are included: 2012, 2013, 2014, 2015, 2016, 2017, 2018, 2019, 2020, and 2021.
We hope you find the Mitsubishi Turn Signal Wiper Steering Wheel Switch Replacement guide helpful. Check these troubleshooting and repair guides for more help on your Mitsubishi.





 If a dash removal tool is unavailable, use a flat-head screwdriver, but be careful not to scratch the trim.

 Follow steps 6, and 4 in reverse order while adhering to safety procedures.


