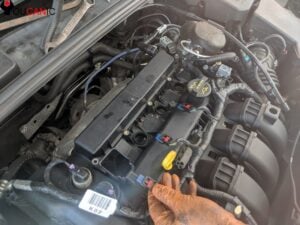
Replace Spark Plug & Ignition Coil Mazda 2013-2019 3 6 CX-3 CX-5
Is your Mazda 3 engine idle rough, misfiring, and the check engine light on due to a faulty spark plug/ignition coil? Learn how to fix the problem by replacing your vehicle’s spark plugs and ignition coils.
This guide is a step-by-step procedure on replacing the Ignition Coil and Spark Plugs on a 2013-2019 CX-3 CX-5 Mazda 6 Mazda 3 . Video and pictures are based on a 2016 Mazda 3, but this engine is also found on other models.
How to Replace Mazda Spark Plugs and Ignition Coils
What you will need
- Mazda 3 Spark Plugs
- Part number: PE5R-18-110 or NGK 93501
- The typal gap is 0.044″ – Spark plug will come pre-gapped.
- Iridium spark plugs
- Mazda 3 Ignition Coil
- PE0118100A
- PE2018100
- PE2018100A
- UF-656, GN10625
- C-857
- Mechanic Toolset (Metric)
- Torque Wrench
Procedure
- Unlock the vehicle and pull the hood release under the dashboard.

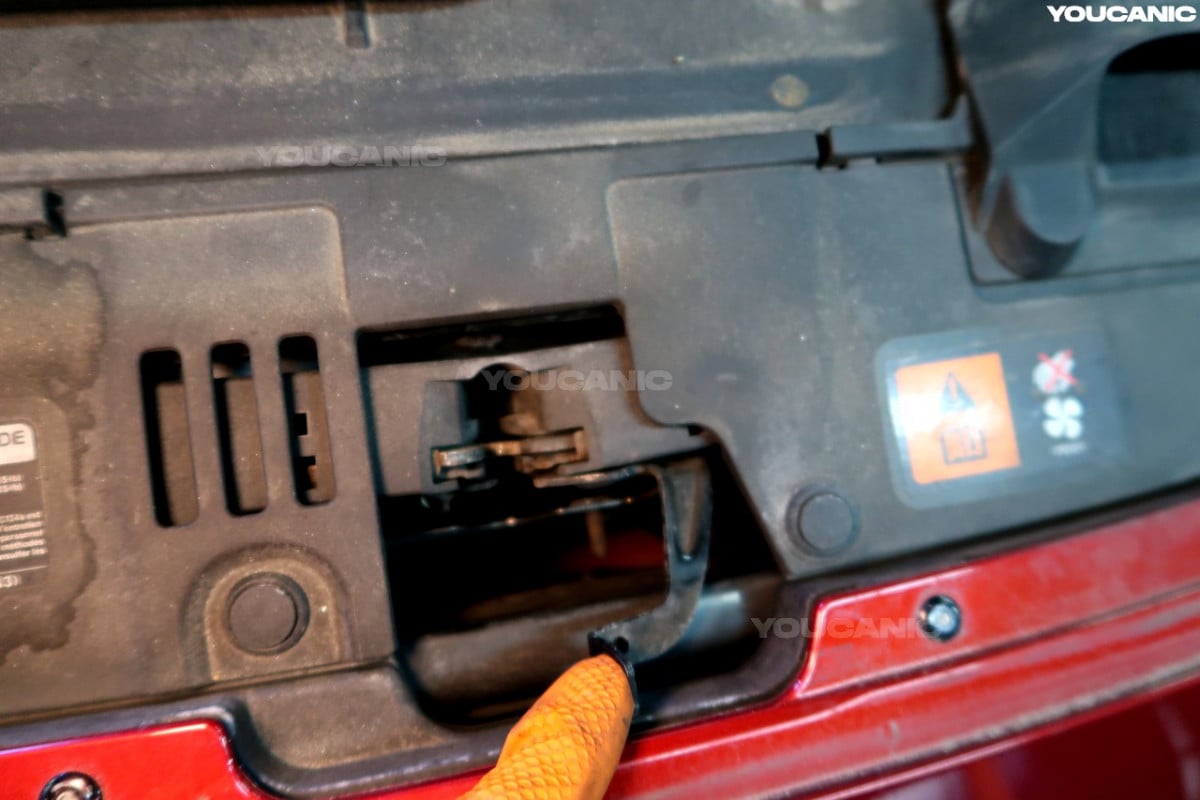
- Locate the hood latch on the vehicle’s front and slide the tab to the right to unlock it.

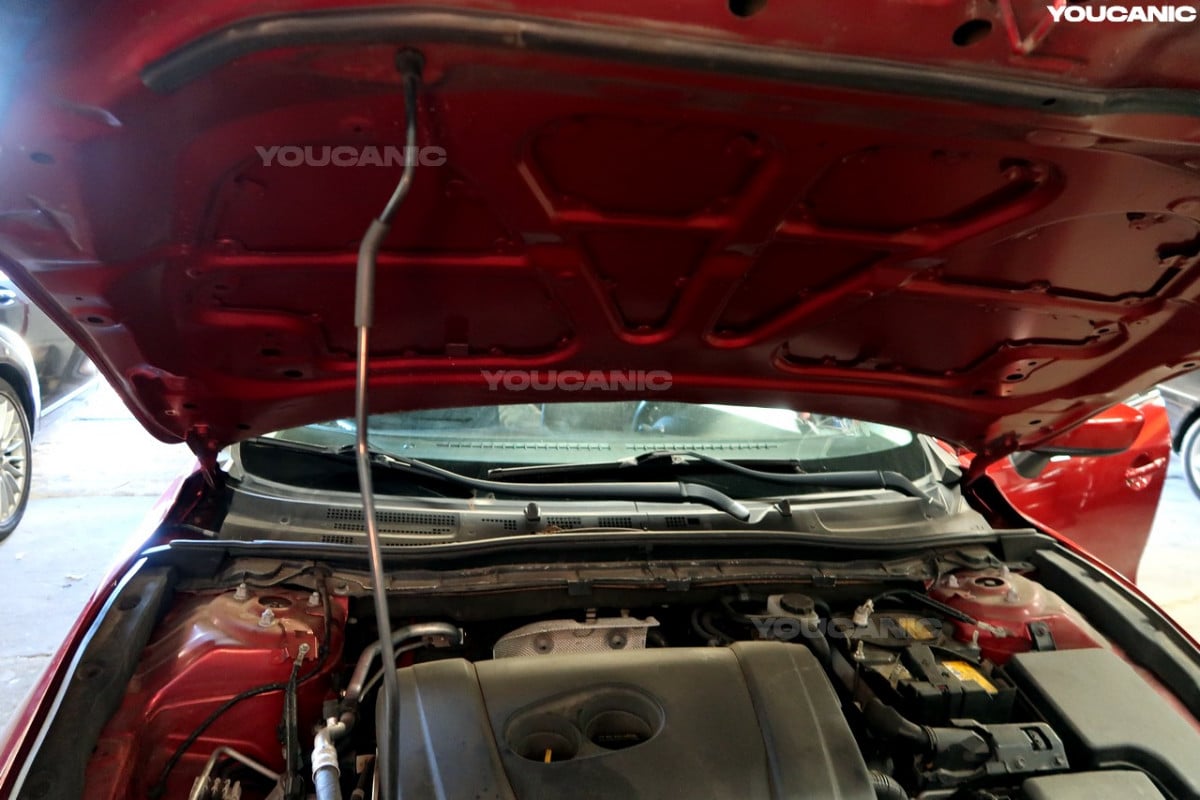
- Pull the hood up and place the hood strut to hold the hood.

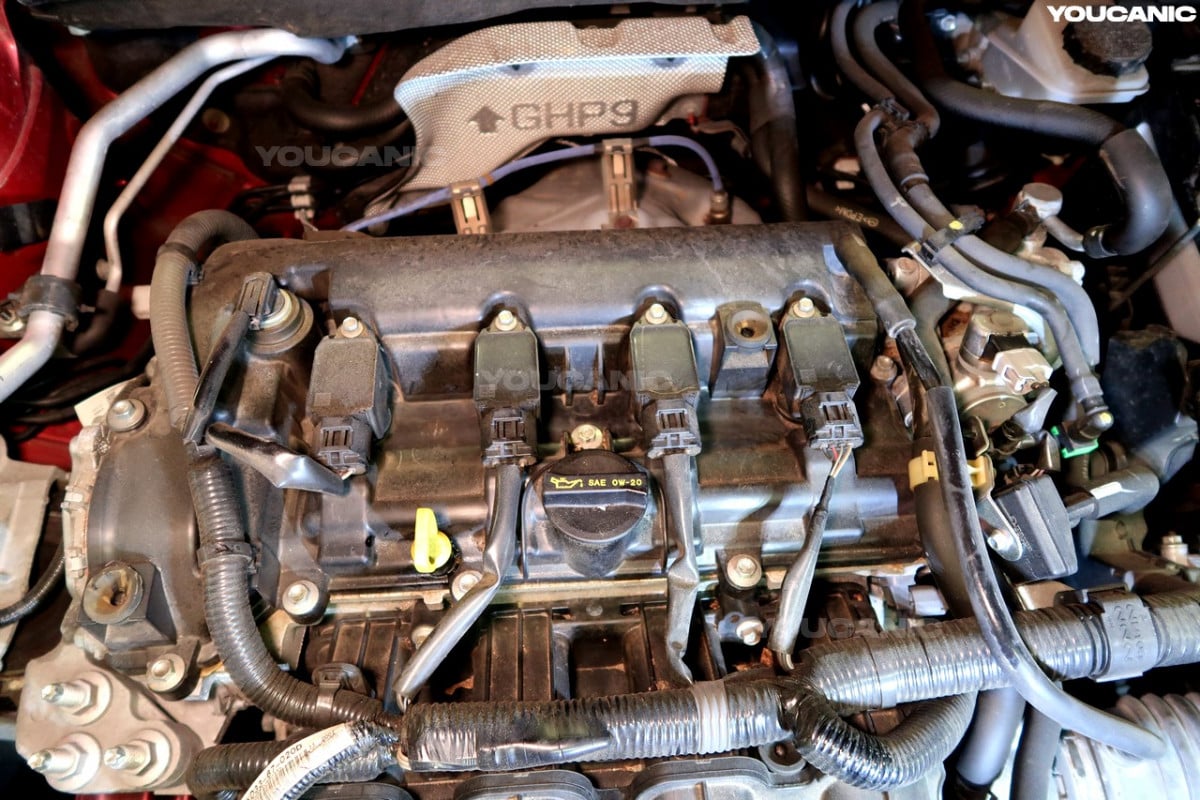
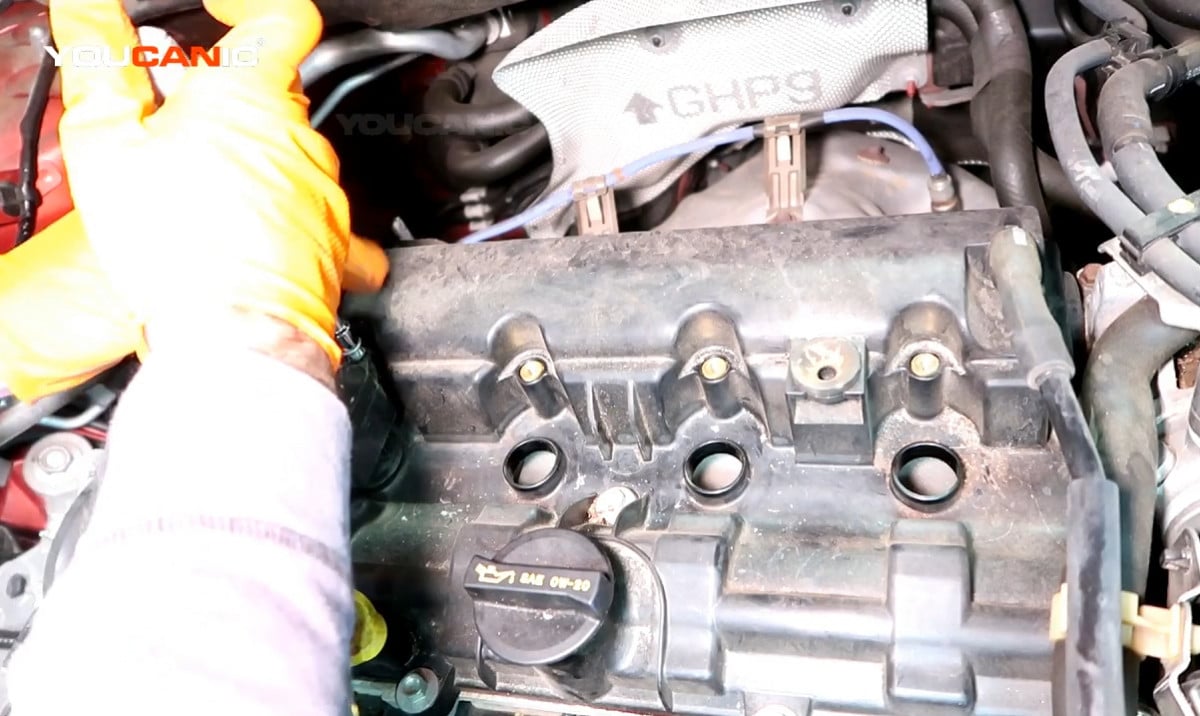
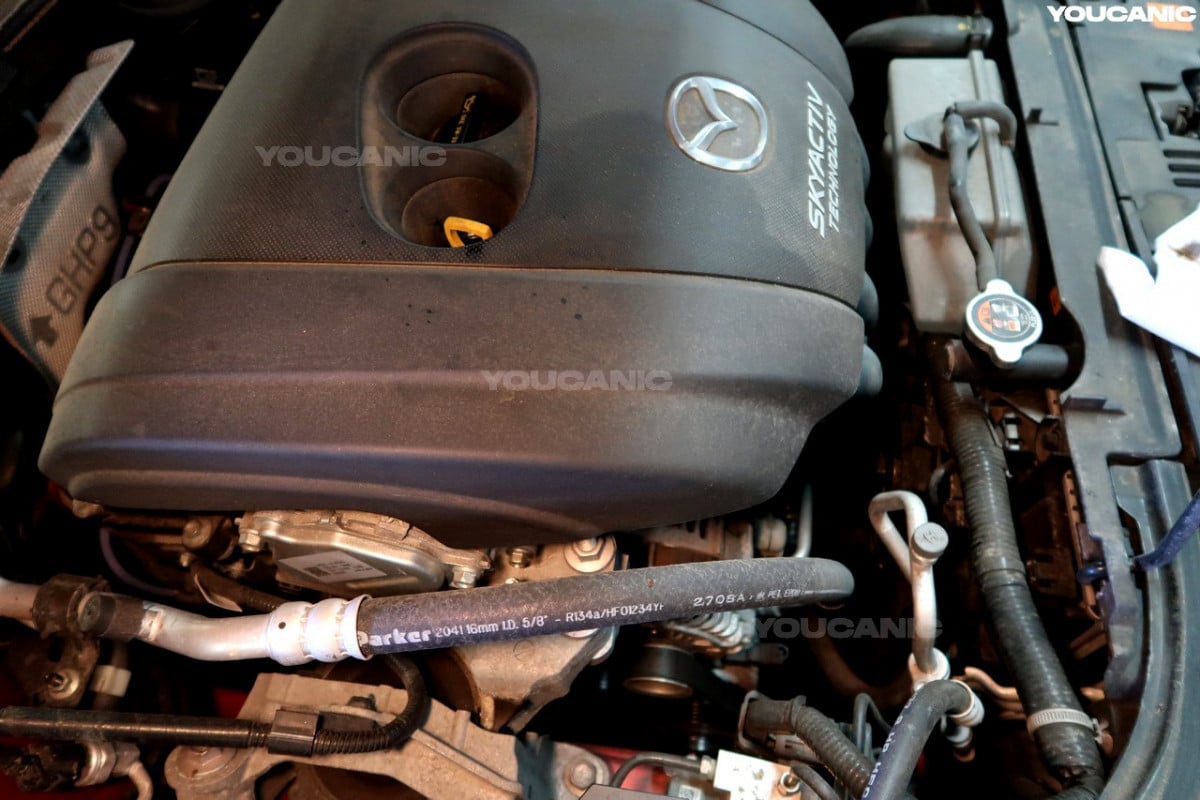
- Remove the engine cover by pulling it up.

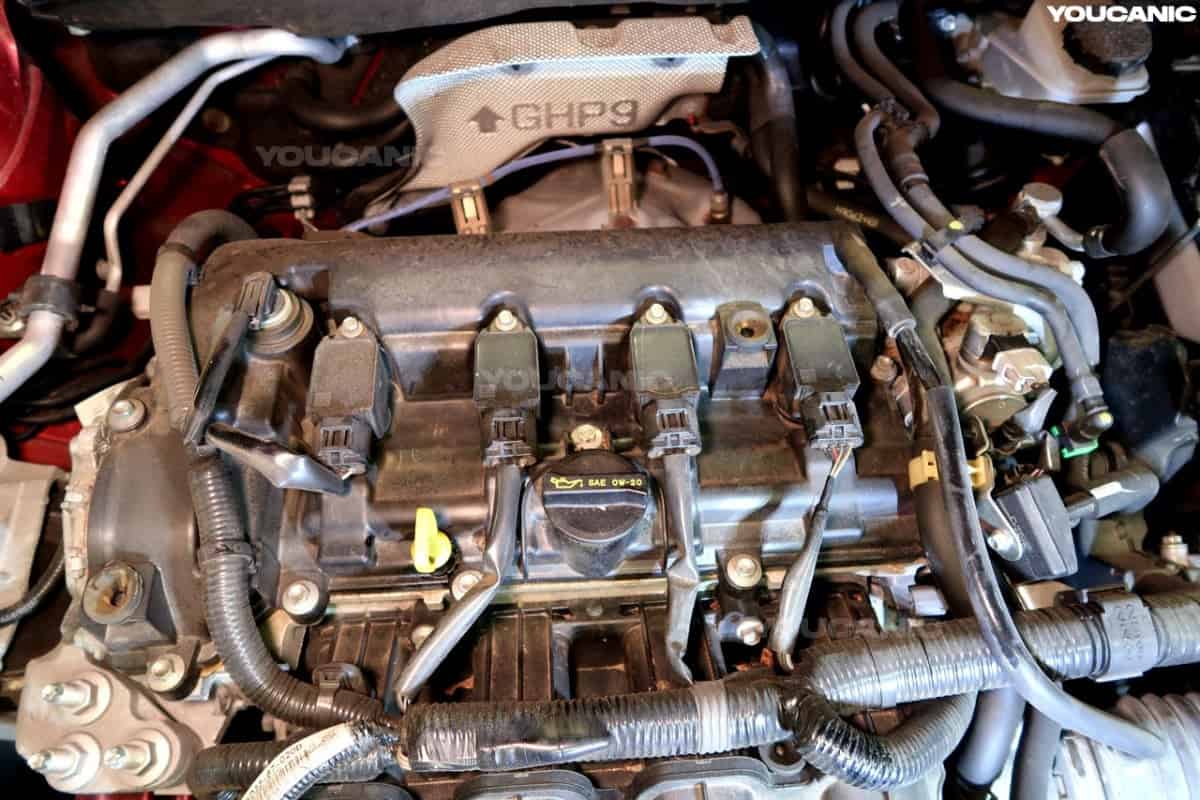
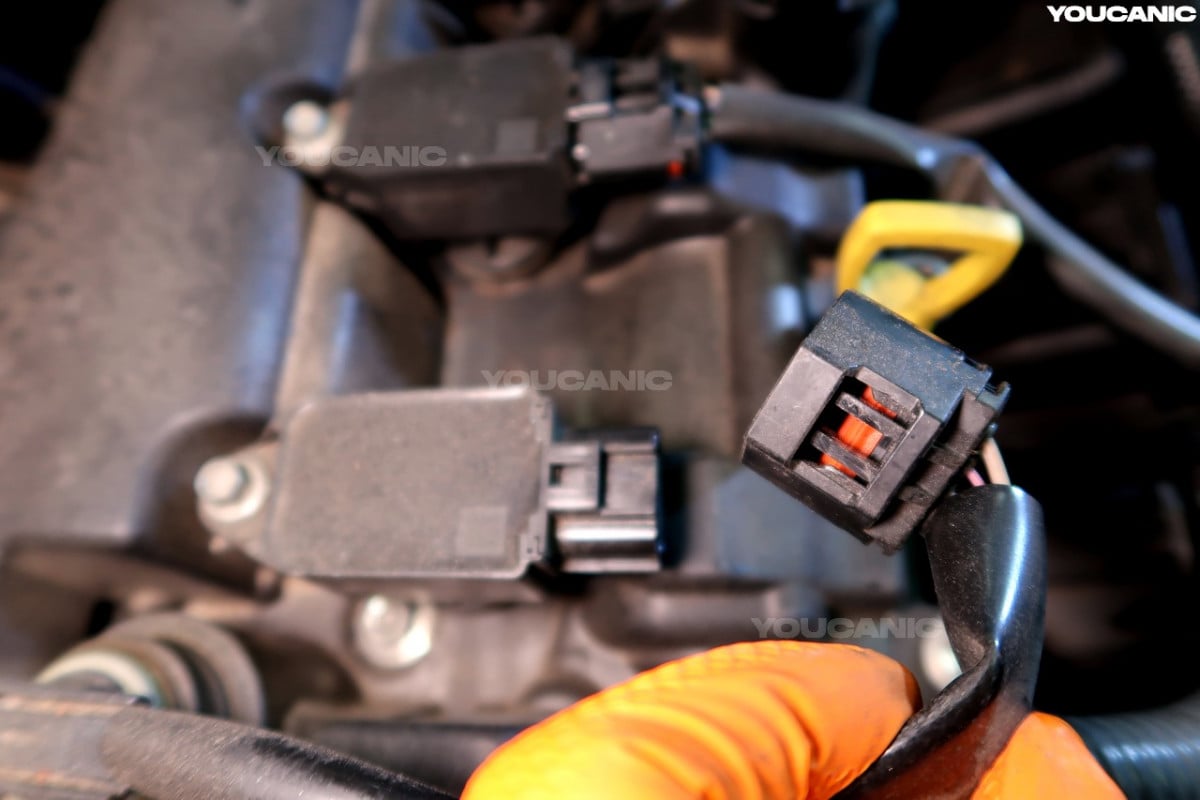
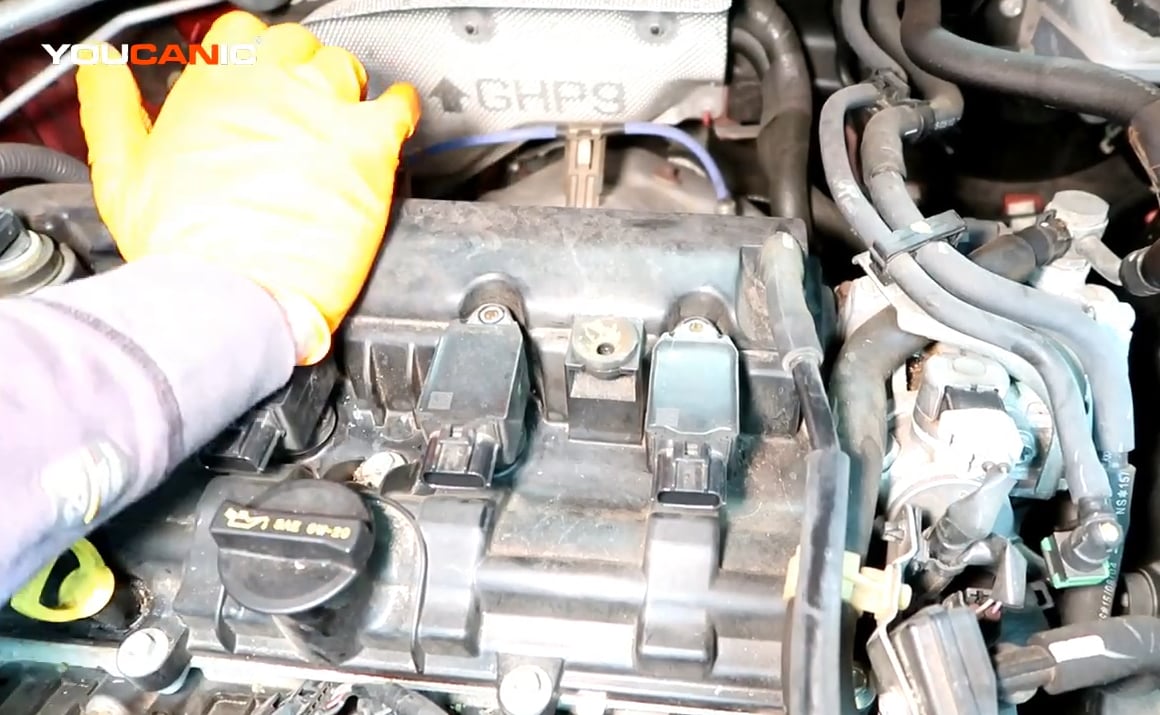
- Push on the connector’s clip and pull it out to disconnect the connector from the coil pack.

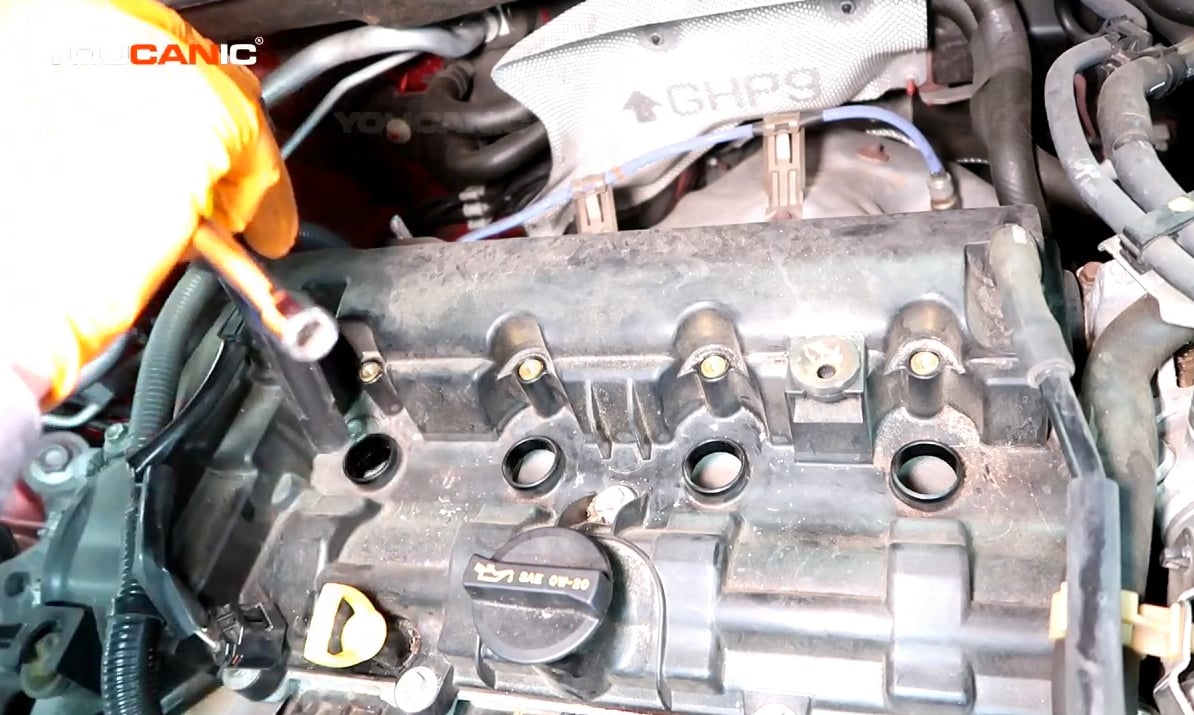
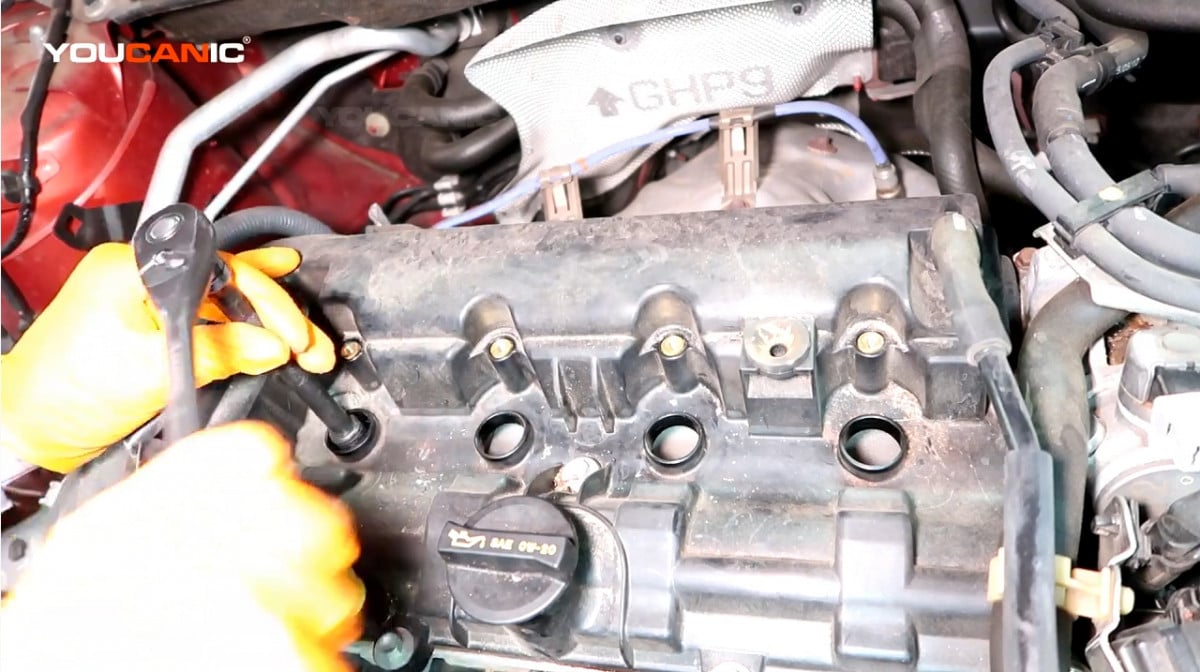
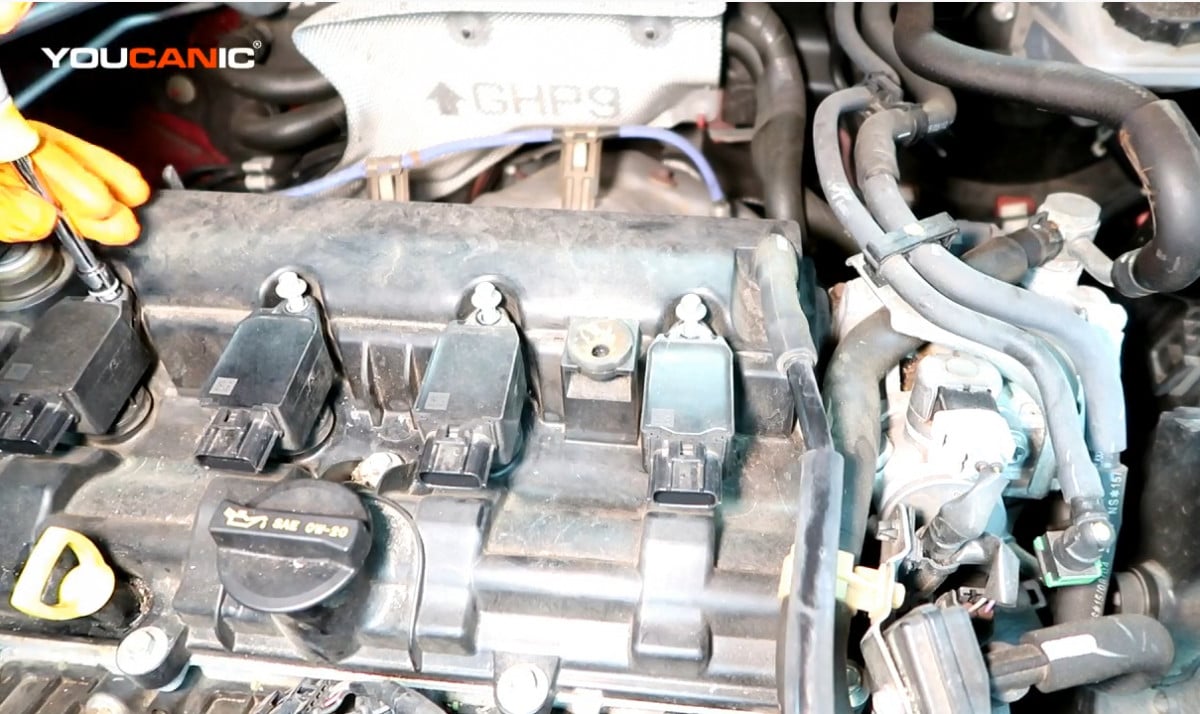
- Remove the 8mm bolts on the ignition coil using an 8mm socket wrench and twist it counterclockwise.

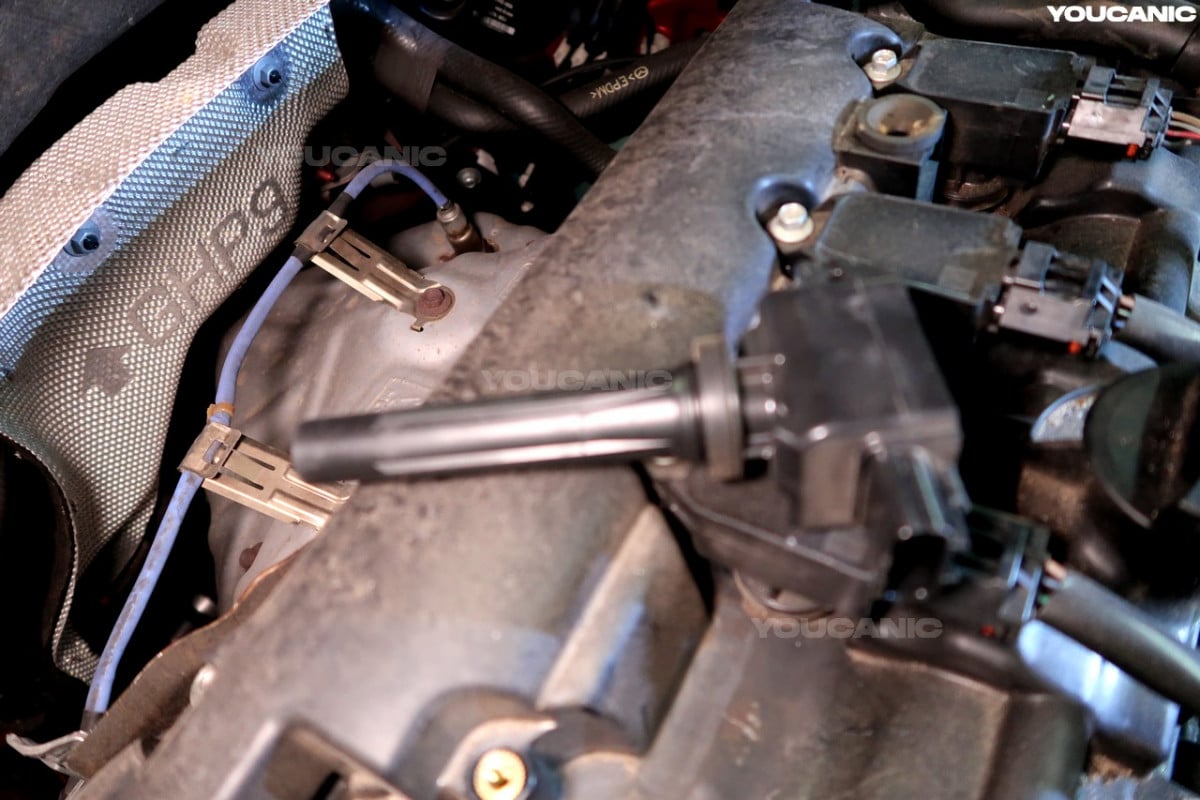
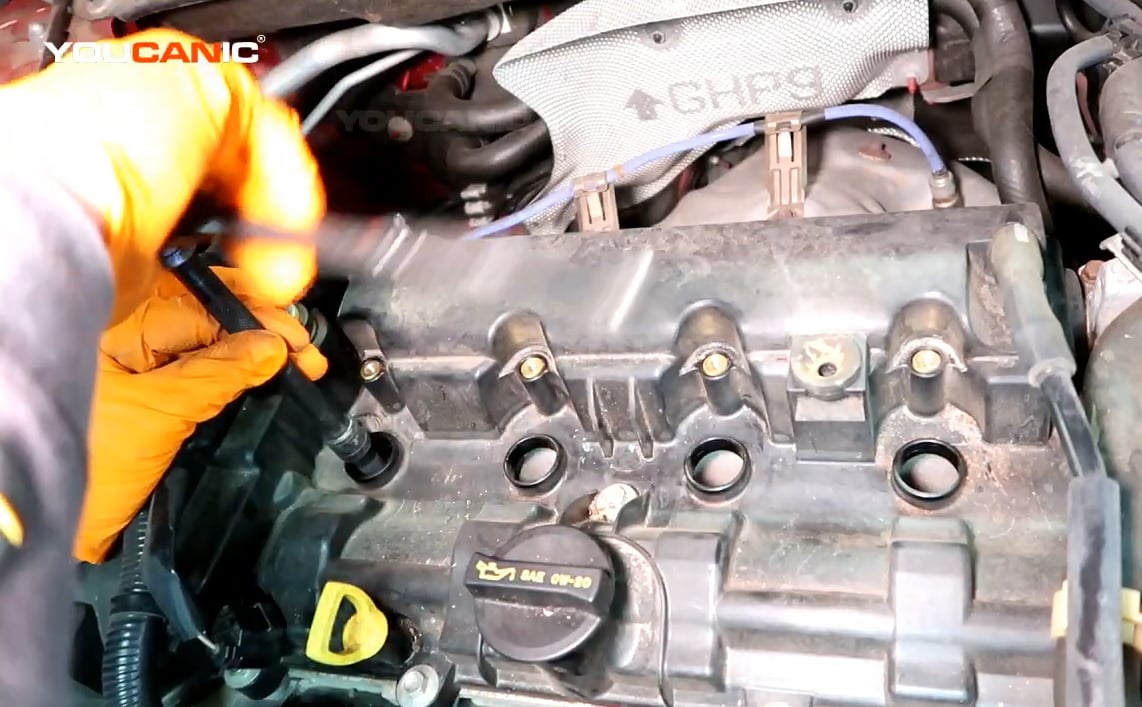
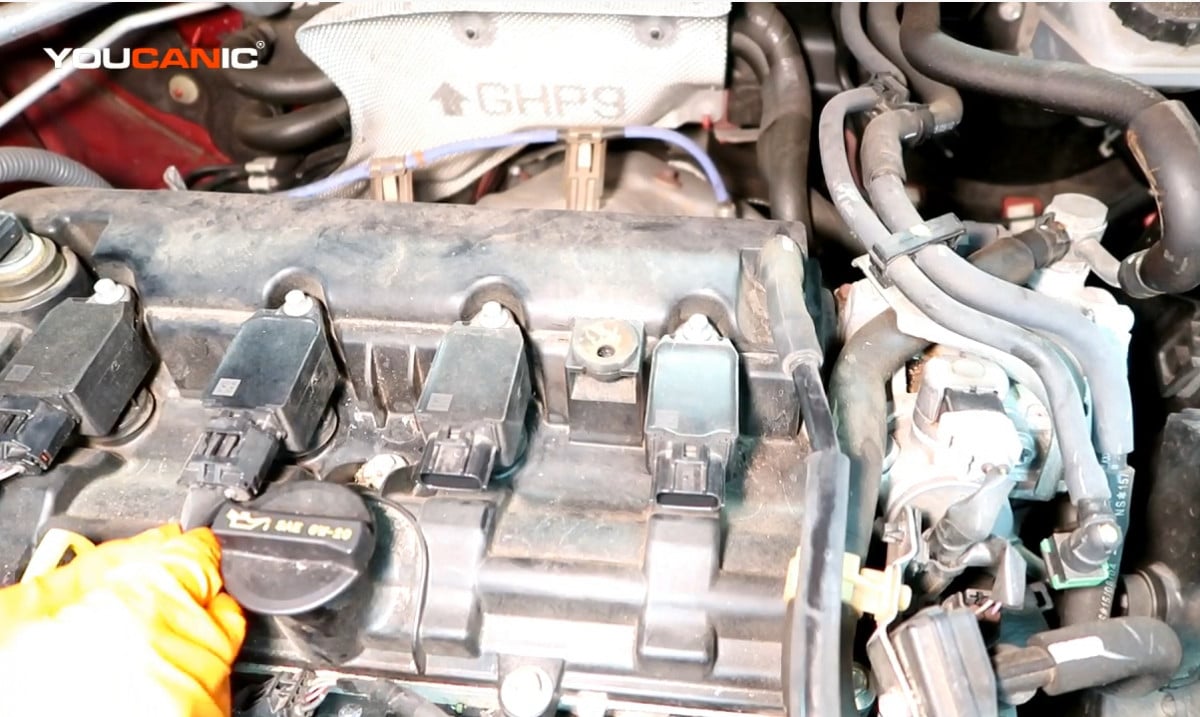
- Remove the ignition coil by pulling it out from the engine.


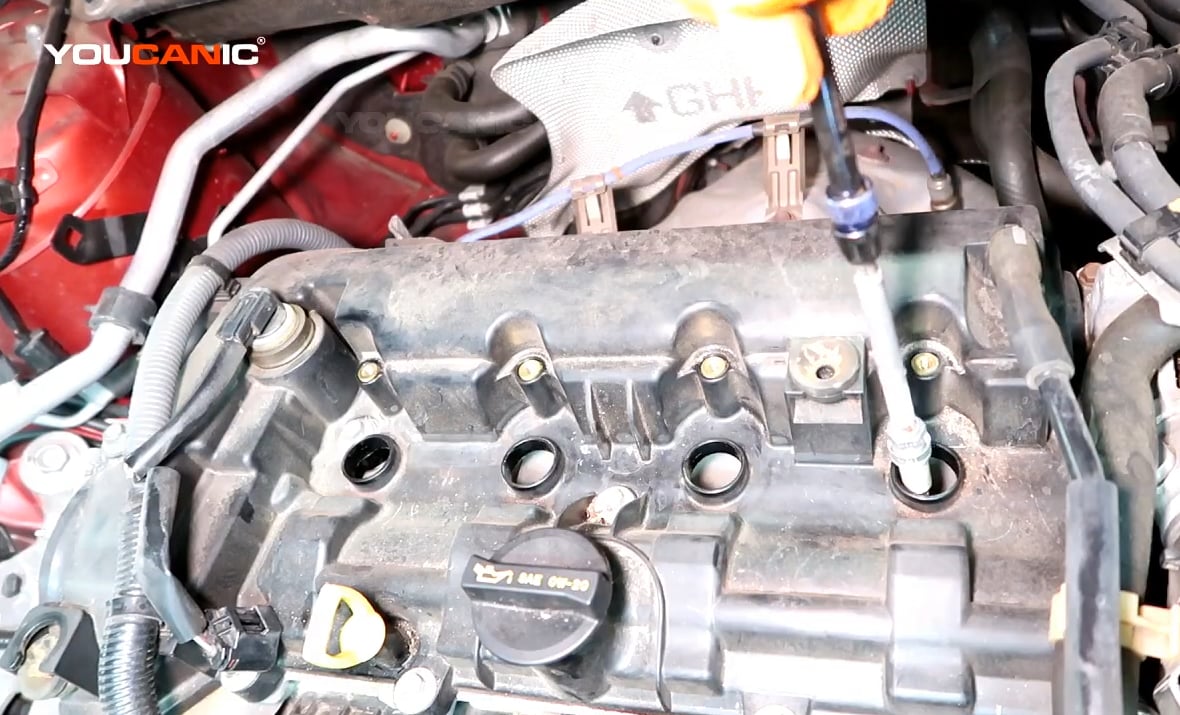
- Loosen the spark plugs using a spark plug socket wrench.

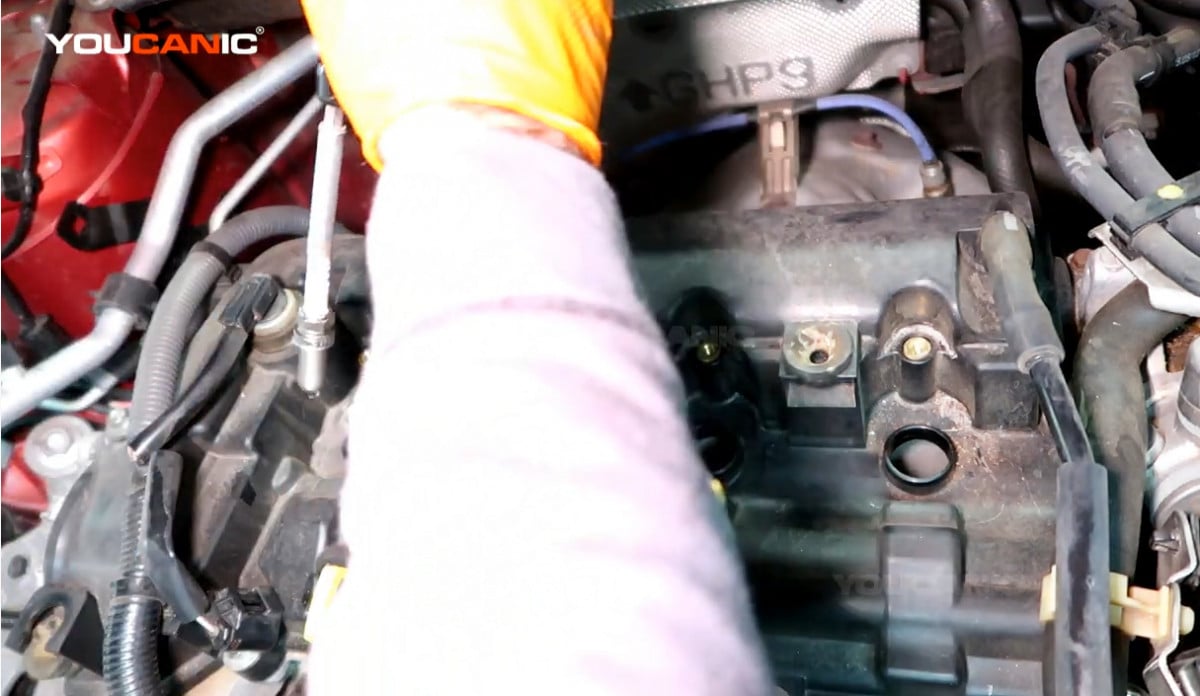
- Remove the spark plugs. Use the spark plug socket wrench or a magnet to carry the spark plug out.

- Install the new spark plugs carefully. Use the spark plug socket wrench or the magnet to prevent the spark plug from dropping and damaging the gap.

- Tighten the spark plugs to the correct torque specification.

- Place the new ignition coil and push them down to lock it into place.

- Reinstall the 8mm bolts on the coil pack and twist them clockwise to tighten.

- Reconnect the electrical connectors of the ignition coil.

- Line up the engine cover back to the vehicle and push it down until it snaps into place.

Check Engine Light On
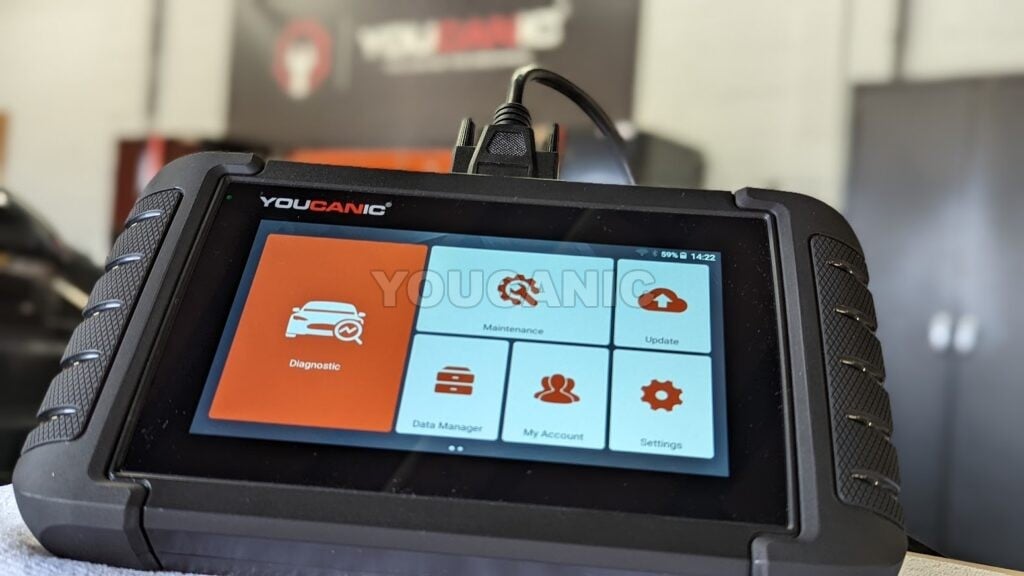
If the airbag light is on after replacing your vehicle’s spark plugs and ignition coils, you can use the YOUCANIC Full System Scanner to clear the stored codes/reset the check engine light. The scanner can also read and clear fault codes through every vehicle’s control module.
Tightening torque
- Spark plugs: 15-20 N-m (1.6-2.0 kgf-m, 12-14 ft-lbf)
- Ignition coil 10mm bolt: Hand tight
We hope you find the Replace Spark Plug & Ignition Coil Mazda 2013-2019 3 6 CX-3 CX-5 guides helpful. Check these troubleshooting and repair guides for more help on your vehicle.

