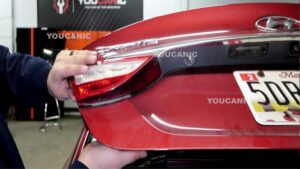
Replace Tail Light Assembly & Signal Light Mercedes-Benz 2014-2019 X156
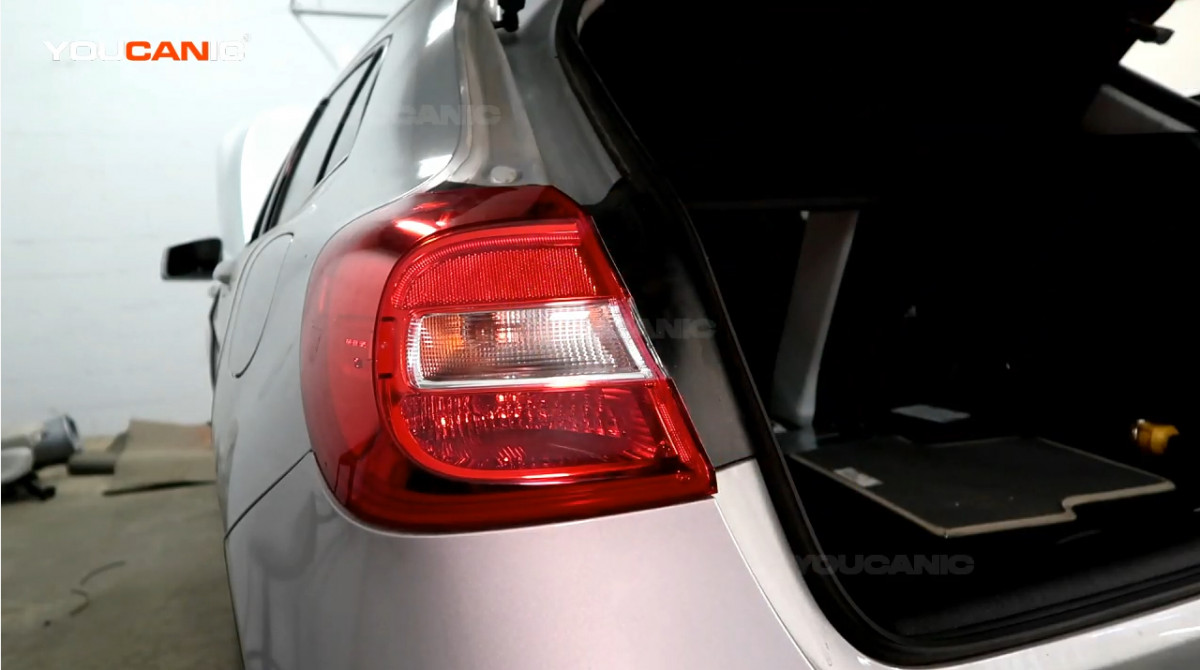
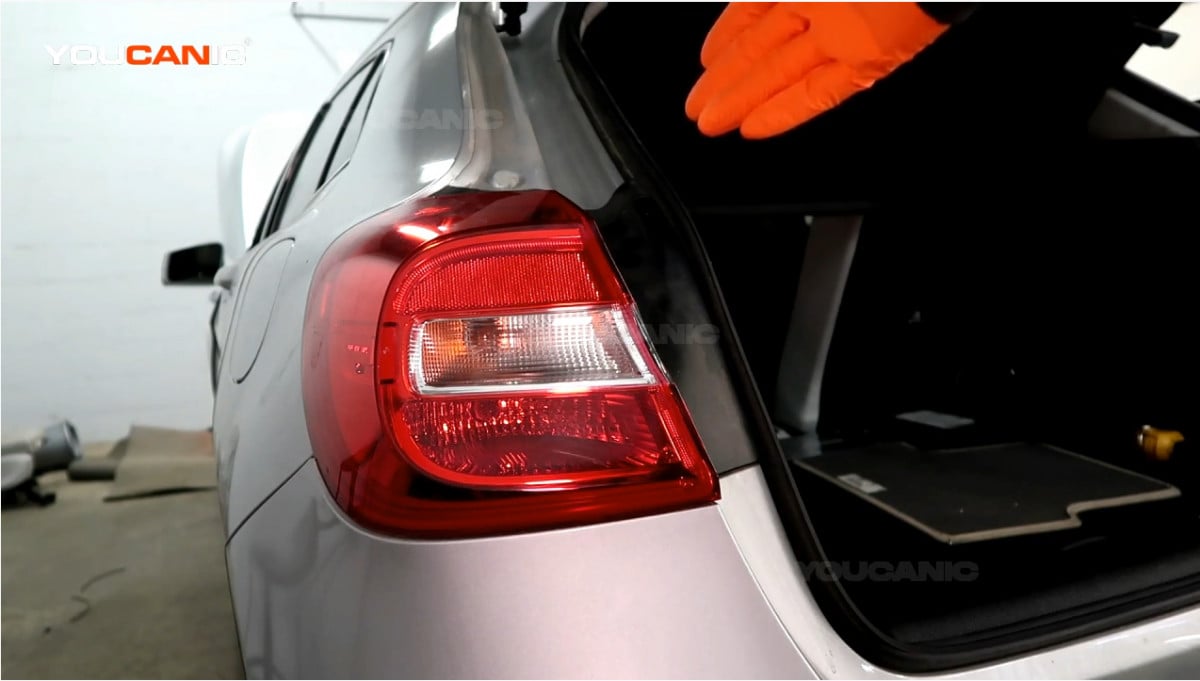
Is the tail light assembly of your Mercedes-Benz GLA broken, and is the turn signal light also not working? Learn how to fix the problem by replacing your vehicle’s tail light assembly and turning the signal light bulb. This guide is a step-by-step instruction on replacing the outer tail light assembly and signal light bulb of a 2014-2019 Mercedes-Benz GLA250 X156.
What you will need
- Philips screwdriver
- Py21w Light Bulb (Natural Amber)
Procedure
- Unlock the vehicle and open the trunk.

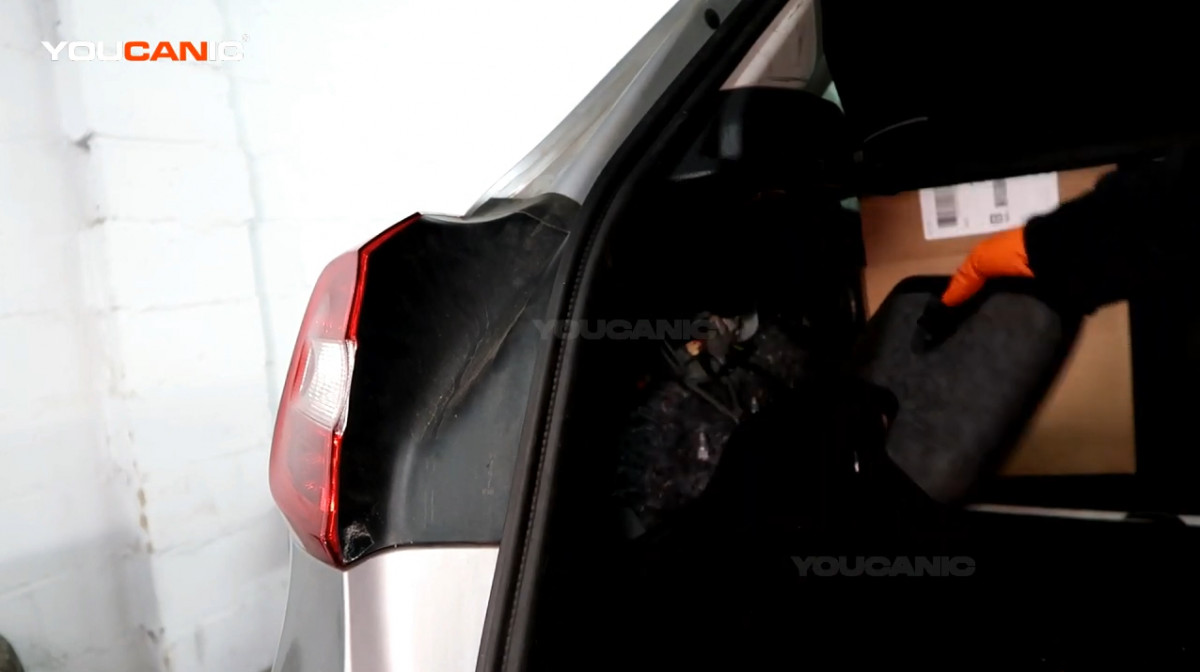
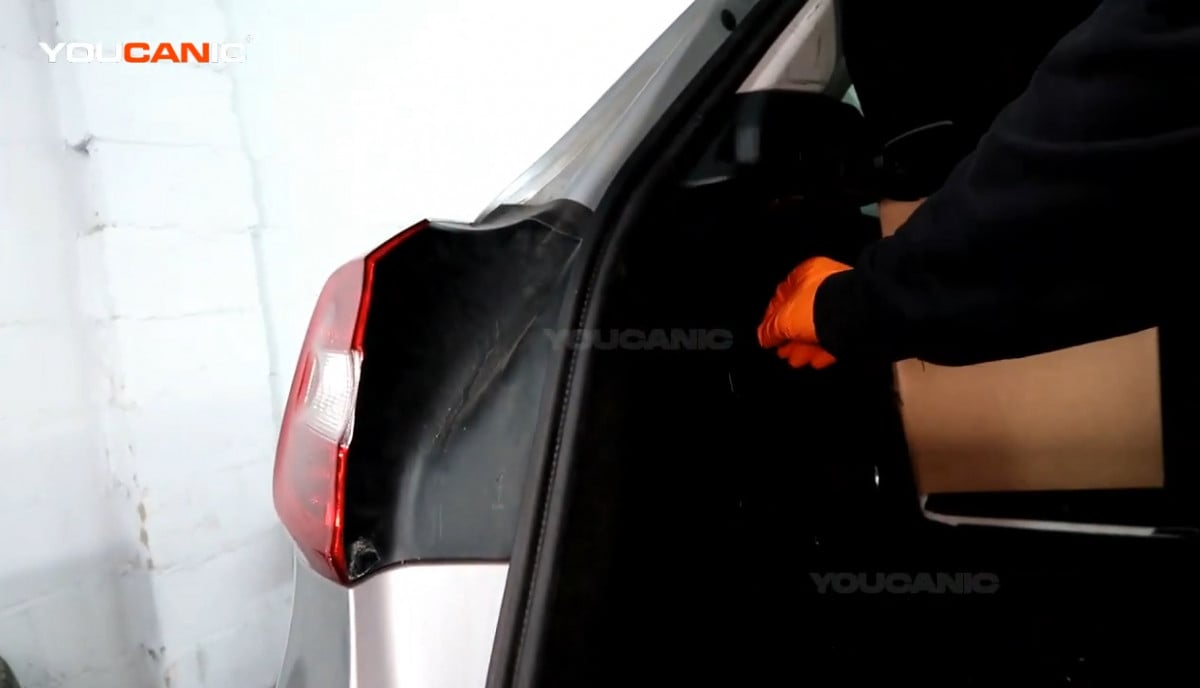
- Remove the trunk panel on the driver’s side of the vehicle. Twist the tab counterclockwise and pull the panel out.

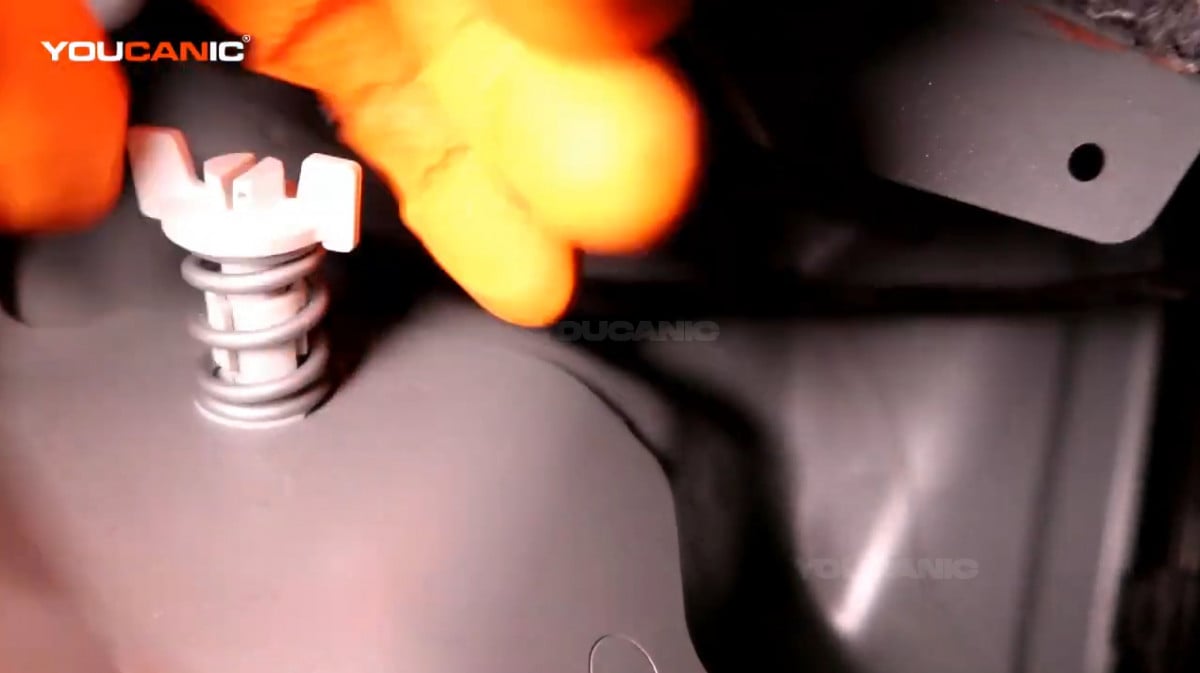
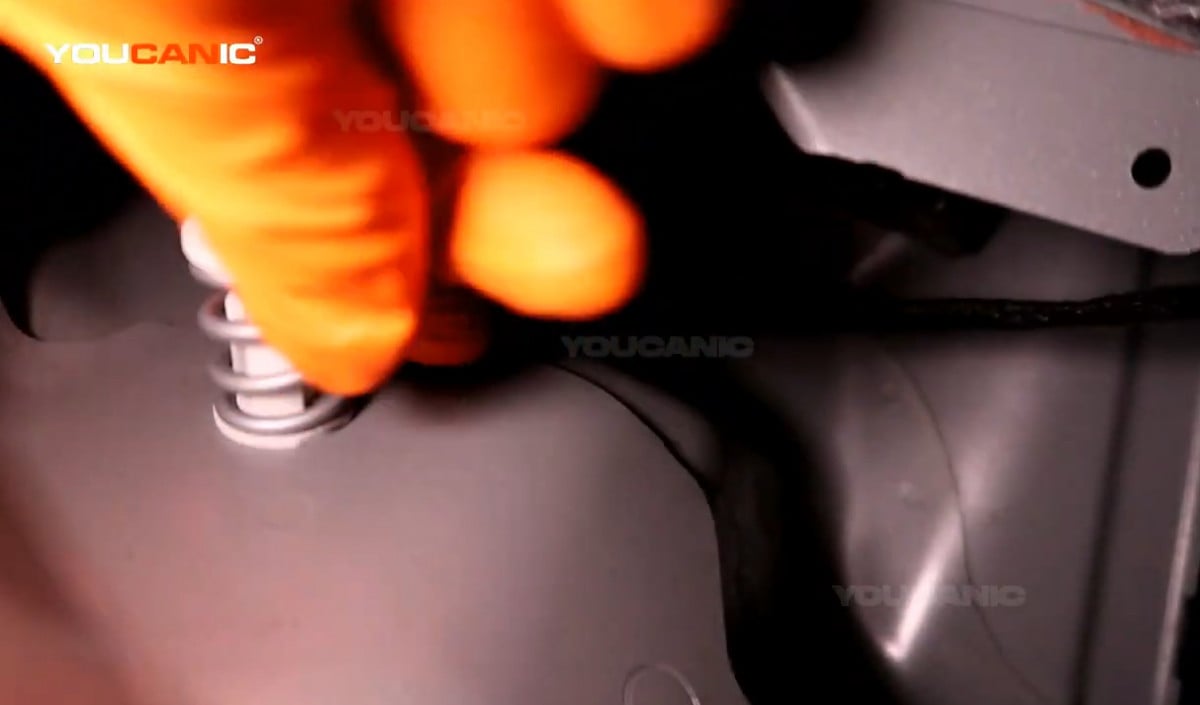
- Remove the wing nut bolt behind the outer tail light assembly by twisting it counterclockwise.

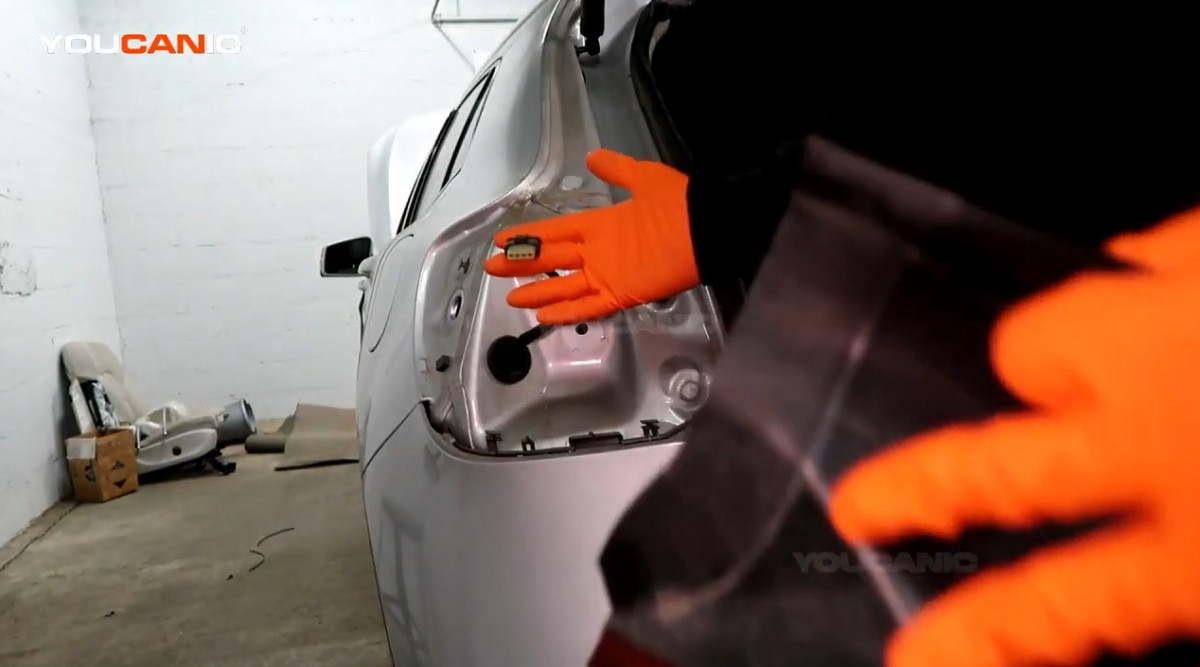
- Push the outer tail light out of the vehicle to remove it.
- Disconnect the electrical connector of the tail light assembly by pushing the clip and pulling the connector out.

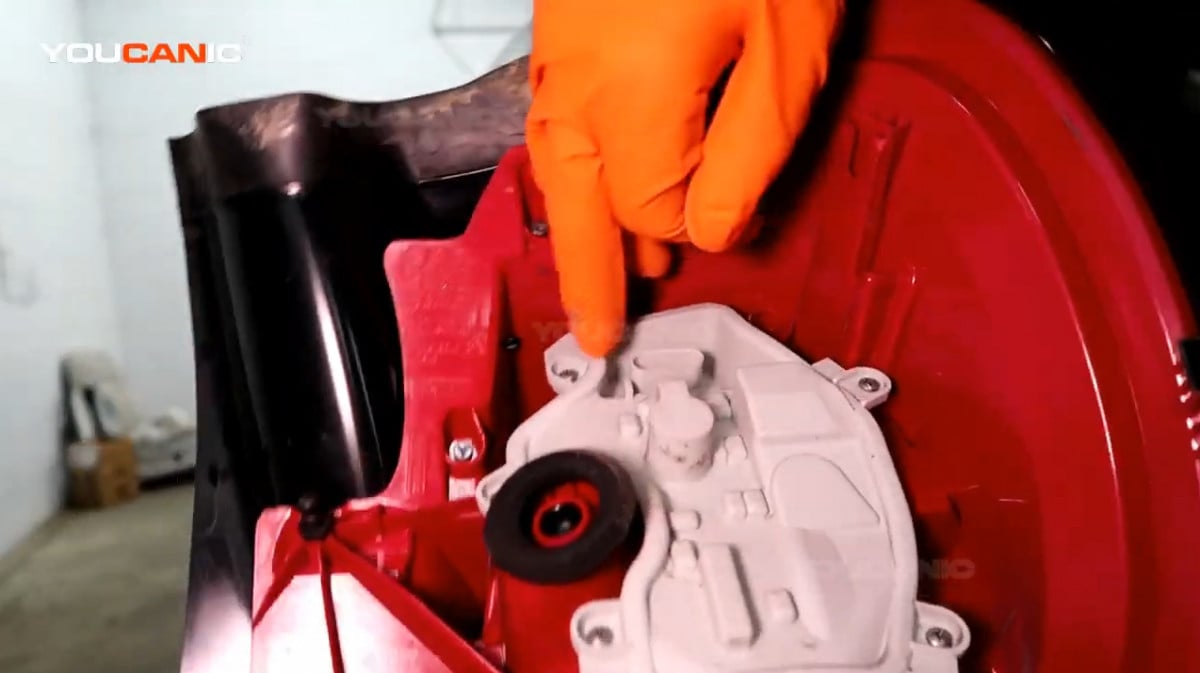
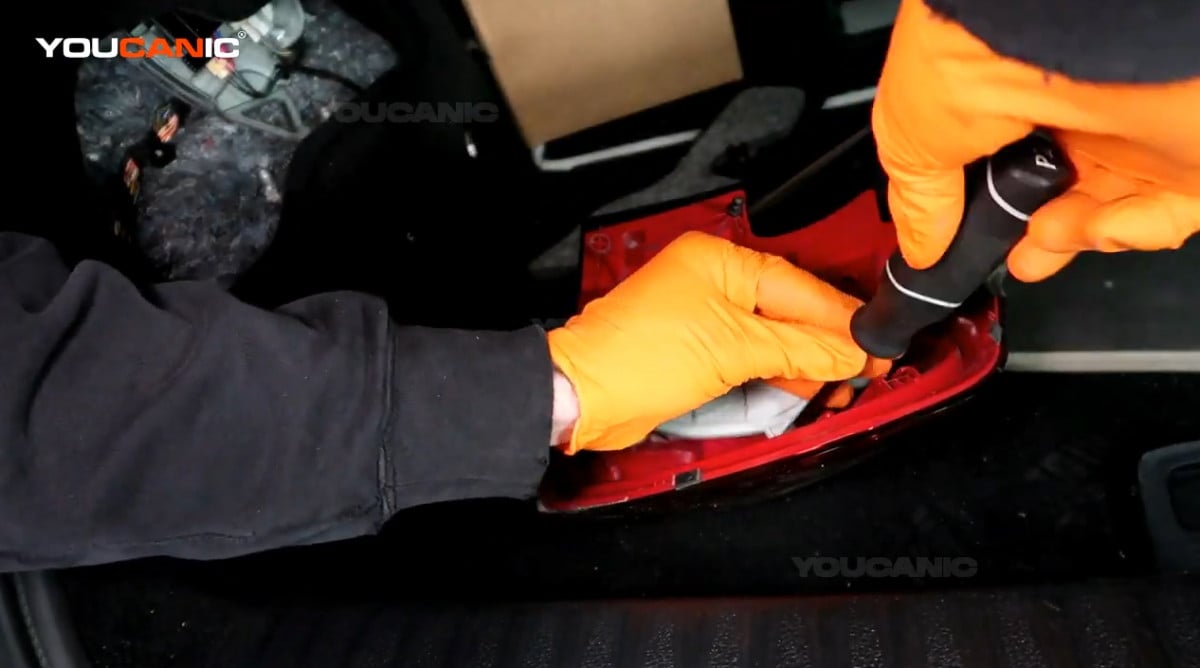
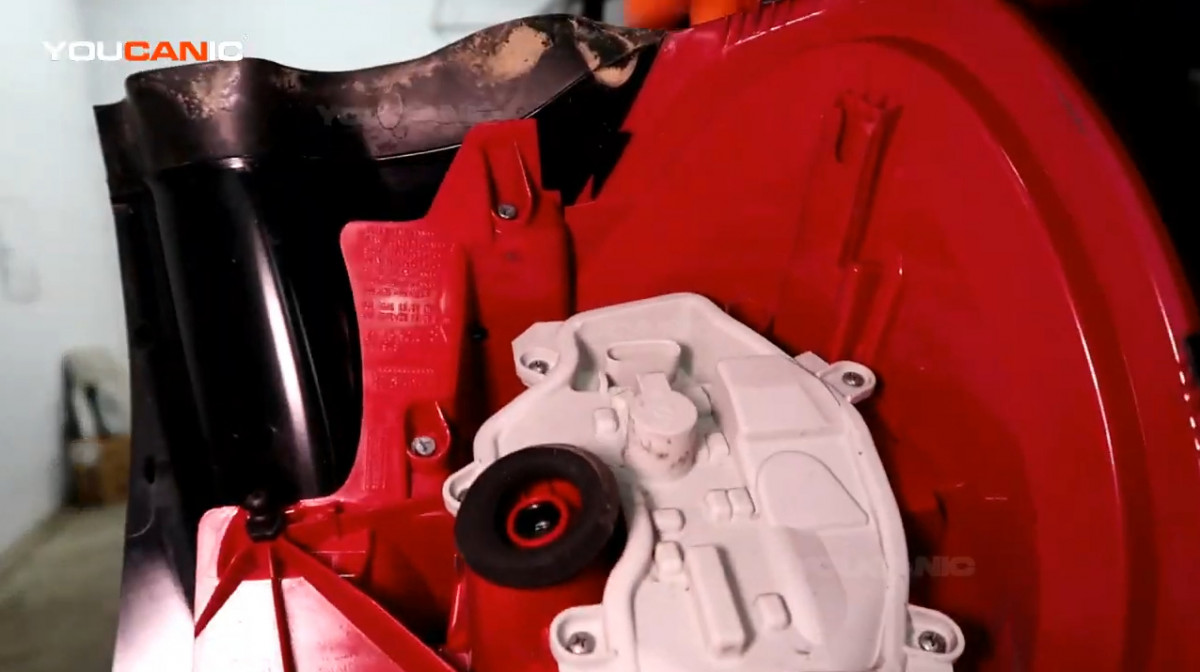
- Remove the screws of the cover behind the tail light assembly. Use a Philips screwdriver to remove the screws.


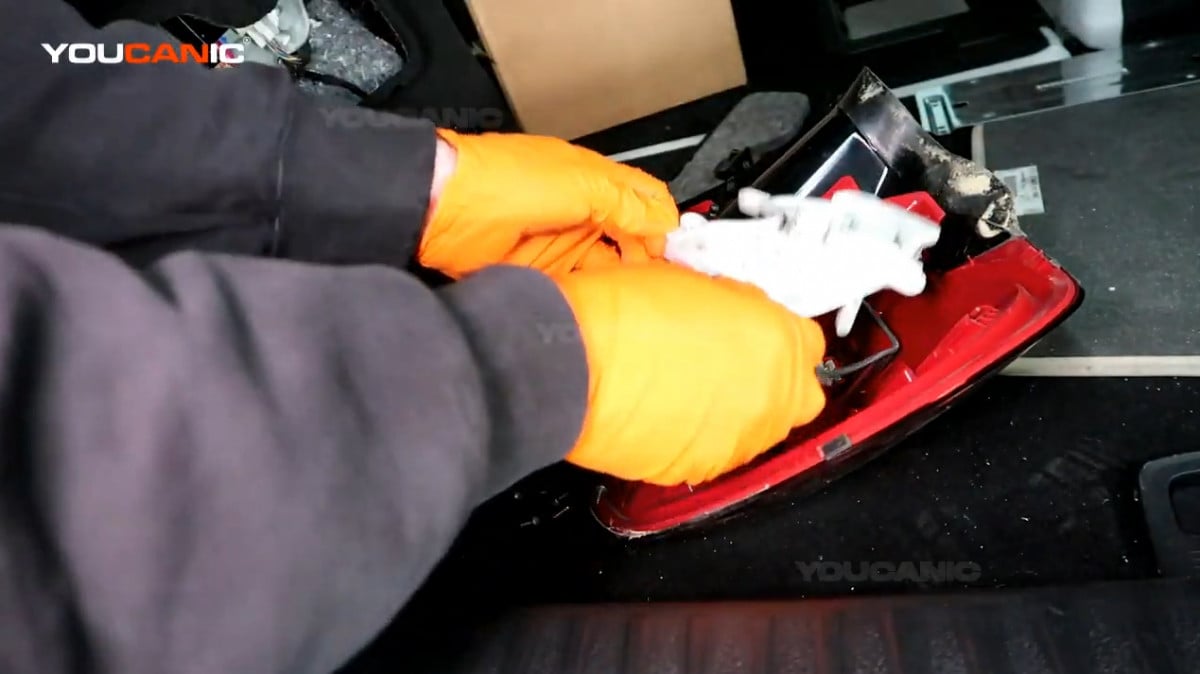
- Pull the cover out.

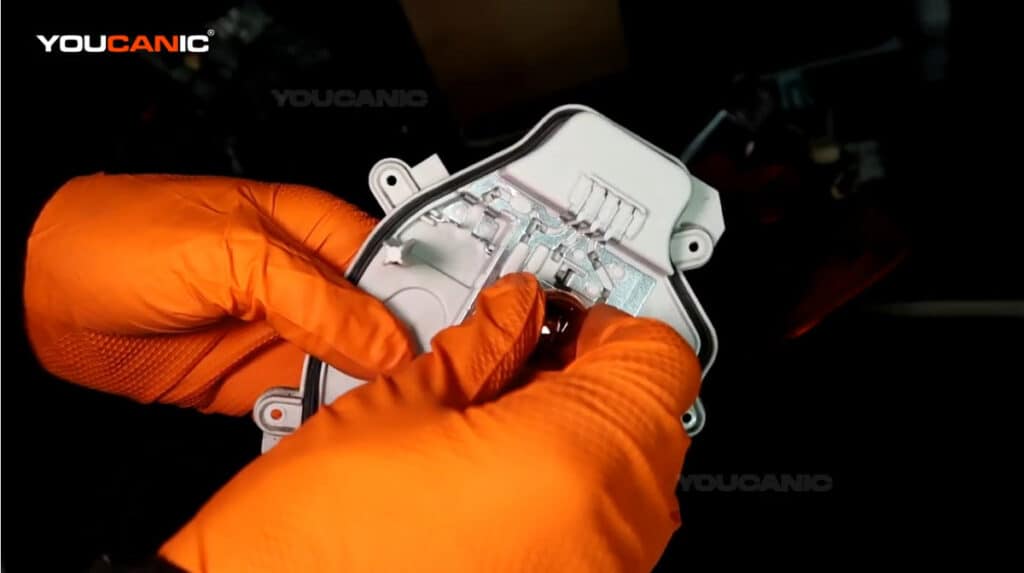
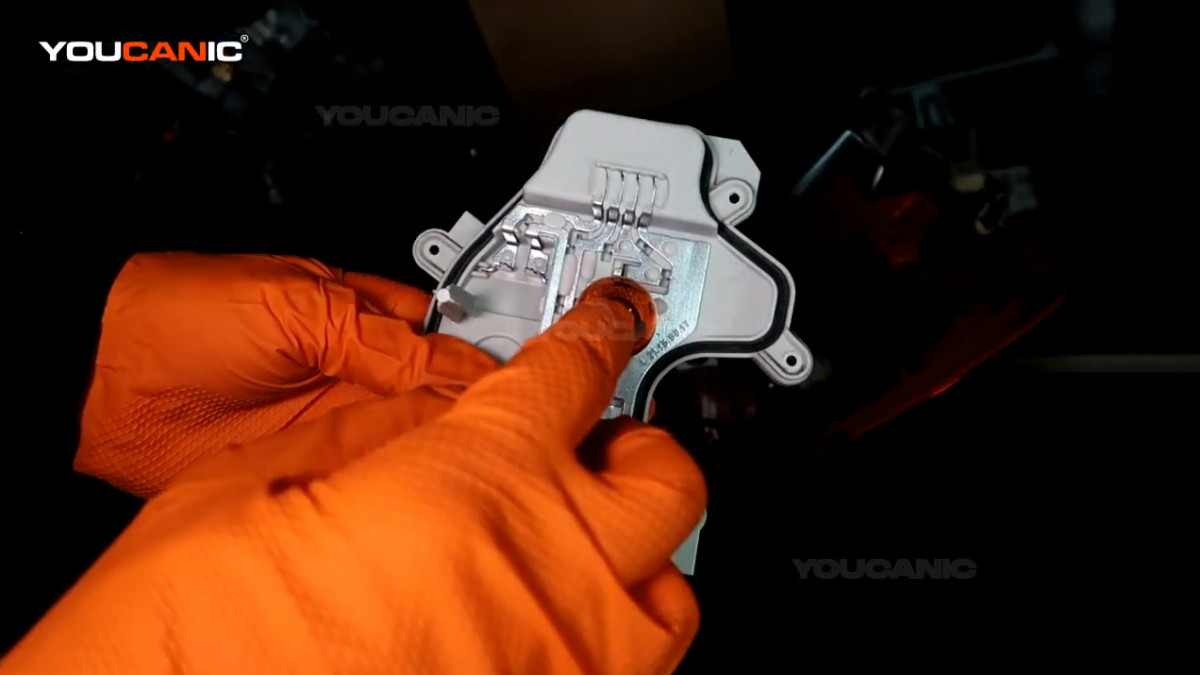
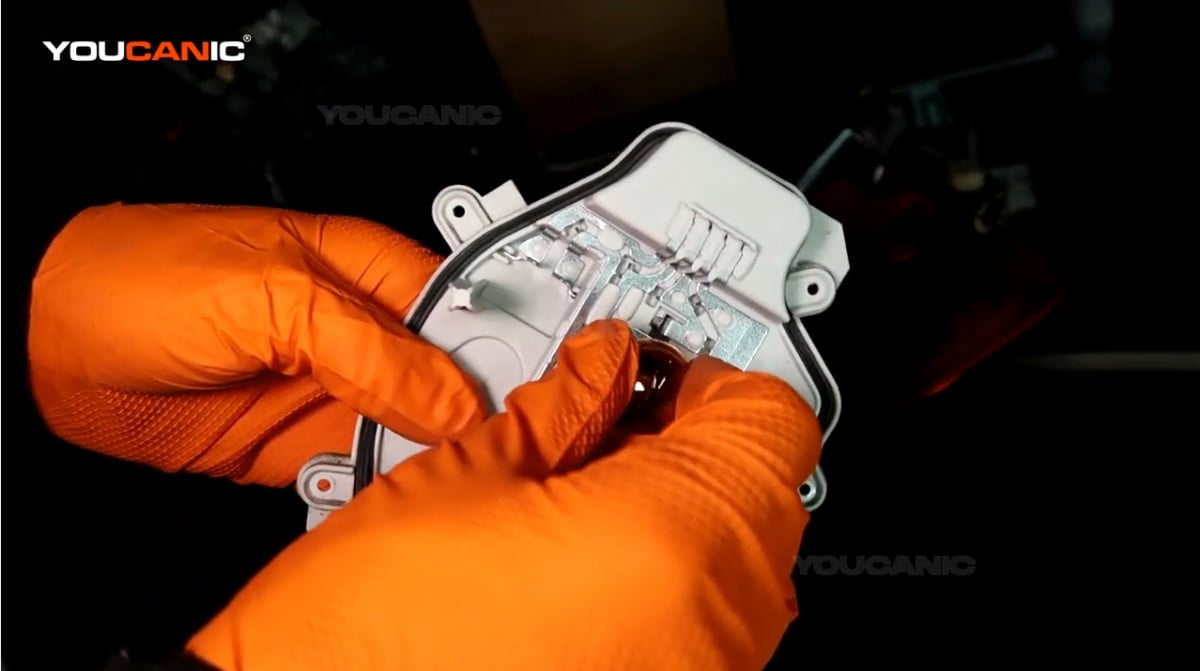
- The turn signal light bulb is on the other side of the cover. To remove it, twist the light bulb counterclockwise.


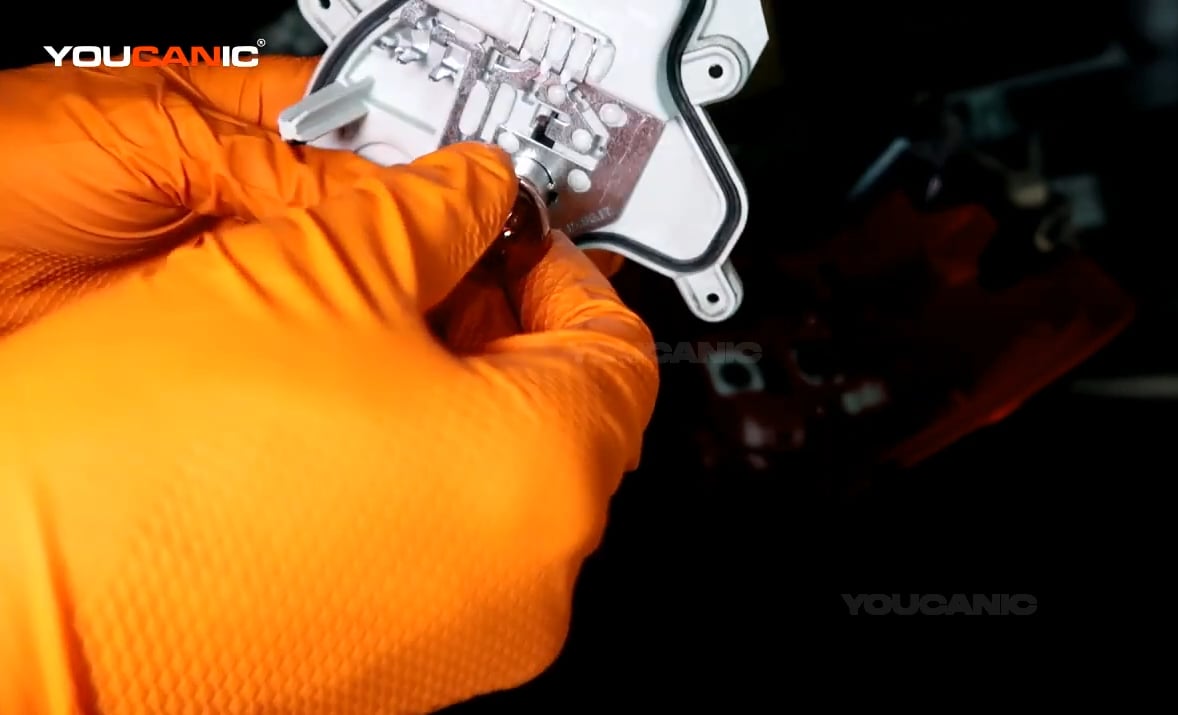
- Get the new light bulb and line it up back to the cover. Then, twist it clockwise to lock it in place.

- Line up the cover back to the tail light assembly and reinstall the screws on the cover.

- Reconnect the electrical connector back to the tail light assembly and push the tail light assembly back to the vehicle.

- Reinstall the wing nut and twist it clockwise to tighten.

- Reinstall the trunk panel and twist the tab clockwise to lock it in place.

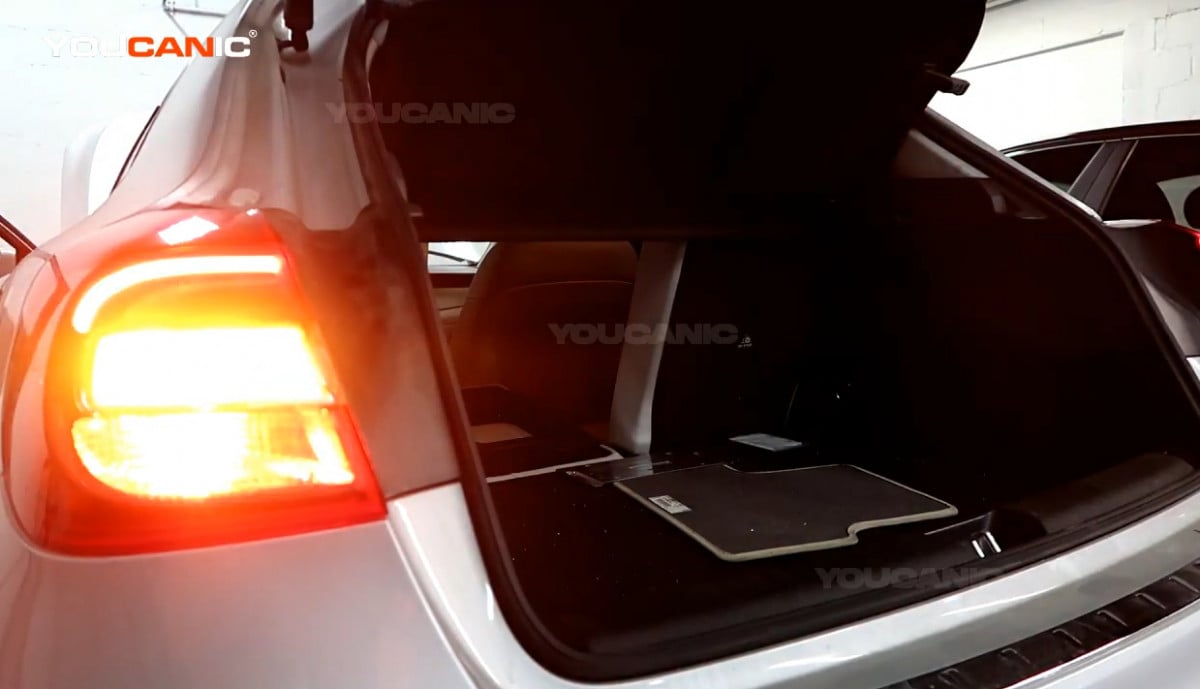
- Check the new light bulb by turning on the turn signal light.

We hope you find the Replace Tail Light Assembly & Signal Light Mercedes-Benz 2014-2019 X156 guide helpful. Check these troubleshooting and repair guides for more help on your Mercedes-Benz.

