Mercedes Engine Mount Replacement R, GL, ML-Class W251 W164 X164
Is your Mercedes-Benz engine frequently vibrating and moving unnecessarily? Learn how to fix the problem by replacing the engine mount of your Mercedes-Benz.
In this guide, you will find instructions on changing engine mounts on 2006-2012 vehicles such as ML350, ML500, GL450, GL320, GL350, GL550, R500, R350, R320, chassis W251, W164, and X164 chassis.
What you will need
- Jack stands jack and ramps
- Mercedes 16mm Engine Mount Wrench
- E Torx Socket Set
The left and right engine mounts are interchangeable.
- ML-Class W164 Engine Mount
- Fits: 2006-2011 ML350, ML320 CDI,
- Part Numbers: 251-240-44-17 / 166-240-06-18 / 1662400618
- GL-Class X164 Engine Mount
- Fits: 2006-2012 GL450 GL550 GL320 CDI
- Part Number: 2512404717
- R-Class W251 Engine Mount
- Fits: 2007-2012 R320 R350 R500
- Part Number: 2512402717
Procedure
DANGER: Risk of injuries caused by the engine or vehicle sliding. The following steps are for information purposes only. Continue at your own risk.
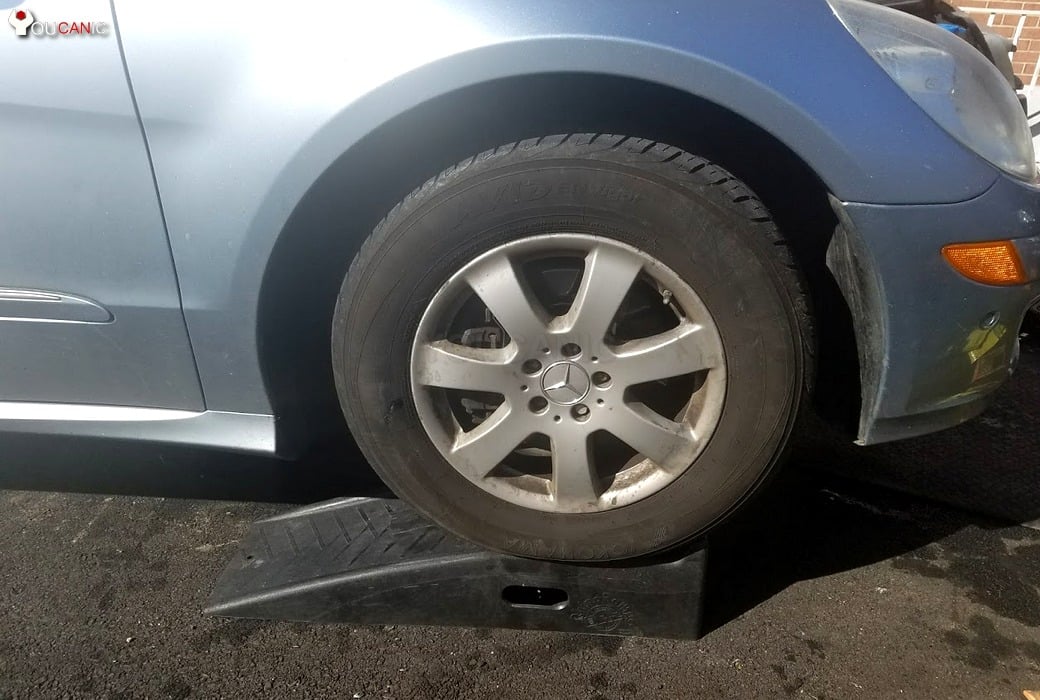
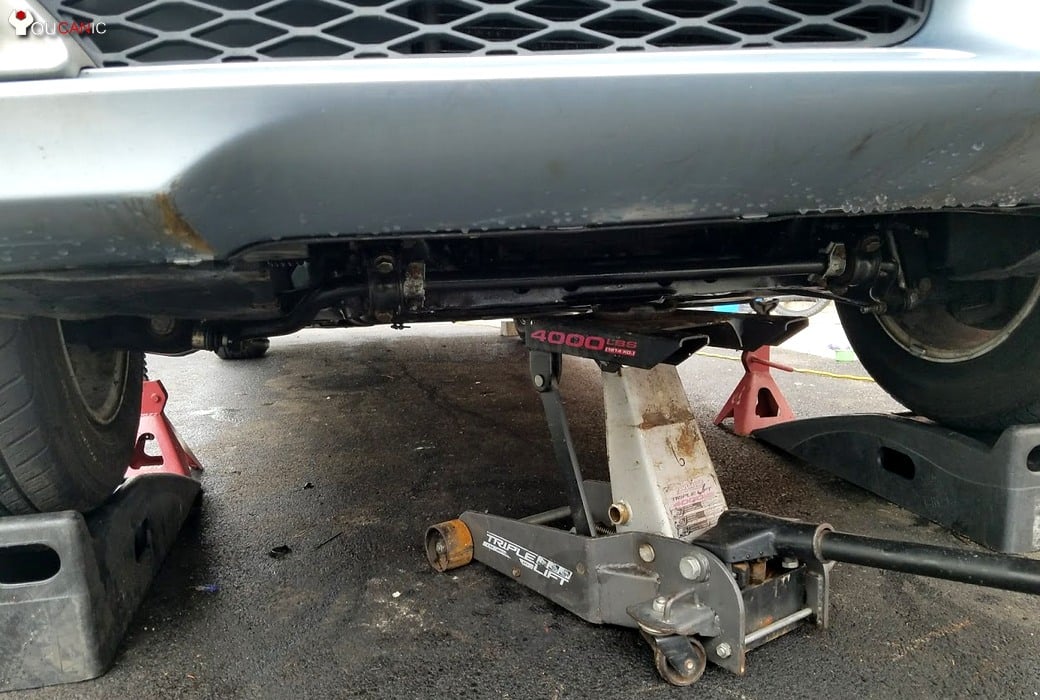
- Drive your Mercedes-Benz up on ramps. Once you get your car up on the ramps, set the parking brake. Place jack stands to support the vehicle.

- It is highly recommended to use a wheel chock to prevent the vehicle from rolling or sliding back.
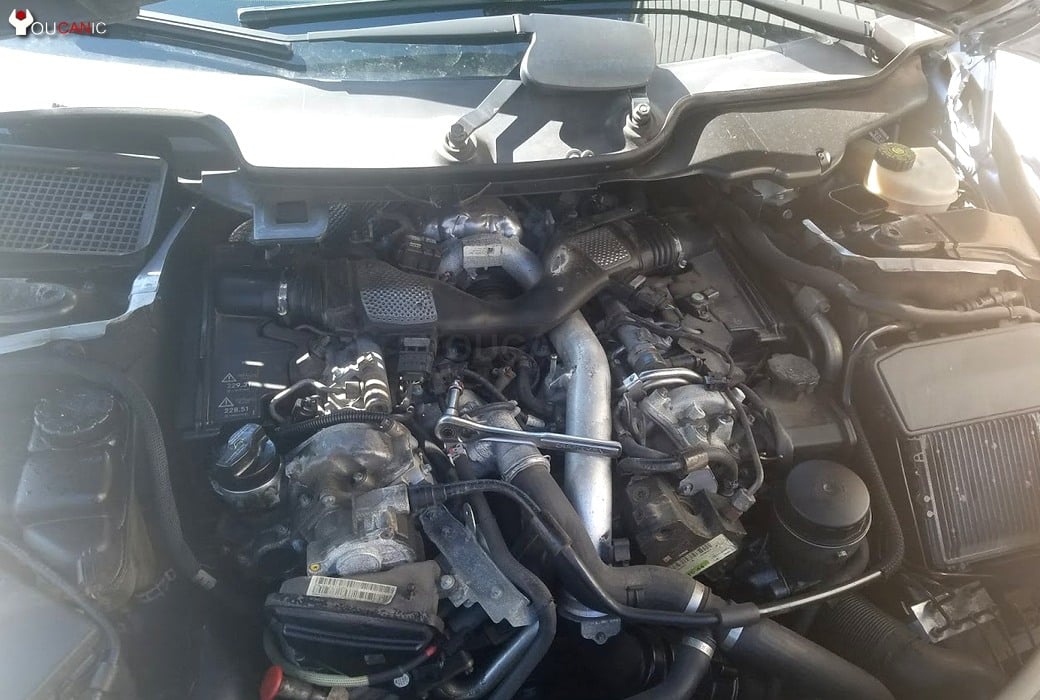
- Open the hood and remove the metal plate on top of the engine. On the Mercedes-Benz R Class, you must remove two 16mm bolts at each strut tower. There is also a Torx 10 bolt at the center. Next, remove the engine cover.

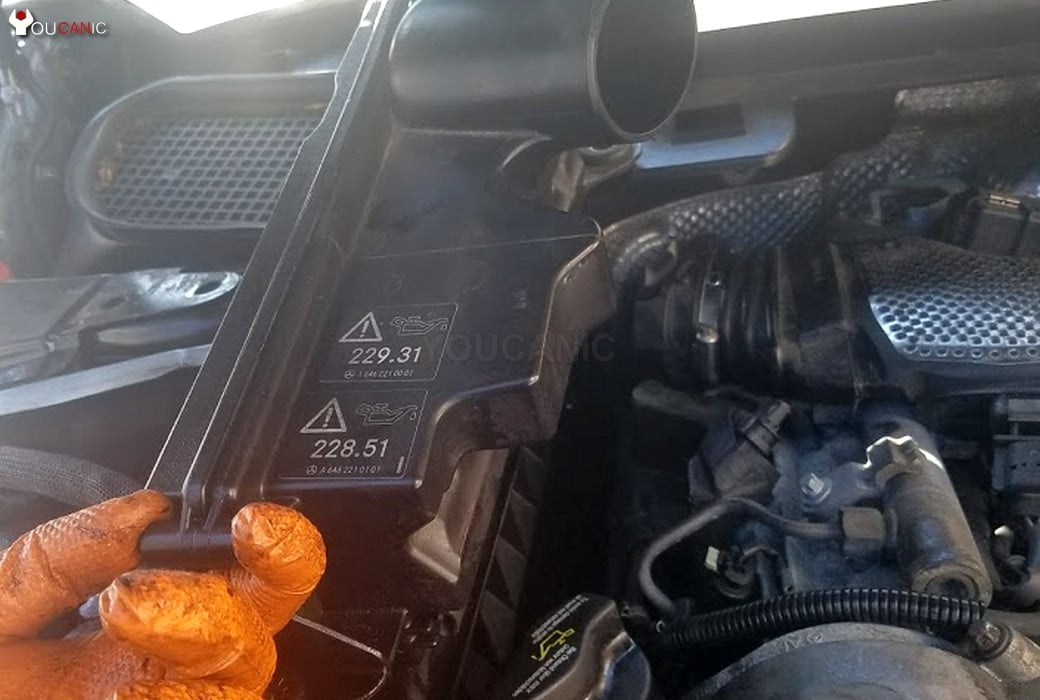
- Remove the engine air filter box and air duct to the filter box. You will need to remove two Torx 10 bolts for each filter housing. Removing both air filter boxes is necessary to allow you to access the engine mount.

- Support the engine using a floor jack. Place a piece of wood between the engine and the jack to prevent damage to the oil pan.

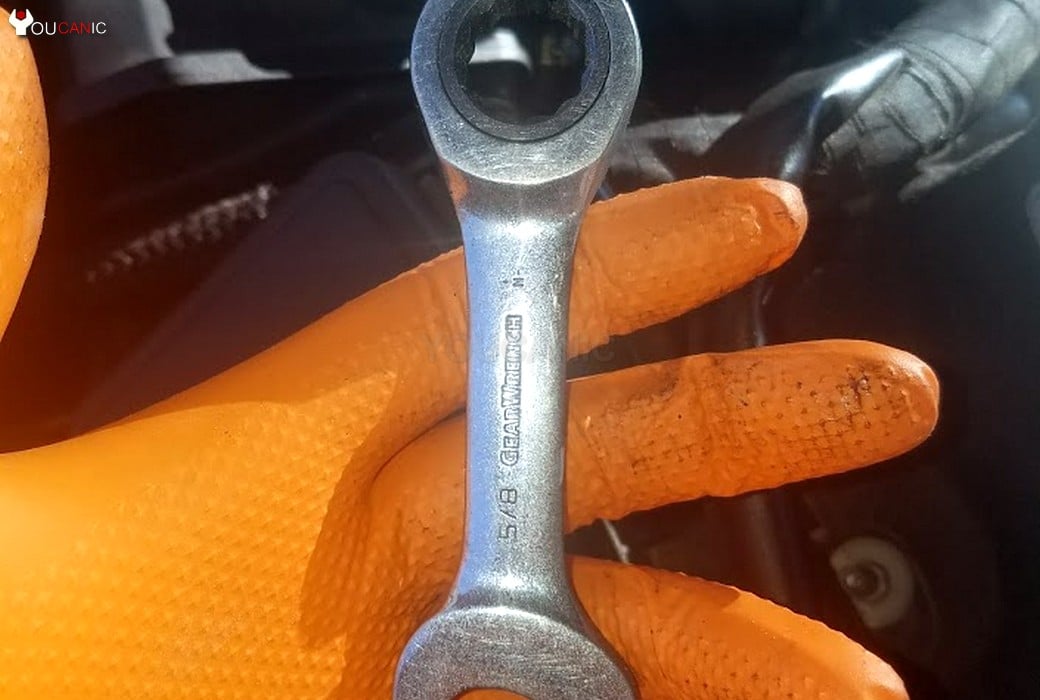
- Remove the 16mm bolts on top of the engine. You must use the Mercedes 16mm Offset Engine Mount tool. If you don’t have this tool, a stubby 16mm ratcheting wrench can be used. It won’t be easy to reach the top bolt because you can’t see the bolt/engine mount’s top.

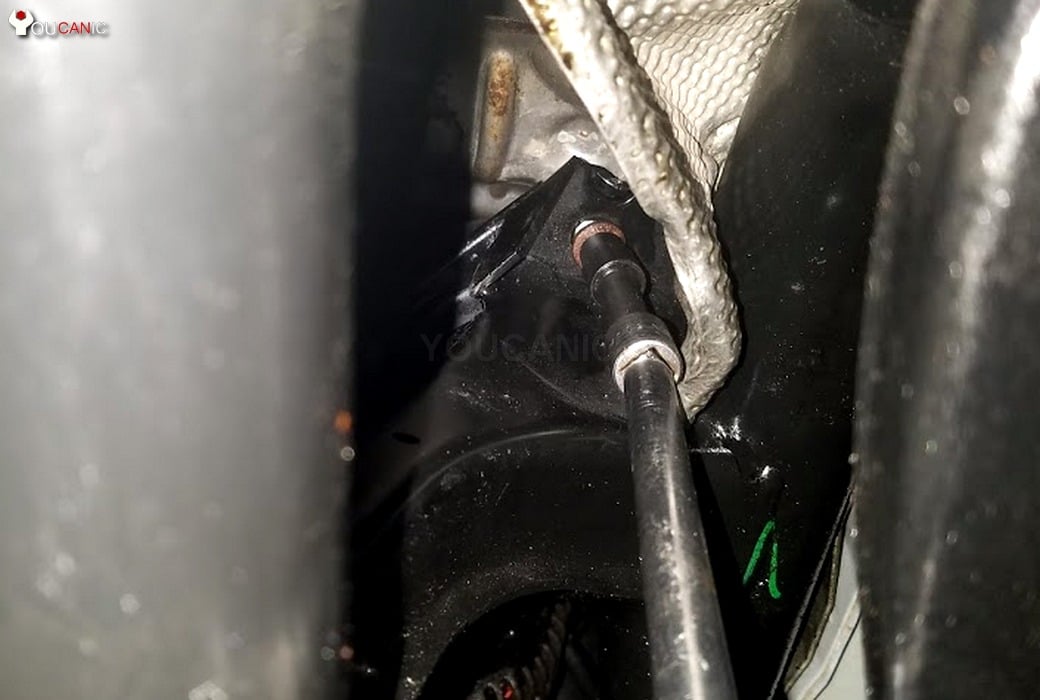
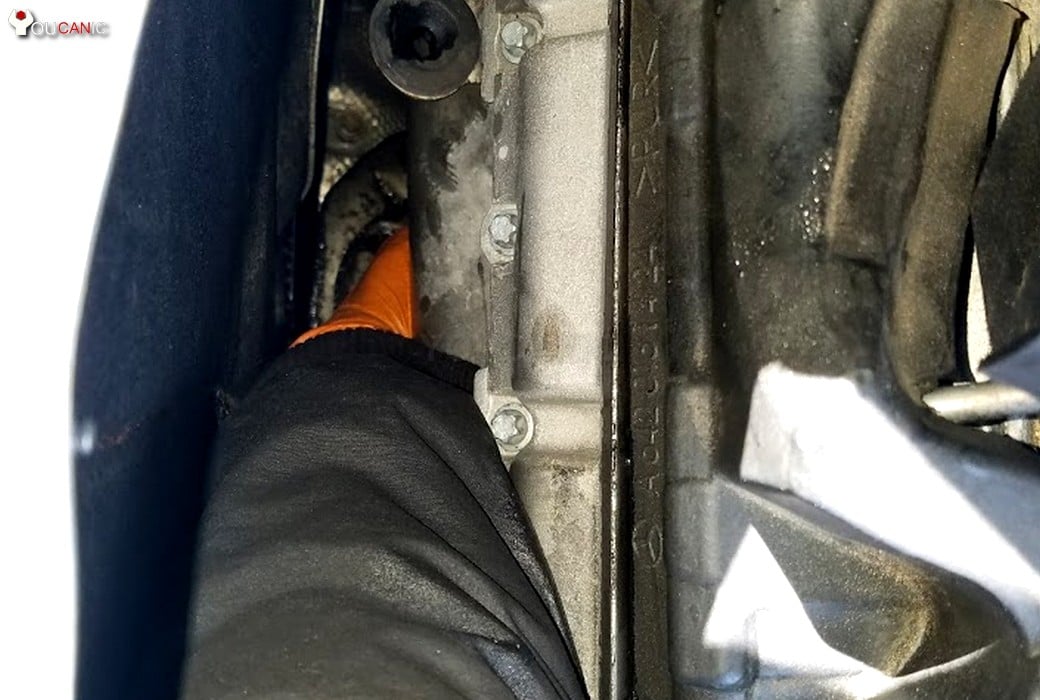
- Remove the splash shield from under the engine. It is held in place with several 8mm screws. Slide under the vehicle and look at the lower part of the engine mount. You will see two E12 Torx bolts. Remove both of them.

- Remove the bottom bolts for the other engine mount.

- Jack up the engine at the oil pan. Only jack up the engine about 1.5 inches. Jacking up the engine too much will put excessive stress on the various parts and hoses and cause them to crack or break. Also, shift the engine to the left or right of the car. For example, if you change the passenger side engine mount, shift the engine towards the driver’s side and lift the engine. This will give you more room to pull the engine mount towards the back. Otherwise, you will not have enough room to slide out the old engine mount and install the new one. You need to be extremely careful when removing and installing the engine mount because the engine car falls if not supported properly.

- Getting the old engine mount out will be difficult. For the passenger side engine mount, we had to rotate it upside down to slide it out because the exhaust pipes do not easily remove the engine mount. The driver’s side engine mount was much easier to remove because there was more open space on the driver’s side.

- Install new engine mounts in the car and lower the engine on the new motor mounts.

- Tighten the bolts on the bottom according to specifications. Tighten the 16 mm bolt on top of the engine mount. Install the engine cover—lower the vehicle. Inspect and drive the vehicle to ensure the engine mounts are installed properly.
Please note that a mechanic may suggest removing the engine to change the engine mounts on these vehicles. That is one method. This guide uses an alternative method where engine removal is unnecessary. Using this method, you don’t need to remove the engine or disconnect the air conditioner compressor to change the engine mounts.
Changing the engine mounts on these cars is not an easy task. Experienced mechanics and DIYers should only perform it. It is recommended to change both engine mounts simultaneously, even if one of them has failed. Mercedes-Benz engine mounts are oil-filled. It can be hard to realize that the engine mount has failed until the mount completely fails and is separated in half.
We hope you find the Mercedes Engine Mount Replacement R, GL, ML-Class W251 W164 X164 guide helpful. Check these troubleshooting and repair guides for more help on your Mercedes-Benz.







On the passenger side of a X164, are you positive that the exhaust pipe or alternator do not have to be removed to have space to remove the engine mount?