MINI: How to Read and Erase Fault Codes from All Systems
In diagnosing issues within Mini vehicles, reading fault codes from all control units is a pivotal technical step. These control units, which include the Engine Control Module (ECM), Transmission Control Module (TCM), Anti-lock Braking System (ABS), and various others, are integral to the vehicle’s operational efficiency. They continuously monitor and manage engine performance, transmission behavior, braking systems, and more. Utilizing specialized diagnostic tools, technicians can extract and interpret these fault codes, providing a comprehensive insight into the vehicle’s health. This crucial practice identifies current problems and helps prevent future issues, ensuring the Mini operates optimally. This technical overview delves into the methodologies and importance of reading these fault codes, which are a cornerstone in the effective troubleshooting and maintenance of Mini vehicles.
To decipher these DTCs, you’ll need an OBD-II scan tool. These handy devices plug into the OBD-II port, typically under the dashboard, and act as a translator between your MINI’s computer and you. Once connected, the scan tool will display the DTCs, often accompanied by their descriptions.
How to Read and Clear Mini Fault Codes
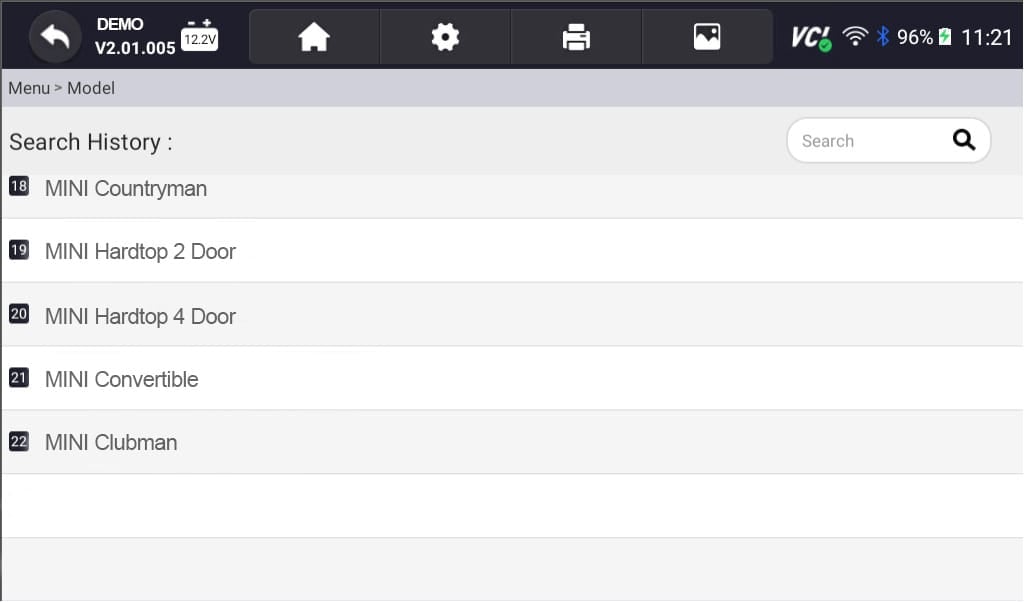
OBD stands for “On-Board Diagnostic”. Most modern vehicles now include an OBD port, which can be utilized by a scanner that communicates to your car. It is plugged in by an OBD-II scanner into the socket designed to help automotive technicians interpret faults and other issues that your Mini may be experiencing or have recorded. All Minis since 1996 have OBD-II. Standard models are Hardtop 2 doors, Hardtop 4 doors, Countryman, Convertible, and Clubman. Here are the steps on how to read DTCs or Fault codes:
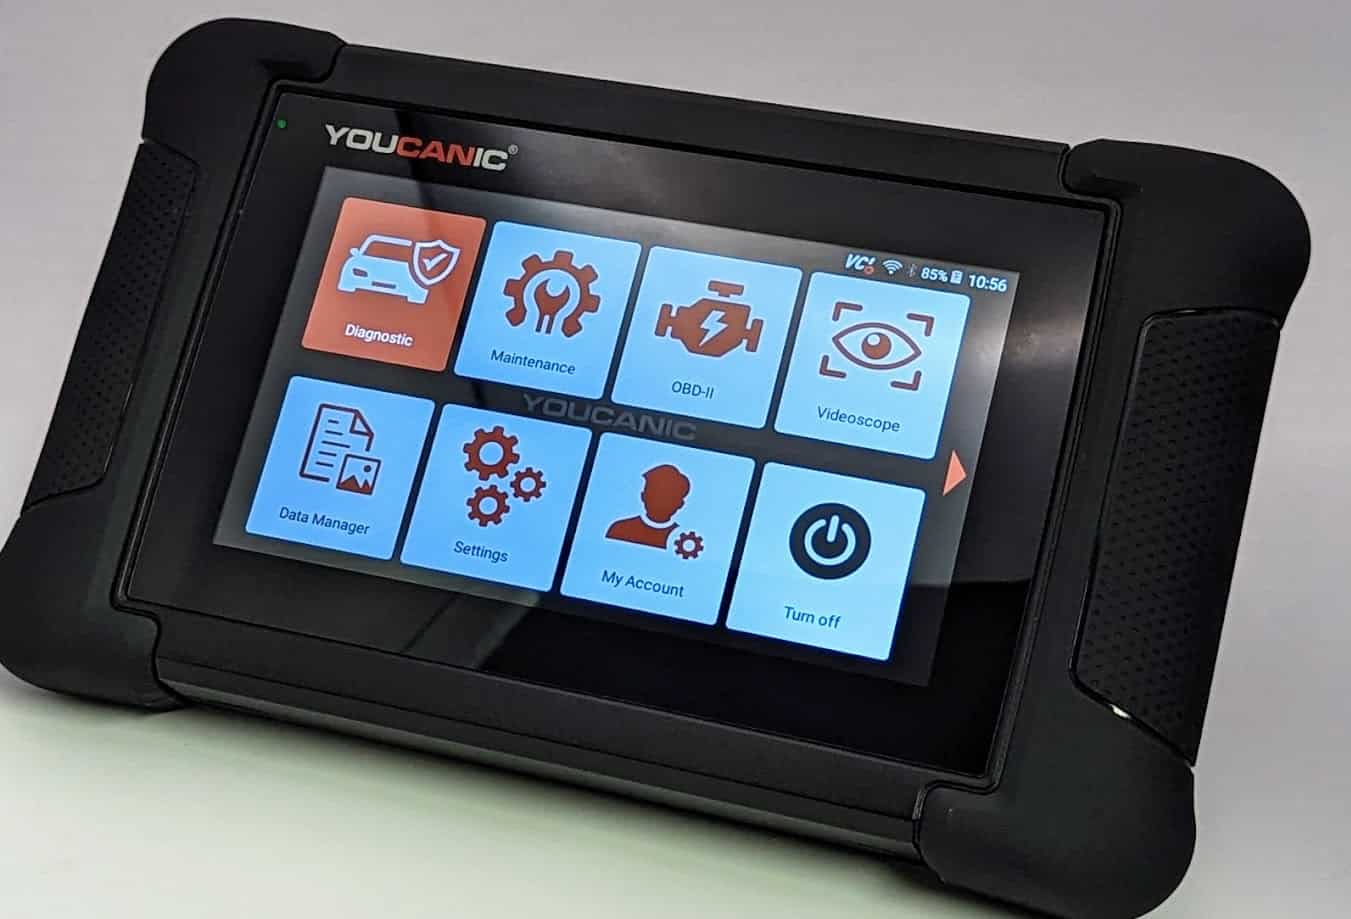
- Gather the necessary tools: Equip yourself with a Professional-Grade OBD-II Scanner compatible with your Mini. Click Here for our Professional-Grade YOUCANIC Scanner

- Access the OBD-II Port: This port is usually found under the dashboard, near the steering column; the OBD-II port is the gateway to your car’s diagnostic information. Turn the ignition key to the “ON” position without starting the engine to make a connection with the vehicle’s computer. If your Mini has a START/STOP feature, press the button without pressing the brake pedal. Do not start the engine. If you are unsure of the OBD-II port of your vehicle, you can always check the Car Owner’s Manual.

- Access the Diagnostic Menu: On the YOUCANIC scanner’s display, navigate to the “Diagnostic” or “Scan” menu. This menu allows you to access various diagnostic functions for your Mini.

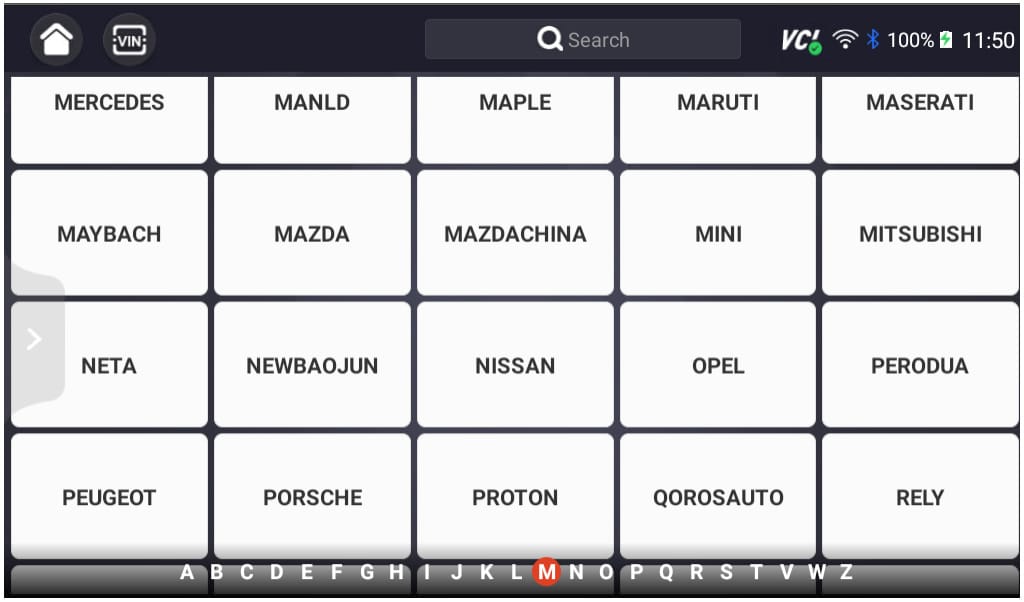
- Select ‘MINI’ as the Vehicle Make: This ensures the scanner effectively communicates with the Mini On-Board Diagnostic system and effectively scans the fault codes.

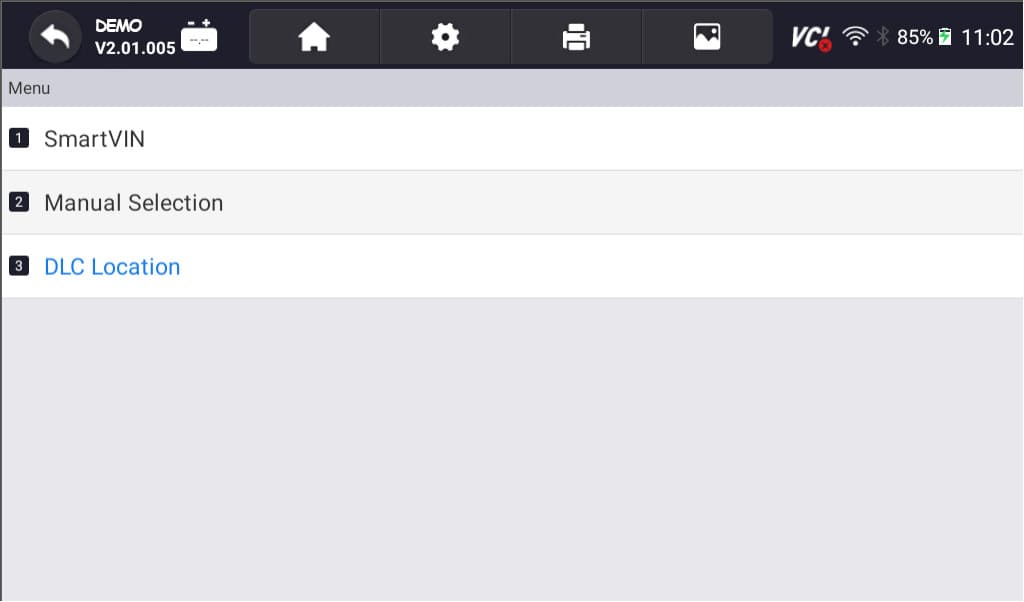
- Select option for model selection: The scanner has various options; you can choose SmartVIN to detect your vehicle automatically. However, you select Selection Manual if SmartVIN does not work as intended.

- Select the Specific Model and Chassis: After selecting the vehicle make, scroll through the available models and select the correct one for your Mini. Choose the corresponding chassis or body type to properly sync the scanner to your vehicle.

- Select Control Units: Once you have selected the model and chassis, the scanner will let you choose between “Quick scan” or “Control Modules.” Control Modules display a list of control units or modules in your vehicle. Examples include the engine control module (ECM), transmission control module (TCM), and ABS control module. Choose the specific module you want to diagnose. Otherwise, you can also choose the “Quick Scan” to check everything.

- Interpret the Codes: Once the YOUCANIC scanner completes the code retrieval process, the displayed codes will provide information about specific issues detected by the control unit. Take note of these codes for further analysis and diagnosis. Each DTC consists of a letter and four numbers. The letter indicates the system affected, while the numbers describe the issue more precisely. Click here to learn more about fault codes.

- Erase Codes: After the problem has been repaired, return to the scanner’s menu and select the option to “Erase Codes” or “Clear Codes.” This action removes the stored fault codes from the control unit’s memory, indicating that the problem has been resolved. Please note that you may or may not erase a code when the issue is not fixed.

NOTE: These pictures are just the demo of our YOUCANIC Scanner. They may or may not be the same, but the procedure is the same.
Regularly scanning is it healthy?
Regularly scanning your Mini for DTCs is akin to giving your vehicle a check-up. It’s recommended to scan your car at least once a year or more frequently if you notice any performance issues or warning lights illuminating, including SRS, ABS, Differential, Transmission, Traction control, etc.
Why You Can’t Clear Mini Codes
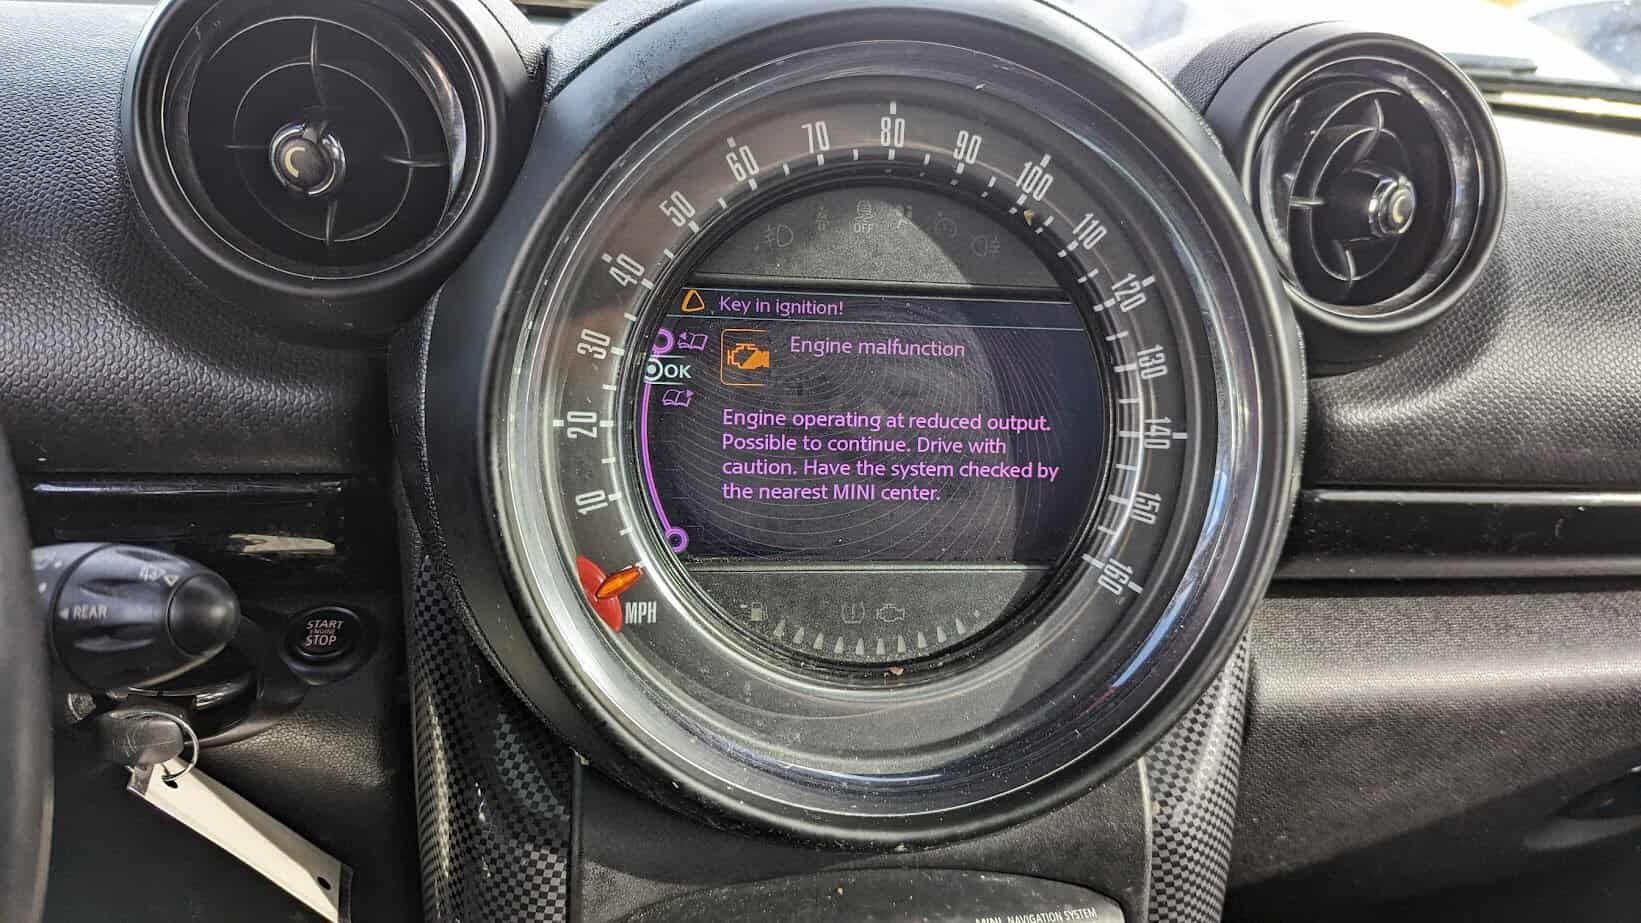
Once you’ve identified the DTCs, you may be tempted to clear them, hoping to continue driving your Mini, and the problem magically disappears. Clearing the codes can temporarily remove the “Check Engine” light, butit doesn’t address the underlying issue. It will always come back. Here are also some lists of why you cannot clear the codes of your Mini:
- Use a Professional-Grade Scanner: Ditch the generic scanner and upgrade to a professional-grade one like the YOUCANIC scanner. Generic scanners are like trying to open a Ferrari with a Ford key – it won’t work! YOUCANIC, on the other hand, is like the master key to your Mini’s diagnostics, unlocking hidden diagnostic powers and letting you clear codes that would otherwise remain stubborn and hidden.
- Underlying Issues: Before clearing fault codes, remember to address the underlying issue that triggered them in the first place. Clearing codes is like patching a leaky pipe without fixing the cracked valve – it’s just a temporary fix. The ‘check engine’ light will surely come back and haunt you.
- Continuous Fault Monitoring: Like the SRS system, certain fault codes may be cleared by disconnecting the battery (like a reset). However, they will reappear even after clearing until the root cause is resolved. This is a persistent reminder to fix the problem, not just mask it.
- Proper Clearing Procedure: Following the correct steps outlined in your diagnostic scanner’s user manual is essential to clear fault codes effectively. If unsure about the clearing procedure, consult a professional for guidance specific to your scanner and Mini model.
History, Current, and Stored DTCs
- History: These codes indicate past issues that have resolved themselves or are no longer causing the “Check Engine” light to illuminate. They typically do not require immediate attention.
- Current Codes: These codes represent current or active problems that require immediate diagnosis. They indicate a present issue or malfunction in a specific system or component of the vehicle that needs to be addressed. They will remain displayed until the underlying issue is resolved.
- Stored Codes: These codes are inactive but remain stored in the computer’s memory, recording previous issues. These can provide additional information about past issues as a historical reference for previous faults. While they may not be active, they can offer insights into the vehicle’s history and aid in the diagnostic process.
Please click here to learn more about the history, current, and stored DTCs.
What is the purpose of Live Data and Freeze data?
Live data allows you to monitor real-time sensor readings, providing valuable insights into the car’s operation. On the other hand, Freeze frame data captures a snapshot of vehicle conditions when a fault code is triggered. Analyzing this data provides context and aids in pinpointing the root cause of the issue.
Frequently Asked Questions:
Can I clear DTCs myself?
Yes! While clearing DTCs can temporarily turn off the “Check Engine” light, it doesn’t address the underlying issue. It’s recommended that a qualified mechanic diagnose and repair the problembefore you clear all the codes. You can also ask for professional assistance.
How often should I check for DTCs?
Regularly checking for DTCs can help you identify potential issues early, preventing more serious problems. You can also use it whenever a check engine light illuminates to diagnose or check why your car is acting up.
What are the benefits of using a professional-grade scanner?
Professional-grade scanners provide more detailed information, manufacturer-specific codes, guided diagnostics, and component testing capabilities, making them a valuable tool for accurate diagnosis and repair.
What does Check Engine Light (CEL) mean?
The CEL dashboard indicator illuminates when the engine detects a potential problem. It’s often triggered by DTCs, prompting you to scan your vehicle for more information.
Can I prevent DTCs from occurring?
Regular maintenance, including oil changes, tune-ups, and filter replacements, can help prevent many DTCs. Additionally, driving your MINI responsibly and avoiding harsh conditions can minimize the risk of issues.
Check our article here if you want to know what is the best OBD-II for DIY Enthusiasts: Best OBD2 Scanner For DIY Auto Repair – YOUCANIC
References:
- What Is an OBD2 Scanner and How Does It Work?
What Is an OBD2 Scanner and How Does It Work? | The Drive - DTC Fault Codes
DTC Fault Codes – YOUCANIC - What Does the Check Engine Light Look Like, and What Does It Mean?
What Does the Check Engine Light Look Like, and Really Mean? – Consumer Reports - Current / Stored / Active / Past / History Fault Codes Explained
Current / Stored / Active / Past / History Fault Codes Explained – YOUCANIC

