Mitsubishi Oxygen Sensor Replacement
Is your Mitsubishi engine idling rough, and is the check engine light on due to a faulty oxygen sensor? Learn how to fix the problem by replacing your Mitsubishi Oxygen Sensor. This guide provides instructions on changing a Mitsubishi vehicle’s upstream oxygen sensor (Bank 1 Sensor 1, B1S1).
The pictures in this guide are from a 2019 Mitsubishi Outlander with a 4-cylinder engine. The same engine is used on Mitsubishi Lancer, Eclipse, and other models; therefore, the procedure is the same for all models equipped with the 2.4L four-cylinder engine.
Symptoms
You may notice a bad oxygen sensor often causes the following.
- Check engine light stays on
- A decrease in fuel economy
- Rough idle
- Poor acceleration
- Can not pass the smog test
What you will need
- Mitsubishi Oxygen Sensor
- 7/8 Oxygen Sensor Socket
- Ratchet Wrench
How to Change Mitsubishi Oxygen Sensor
Follow these steps to change the oxygen sensor on a Mitsubishi. The steps below are for bank one sensor 1, the upstream sensor.
- Park the vehicle. Turn off the engine and let it cool down.
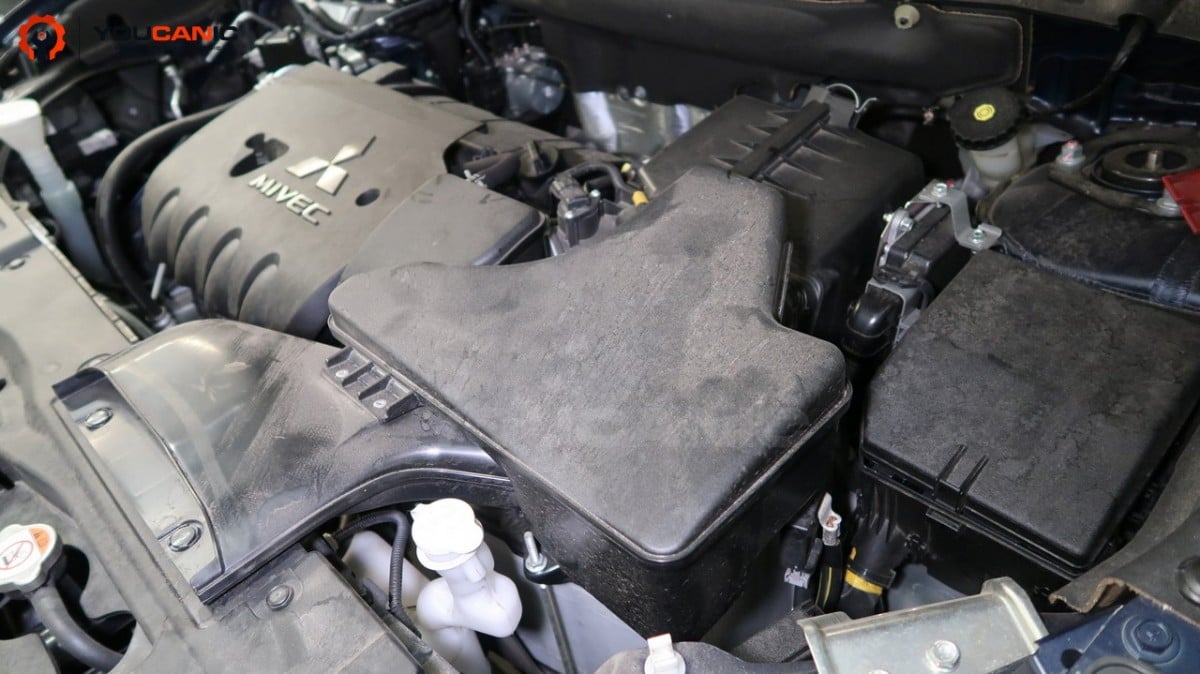
- Pull the hood release and open the hood.

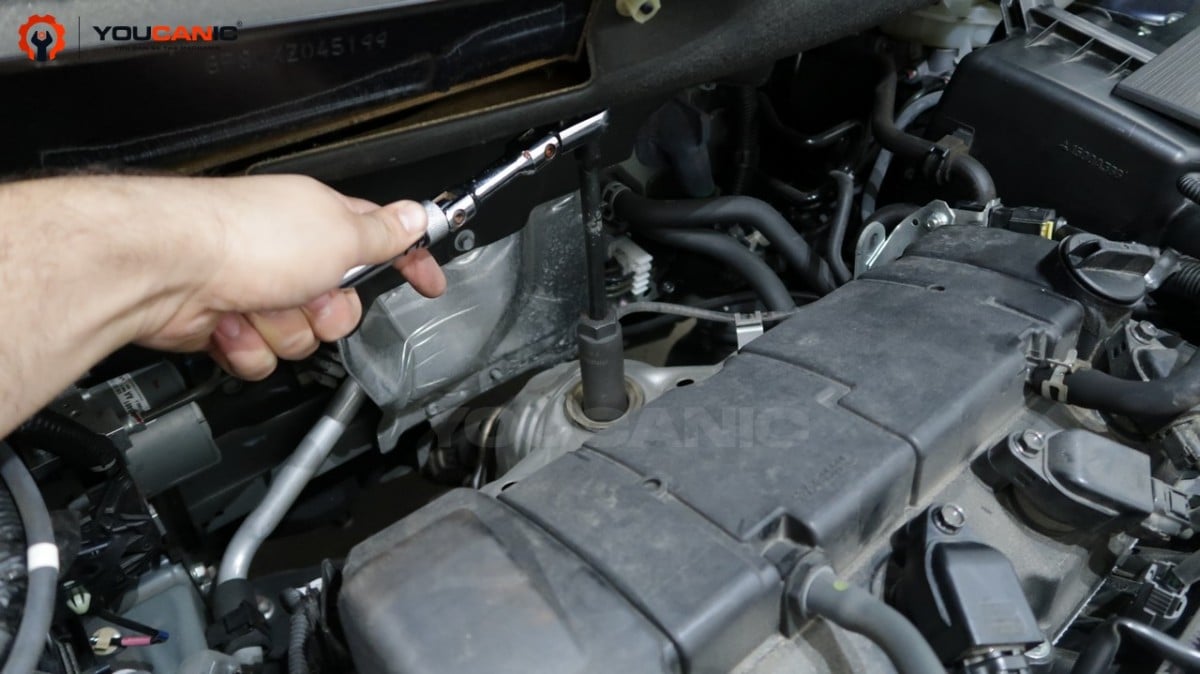
- Use a 7/8 oxygen sensor socket and ratchet wrench to break loose the oxygen sensor.

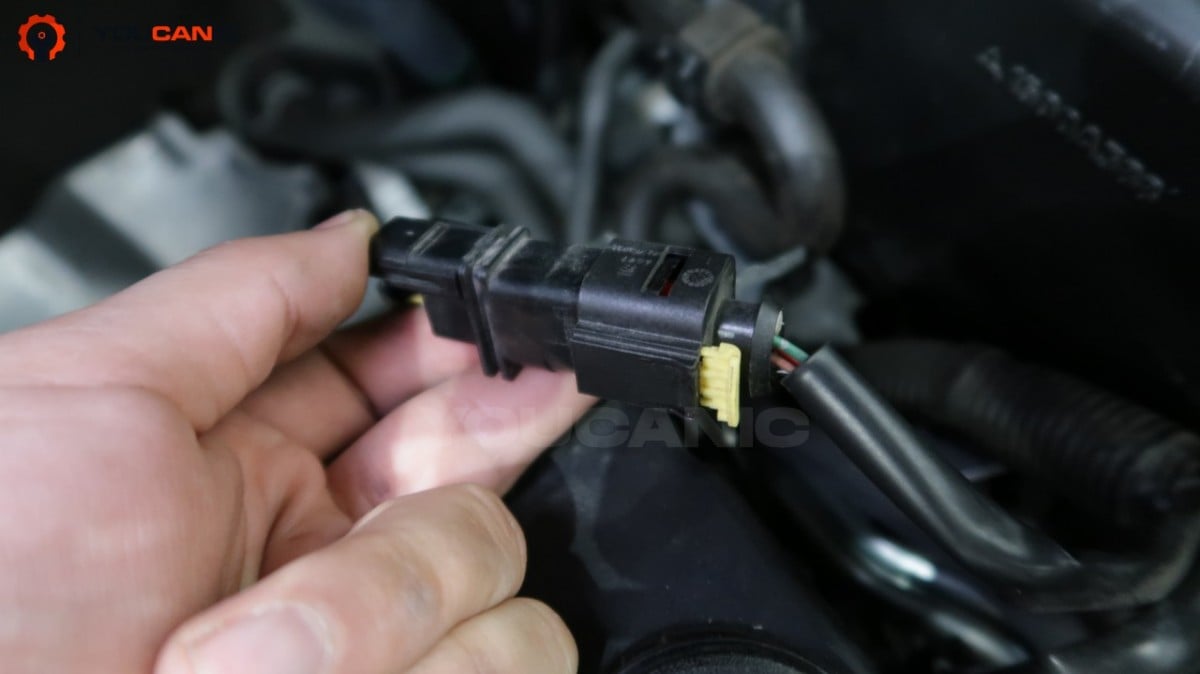
- Unplug the electrical connector.

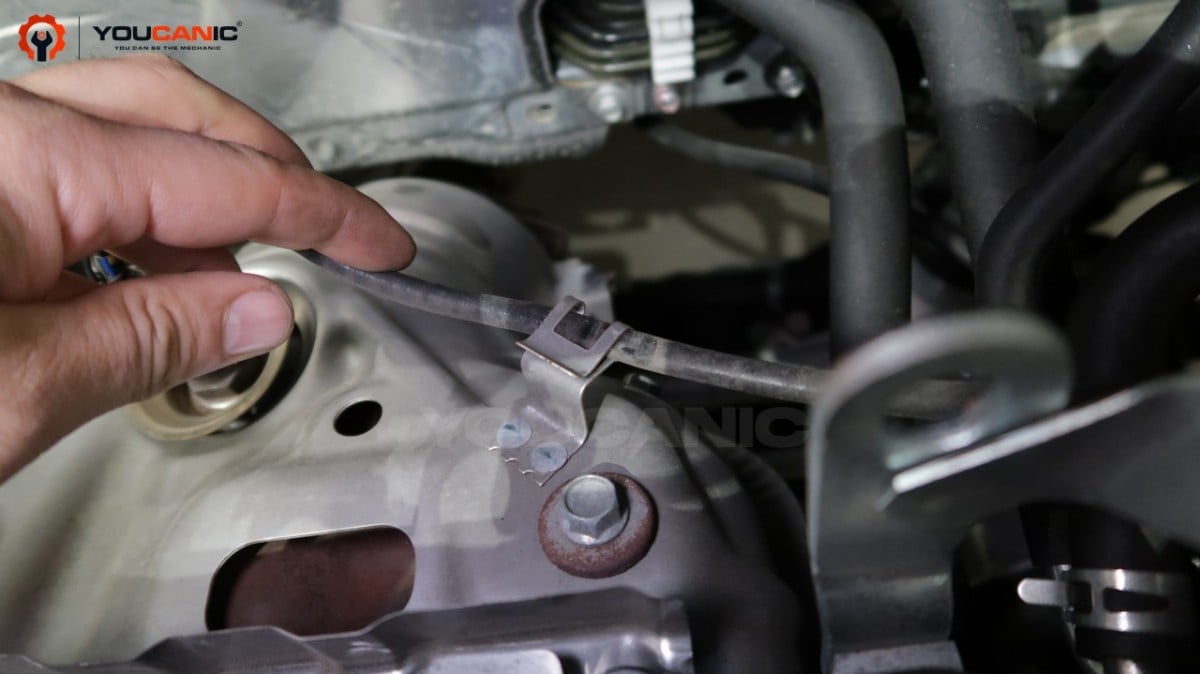
- Remove the oxygen sensor wire from the clips.

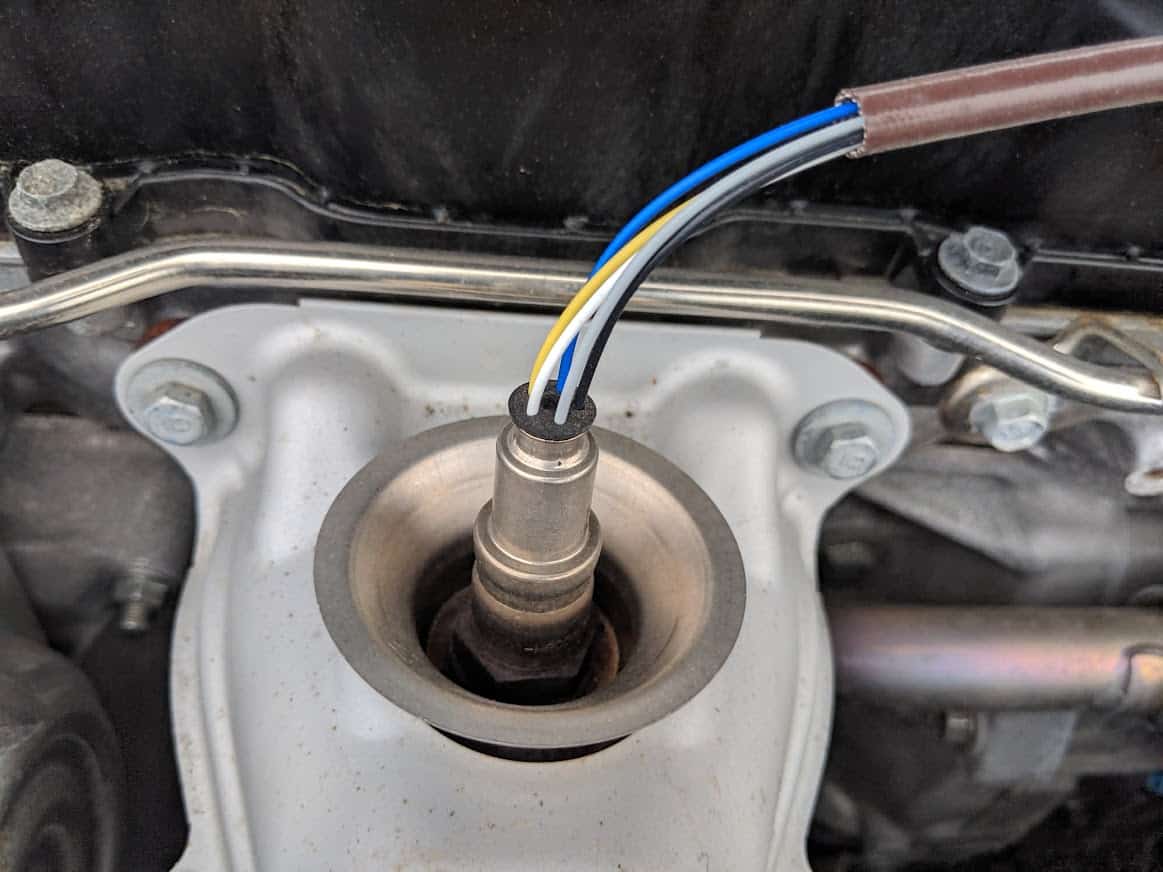
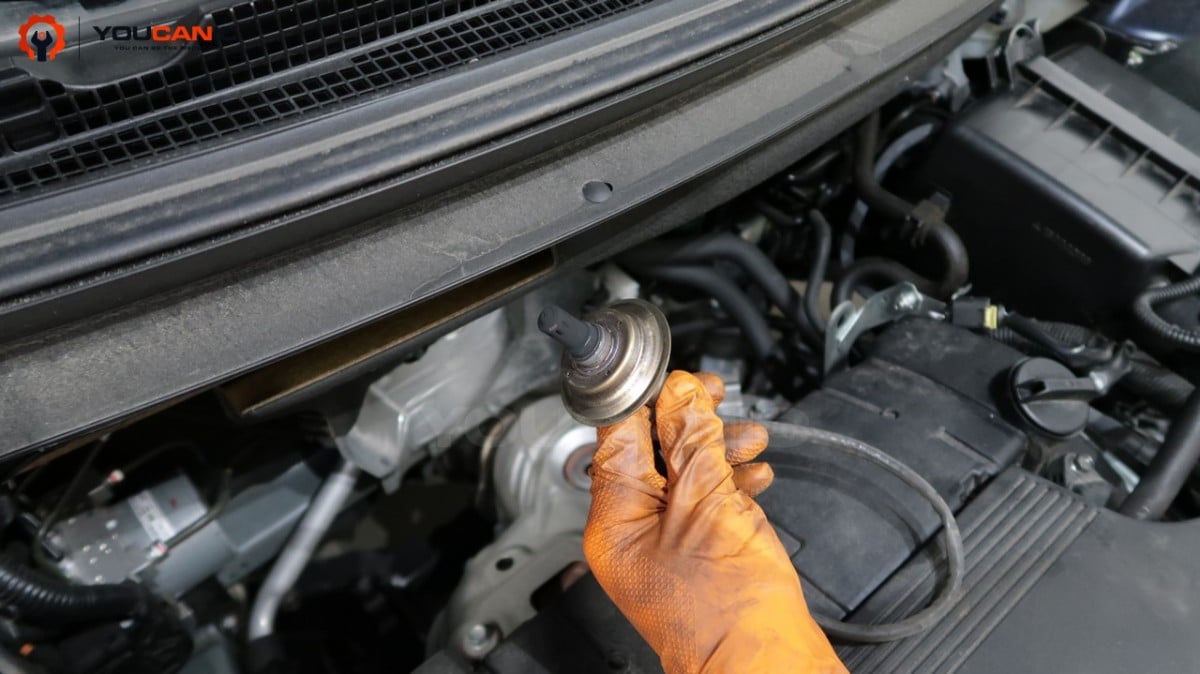
- Use the oxygen sensor socket to completely remove the oxygen sensor.

- Install the new oxygen sensor in reverse order.
- Connect the electrical connector until you hear it click in place.
- Start the engine. The check engine light may take a few days to reset.
If the check engine light does not turn off, follow this guide to learn how to diagnose the Mitsubishi check engine light. A similar procedure can be carried out to change the downstream oxygen sensor (Bank 1 Sensor 2). B1S2 is easier to reach by lifting and reaching the vehicle from underneath.
Related Codes
The following codes are often related to a faulty oxygen sensor. A diagnostic must be performed to verify that the oxygen sensor is faulty. Reading codes with an OBD-II scanner can help you narrow down the problem.
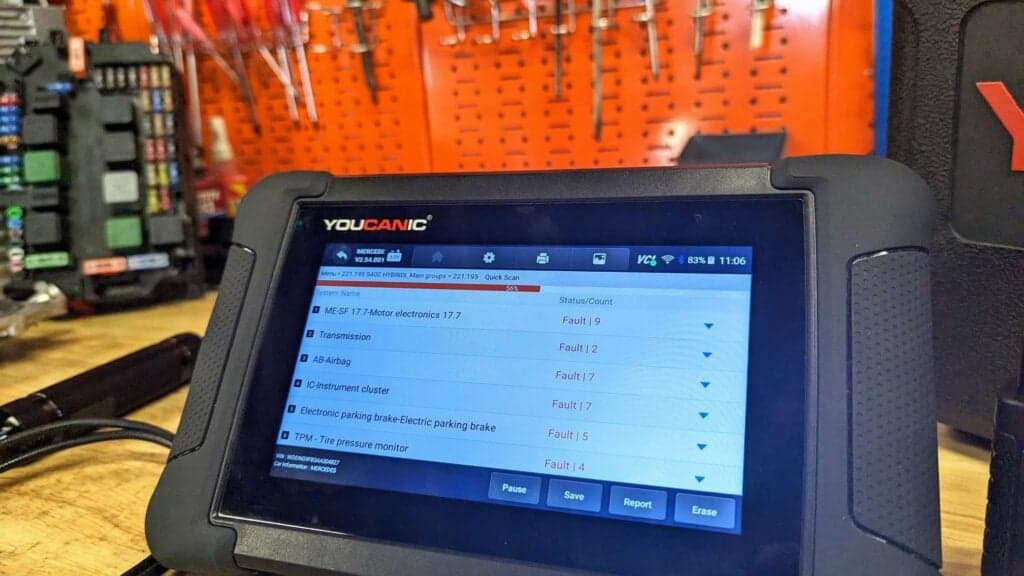
One good example of a multi-system scanner is the YOUCANIC Full Systems Scanner. This scanner can read and clear fault codes from all the systems in your Mitsubishi. It can also perform bi-directional tests, maintenance and repair resets, etc.
| P0150 | O2 Sensor Circuit Malfunction | Bank 2 Sensor 1 |
| P0151 | O2 Sensor Circuit Low Voltage | Bank 2 Sensor 1 |
| P0152 | O2 Sensor Circuit High Voltage | Bank 2 Sensor 1 |
| P0153 | O2 Sensor Circuit Slow Response | Bank 2 Sensor 1 |
| P0154 | O2 Sensor Circuit No Activity Detected | Bank 2 Sensor 1 |
| P0155 | O2 Sensor Heater Circuit Malfunction | Bank 2 Sensor 1 |
| P0156 | O2 Sensor Circuit Sensor Malfunction | Bank 2 Sensor 2 |
| P0157 | O2 Sensor Circuit Low Voltage | Bank 2 Sensor 2 |
| P0158 | O2 Sensor Circuit High Voltage | Bank 2 Sensor 2 |
| P0159 | O2 Sensor Circuit Slow Response | Bank 2 Sensor 2 |
| P0160 | O2 Sensor Circuit No Activity Detected | Bank 2 Sensor 2 |
| P0161 | O2 Sensor Heater Circuit Malfunction | Bank 2 Sensor 2 |
| P0162 | O2 Sensor Circuit Malfunction | Bank 2 Sensor 3 |
| P0163 | O2 Sensor Circuit Low Voltage | Bank 2 Sensor 3 |
| P0164 | O2 Sensor Circuit High Voltage | Bank 2 Sensor 3 |
| P0165 | O2 Sensor Circuit Slow Response | Bank 2 Sensor 3 |
| P0166 | O2 Sensor Circuit No Activity Detected | Bank 2 Sensor 3 |
| P0167 | O2 Sensor Heater Circuit Malfunction | Bank 2 Sensor 3 |
| P0170 | Fuel Trim Malfunction | Bank 1 |
| P0171 | System Too Lean | Bank 1 |
| P0172 | System Too Rich | Bank 1 |
| P0173 | Fuel Trim Malfunction | Bank 2 |
| P0174 | System Too Lean | Bank 2 |
| P0175 | System Too Rich | Bank 2 |
We hope you find the Mitsubishi Oxygen Sensor Replacement guide helpful. Check these troubleshooting and repair guides for more help on your Mitsubishi.

