2010-18 Mazda 5 Front Brake Pad & Rotor Replacement DIY Guide
Learn how to change brake pads and rotors on Mazda 5. These instructions apply to model years 2010 through 2018.
How to Replace Mazda 5 Front Brake Pad & Rotor
What you will need
Parts
- Mazda5 Front Brake Pads
- Mazda5 Front Rotors
Tools
- Mechanic Tools Metric Set
- 3/8 Ratchet
- 10mm – 18mm sockets
- Screwdriver
- Pliers
- Jack
- Jack Stand
- Allen Wrench
Procedure
- Park the Mazda 5 on a level surface. Engage the parking brakes and make sure the shifter is in Park.
- Use the lug nut wrench to loosen the lug nuts on your Mazda. If necessary, use a breaker bar. Do not remove them yet.

- Jack up the car and remove the front tire. Support the vehicle with jack stands. Do not rely on the car jack only.
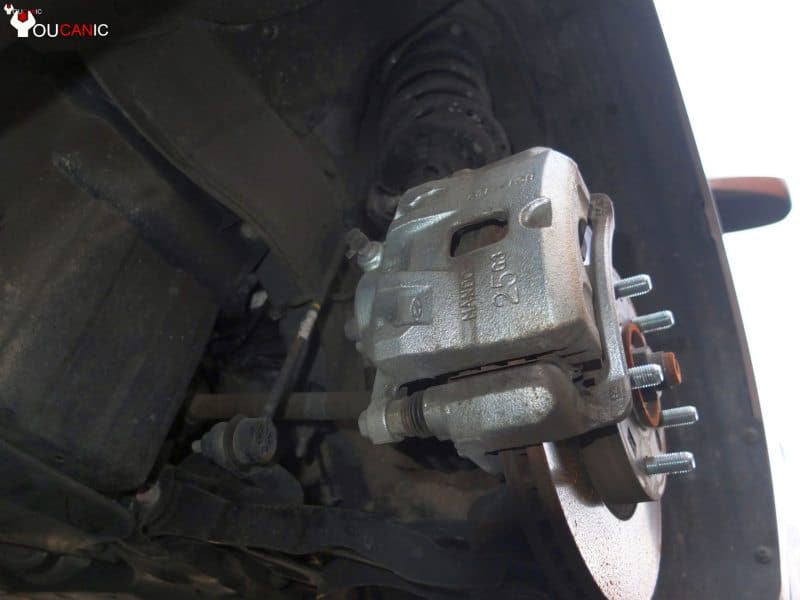
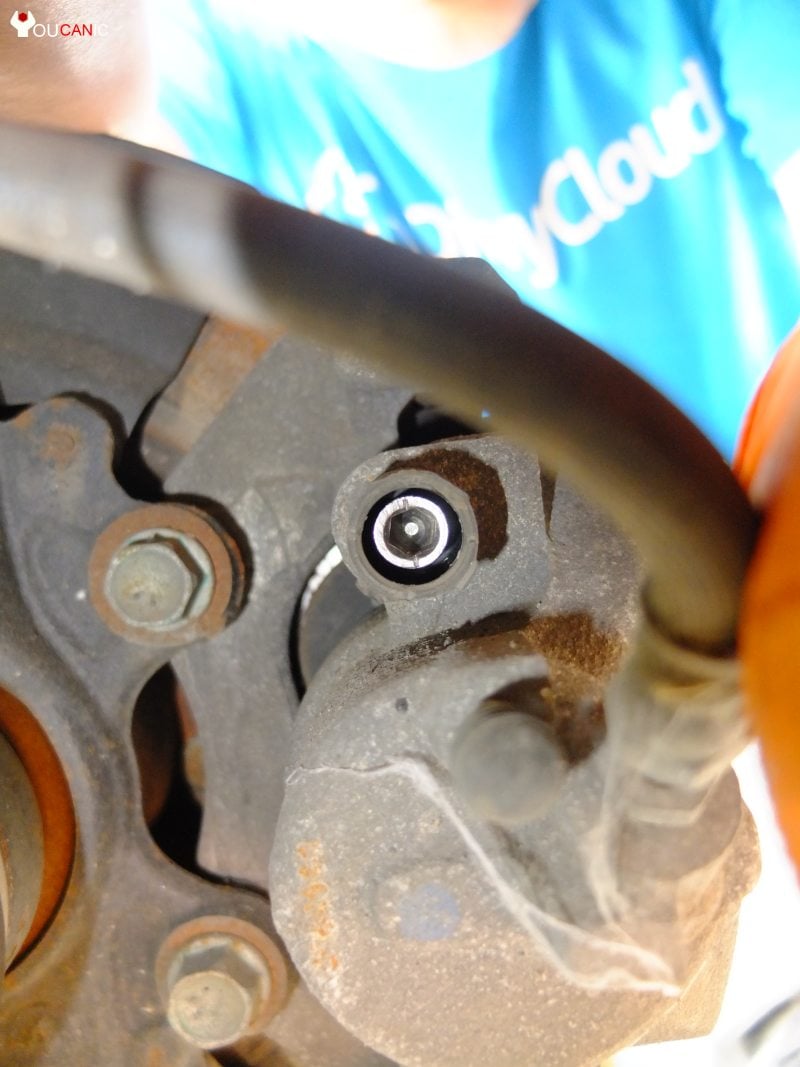
- Next, you will need to remove the caliper bolts. First, you will need to remove the black plastic cap. Use a flat screwdriver to remove the caps. Inside, you will see two Allen head bolts.

- Remove the caliper retainer by prying it out using a screwdriver.
- Push the piston back into the caliper. Pistons must be pushed back into the caliper to accommodate the new rotor and brake pad.
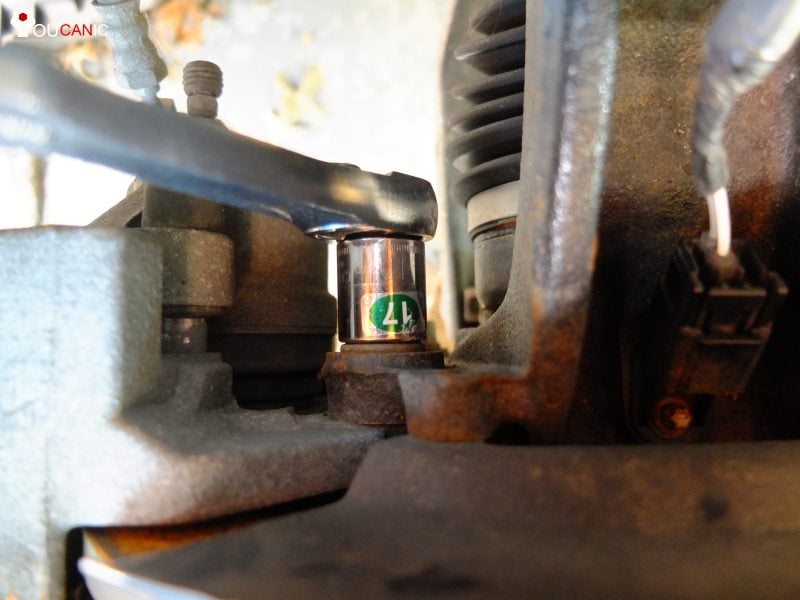
- Remove the caliper 17mm bracket bolts. A breaker bar will help to get these two bolts loose.

- Once the two bolts are removed, the caliper bracket can also be removed.
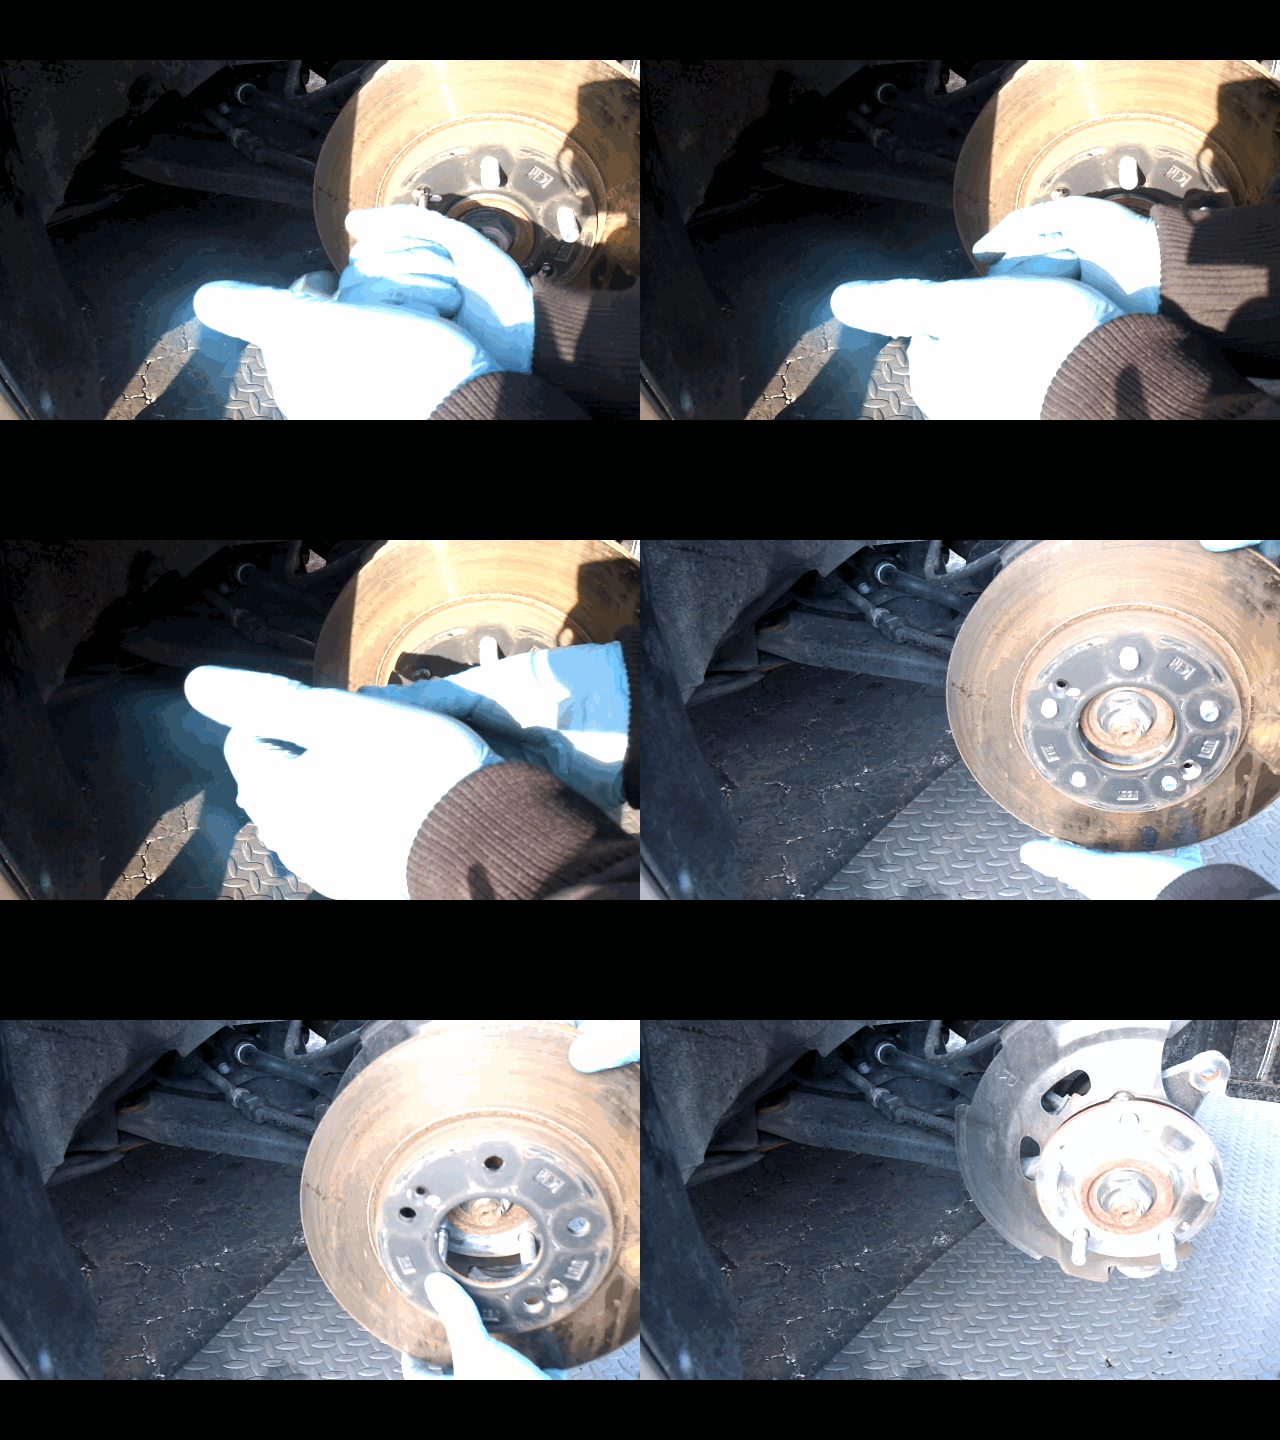
- Remove the set screws from the rotor.

- Remove the rotor from the wheel hub.
- Clean any dirt or rust from the wheel hub, then install a new rotor.

- Reinstall the caliper bracket and torque the 17mm bolts to 80 ft/lb.

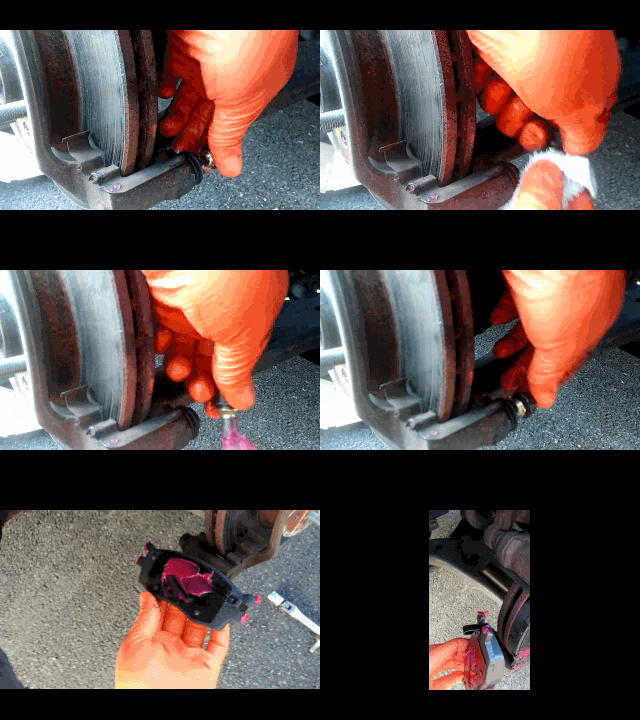
- Apply grease to the back of brake pads, guide pins, and shims

- Reinstall new brake pads. Reinstall the brake caliper bolts and torque to 25 ft/lb.
Make sure that all the bolts are tightened and installed correctly. Any loose bolt can result in brake failure and may lead to accidents.
We hope you find the 2010-18 Mazda 5 Front Brake Pad & Rotor Replacement DIY Guide helpful. Check these troubleshooting and repair guides for more help on your Mazda.







What size allen wrench is needed to remove caliper bolts?