How to Remove Front Car Seat
Removing a car’s front seat is straightforward, whether you need to replace the seat cushion, occupancy sensor, or the entire seat.
In this guide, you will learn how to remove and replace the front seat of a car. To remove the front set, you will need a Mechanic Tools Set.
- If you have power seats, don’t disconnect the car battery yet. Move the front seat all the way forward.
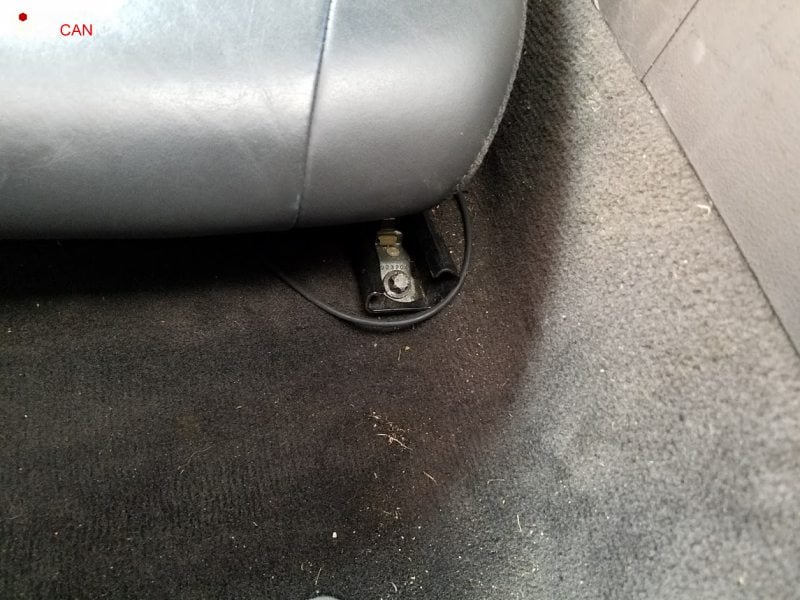
- Locate the two bolts at the back of the chair. Look at the end of the seat rails. The bolts may not always be exposed as they are in this case. Newer cars have a plastic cover on top of the screws. Remove the plastic covers to access the seat bolts.

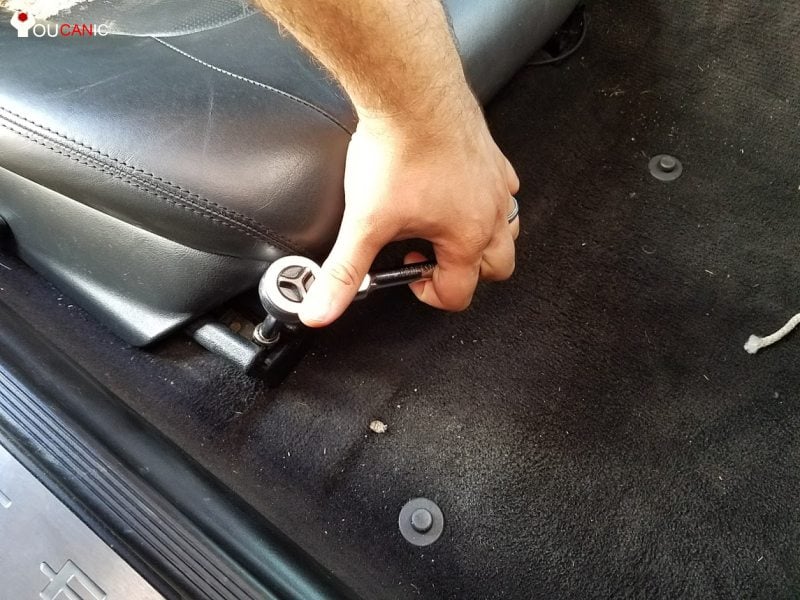
- Remove the two bolts on the back. These can be hex head bolts, Torx bolts, or hexagonal bolts. You will have two, one at the end of each seat rail.

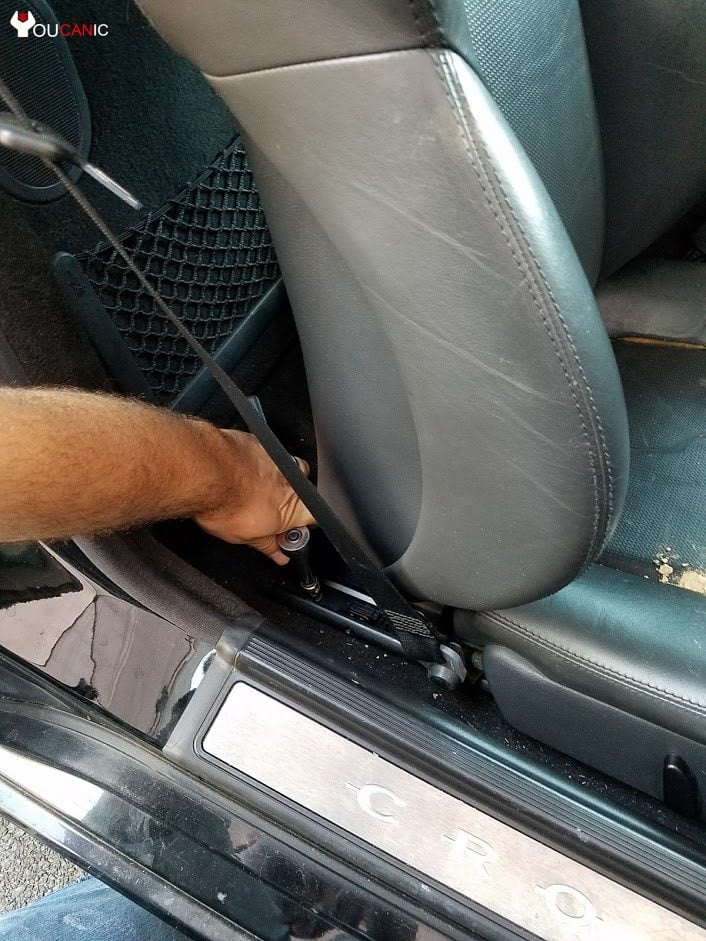
- Move the seatback. If you have power seats, keep the battery connected. Otherwise, you won’t be able to move the seat back. If you can’t move the seat back, it will be nearly impossible to get to the two bolts at the seat’s front.
- Remove the two bolts at the front of the seat rails.

- Next, disconnect the car battery. Don’t disconnect the car seat wires if the key is in the ignition and the battery is still connected. Doing so will trigger the airbag / SRS warning light.
Lift the seat. At this point, you should get a helper to keep the front seat tilted back so that you can disconnect the electrical cables.
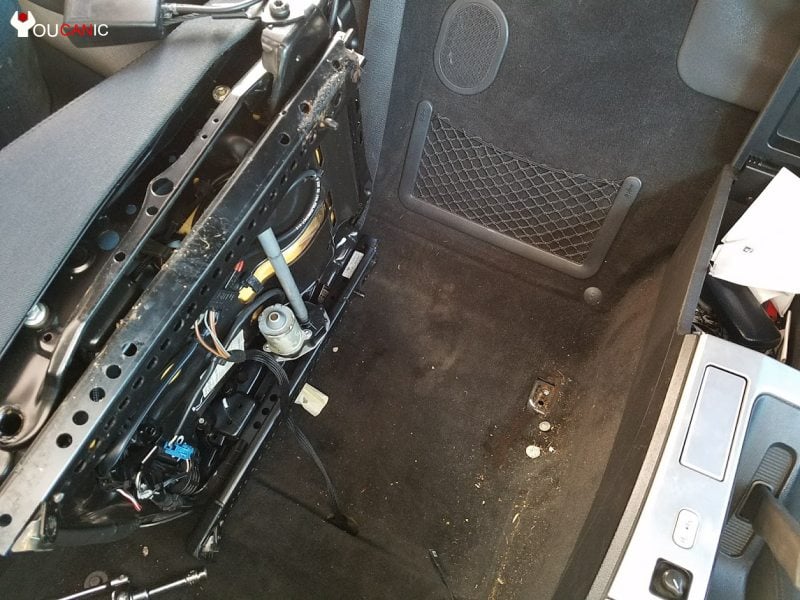
Disconnect the electrical wires from underneath the seats.

Remove the front car seat from the car.
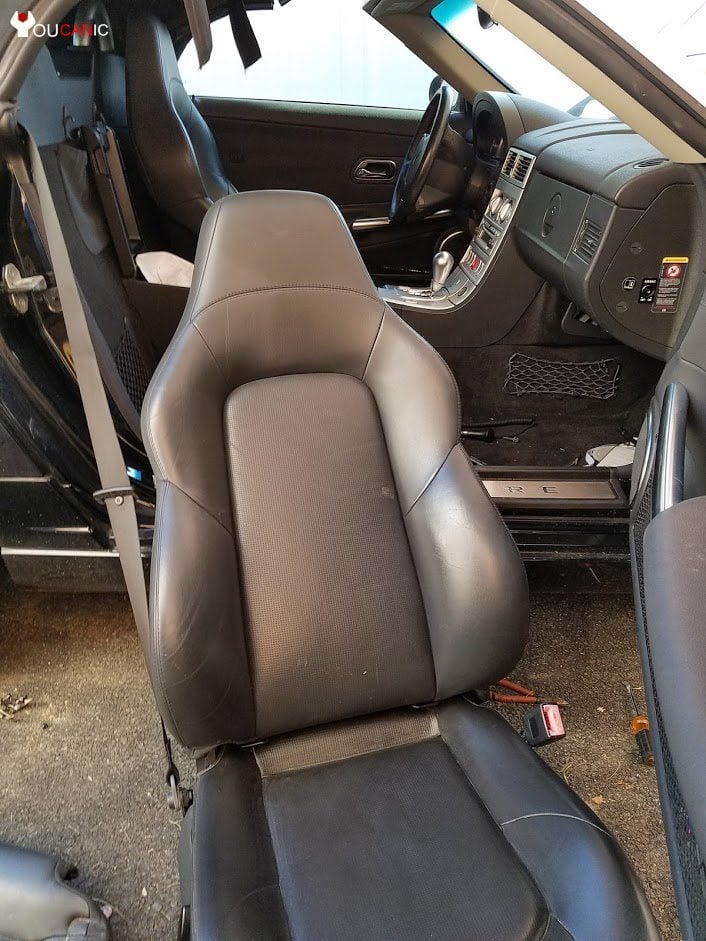
Reinstall the seat in reverse order.
Follow these instructions to remove the car seat in any car. The procedure is almost identical regardless of the car manufacturer.
The only difference is that some car makers have Torx bolts that secure the seat to the vehicle. In that case, you will need Torx sockets to remove the bolts that secure the seat to the frame.
My SRS /airbag light came on after I replaced the seat.
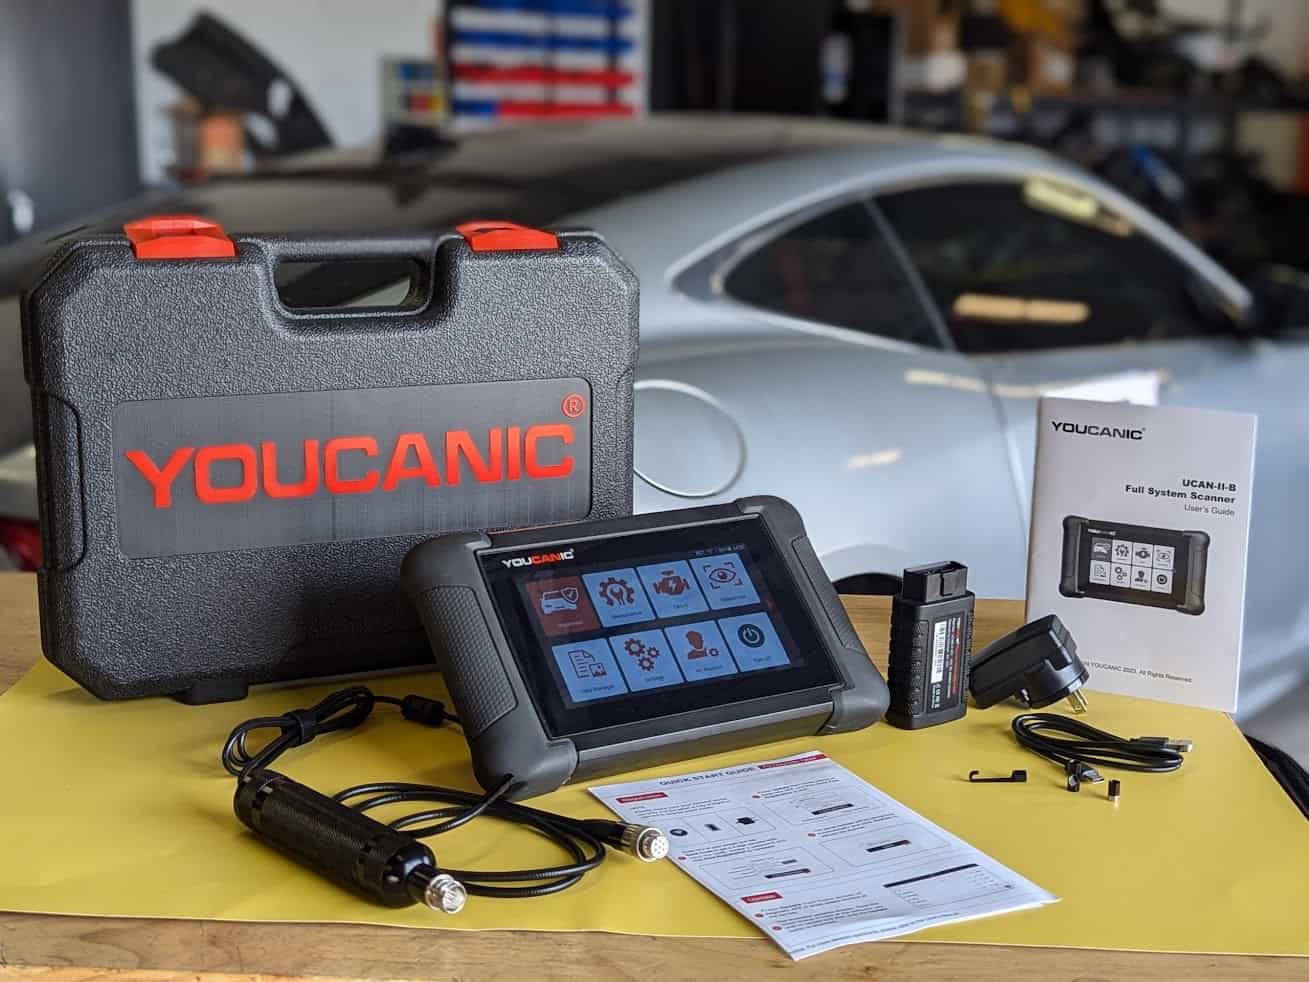
Check the wires under the seat, especially the yellow connector. This is the wire for the weight sensor mounted in the seat and sometimes the seat belt buckle sensor. Having these wires disconnected can trigger the airbag light. If necessary, you must use an Airbag SRS Scanner. The YOUCANIC Full System Scanner can read and clear fault codes from the Airbag module.
We hope you find the How to Remove Front Car Seat guide helpful. Check these troubleshooting and repair guides for more help on your vehicle.


